Fuselage
I will be building the longest of the 3 fuselage's to accommodate my taller figure.....
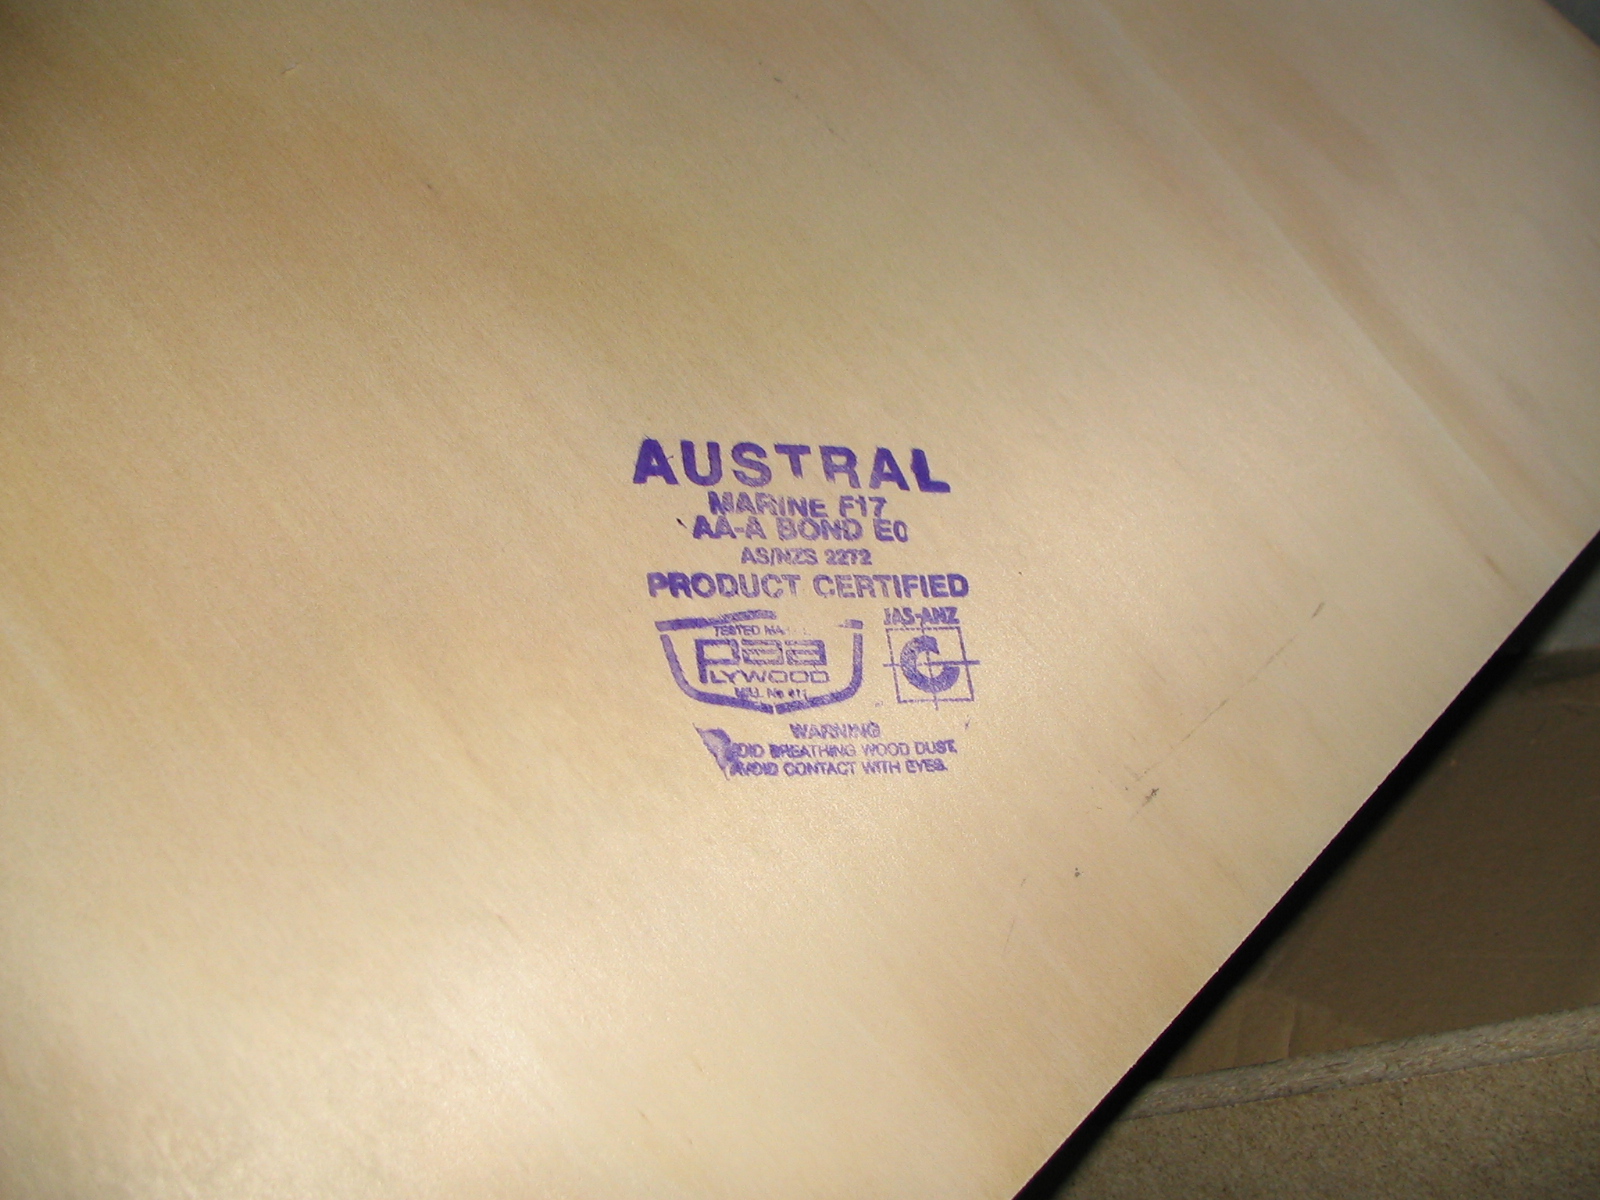
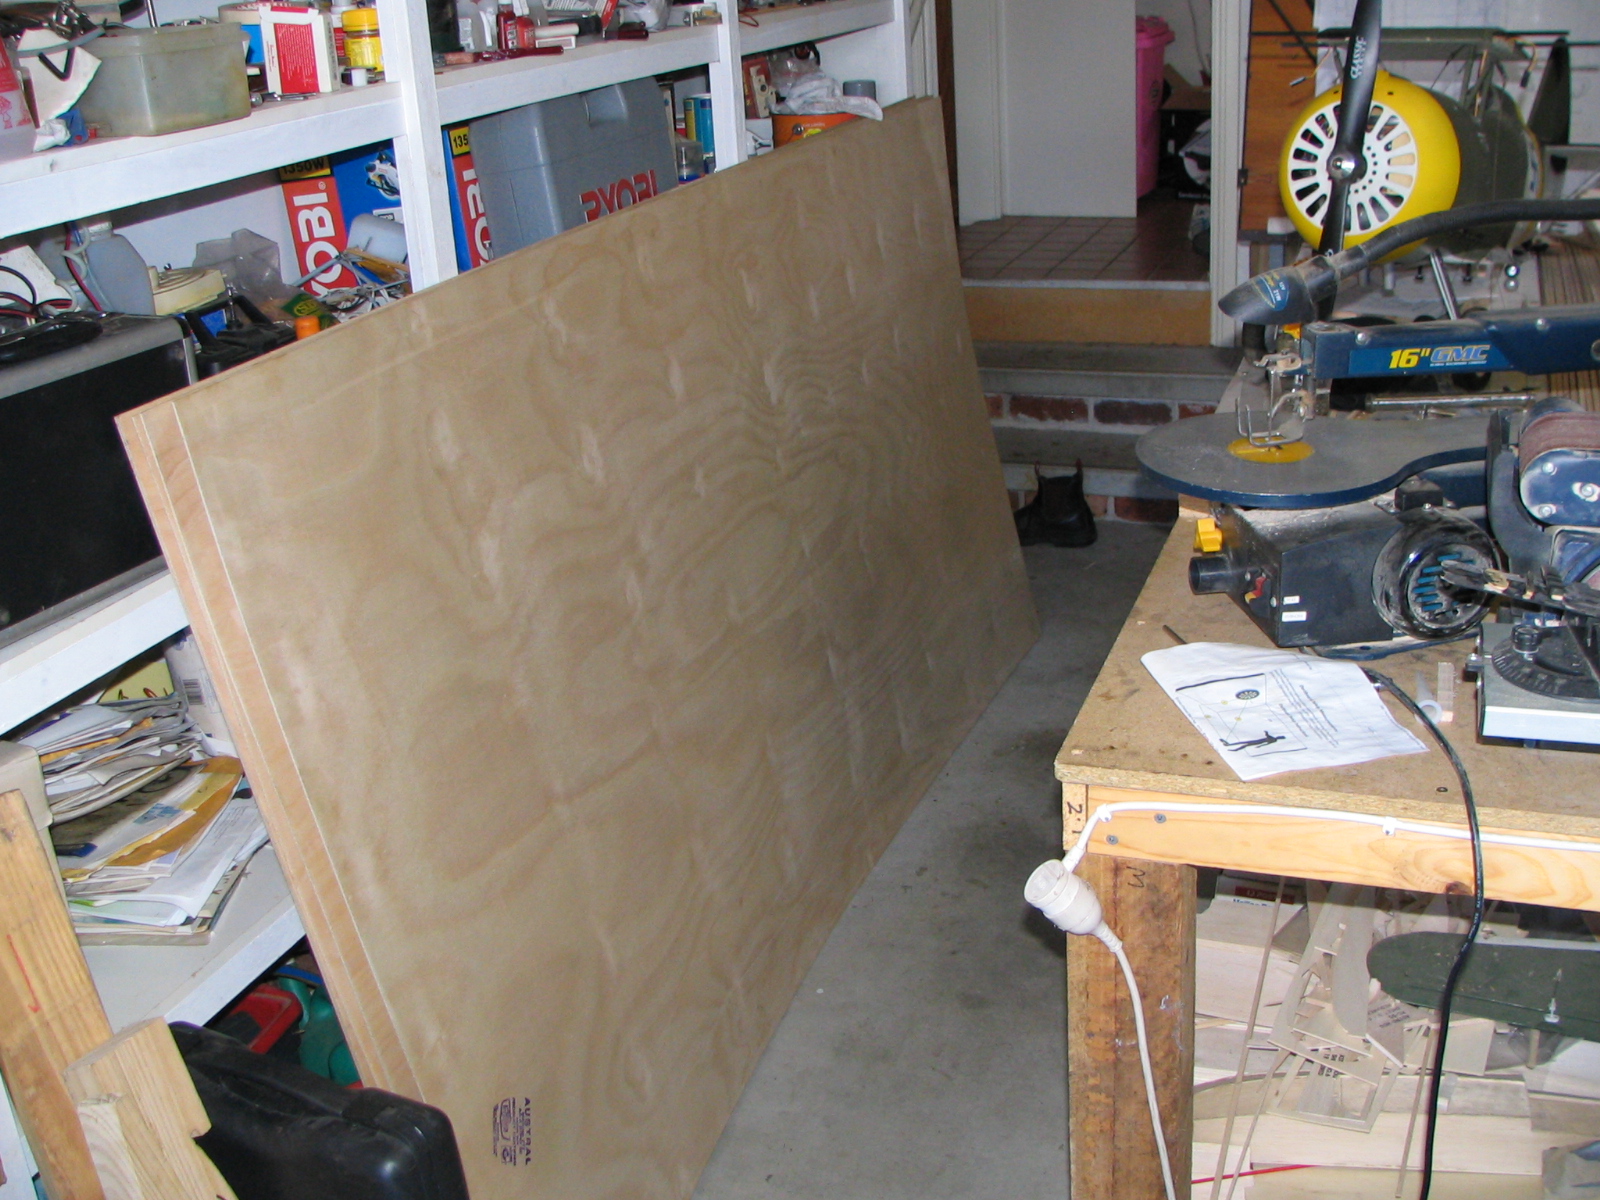
I received the sheets of AS2272 AA-A Bond Hoop Pine Ply to make the firewall and gussets for the Fuselage and Empenage.
A package of Spruce arrived today (16/11/2012). This is all I need to build the fuselage.
.jpg)
.jpg)
.jpg)
.jpg)
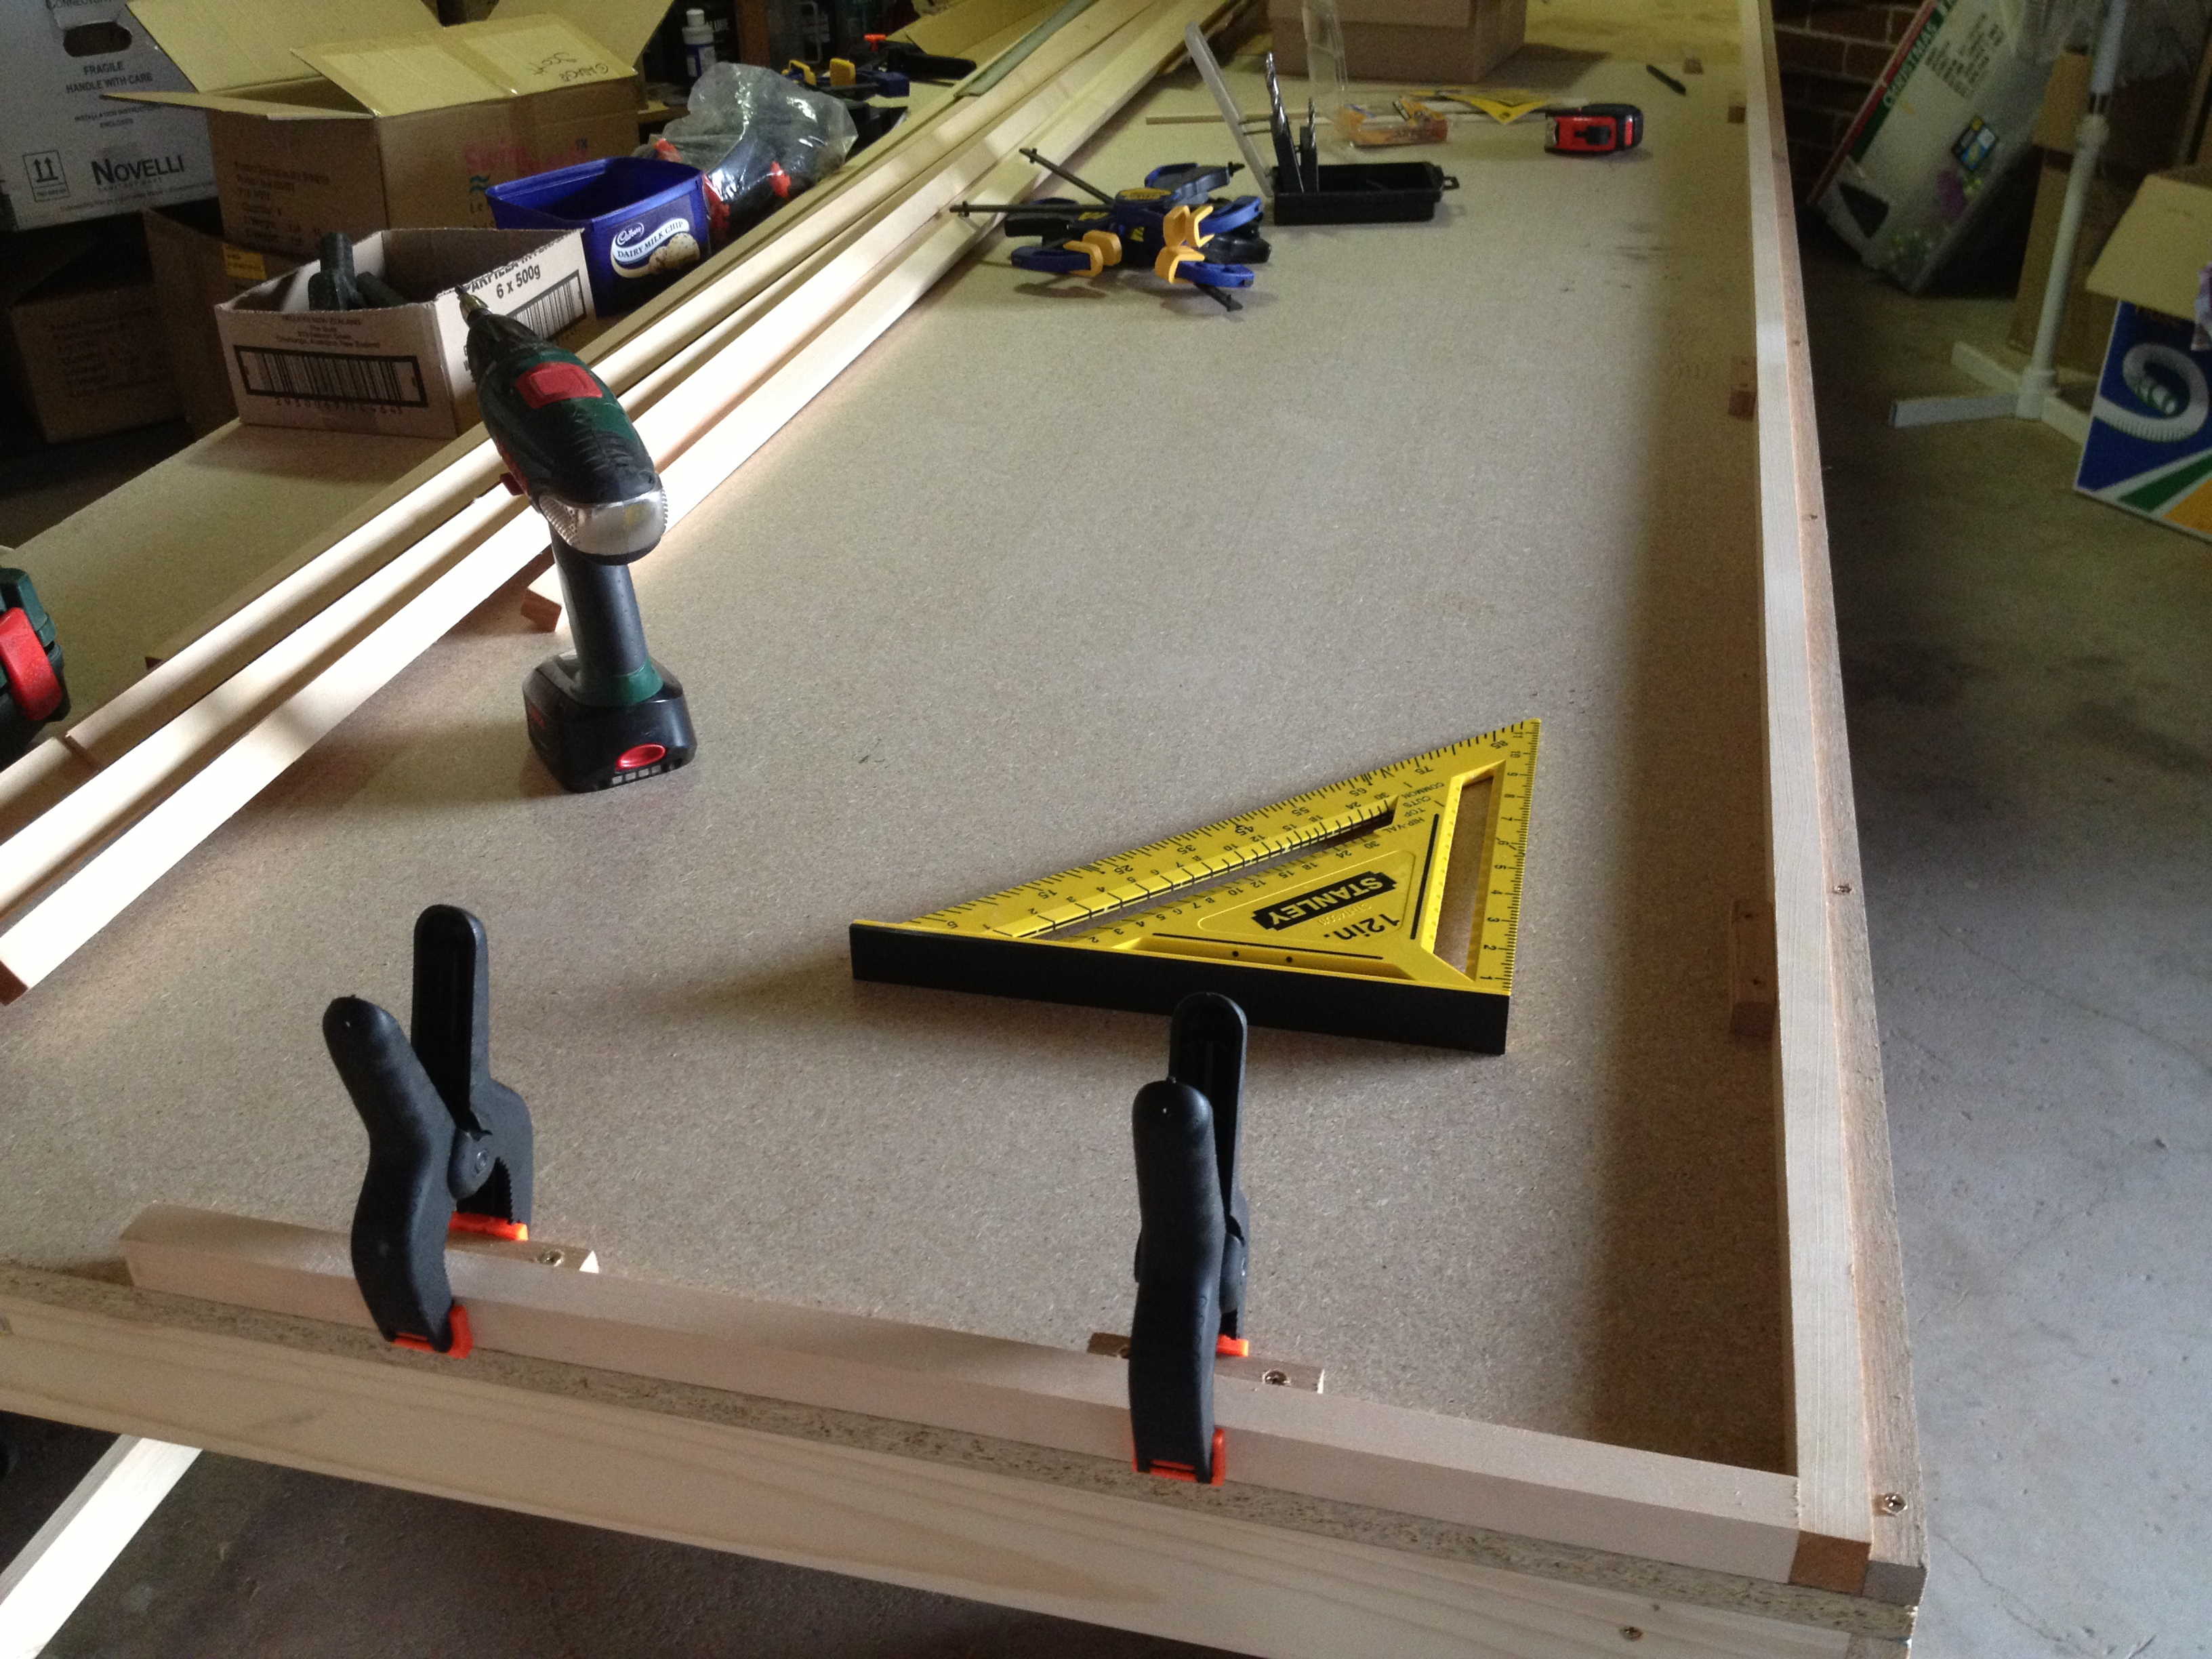
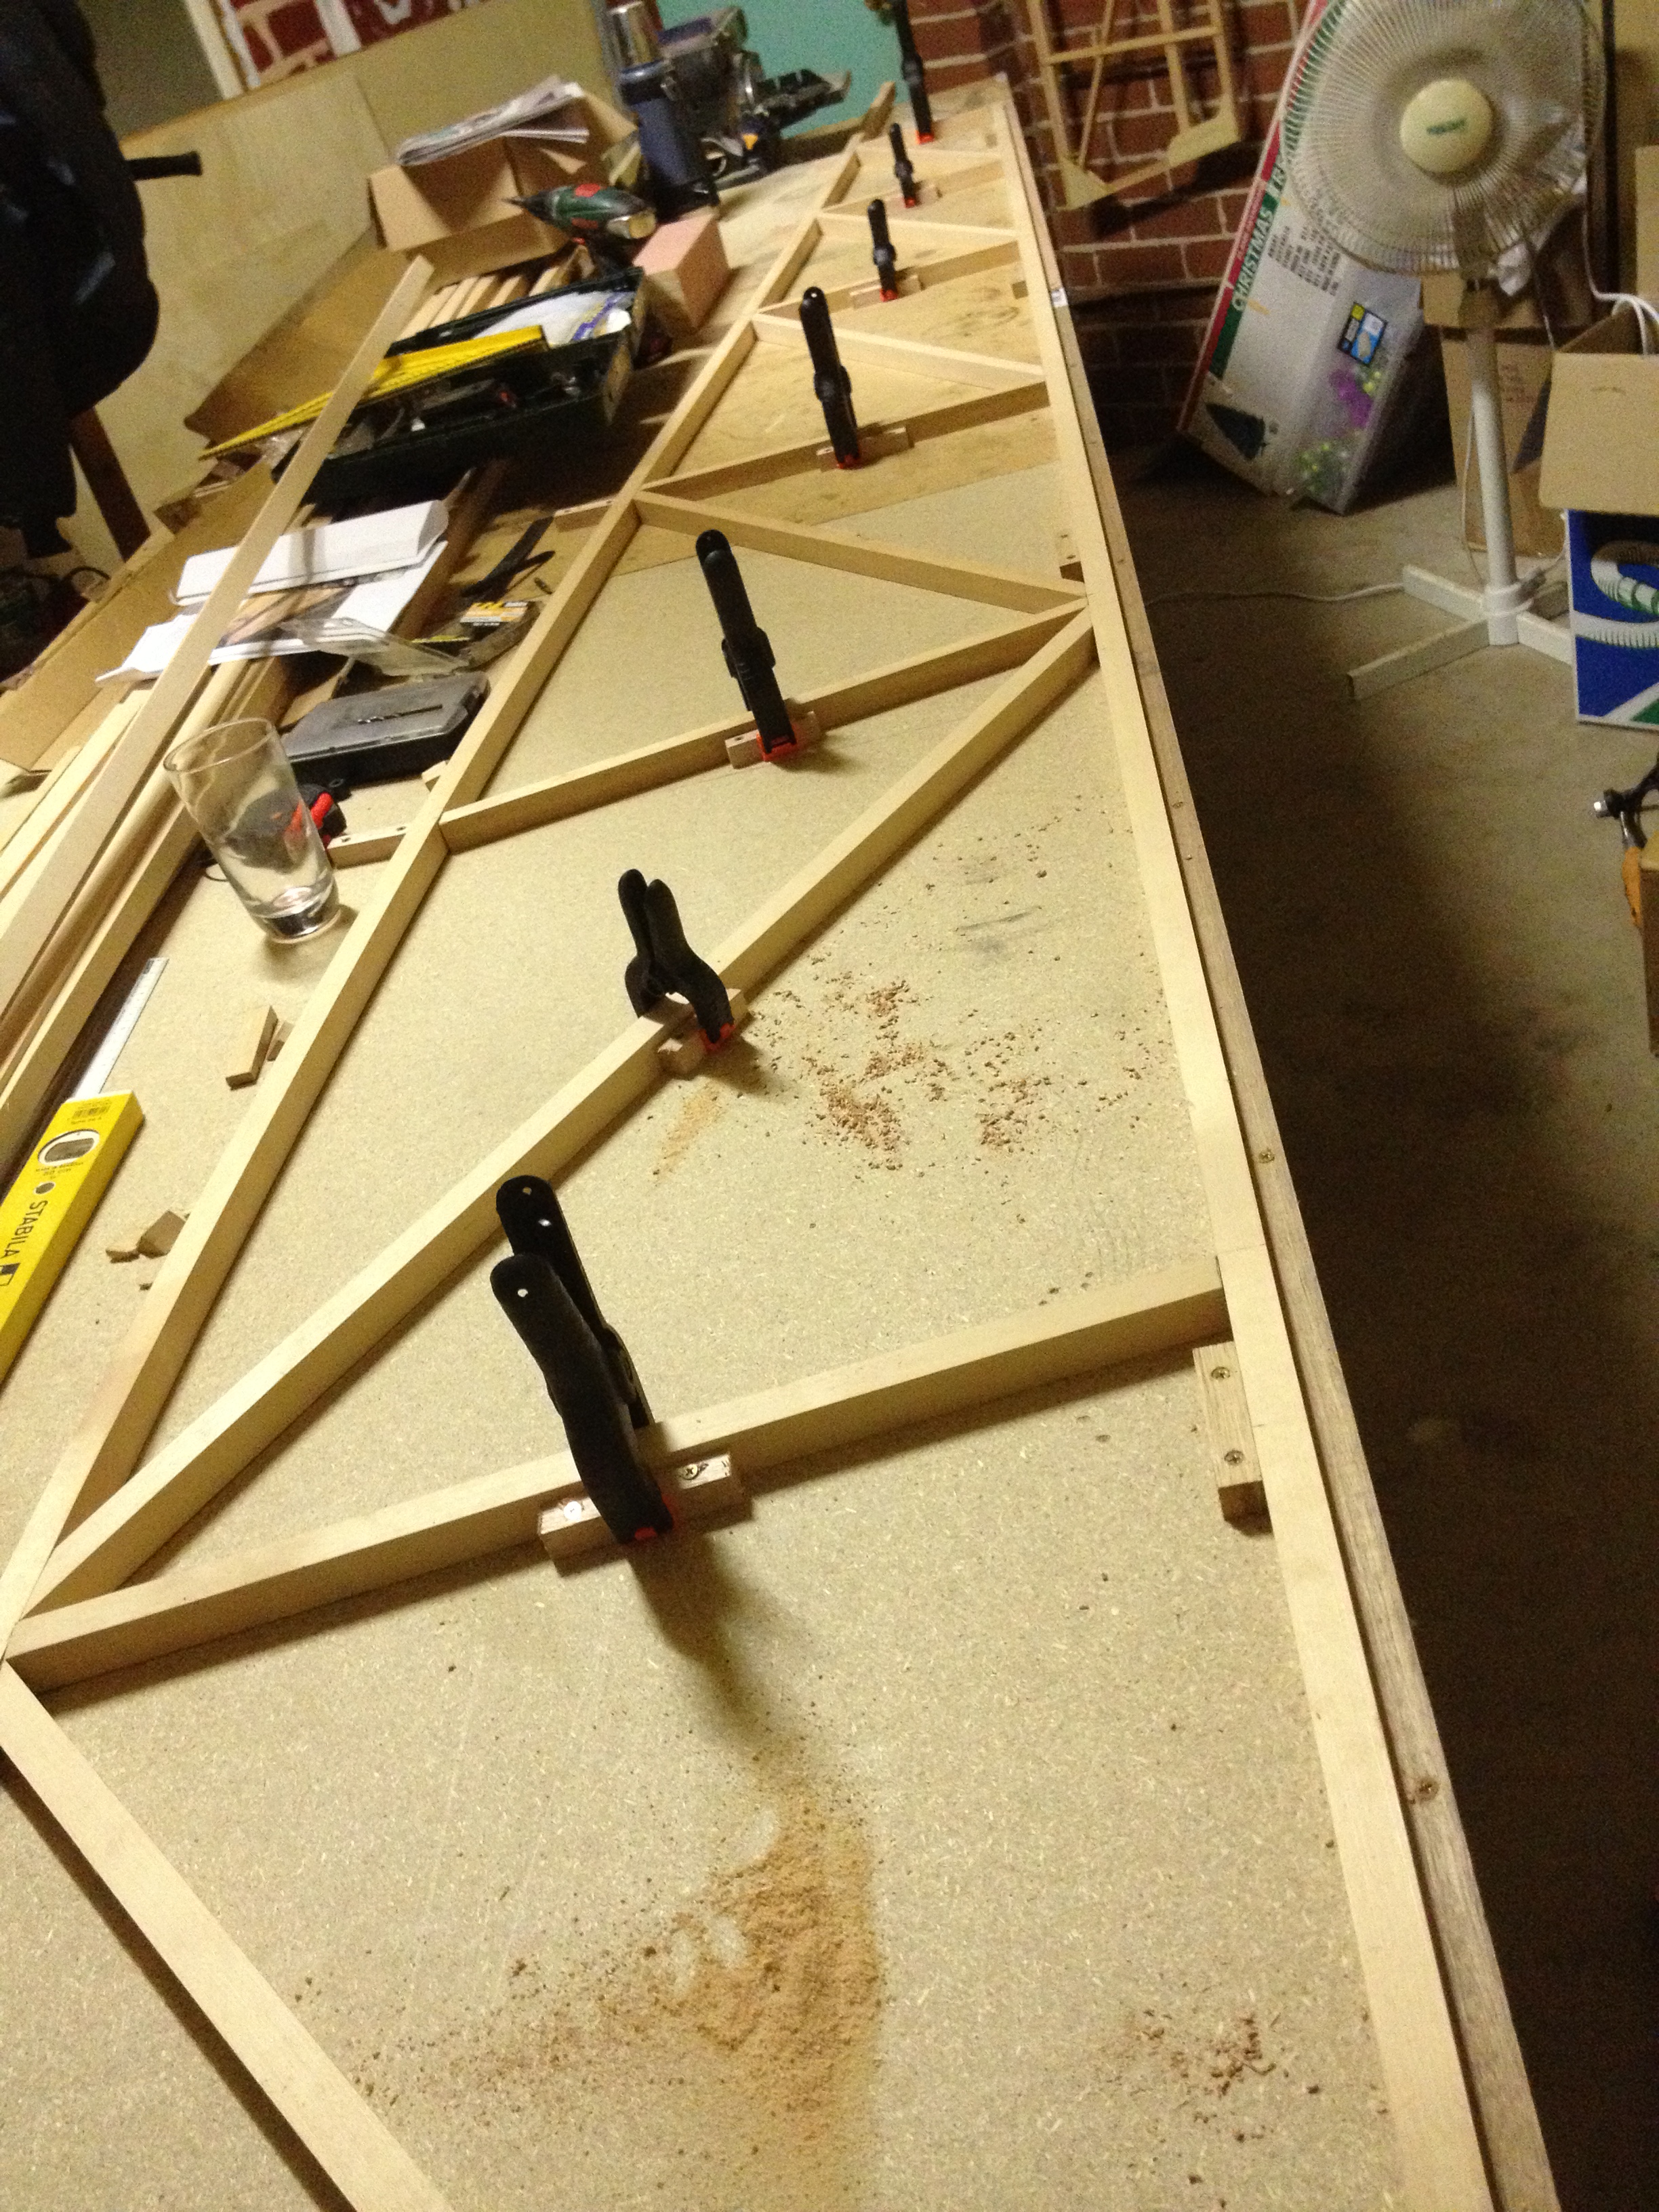
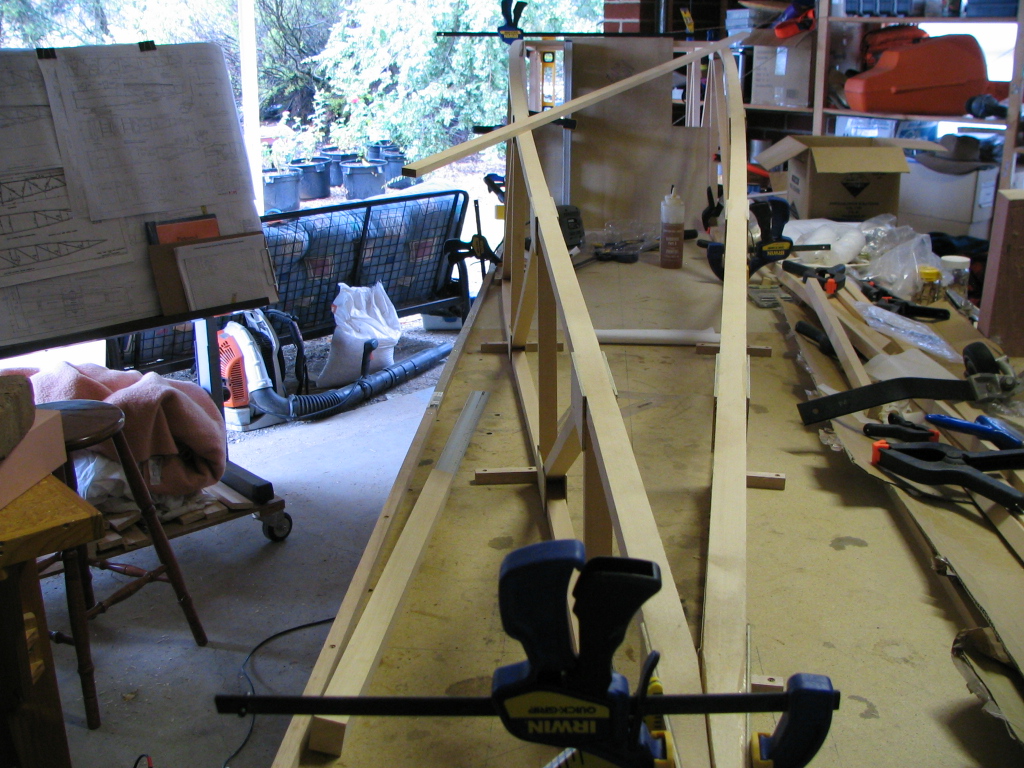
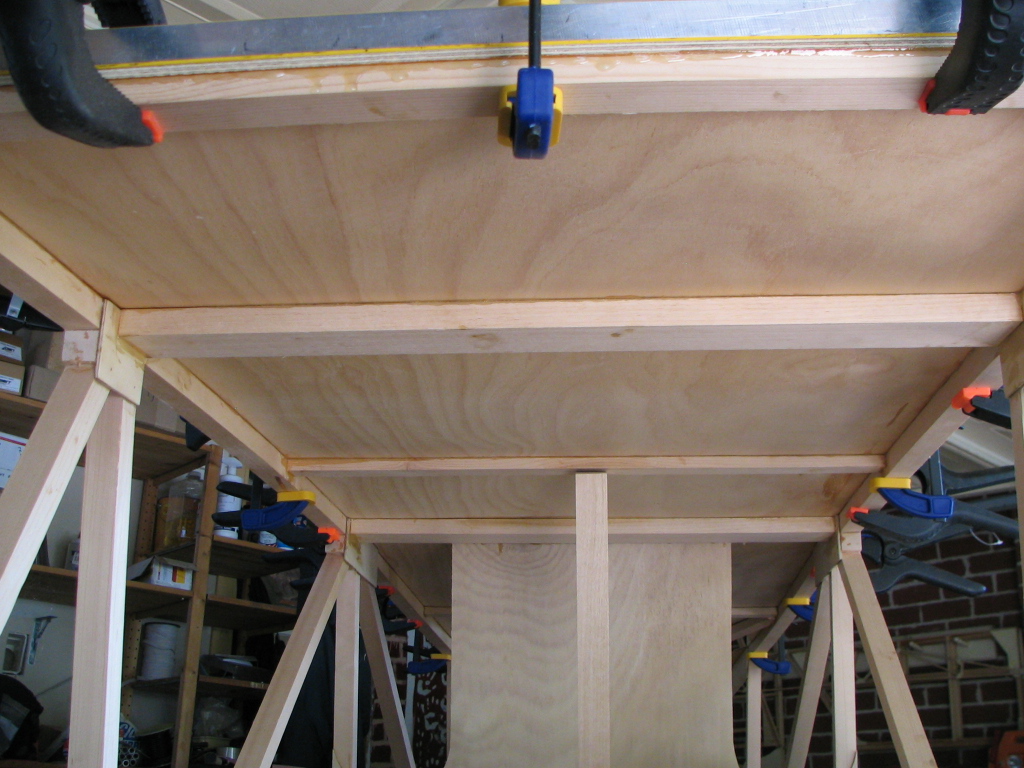
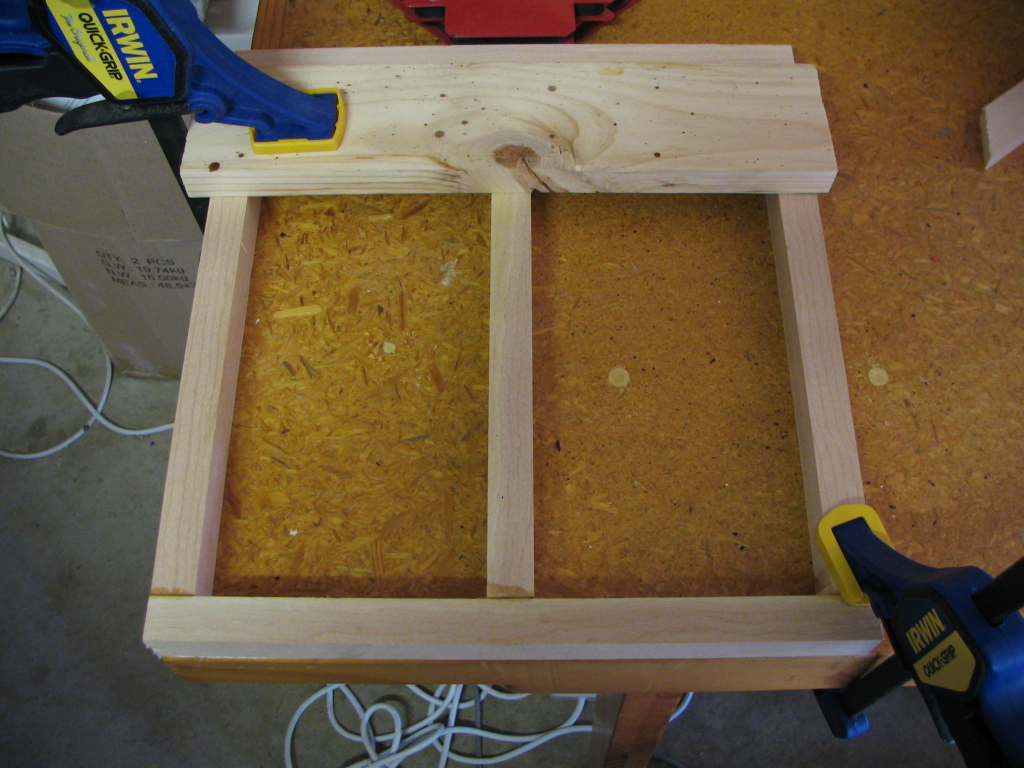
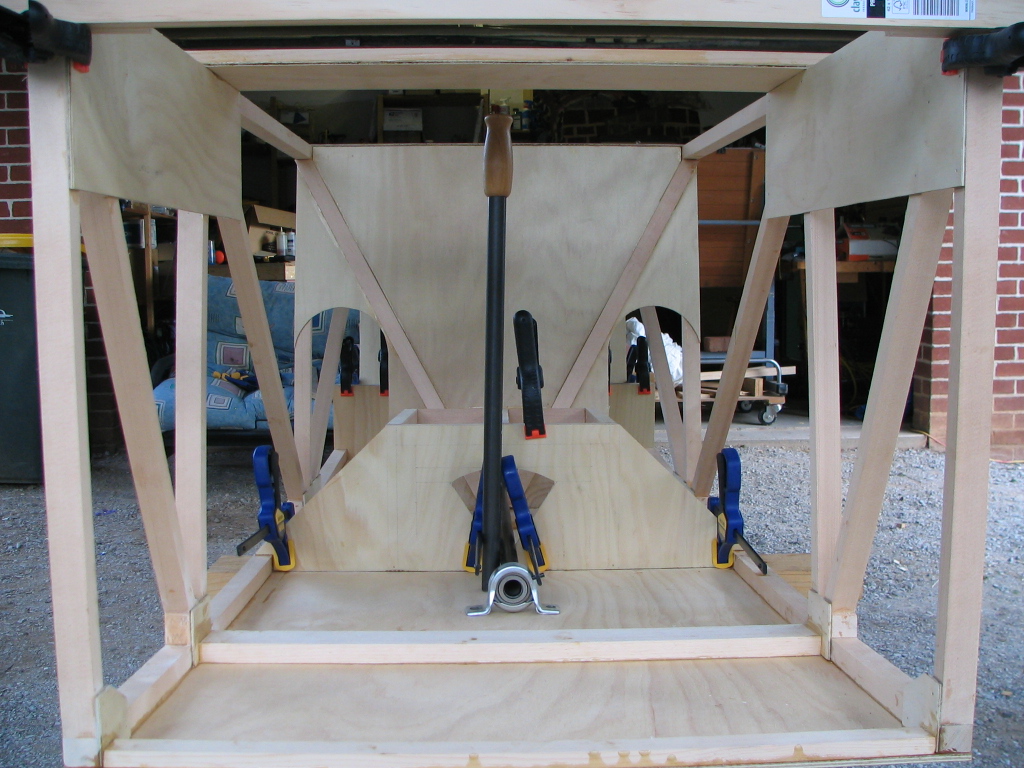
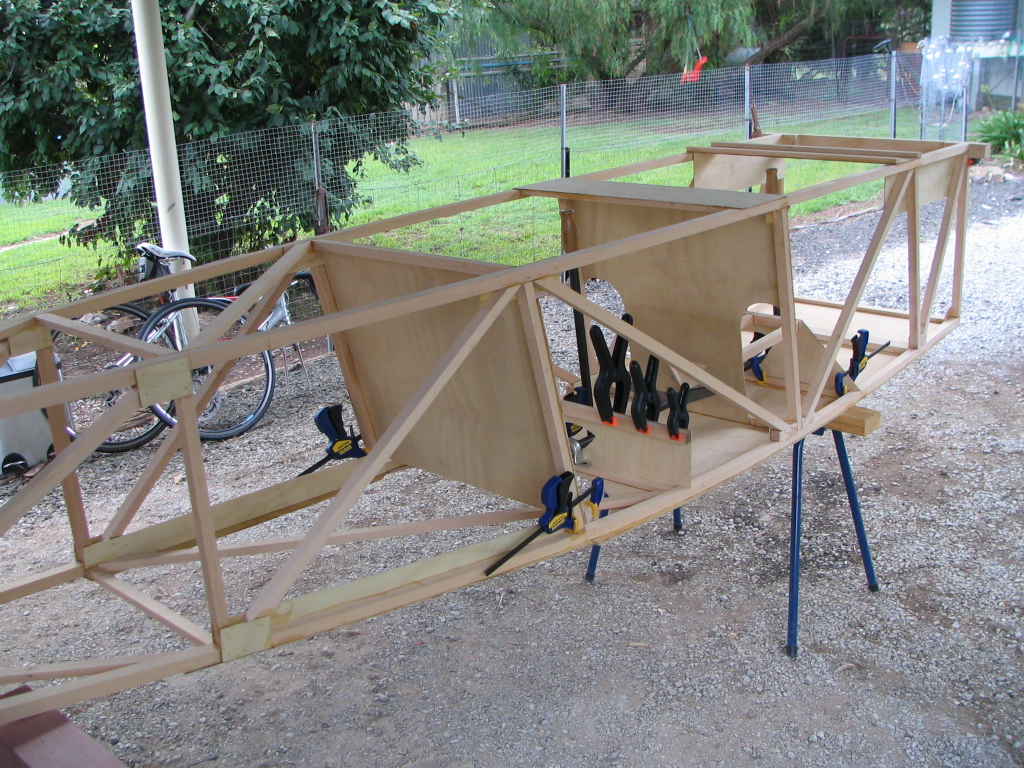
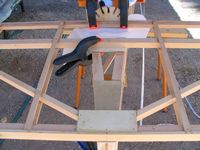
Built a second work bench and joined them together and made sure they were level in all directions. As you can see it is a tight squeeze getting this fuselage built but once its done the tables can go.


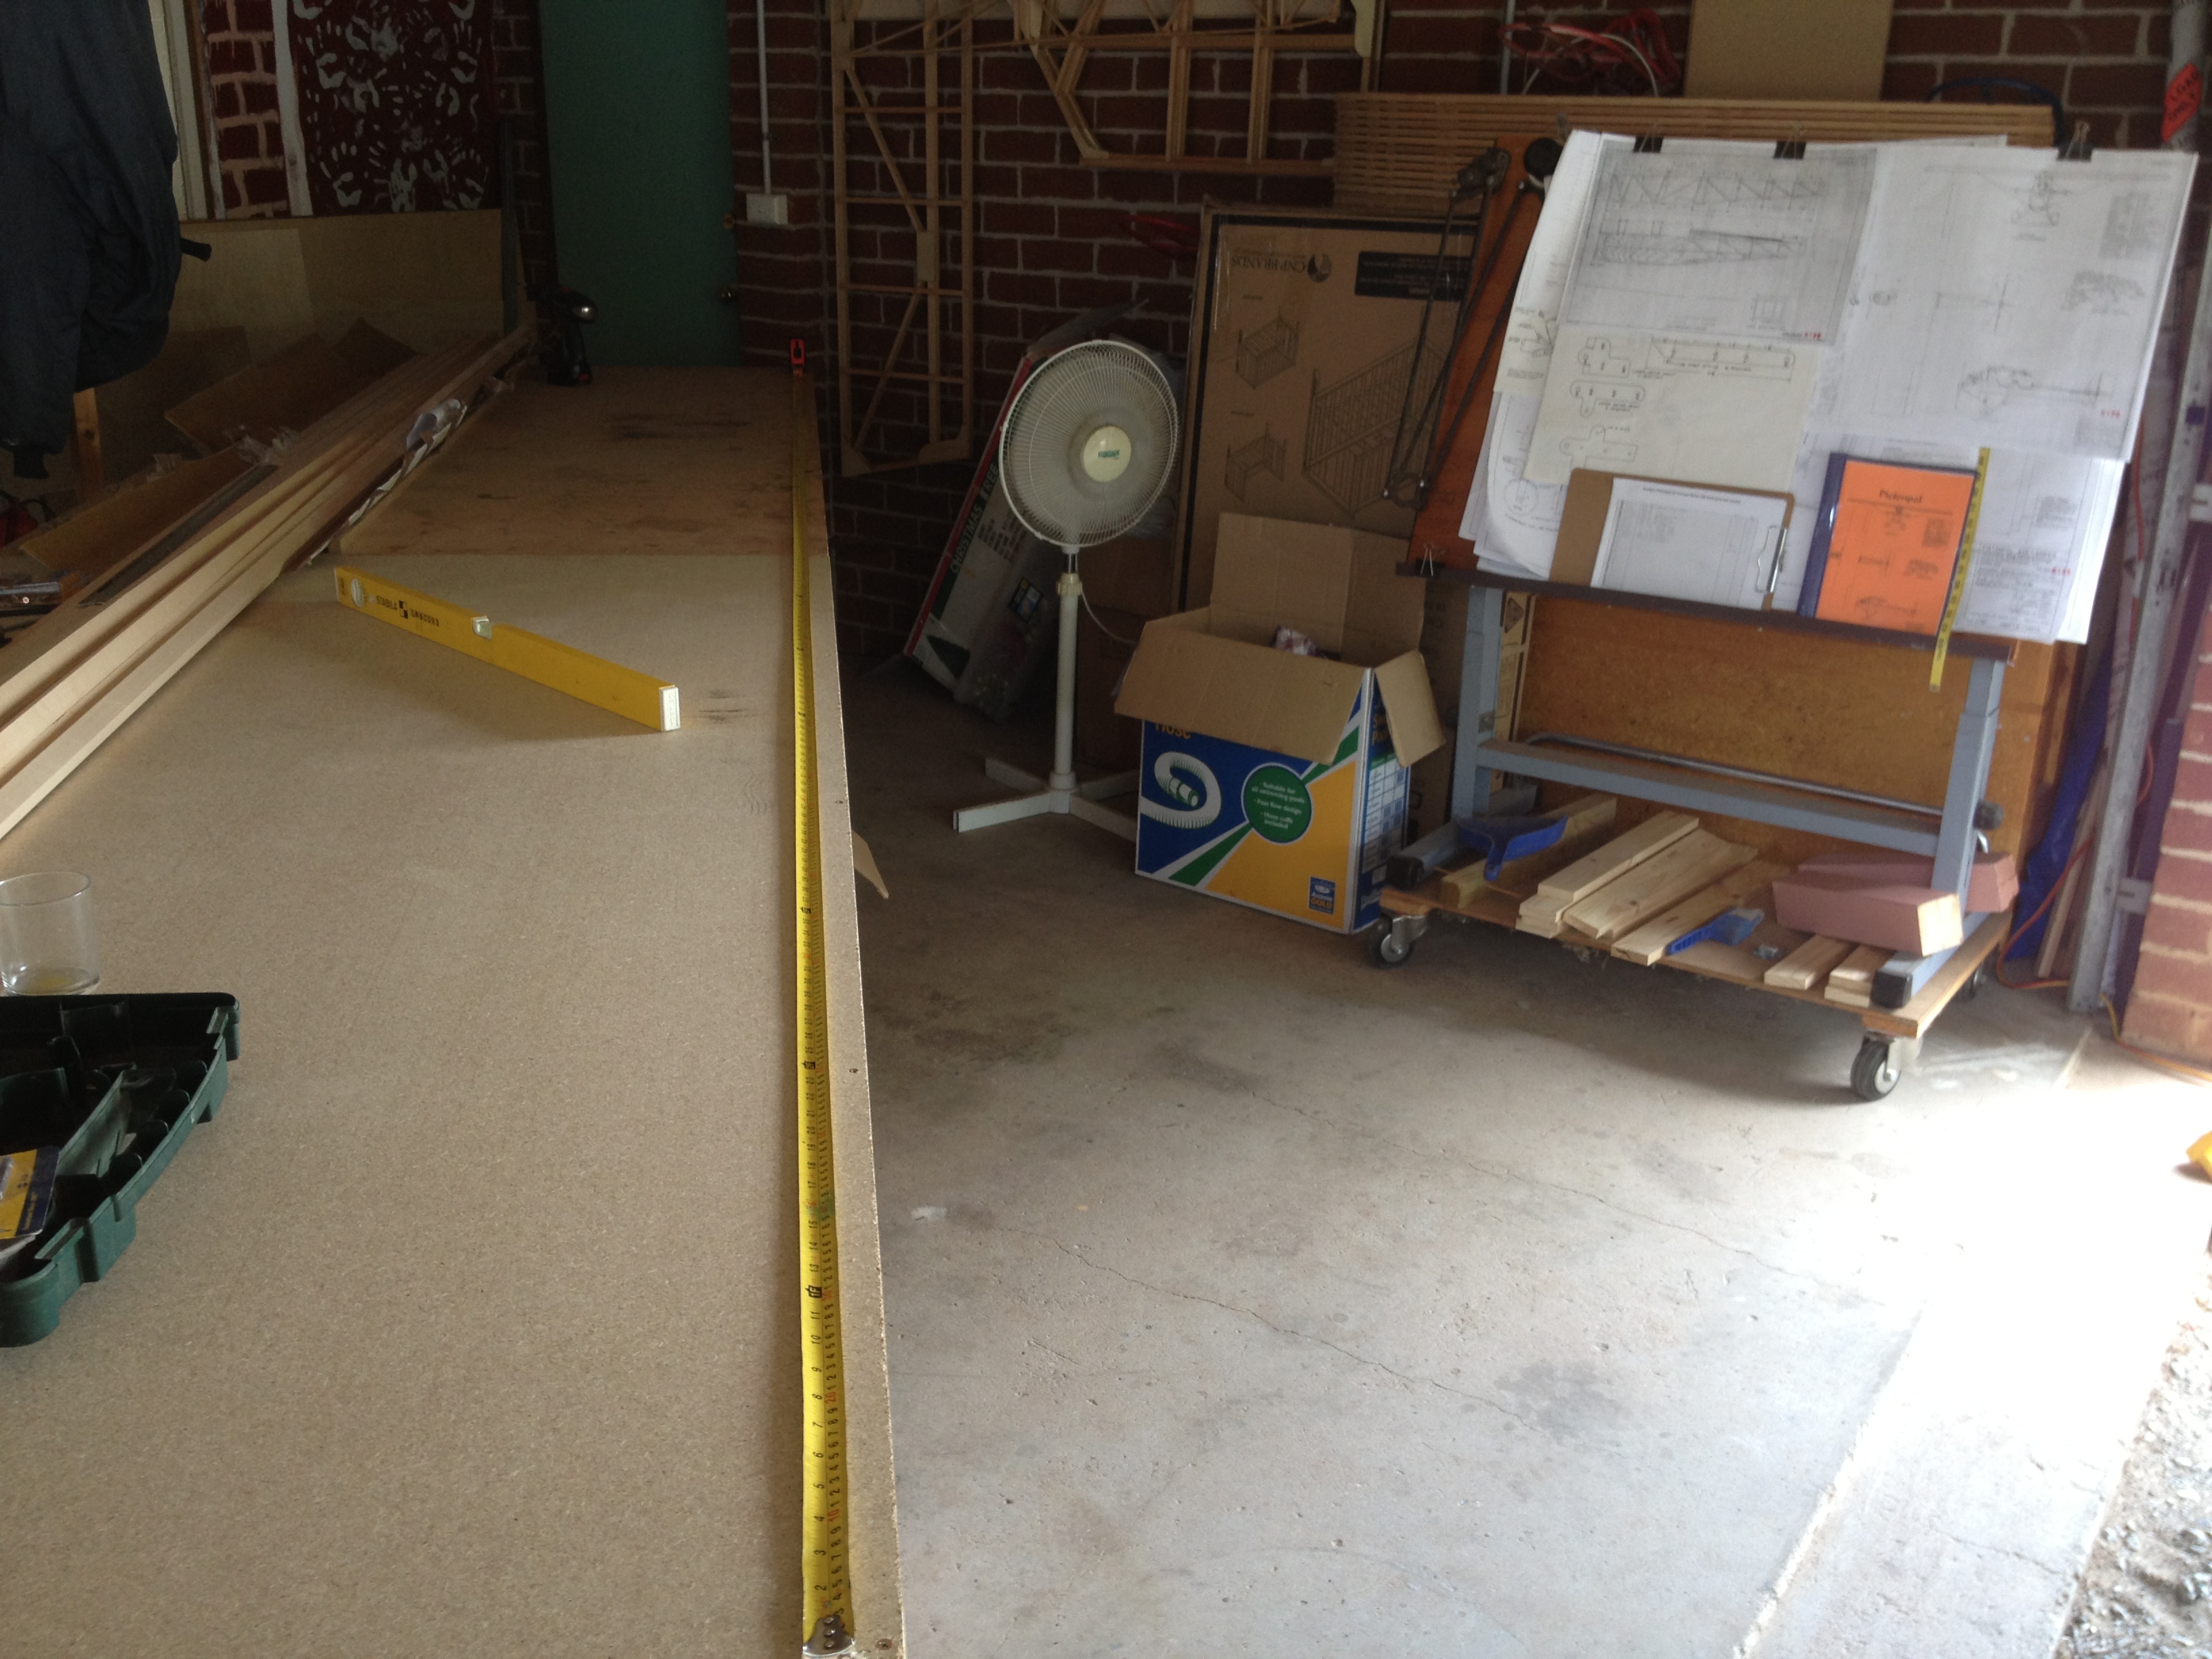
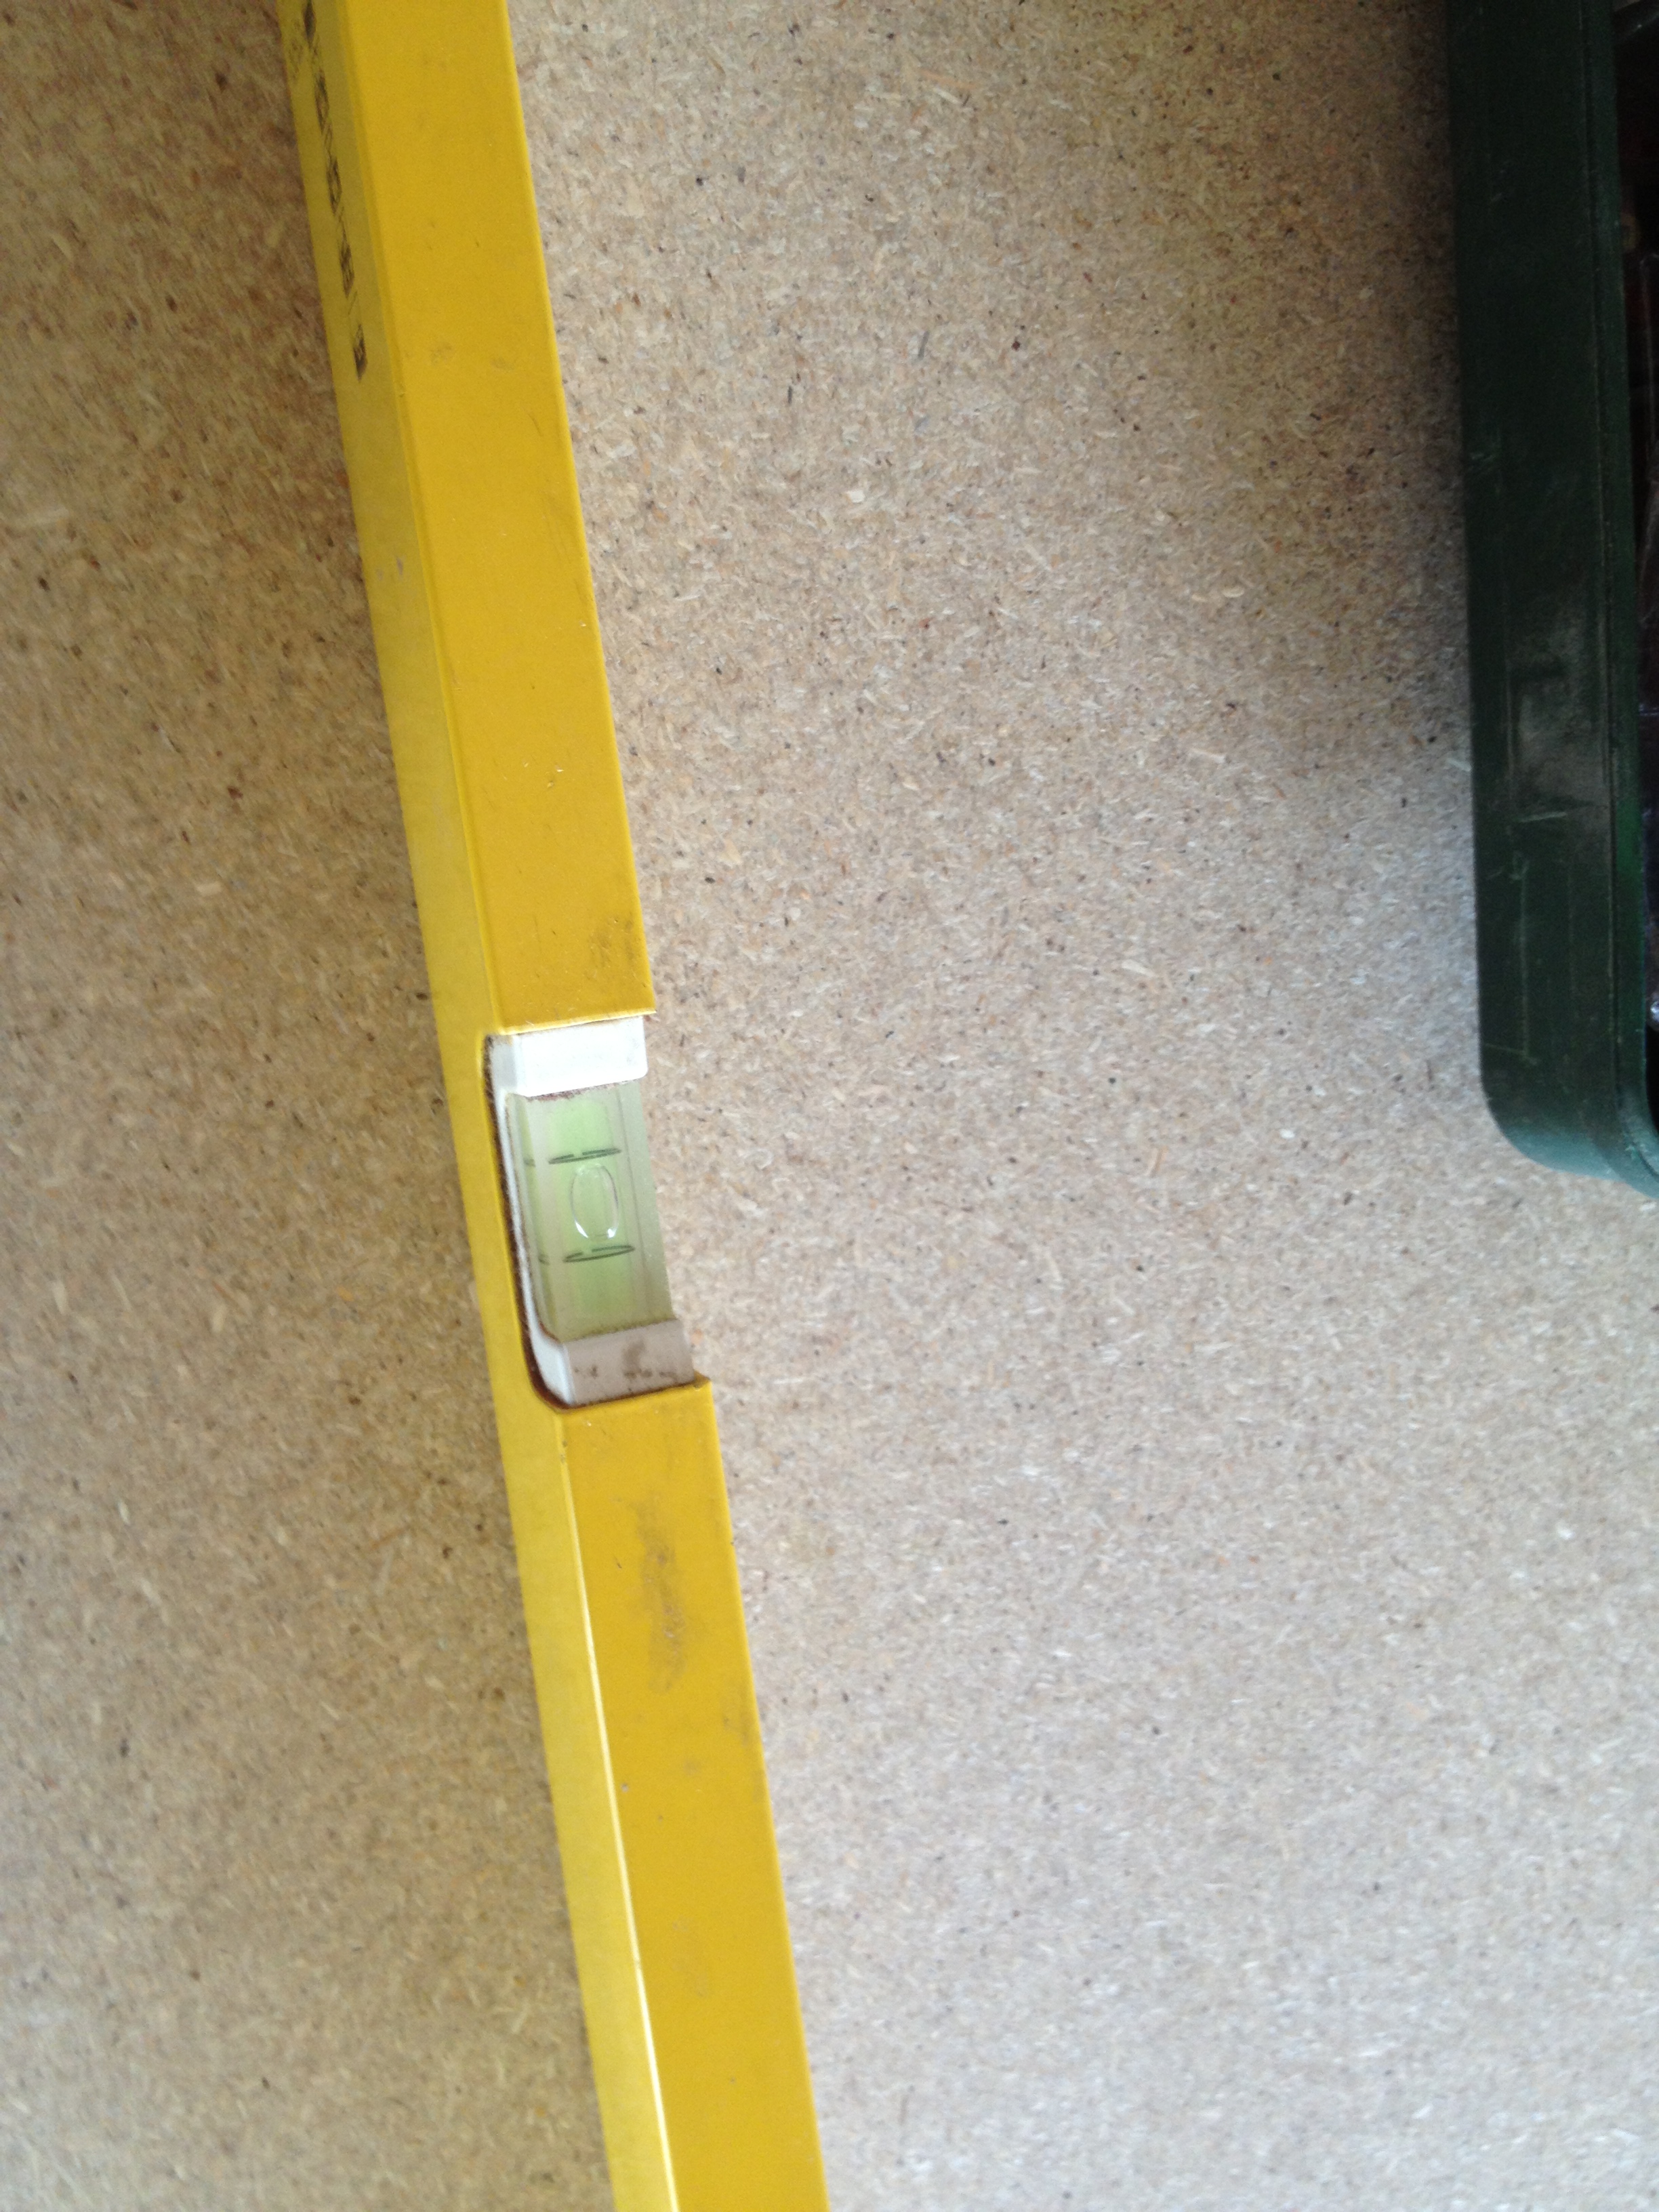

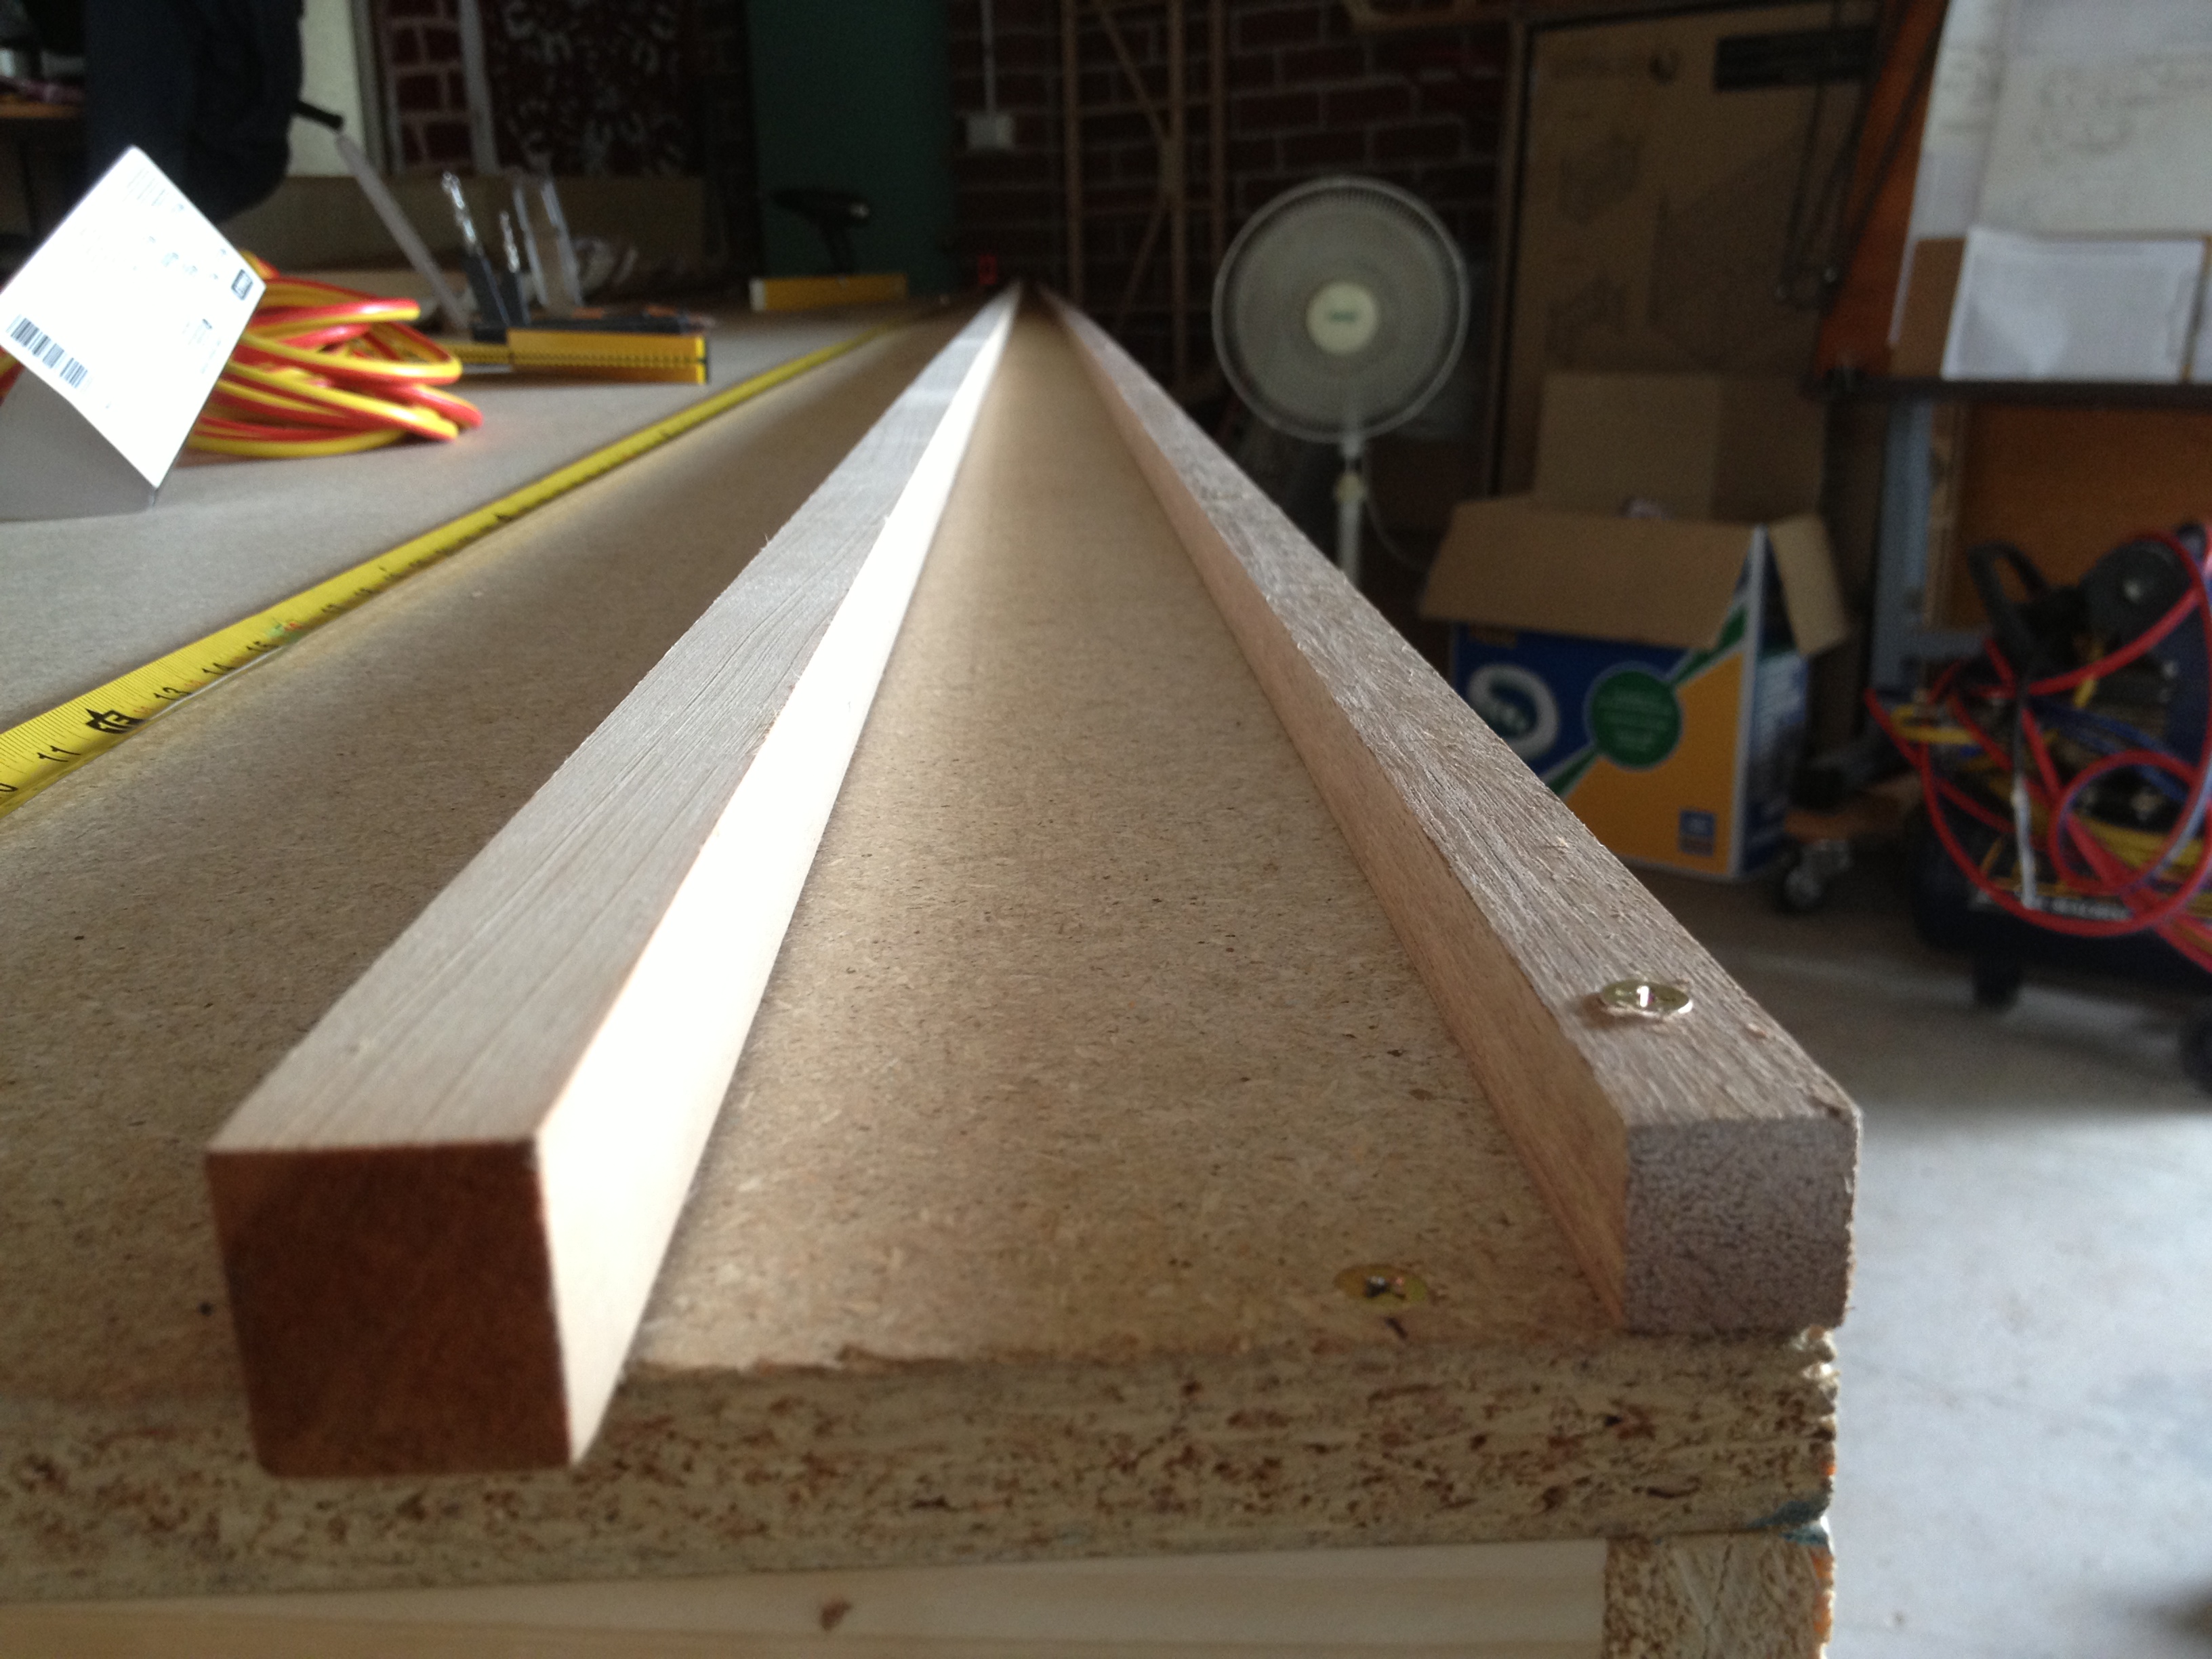
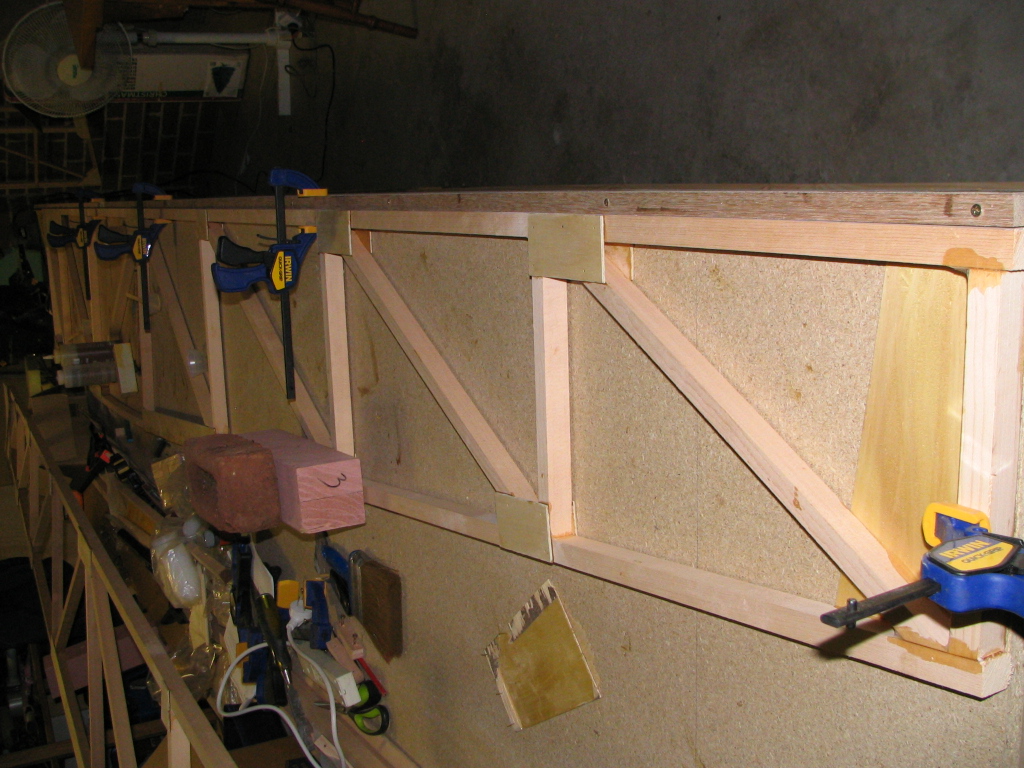
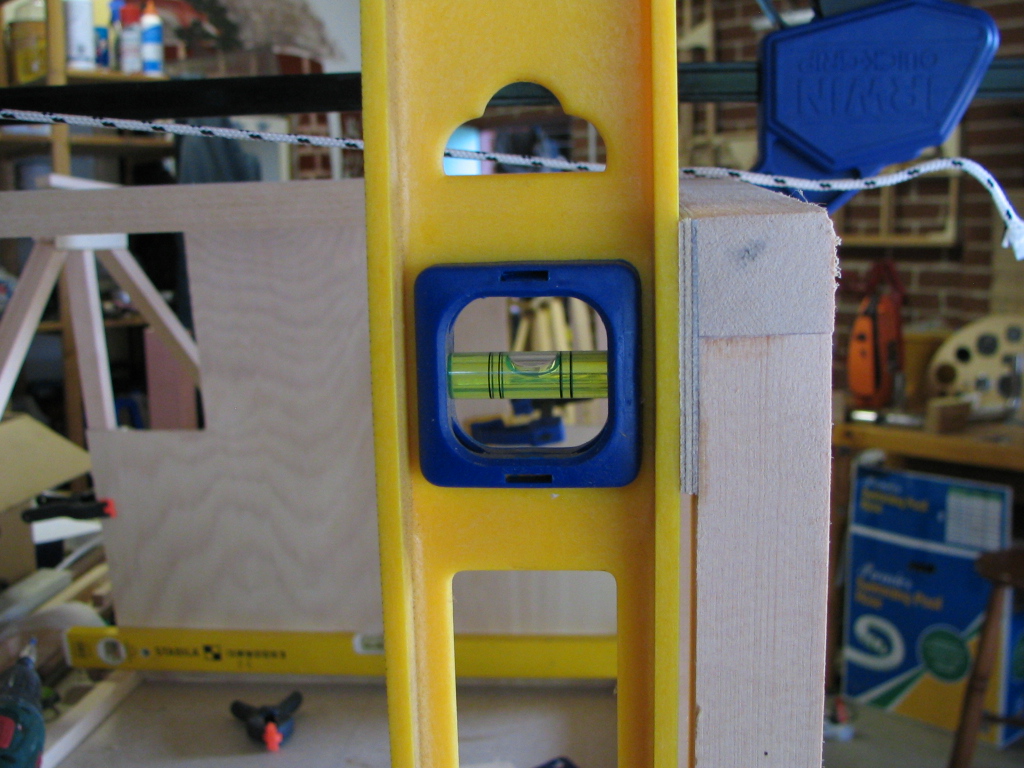
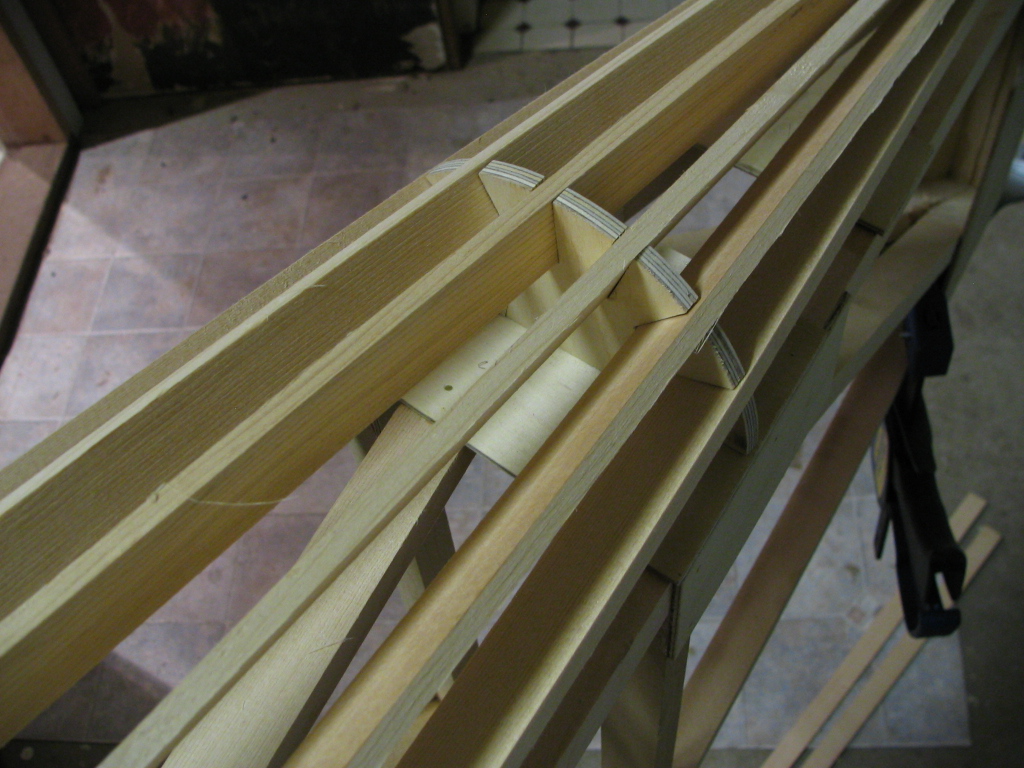
Before I start building any section, I make sure I spend the time getting a perfect straight edge. Planes built crooked dont fly well! I have screwed a straight edge to the edge of the table so I can use that for the start of the fuselage sides to be built against. Started laying out the longerons and have the firewall mount clamped for trial fit.

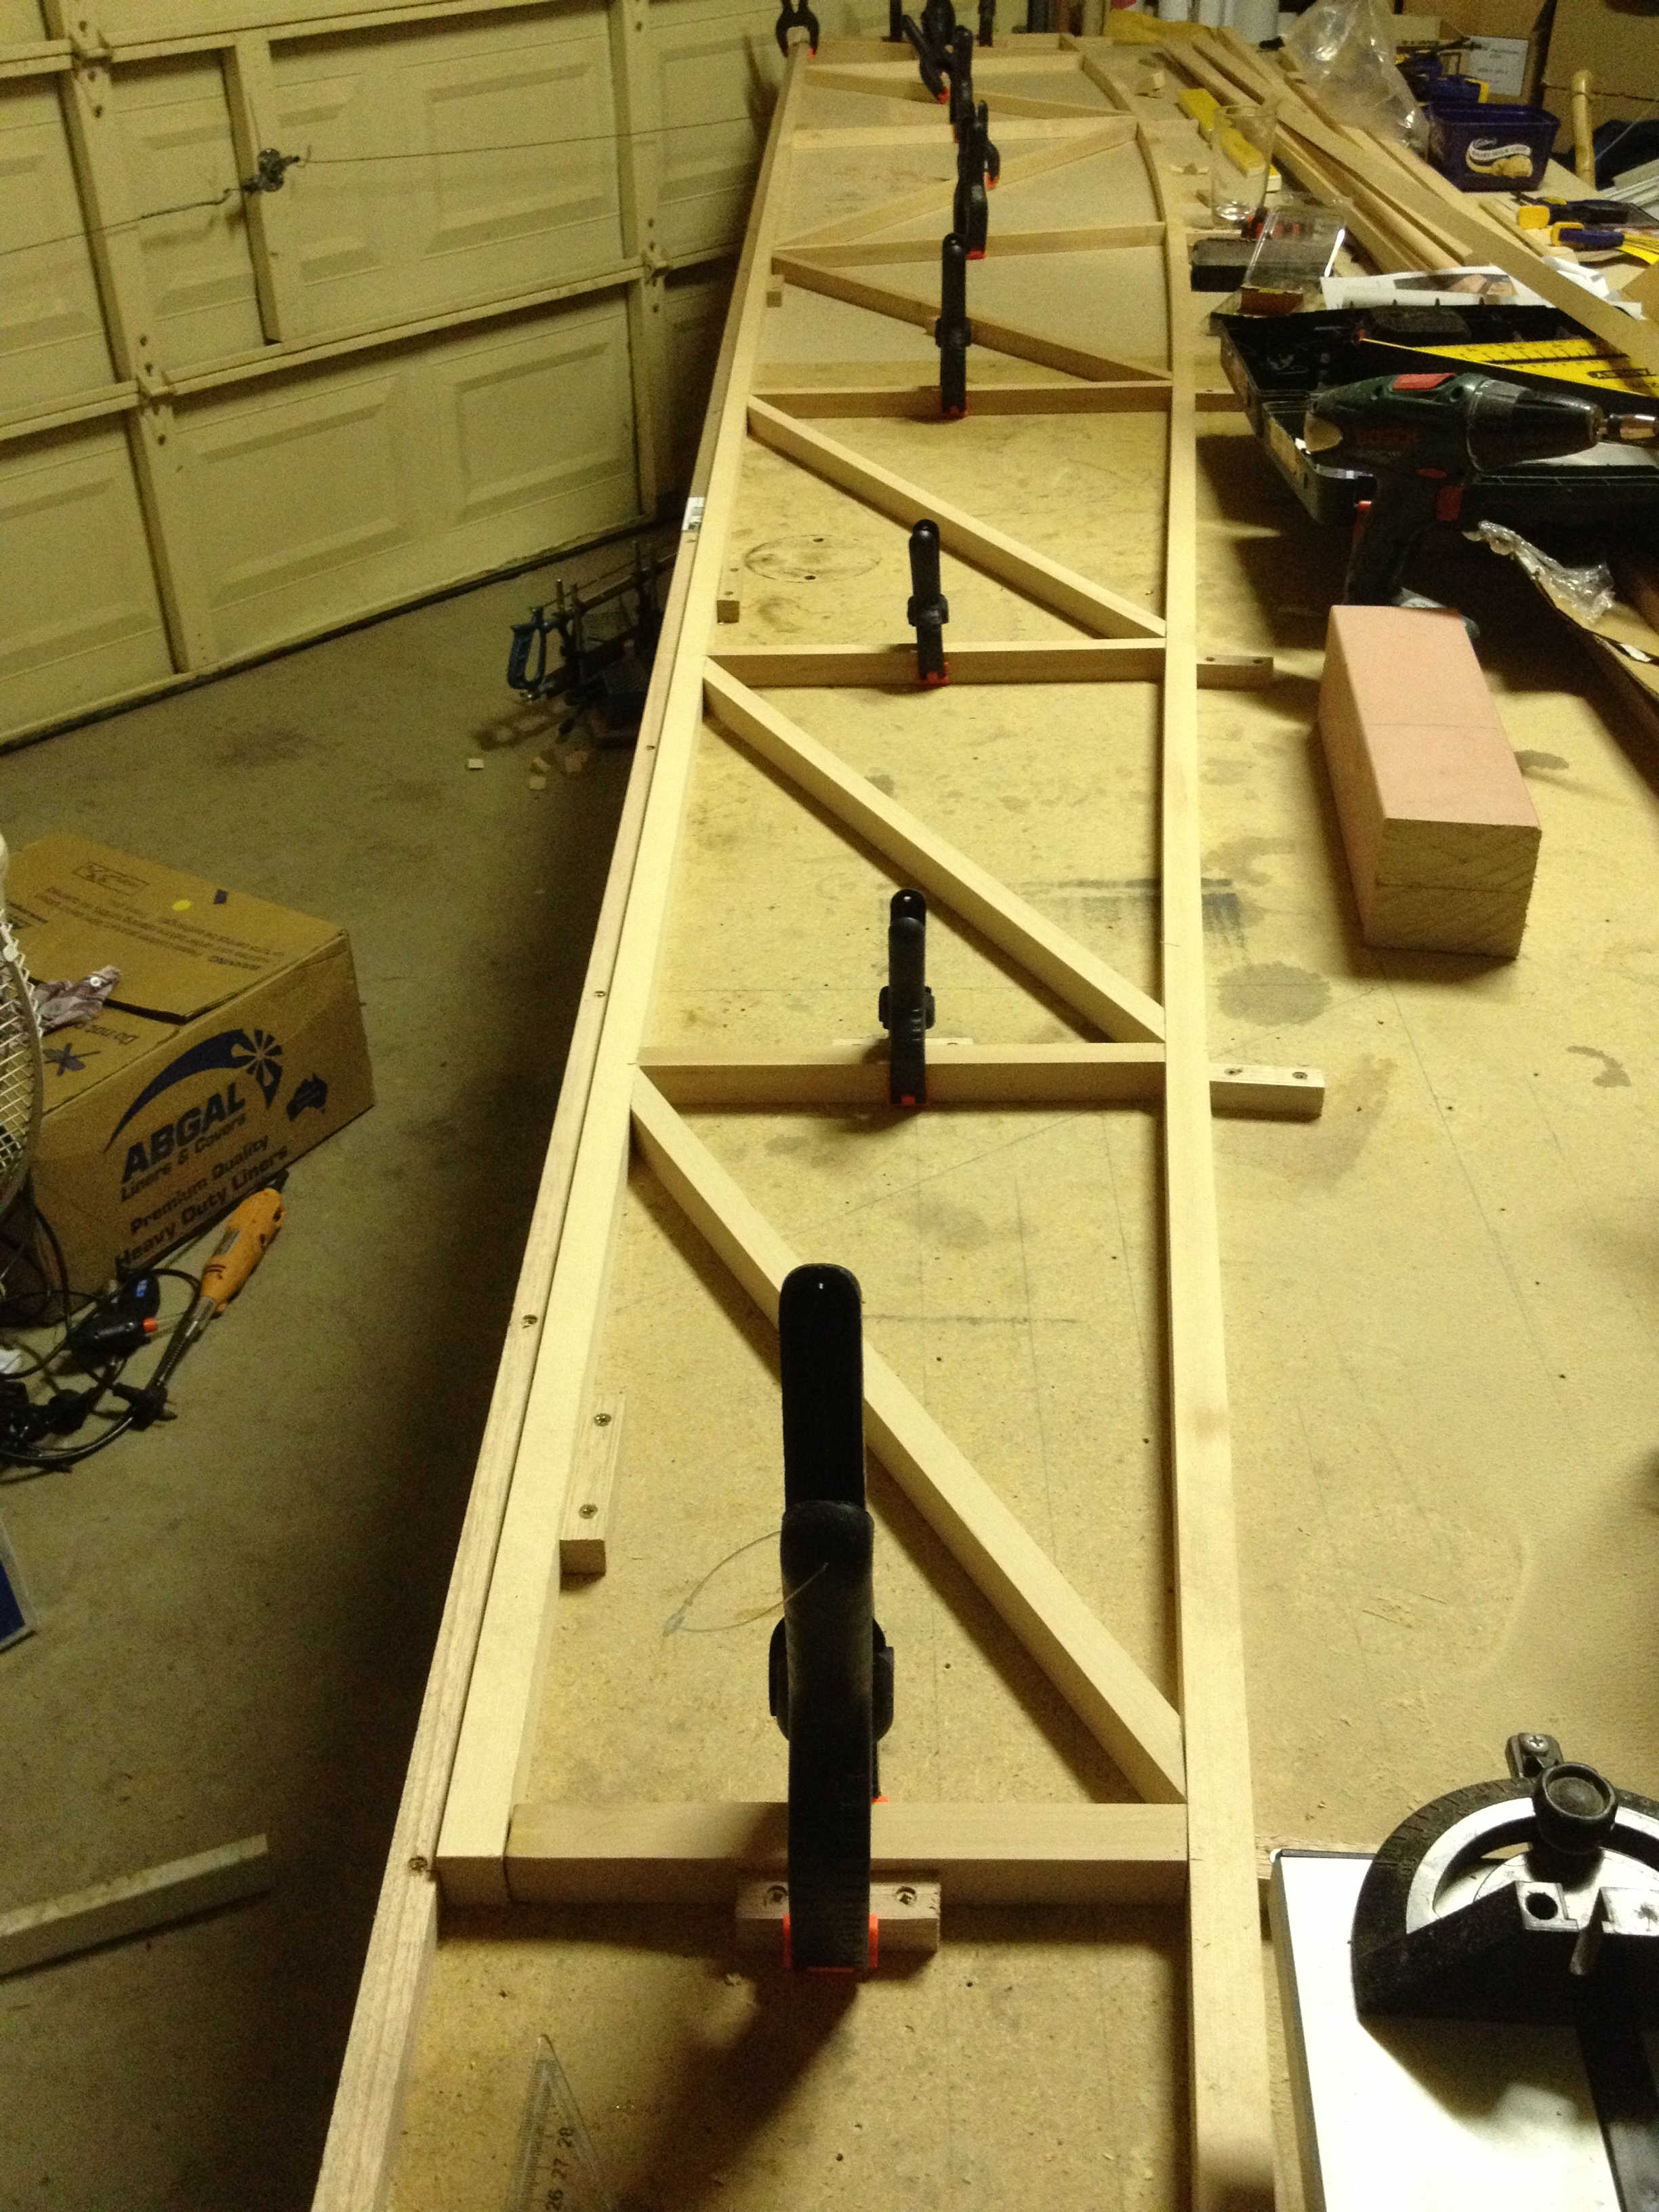
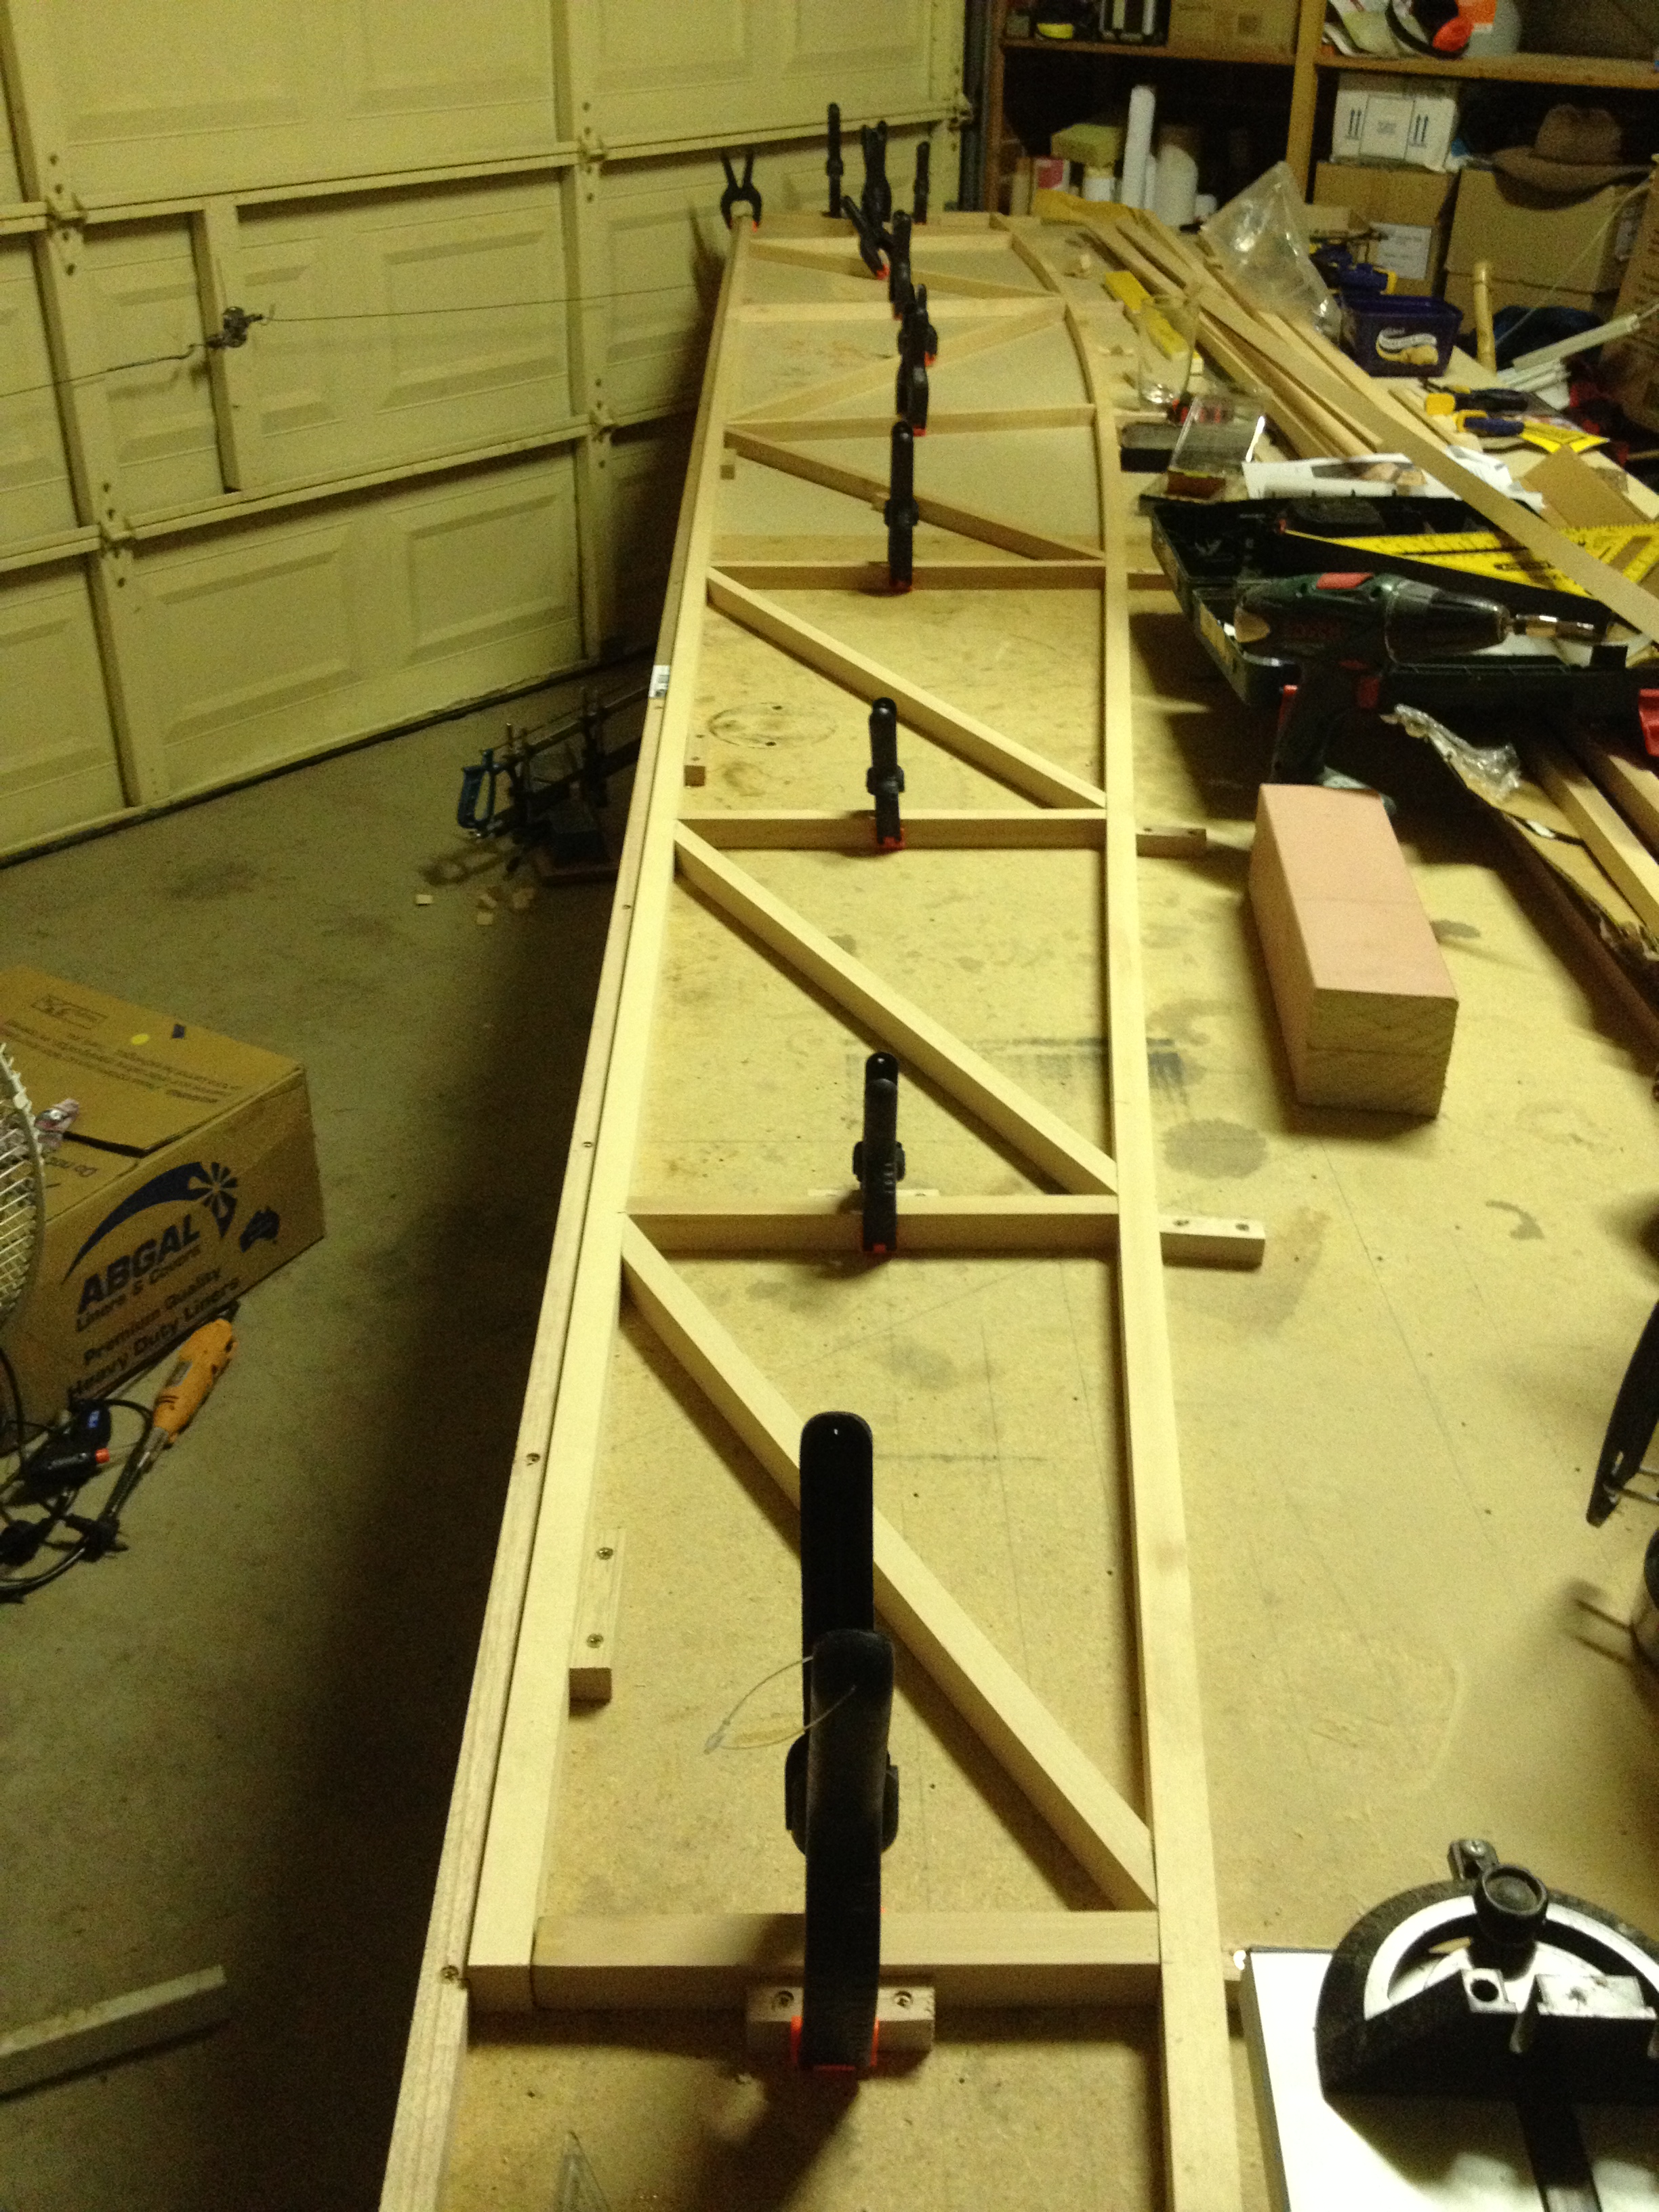
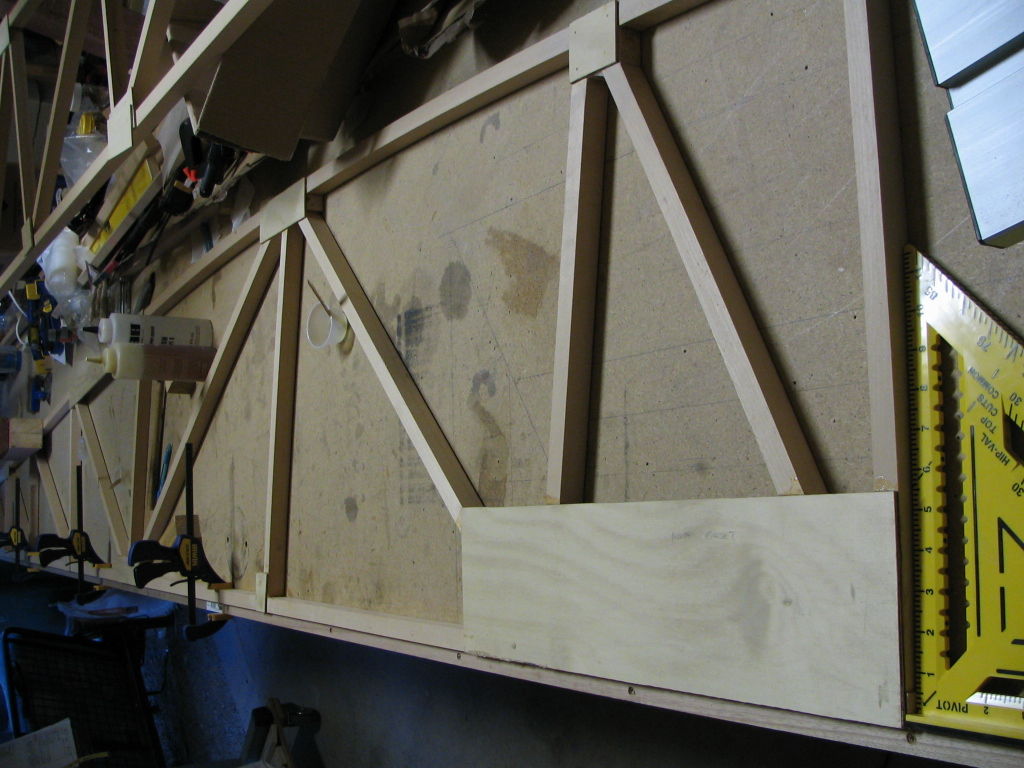
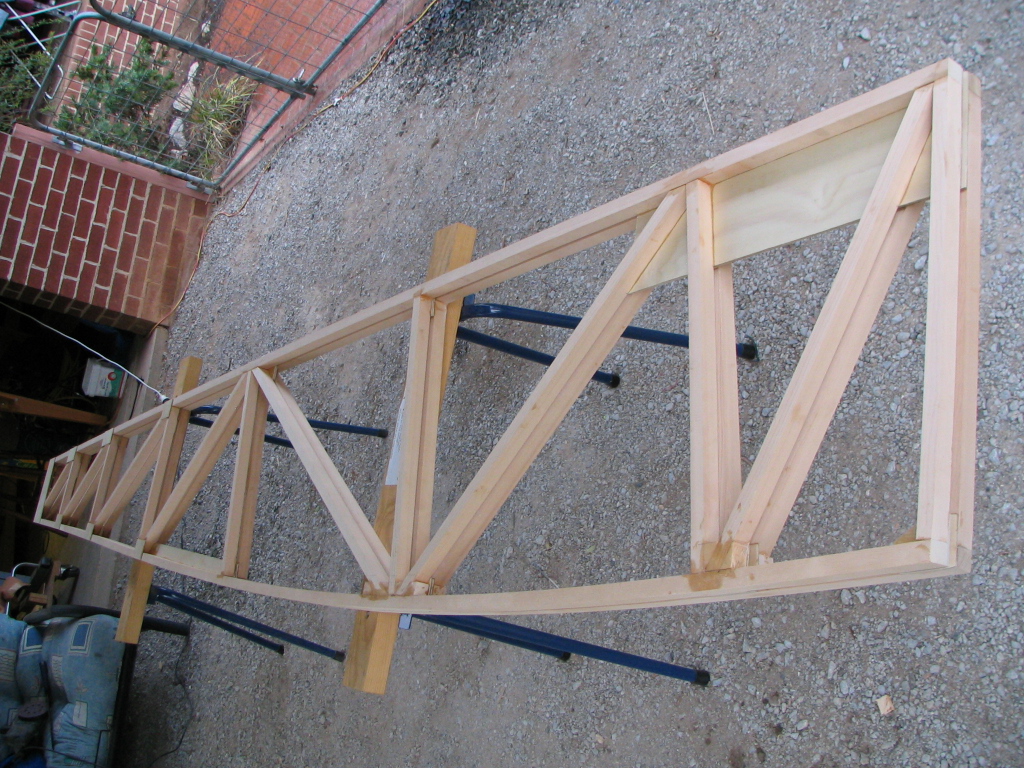
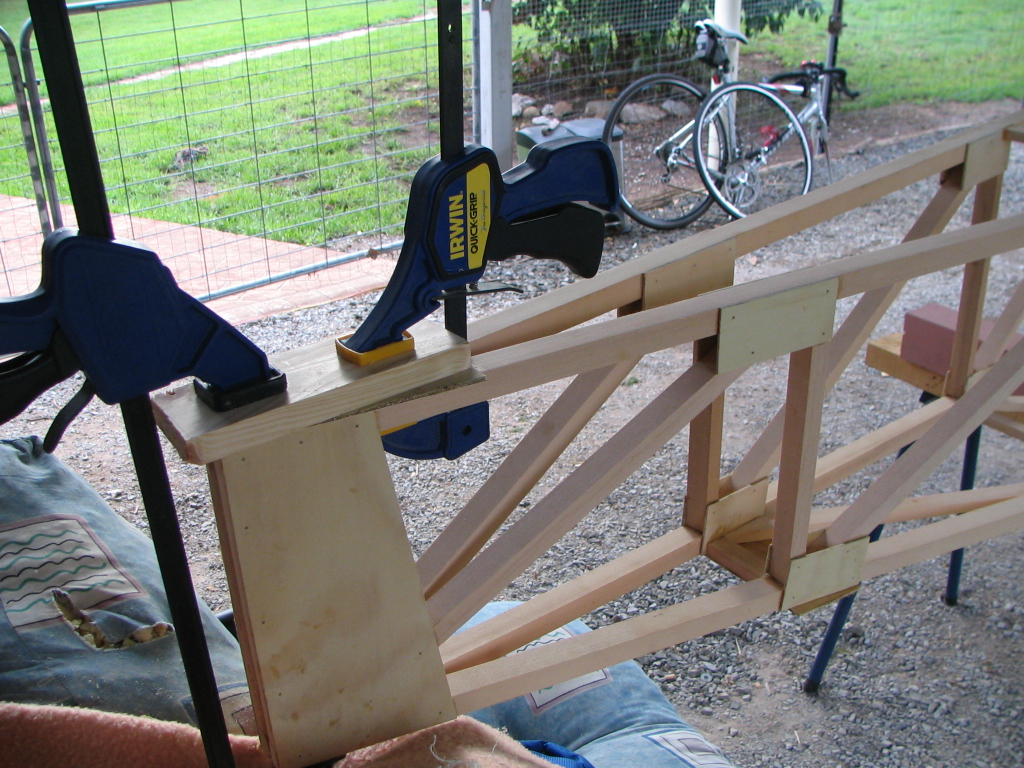
Left fuselage side is laid out ready for glue and gussets...
.JPG)
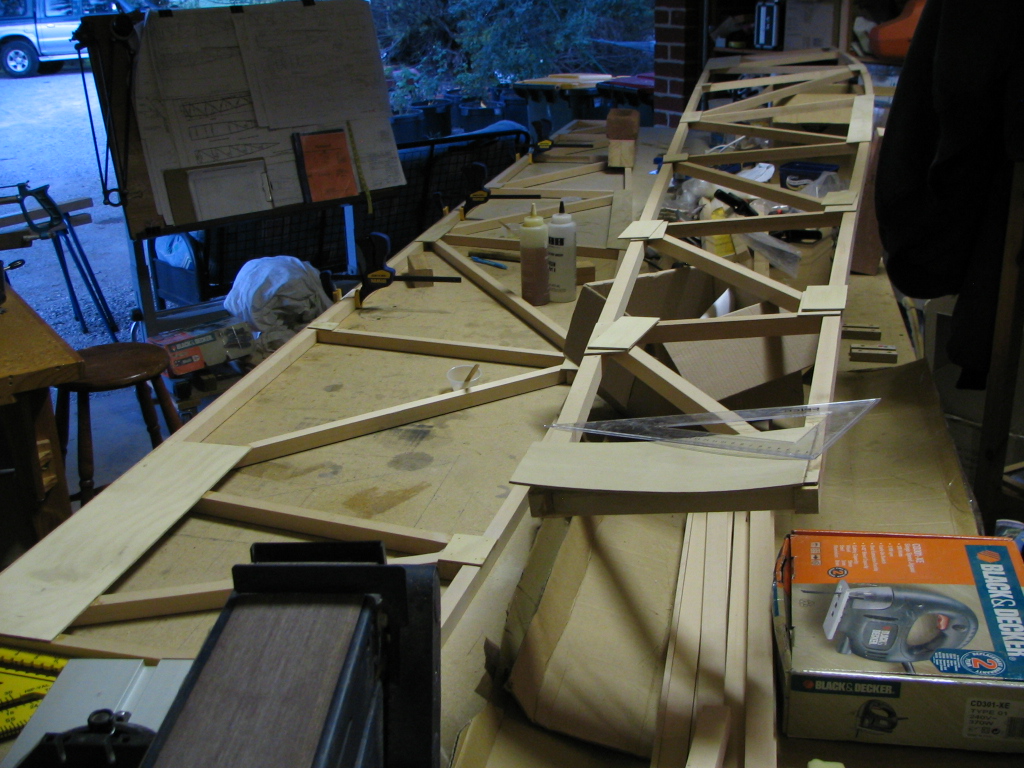
Right fuselage side is laid out, glued and gussets nailed... The left fuselage side is sitting on top too!
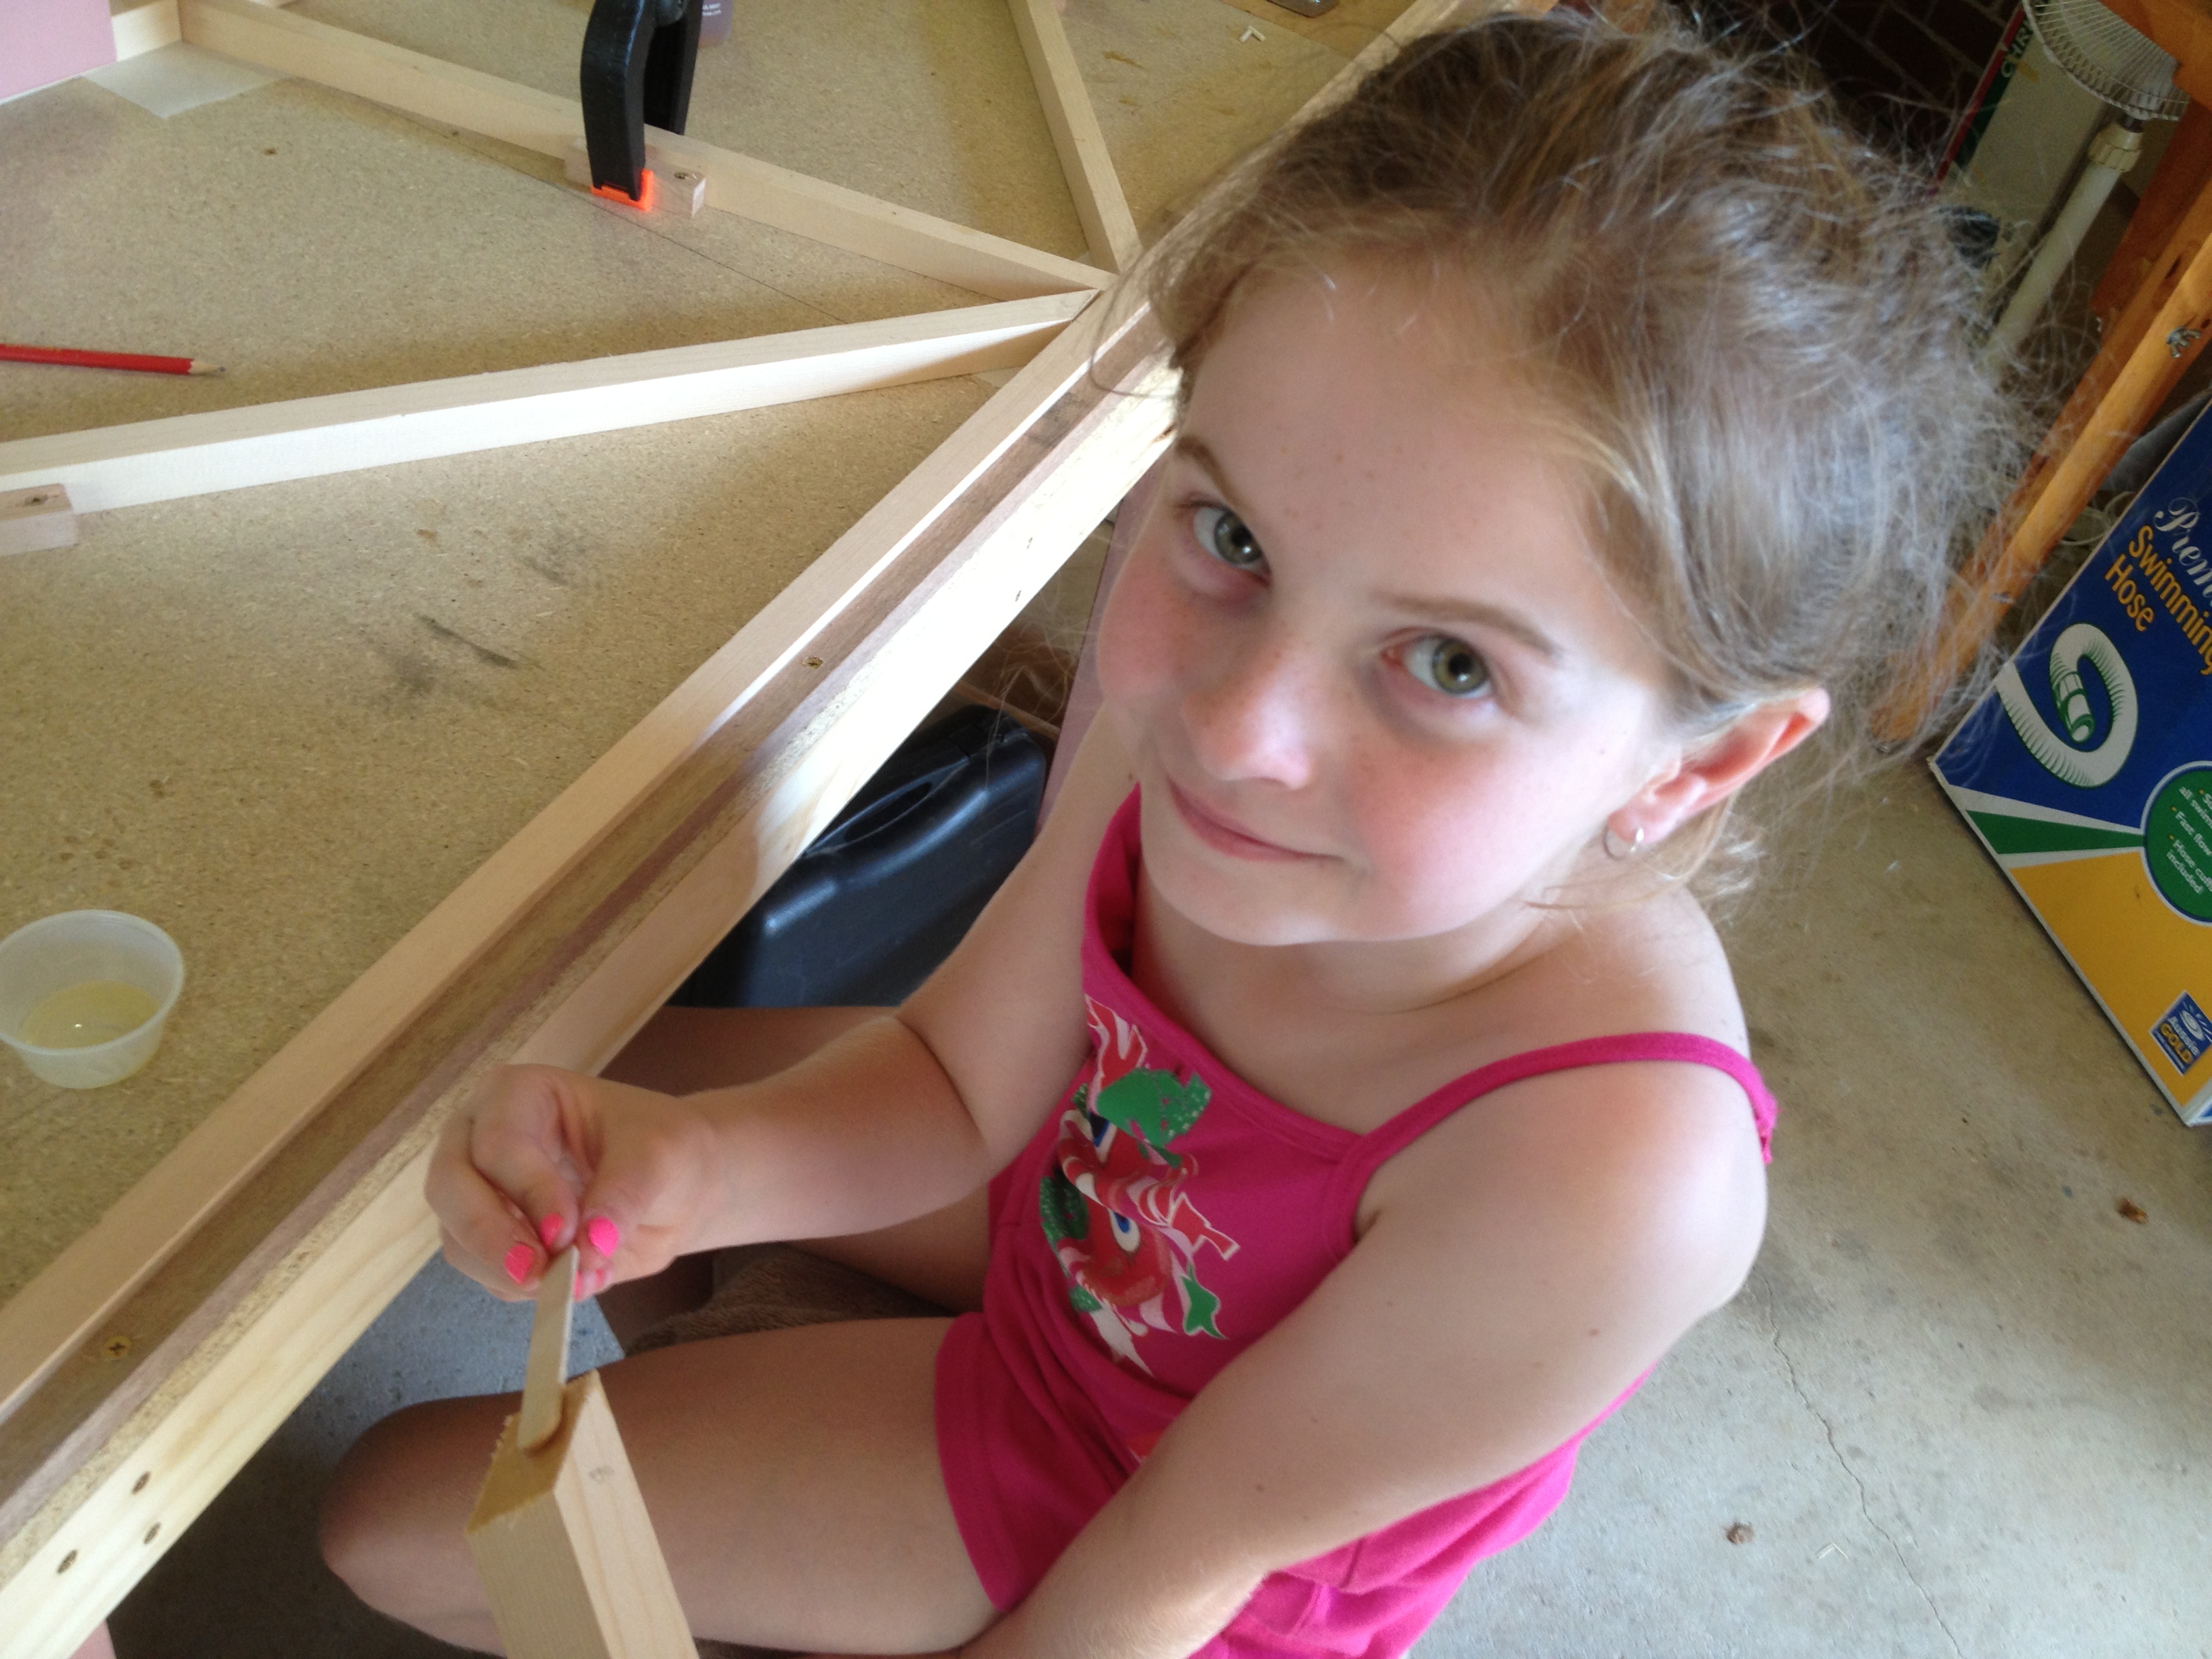
Miss 8 year old likes helping with the glueing!
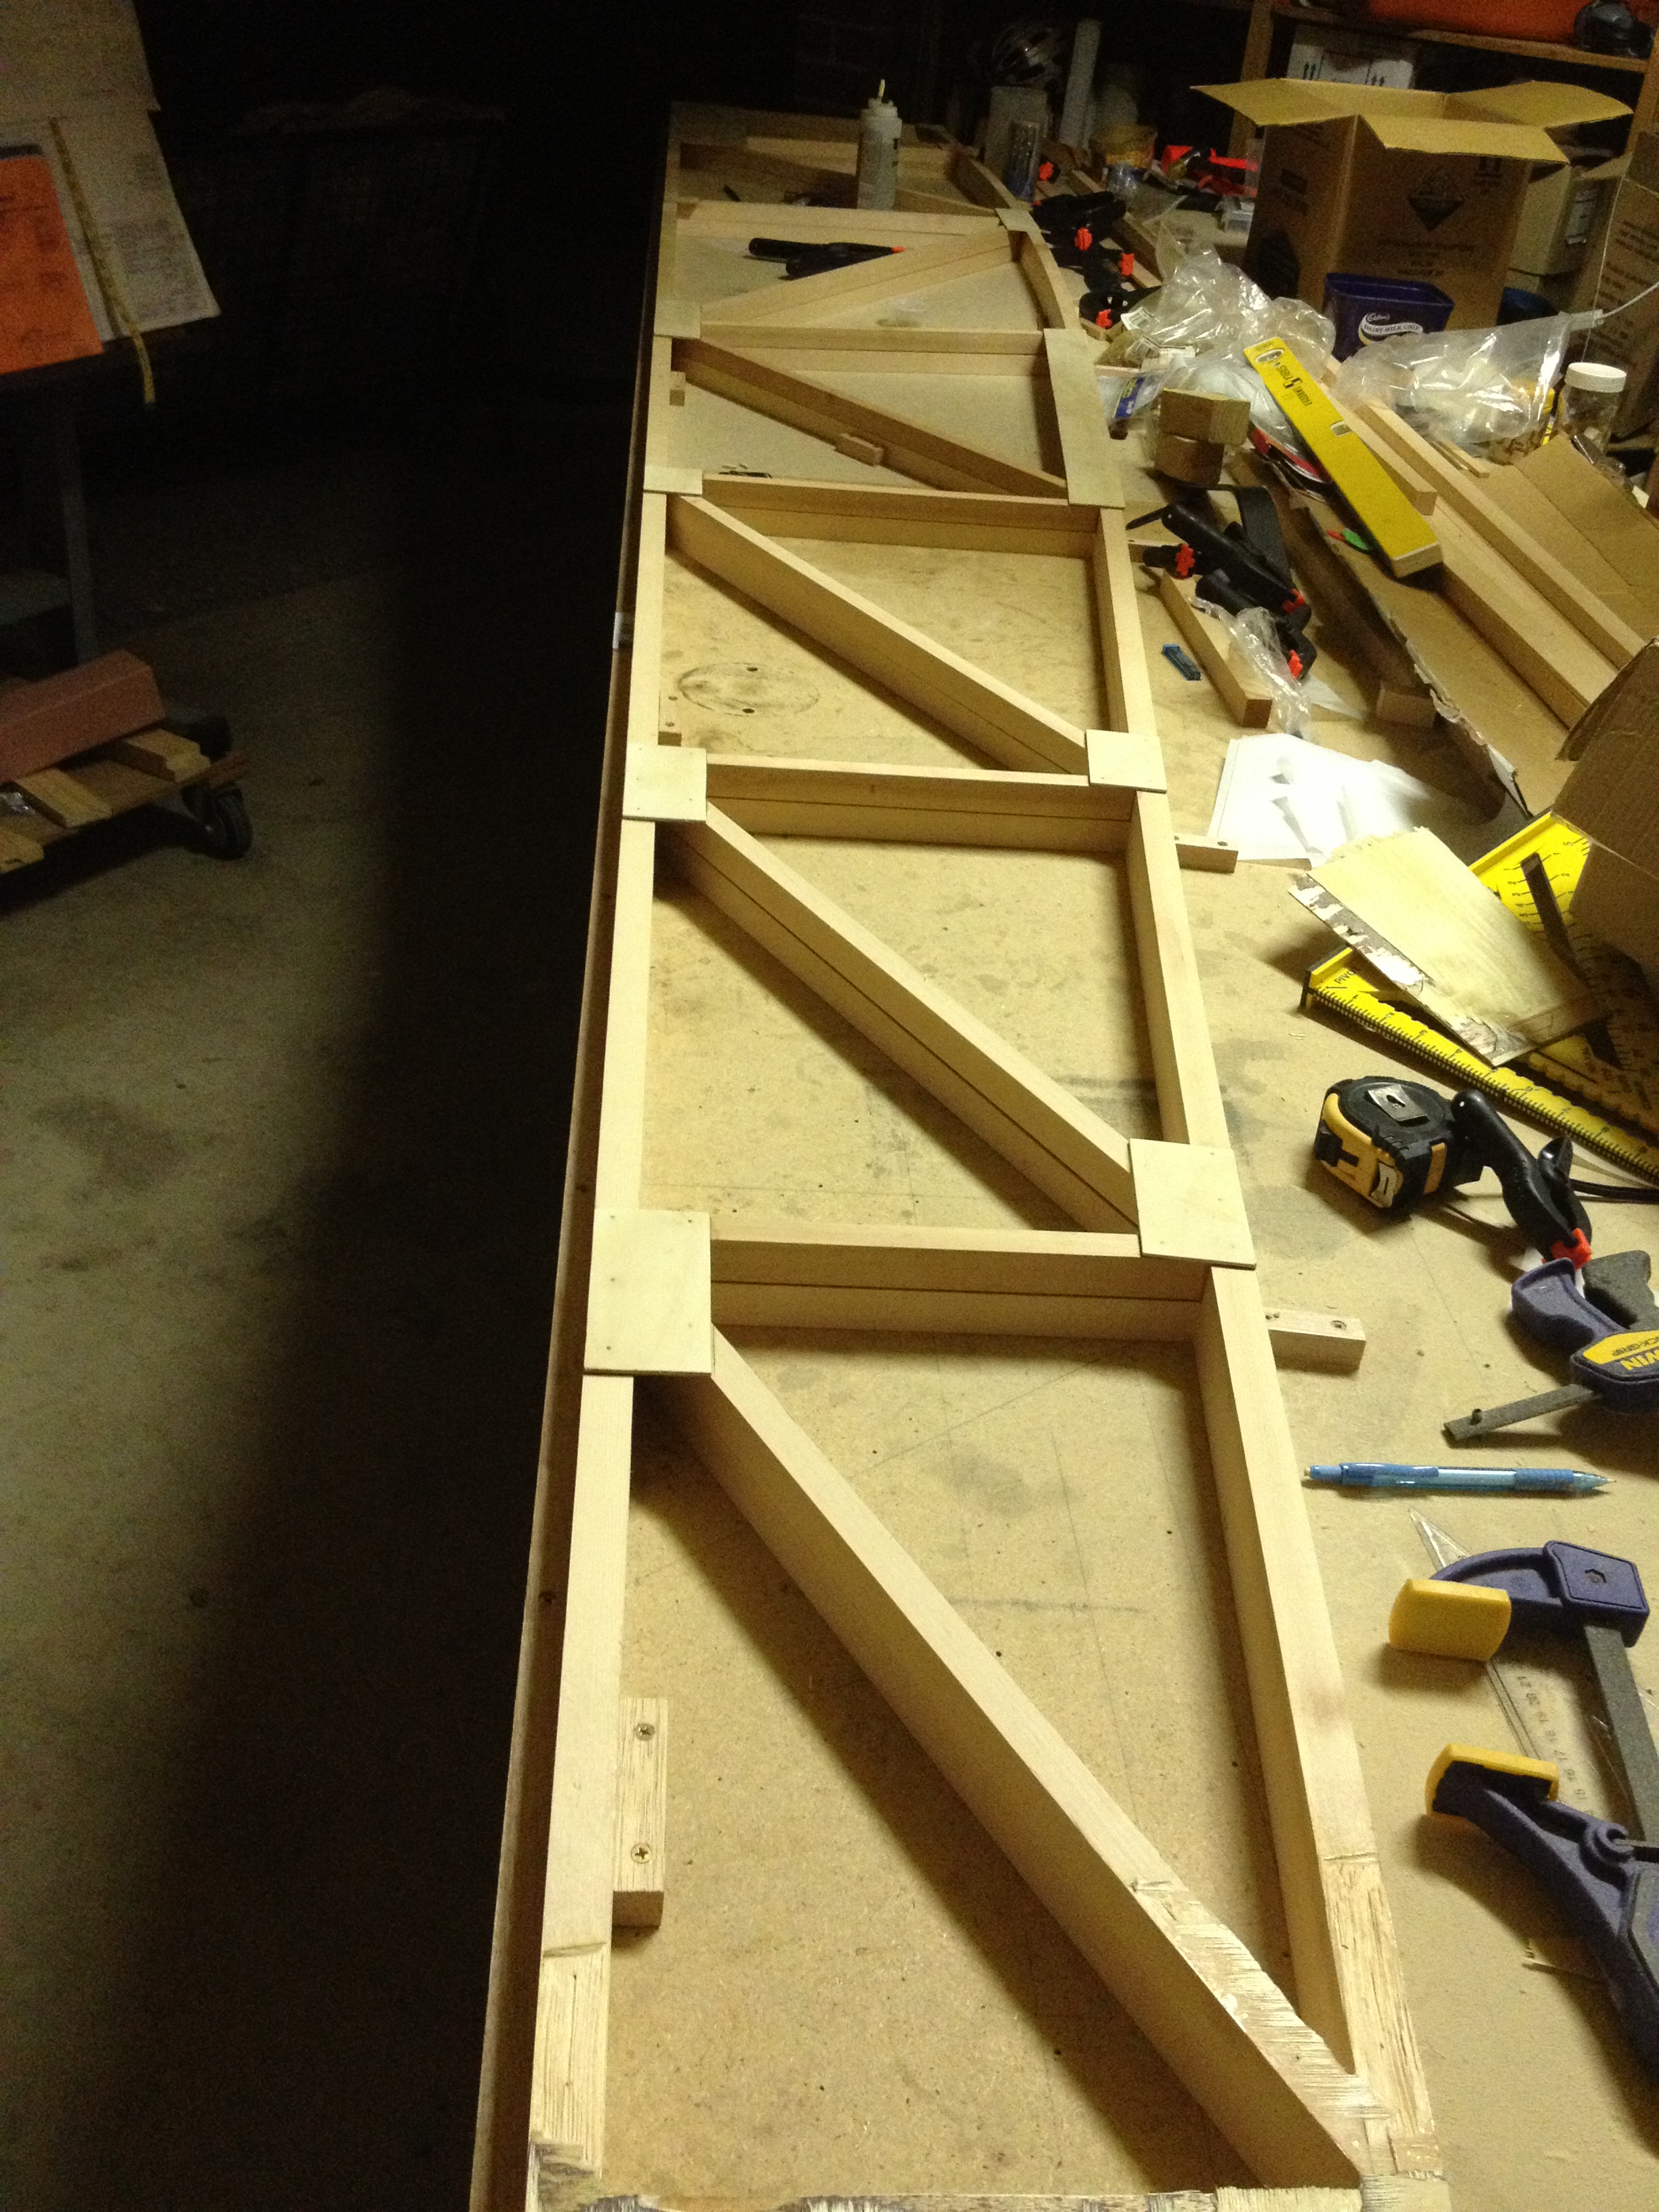
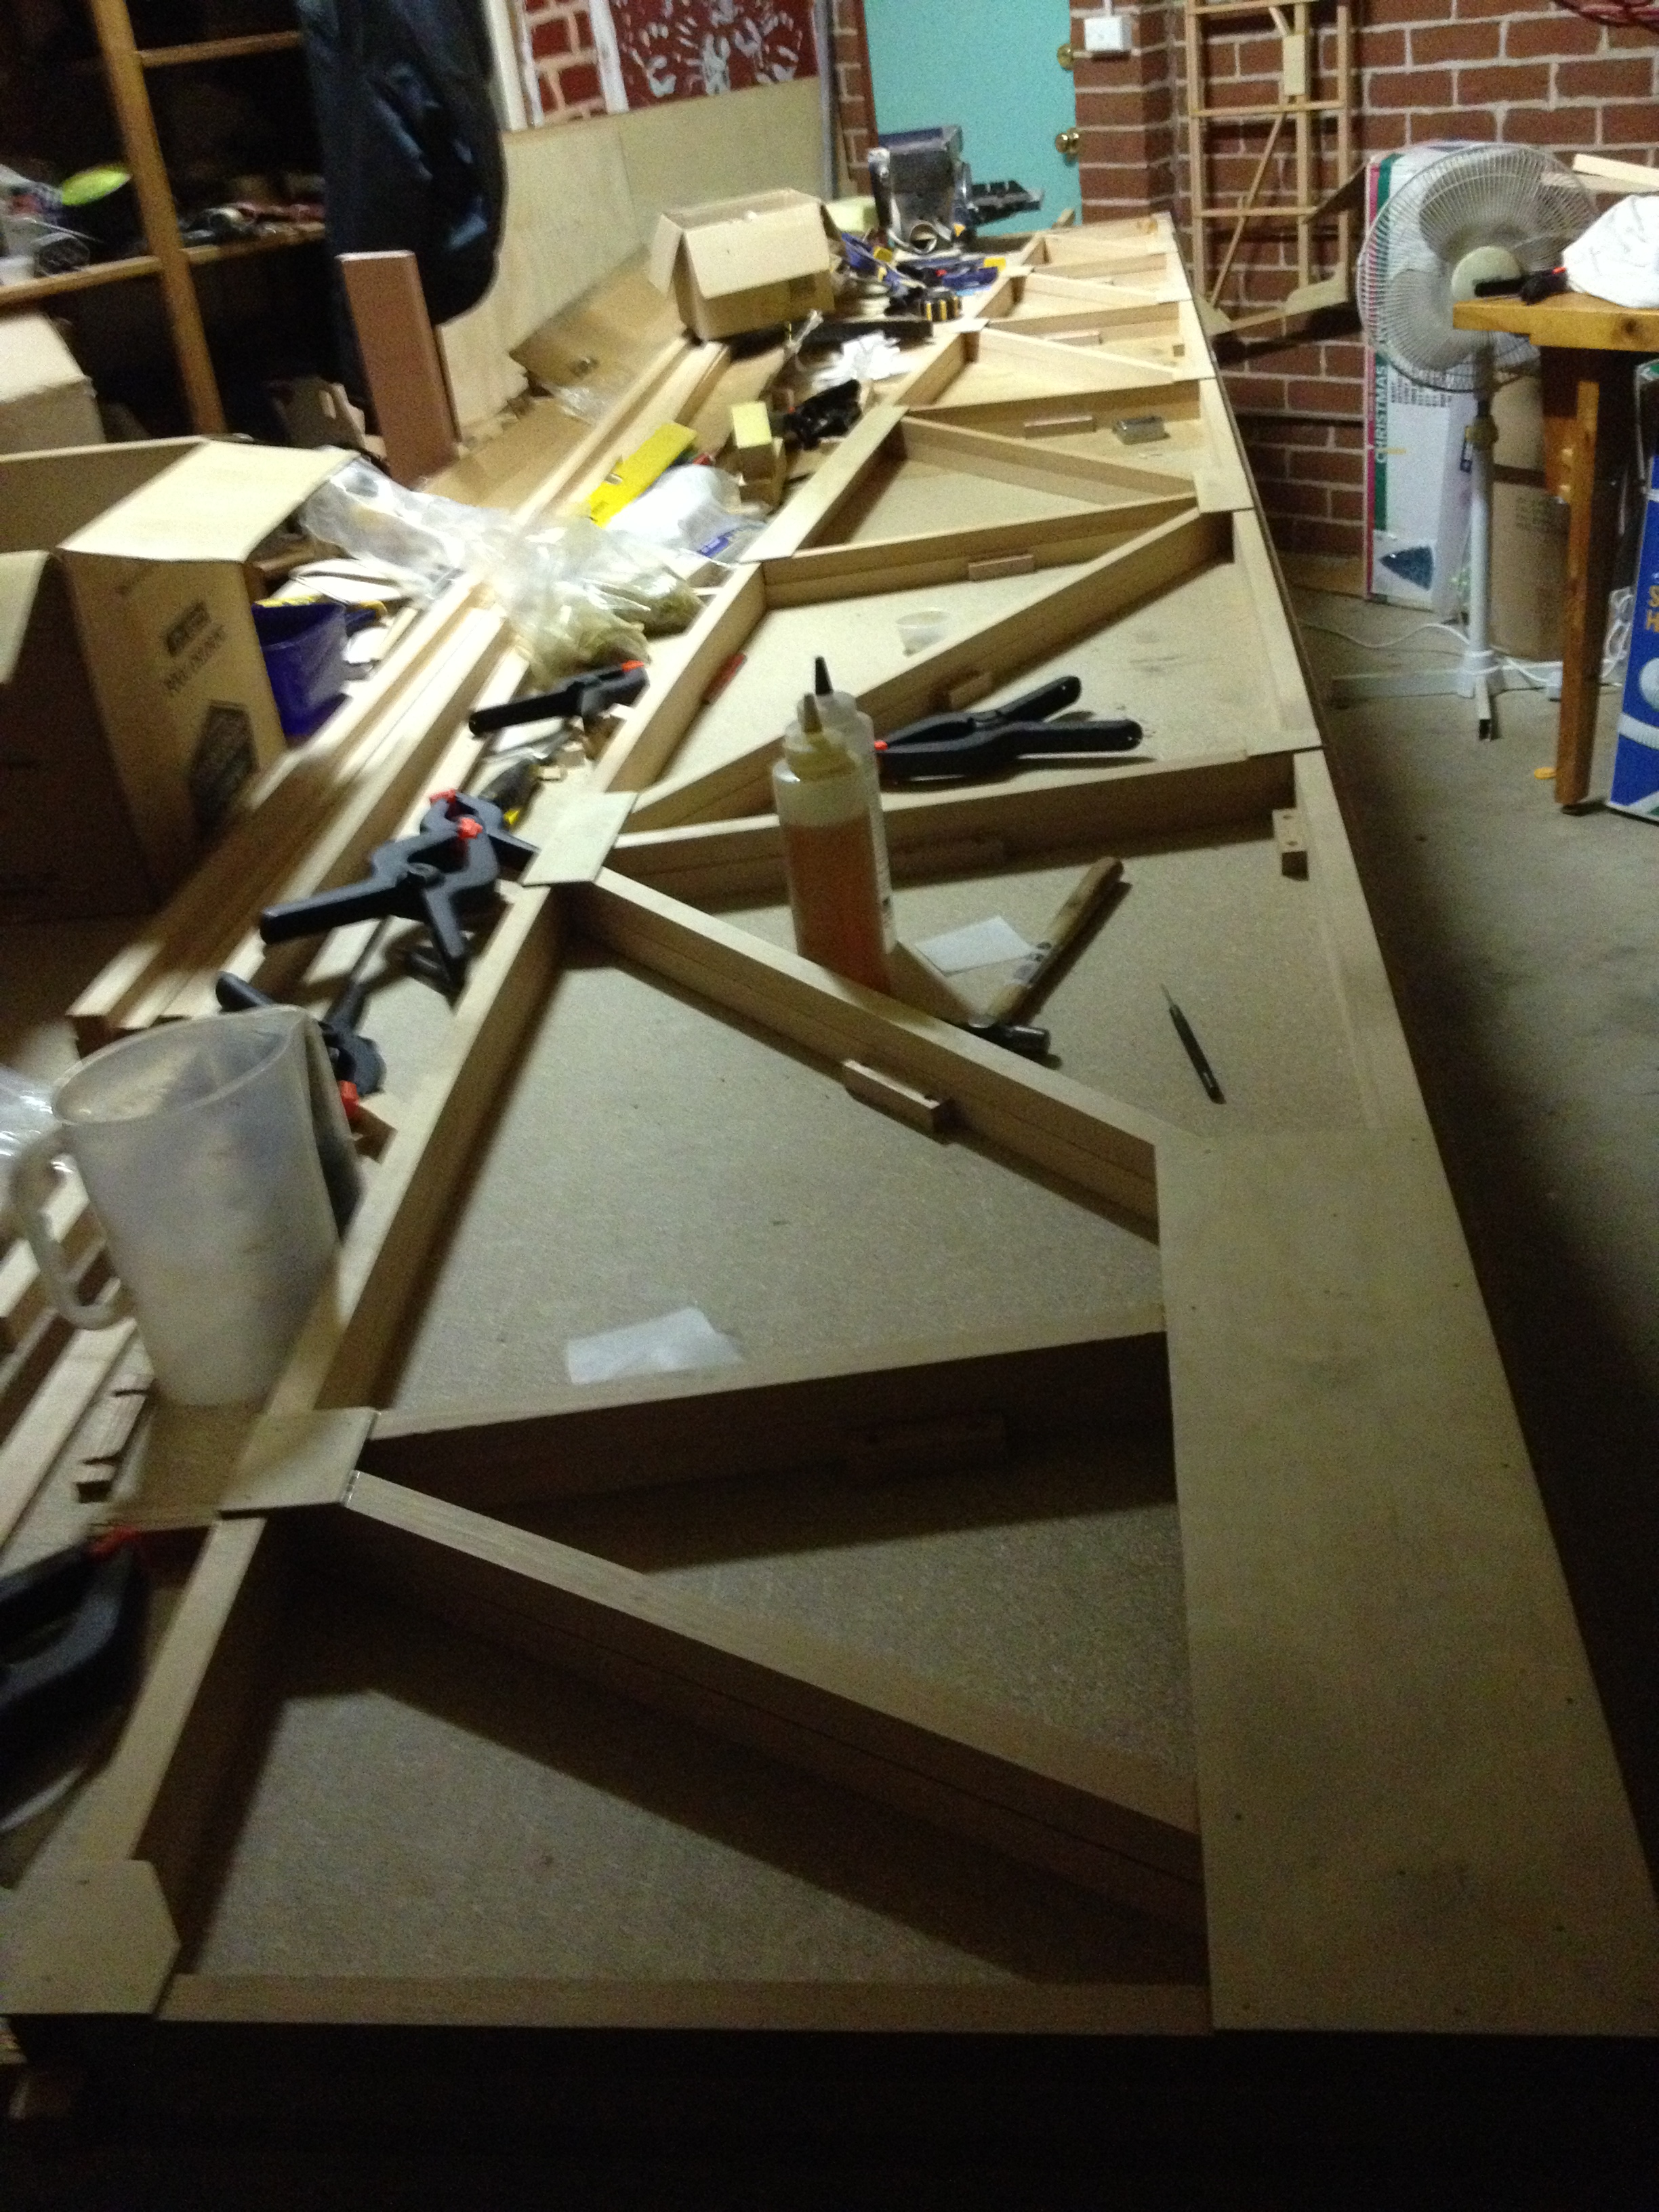
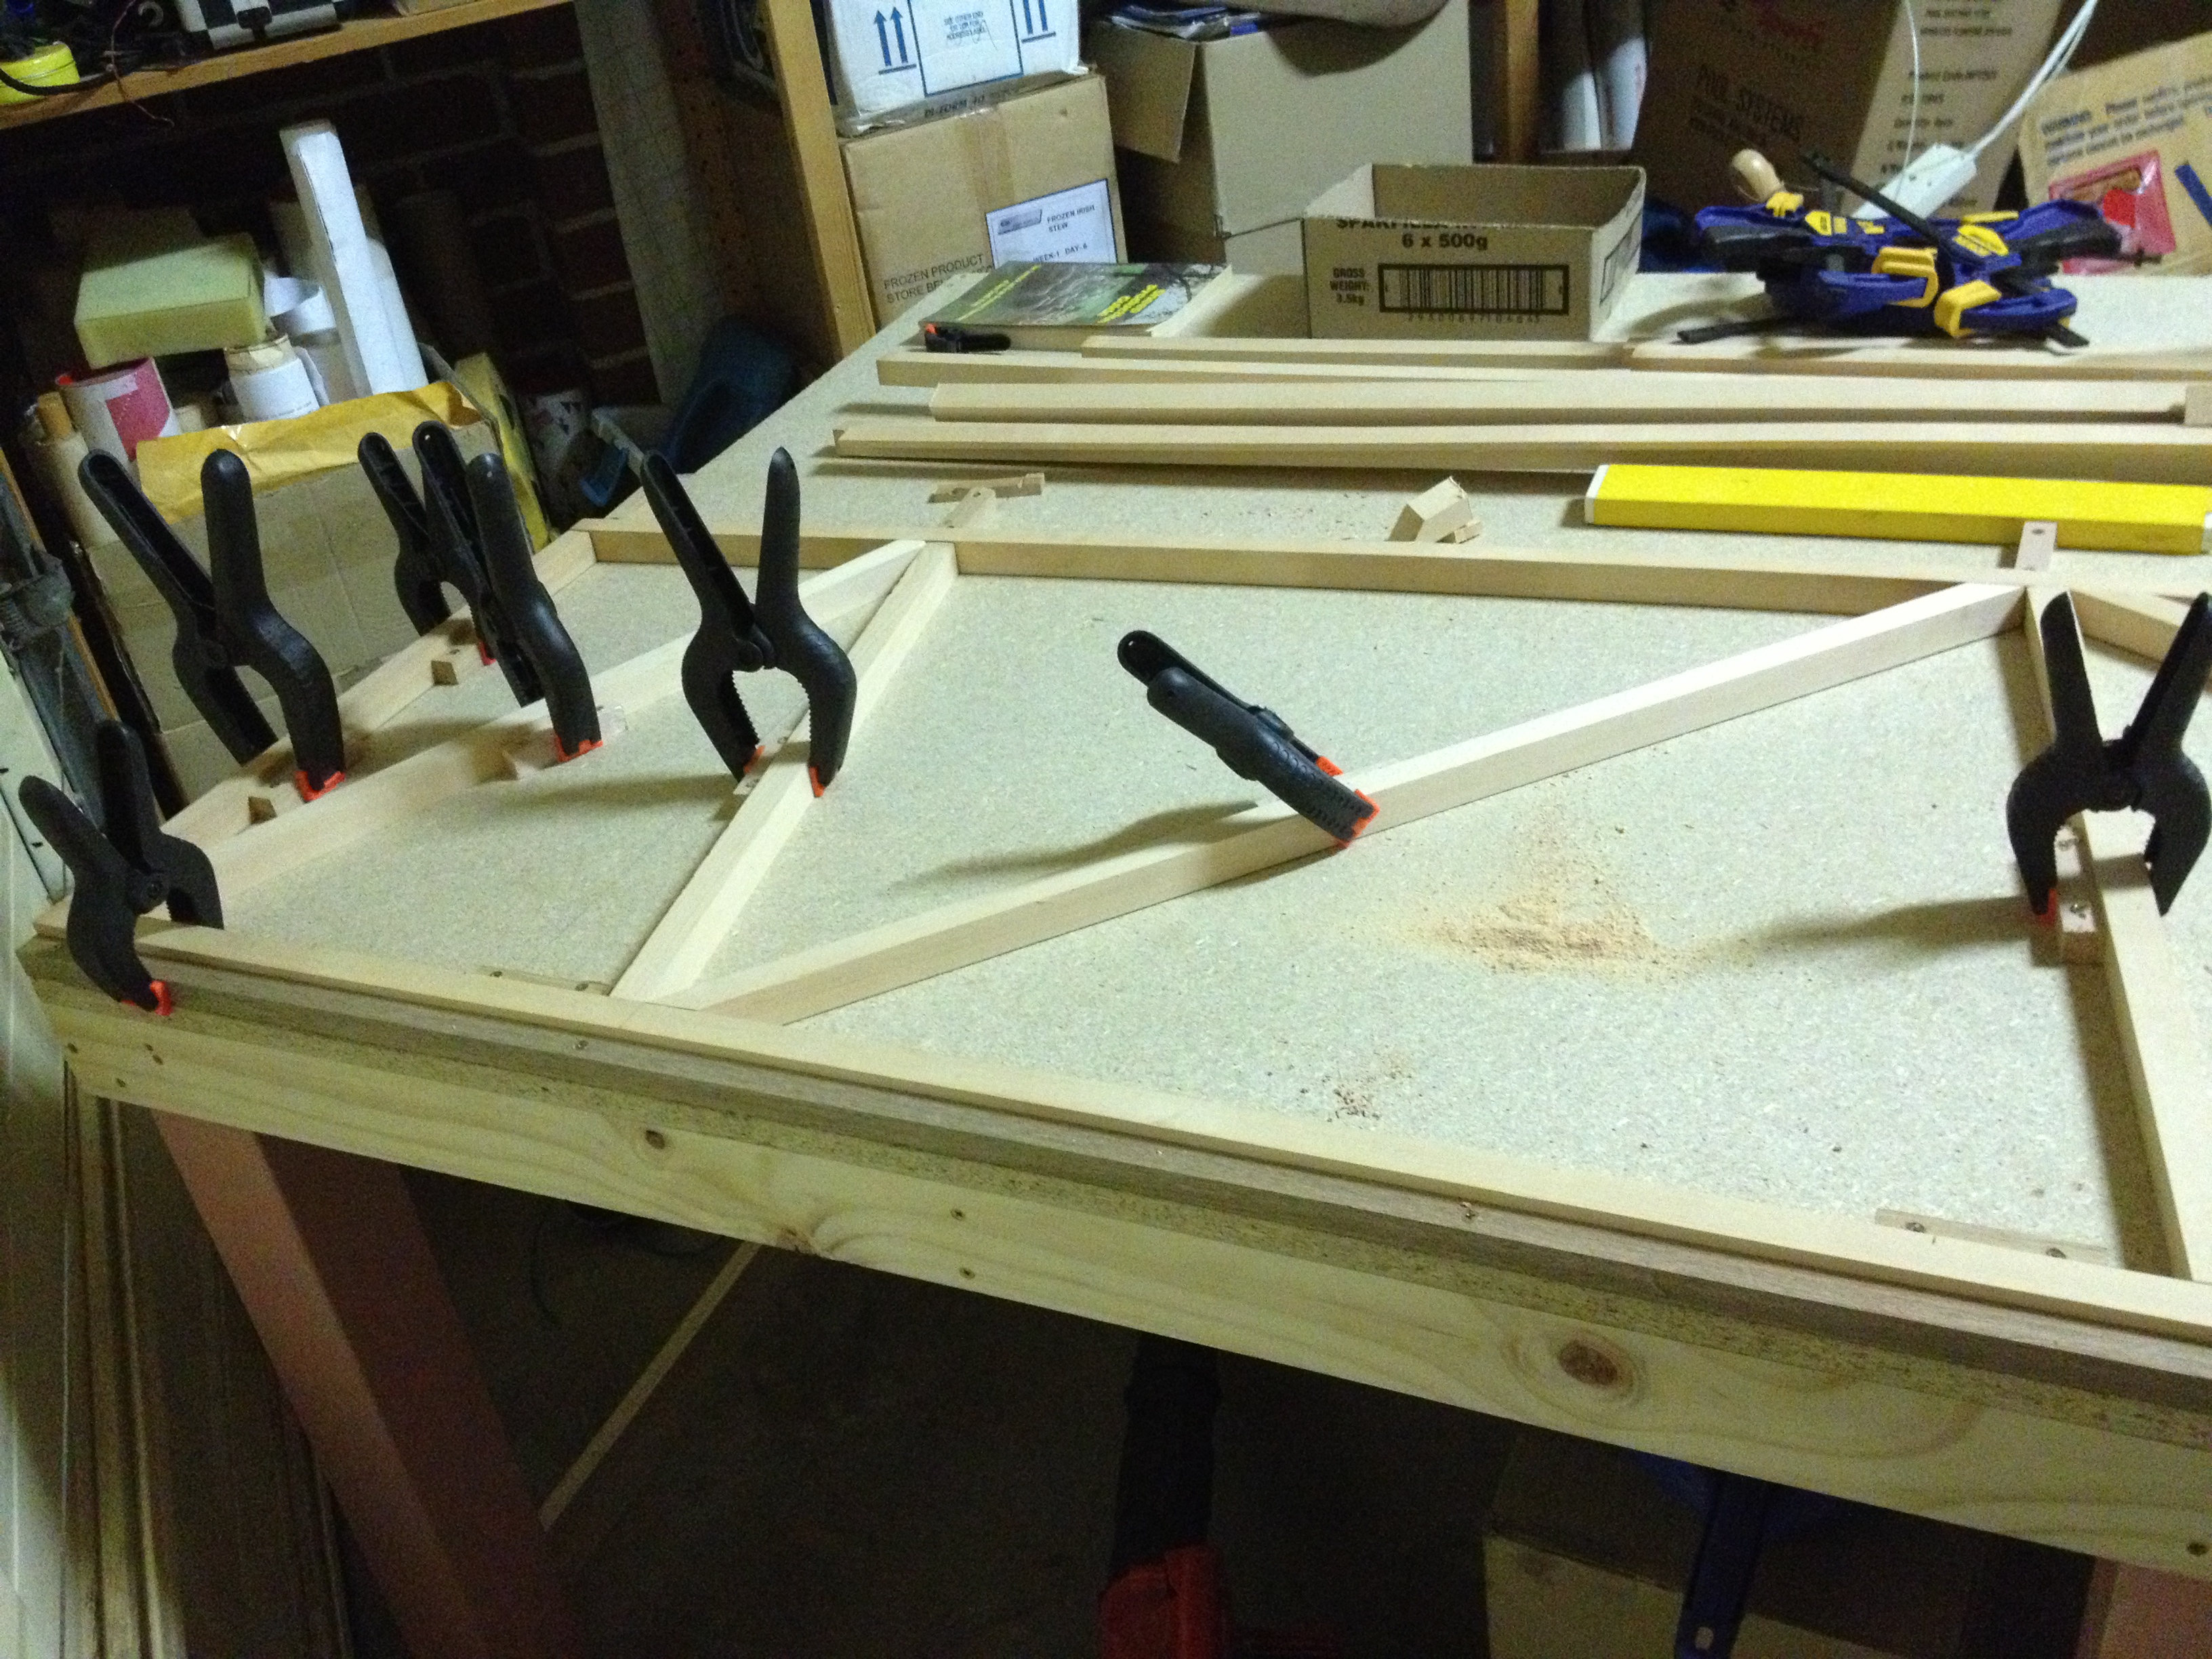
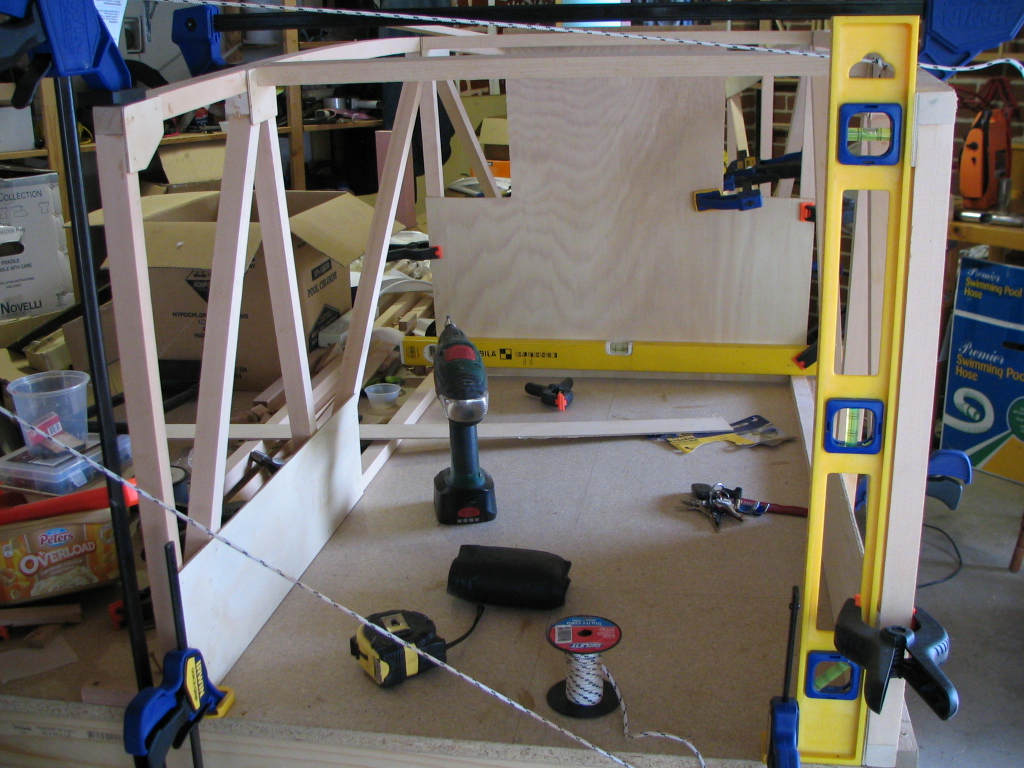
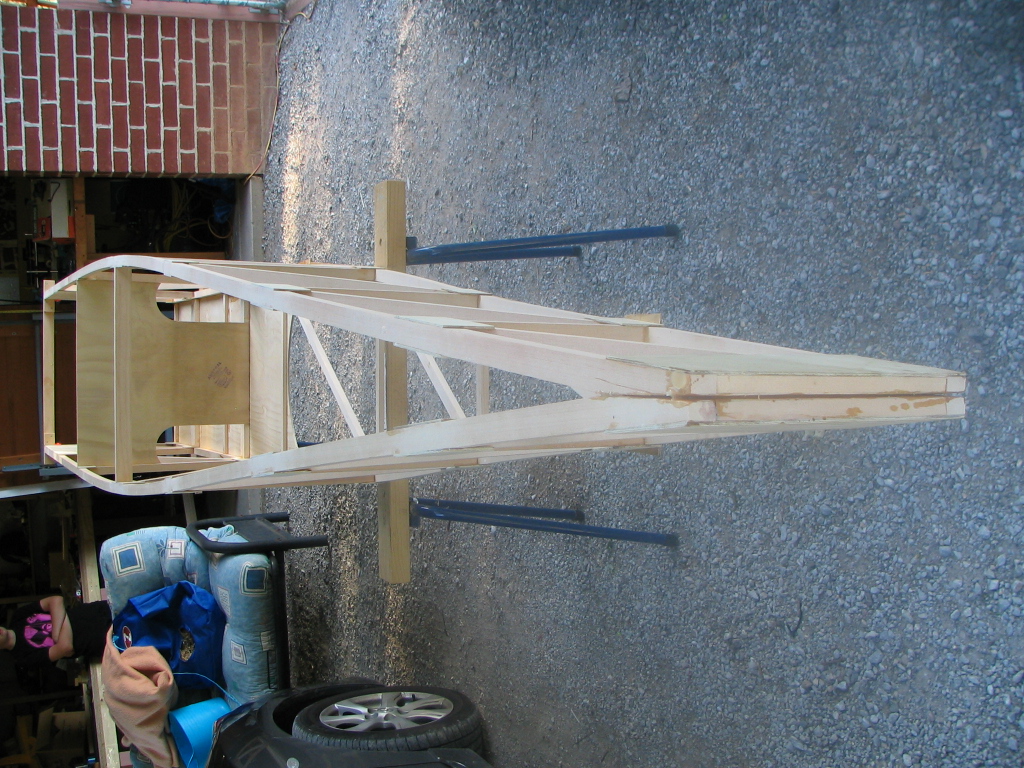
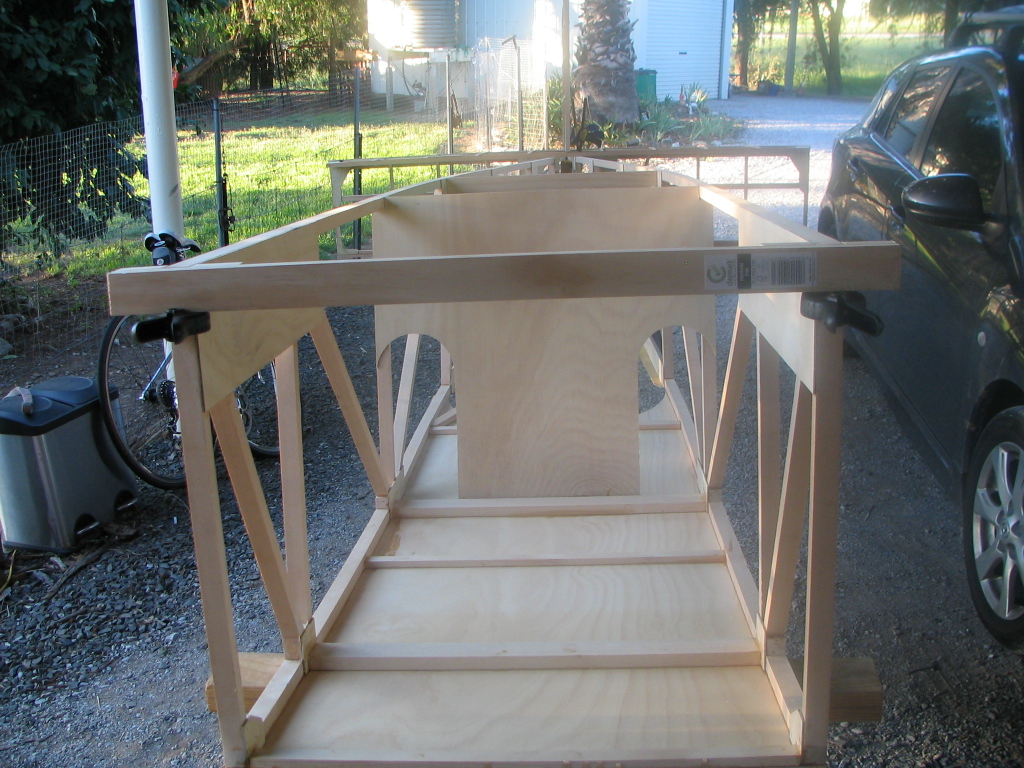
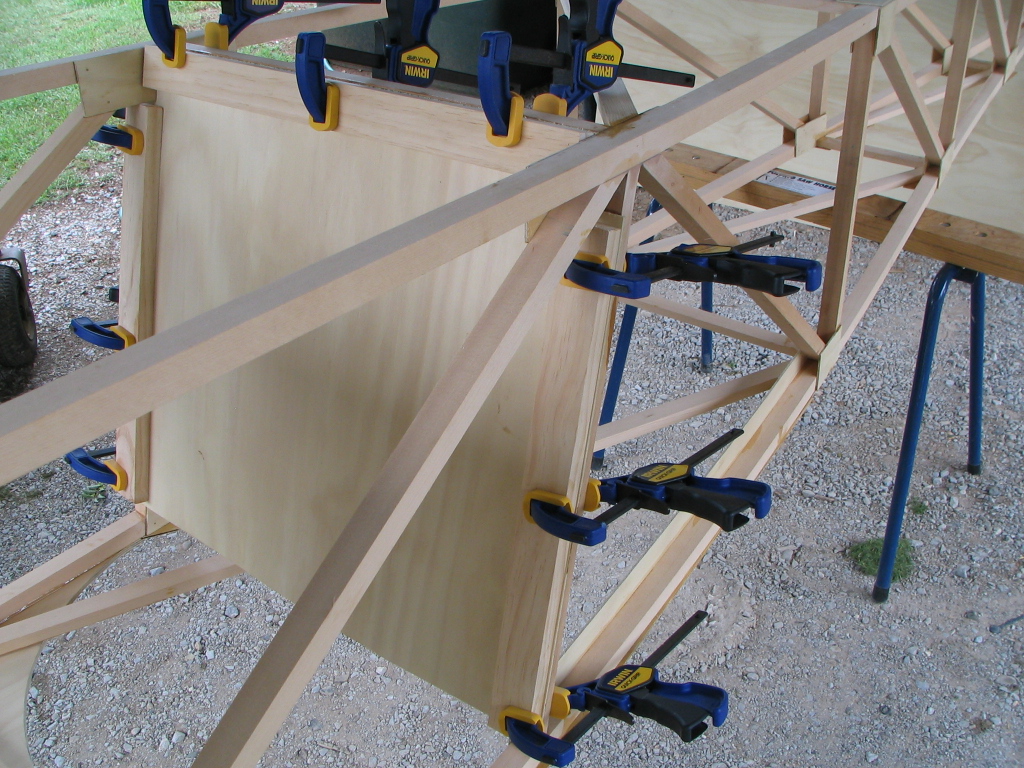
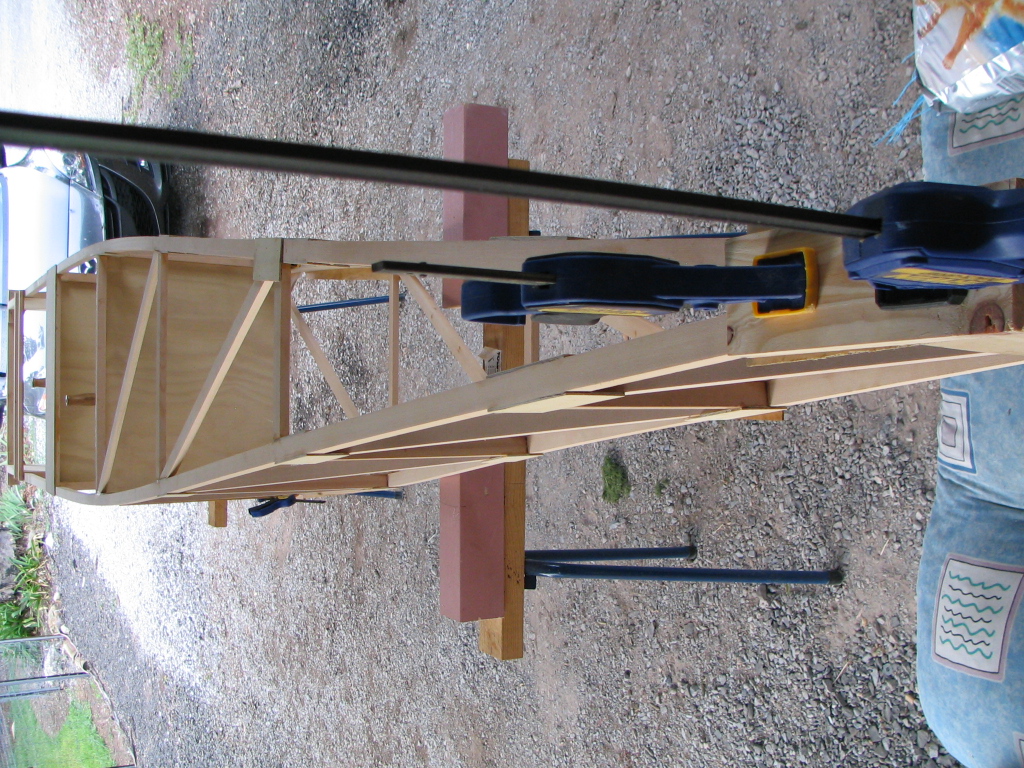
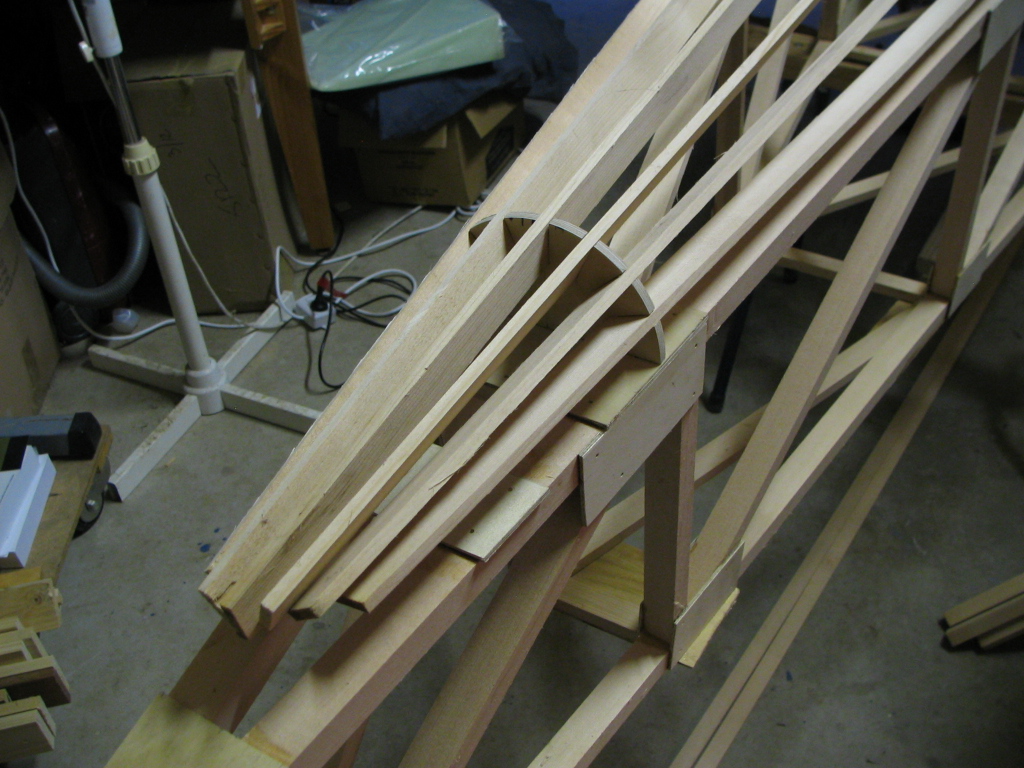
Finishing gussets and wedges and both sides finished. Getting ready to stand them up and join them...
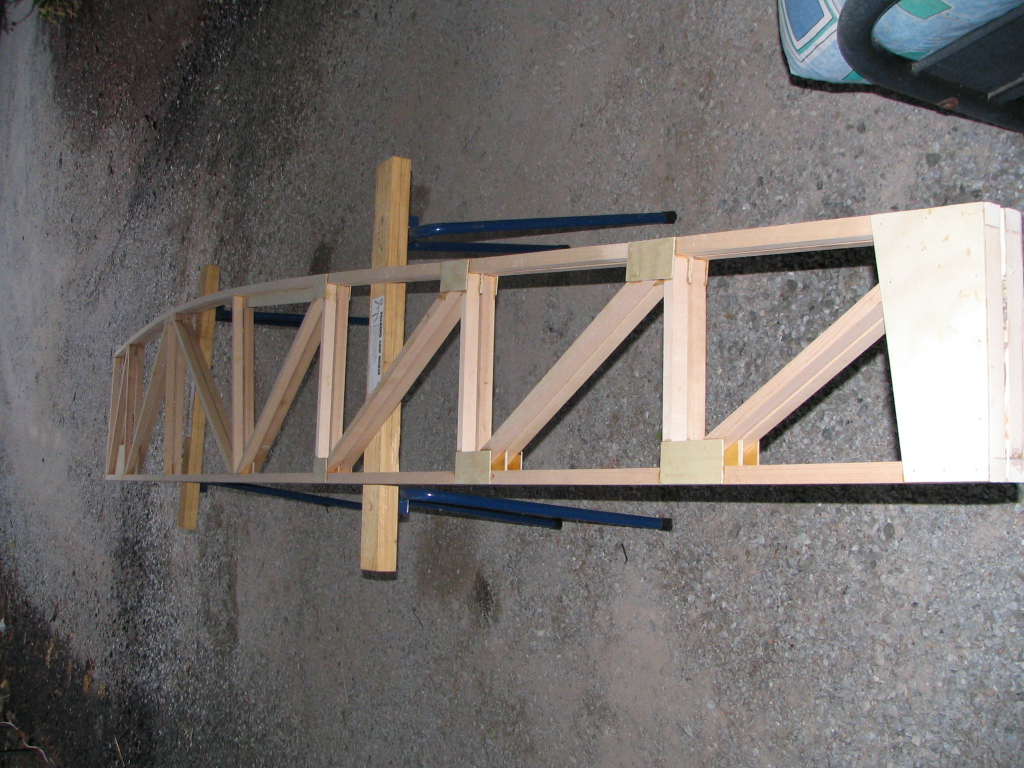
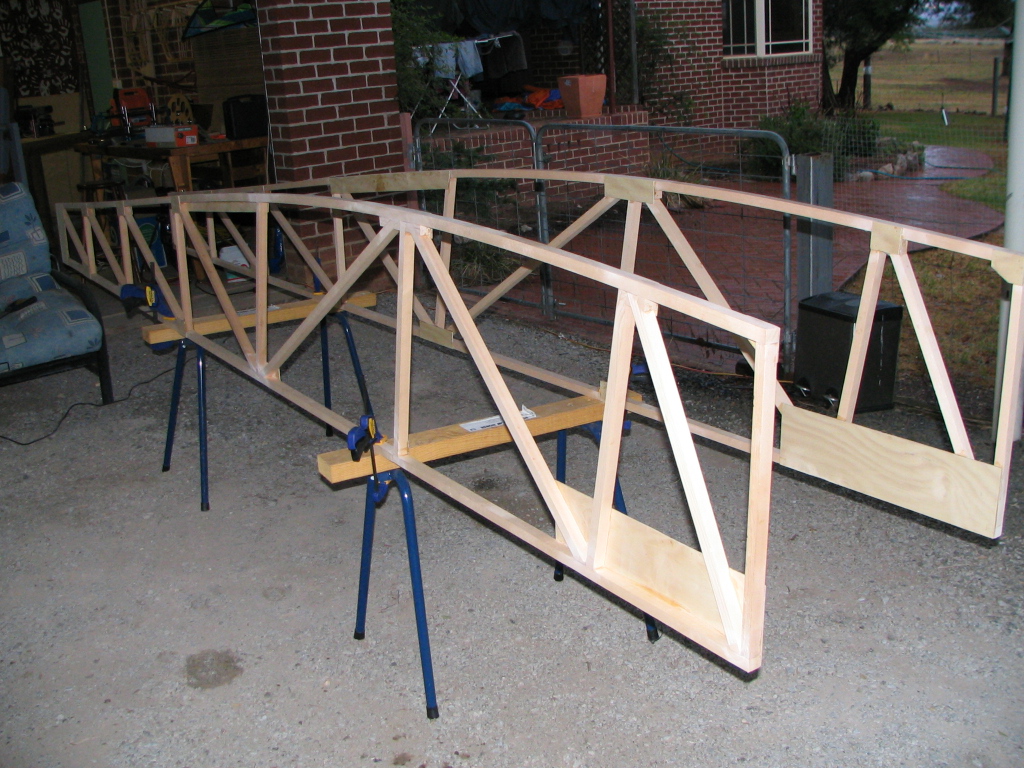
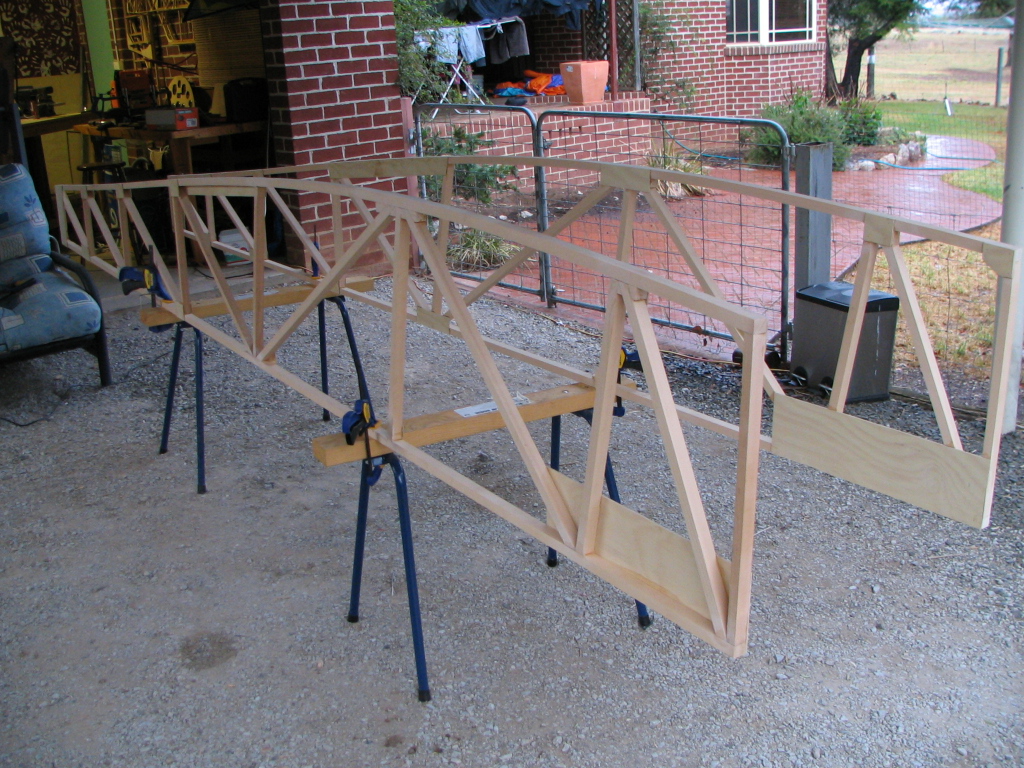
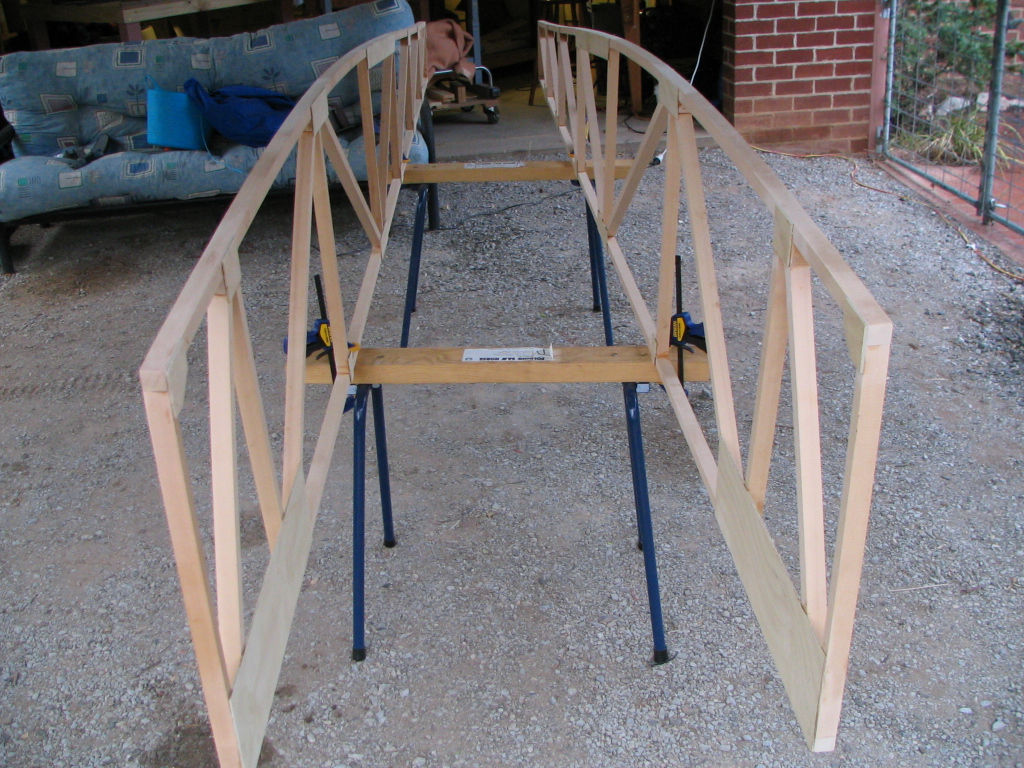
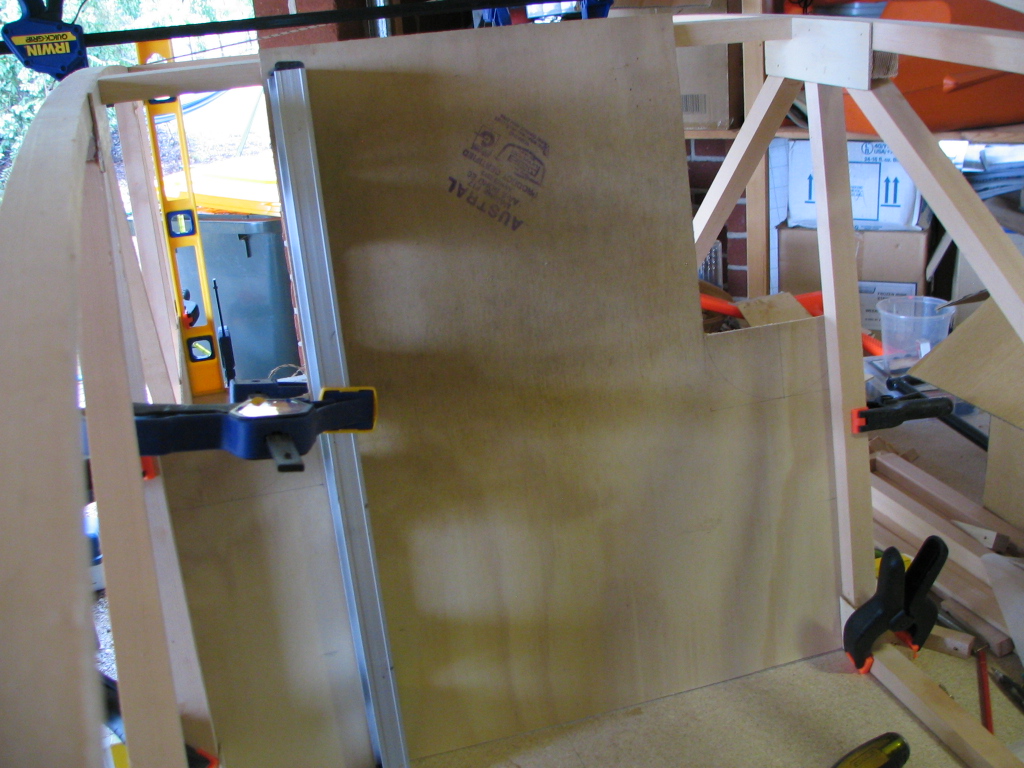
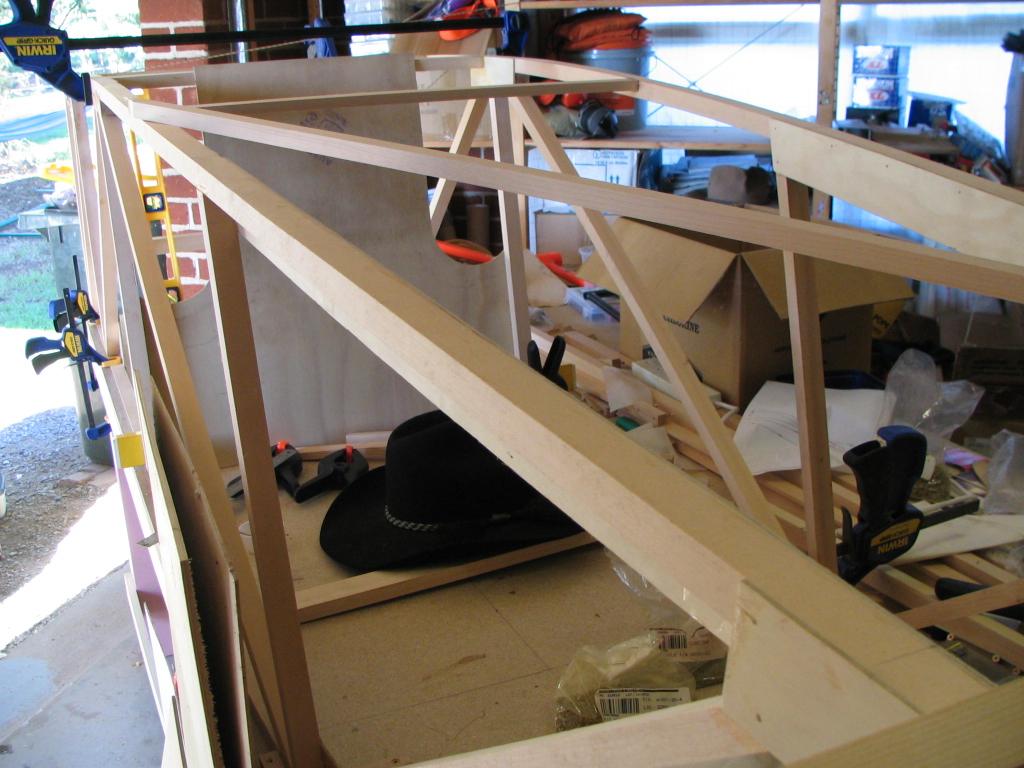
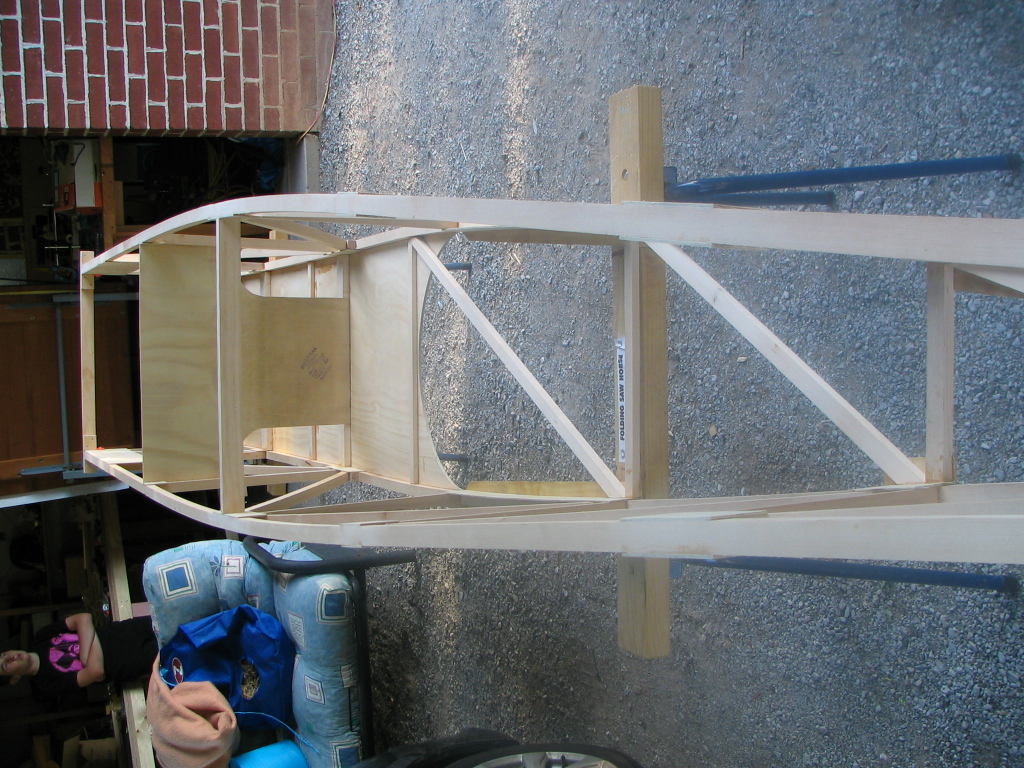
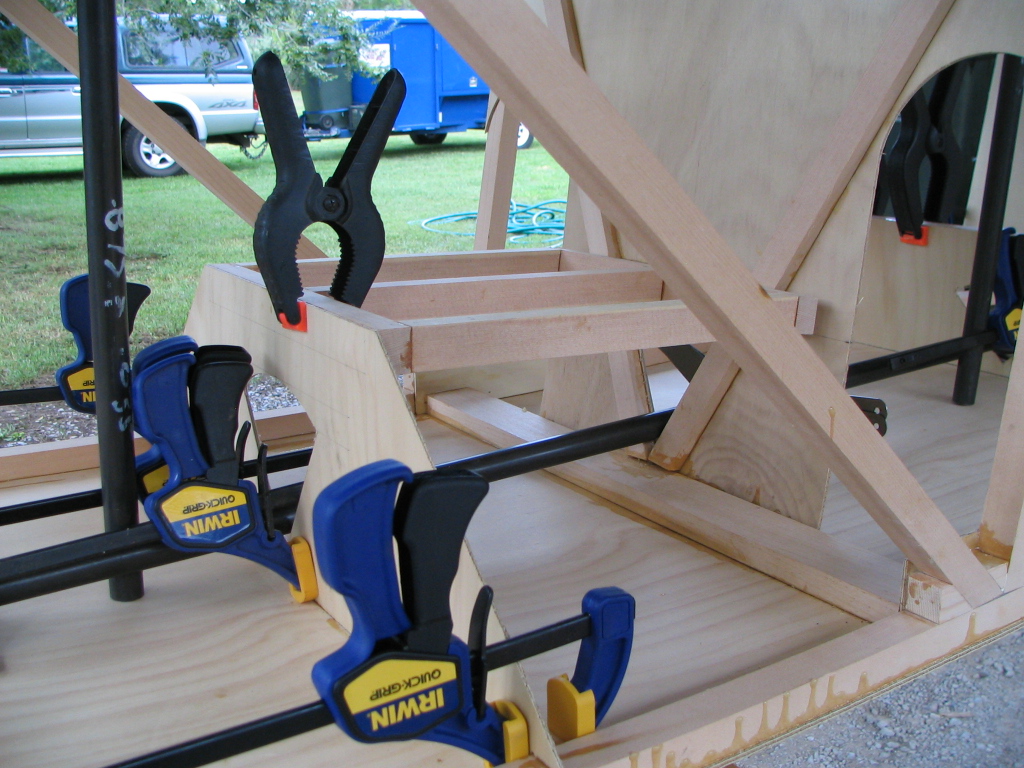
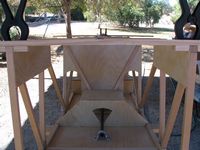
After rechecking the tables were square, I stood the two sides up on the strainght upper longeron and started cutting the braces for the top and bottom sections of the fuselage. To help keep it square, I also cut the rear seat back for the front cockpit. I get a bit "Anal" when it comes to ensuring everything is square!
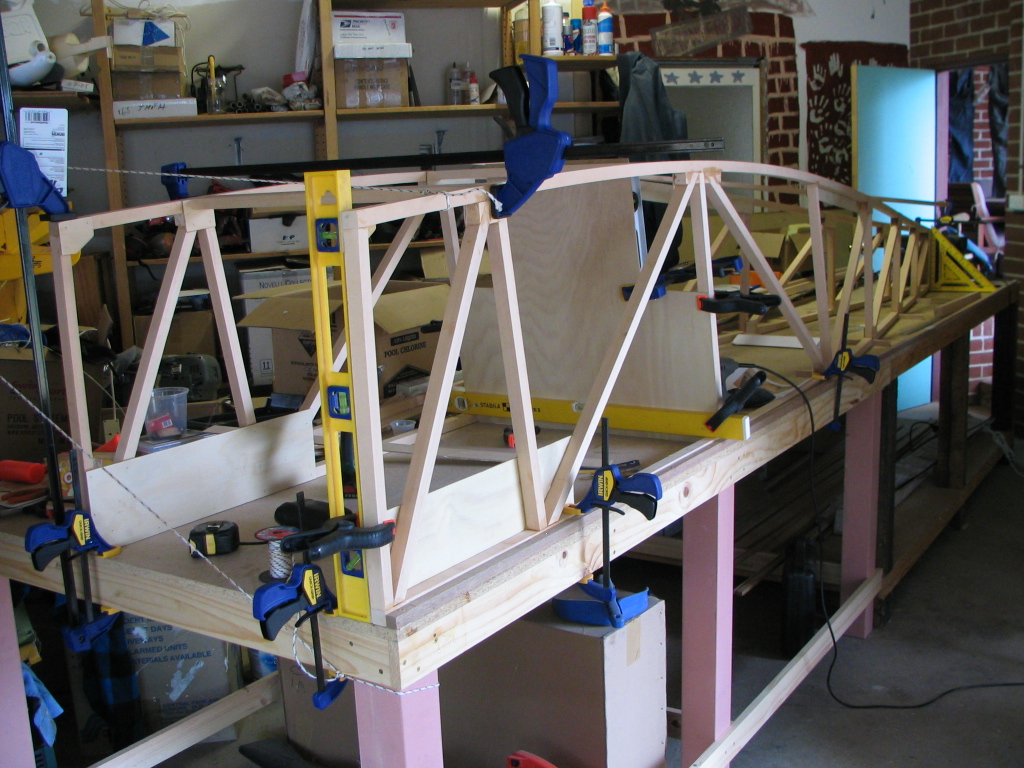
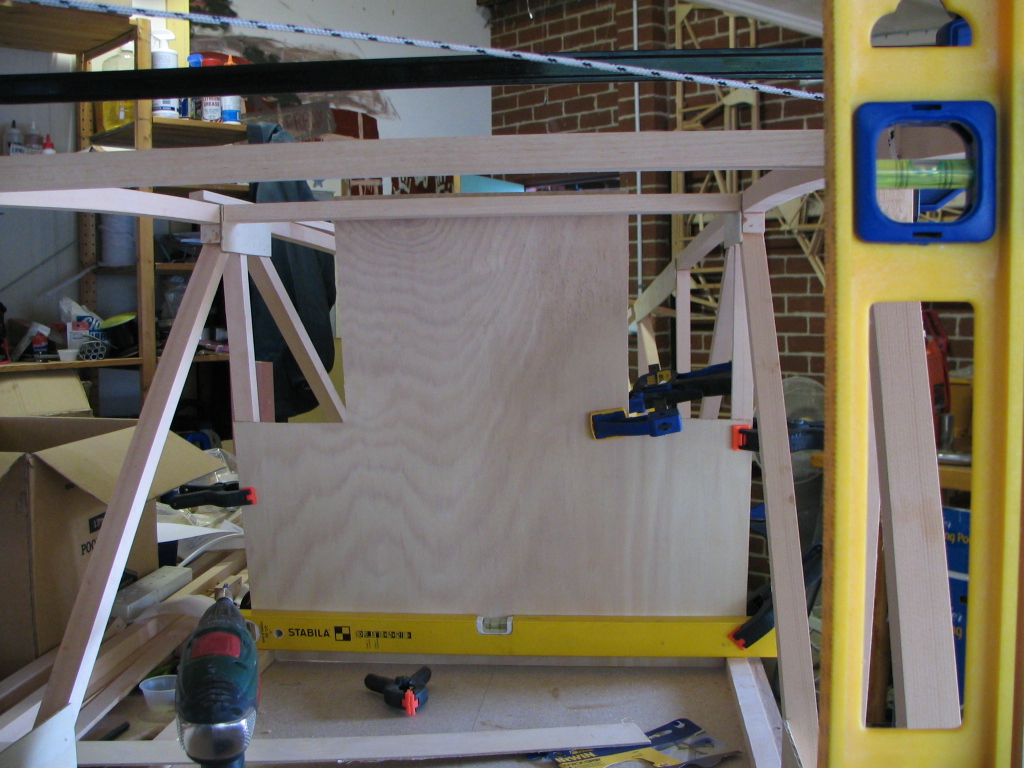

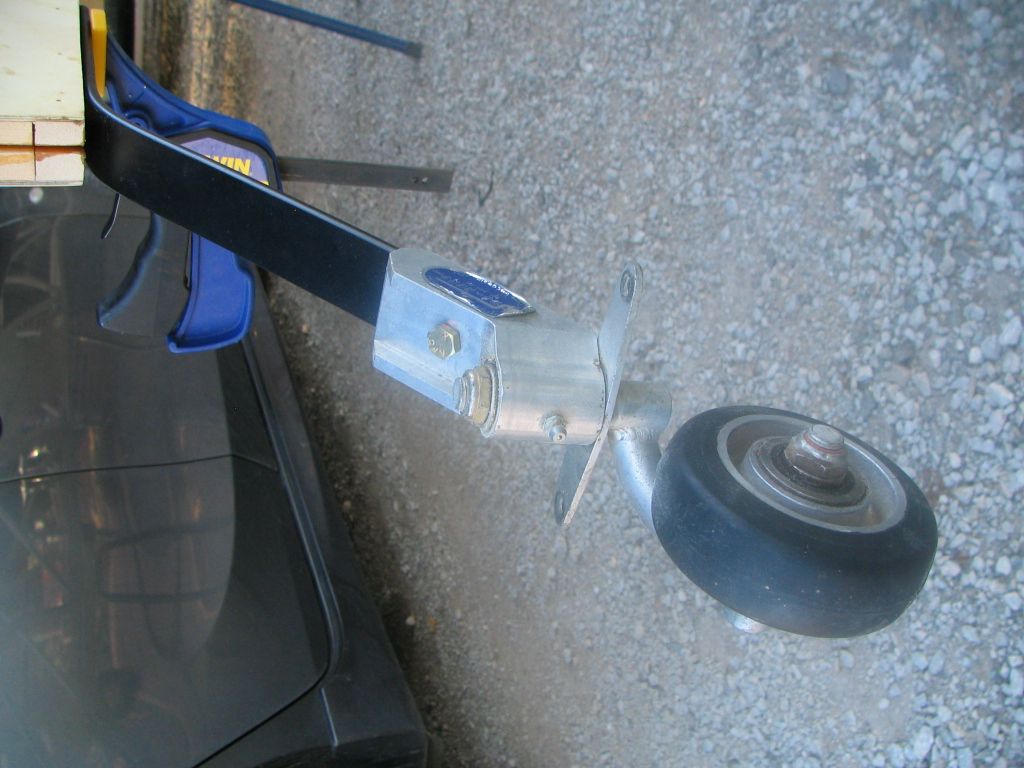
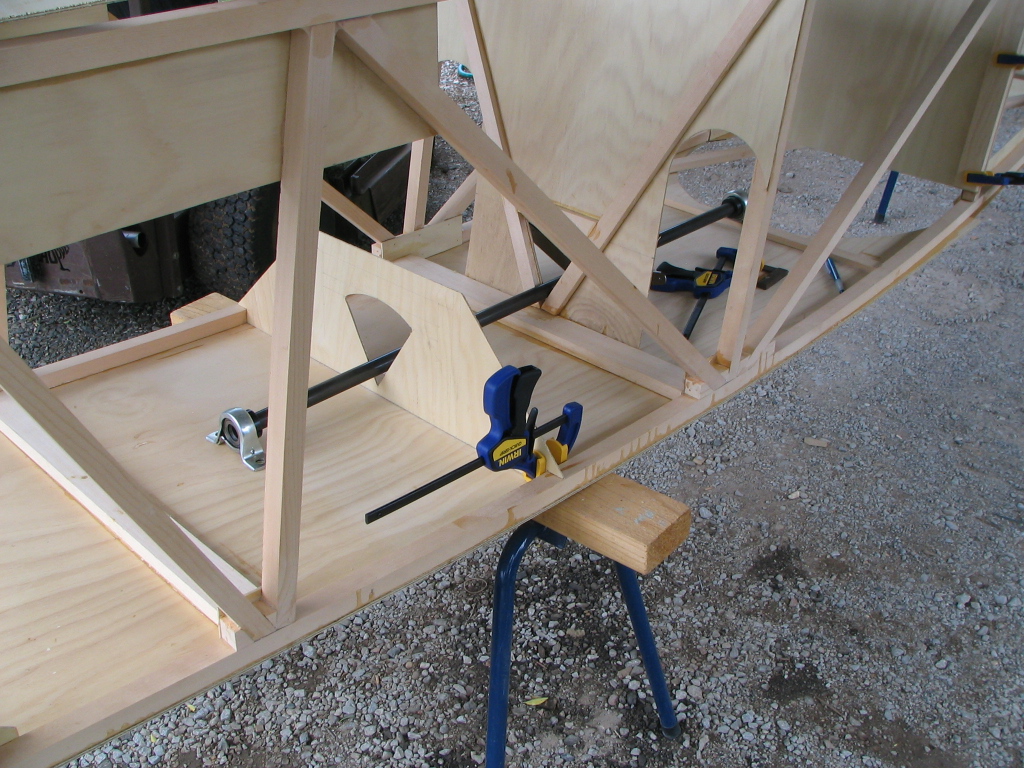
Further glueing of the fuselage bottom cross struts & trial fit of the tail wheel.

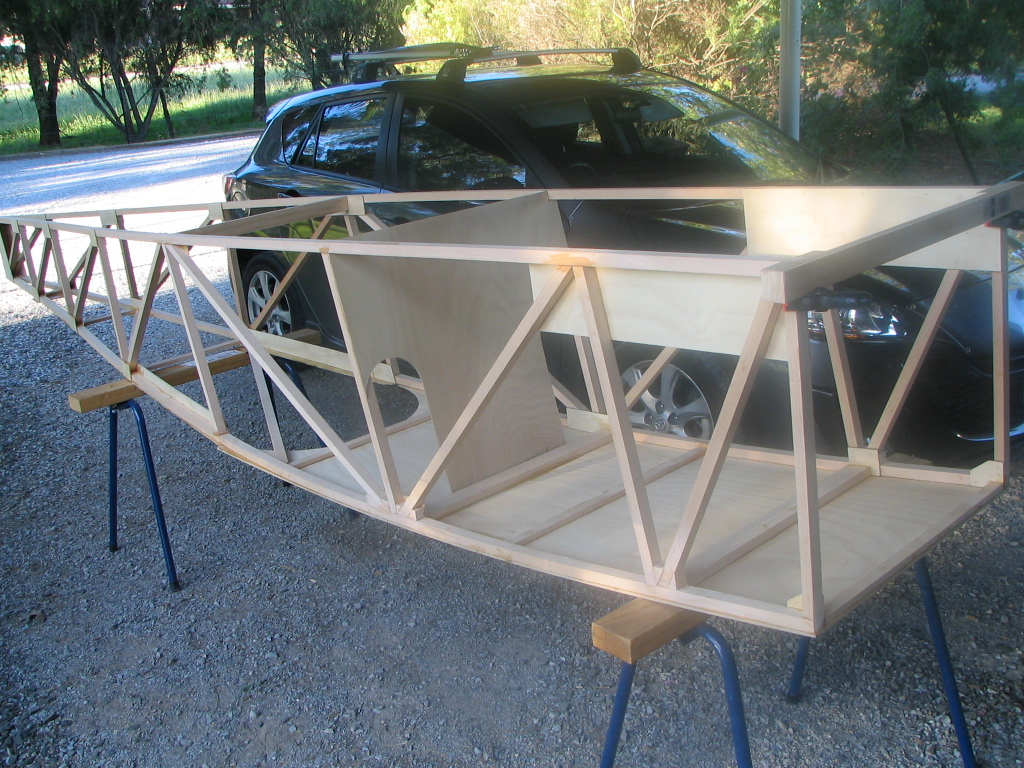
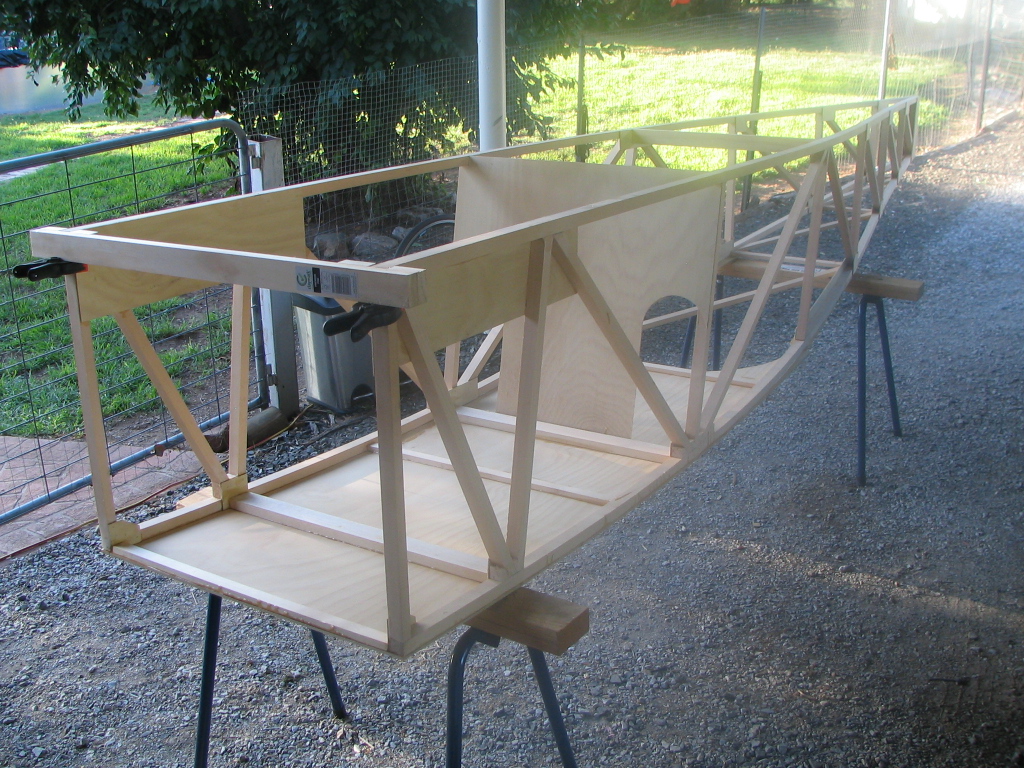
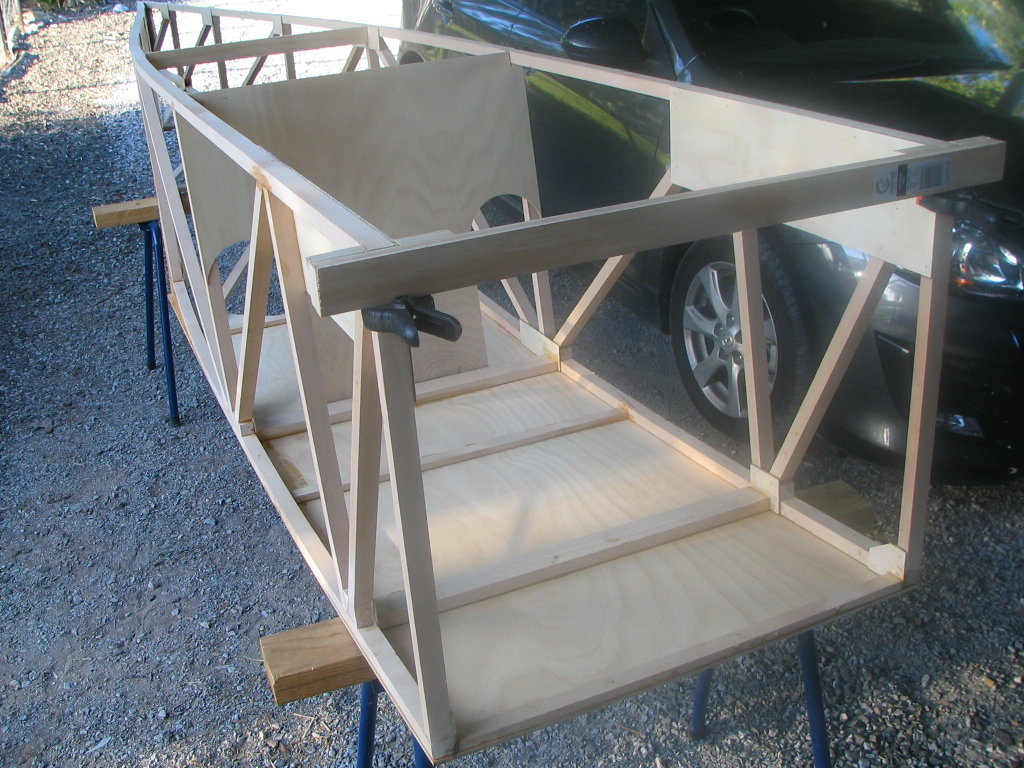
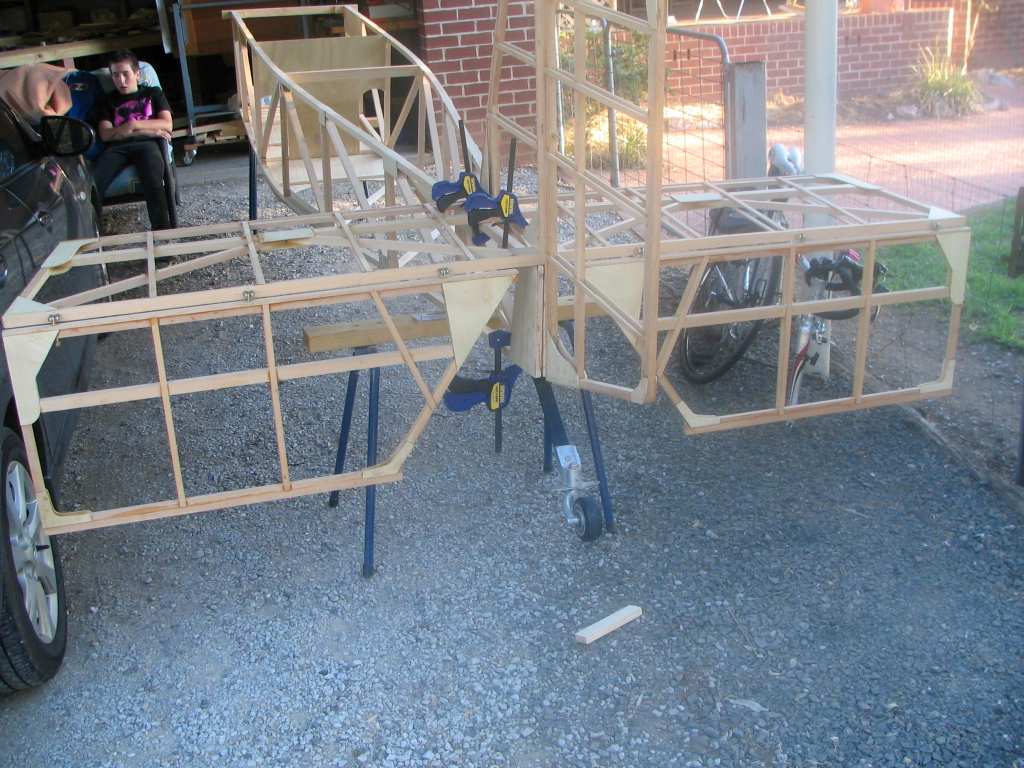
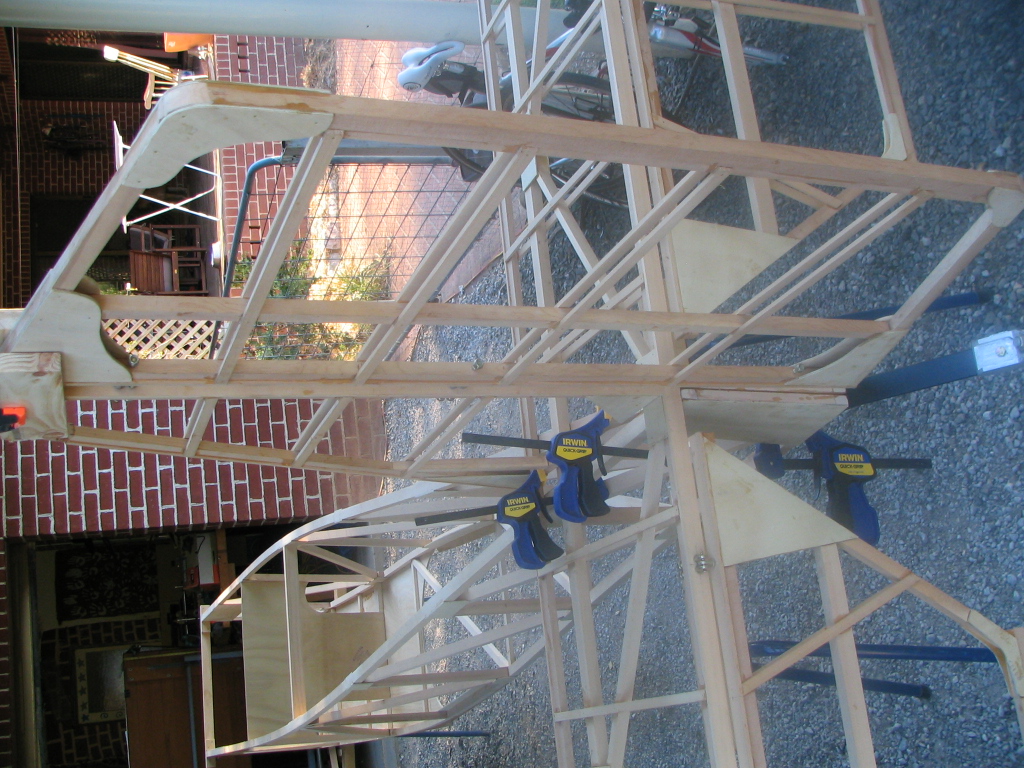
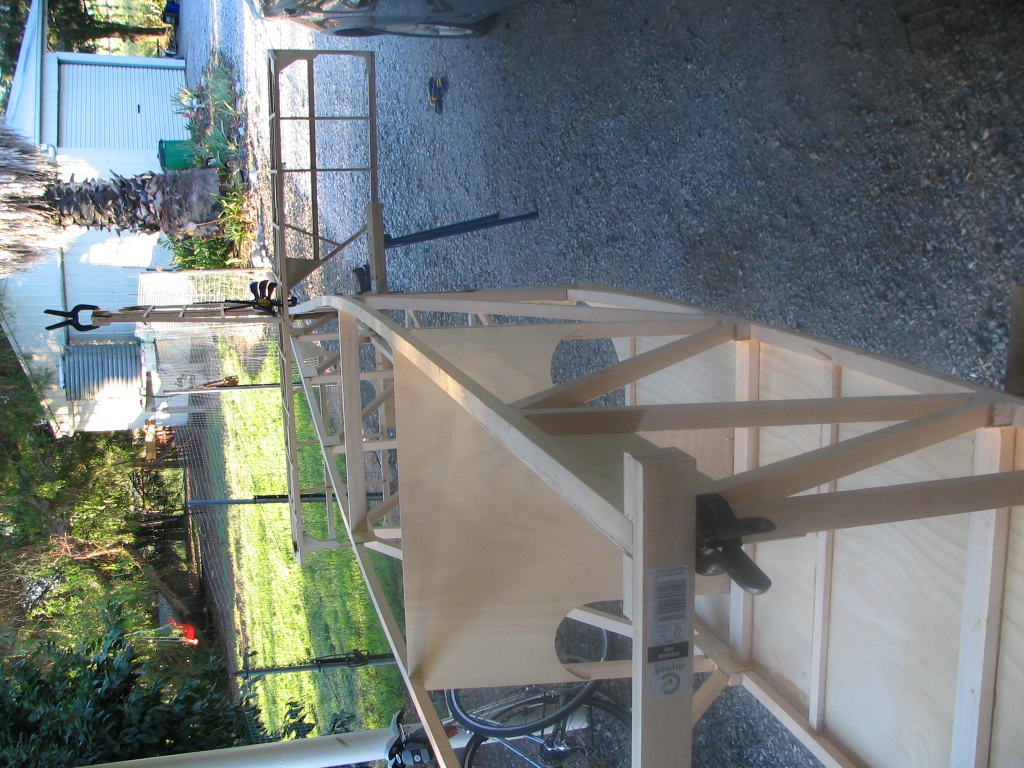
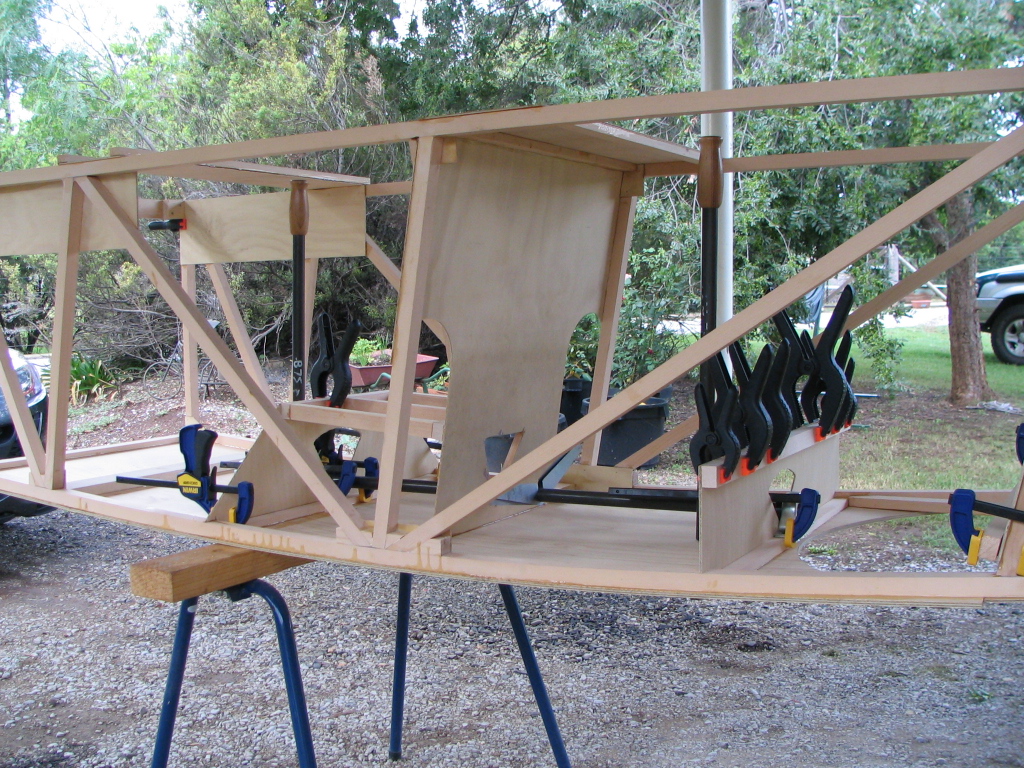
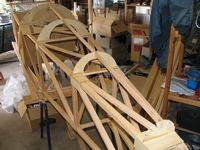
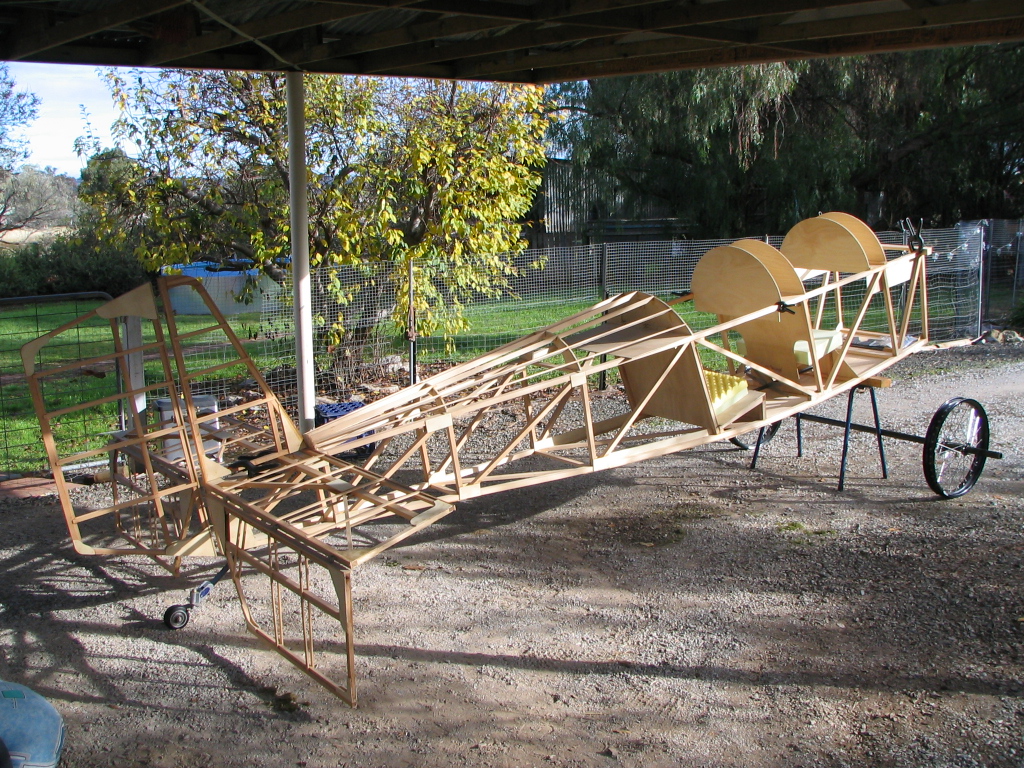
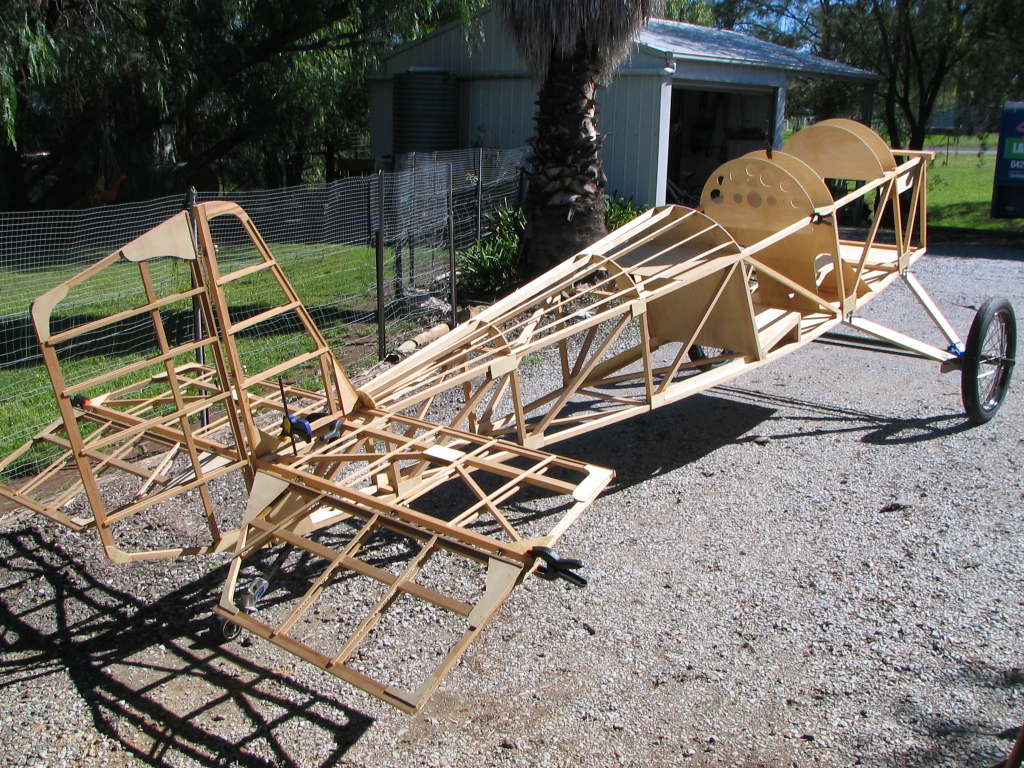
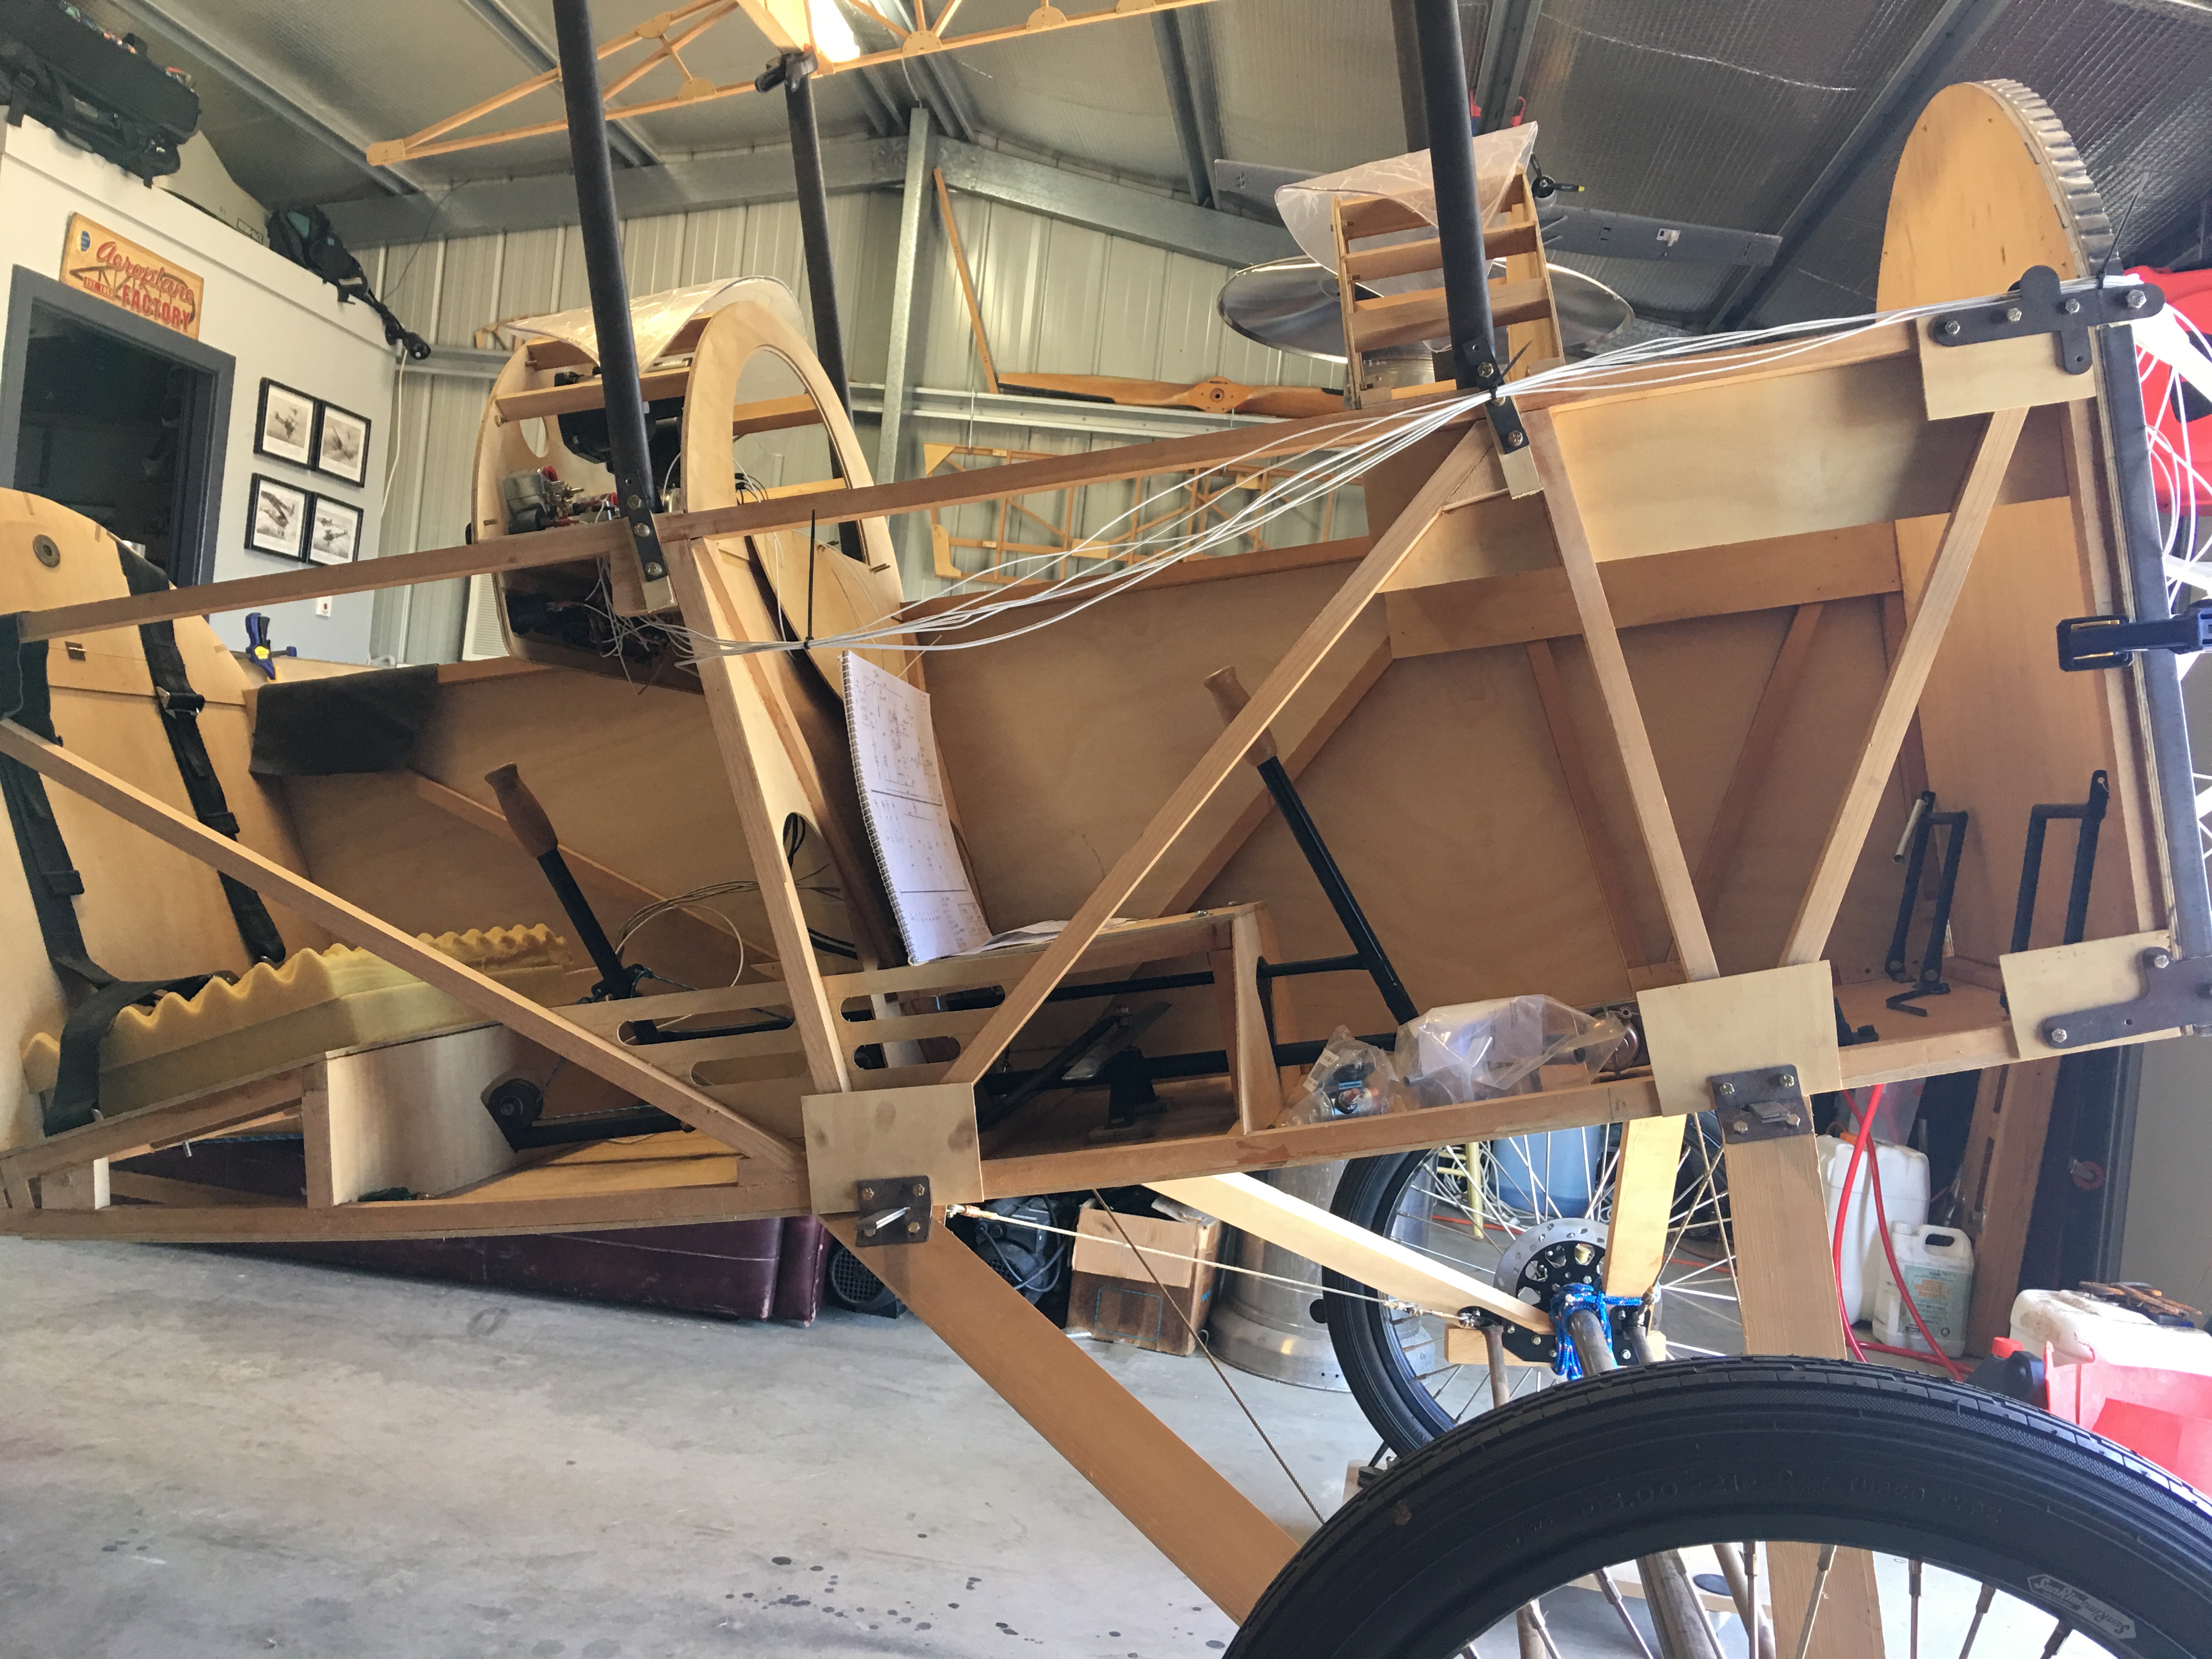
Floor glued in and fuselage off the table. Had to have a trial fit of the empennage! Kinda looks like a plane now!


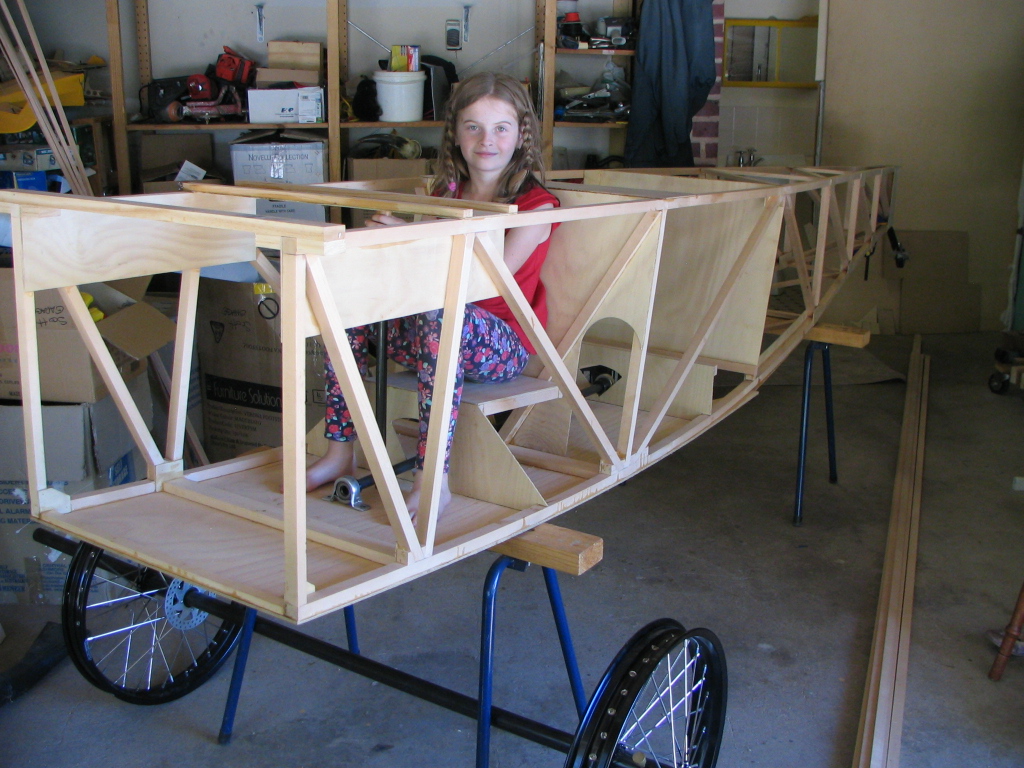
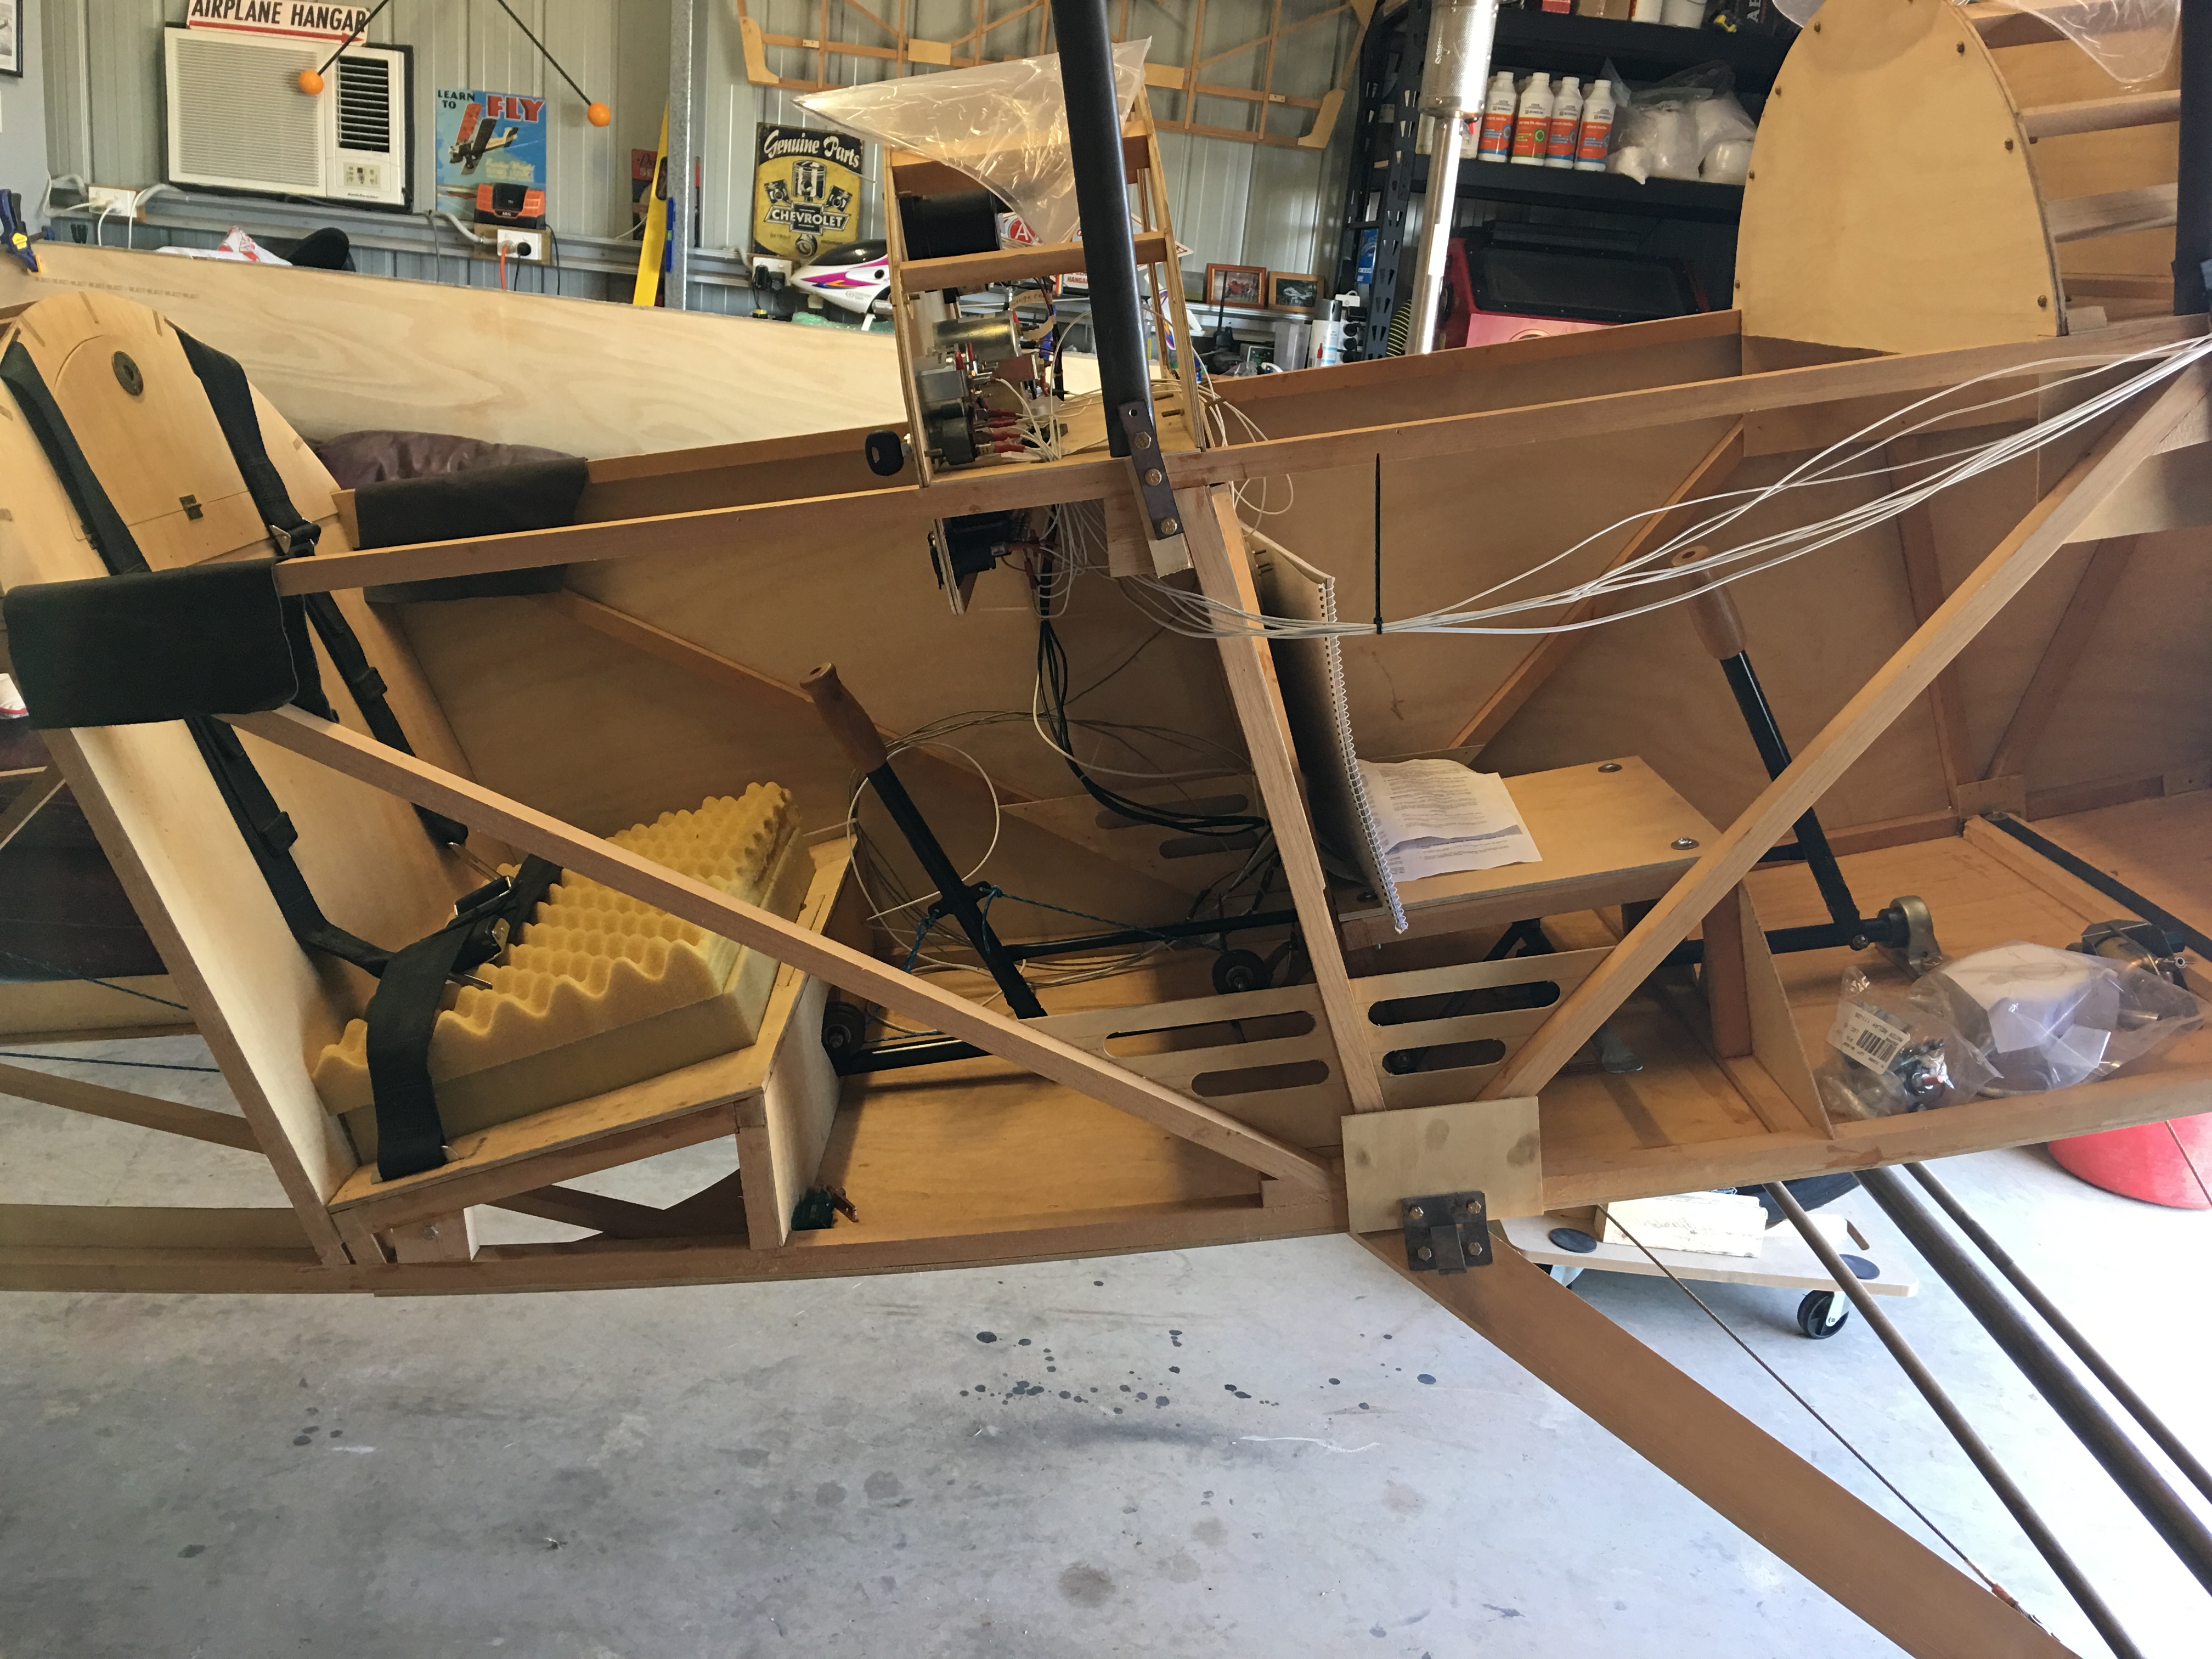
Building the seats and a trial fit of the control column...


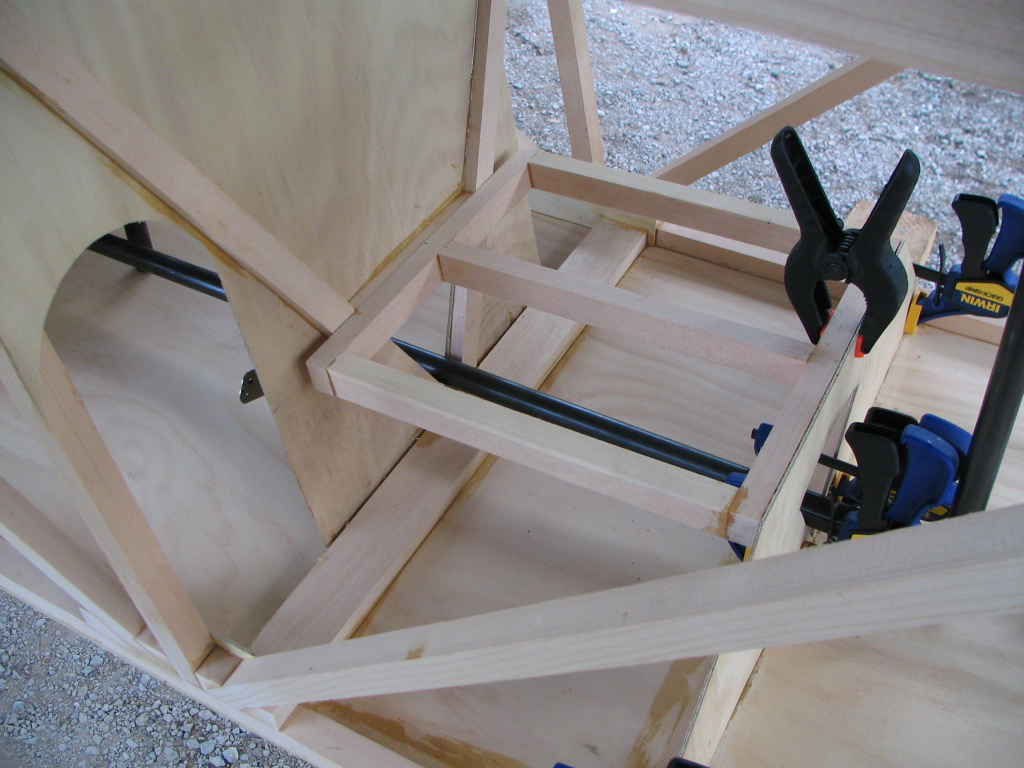


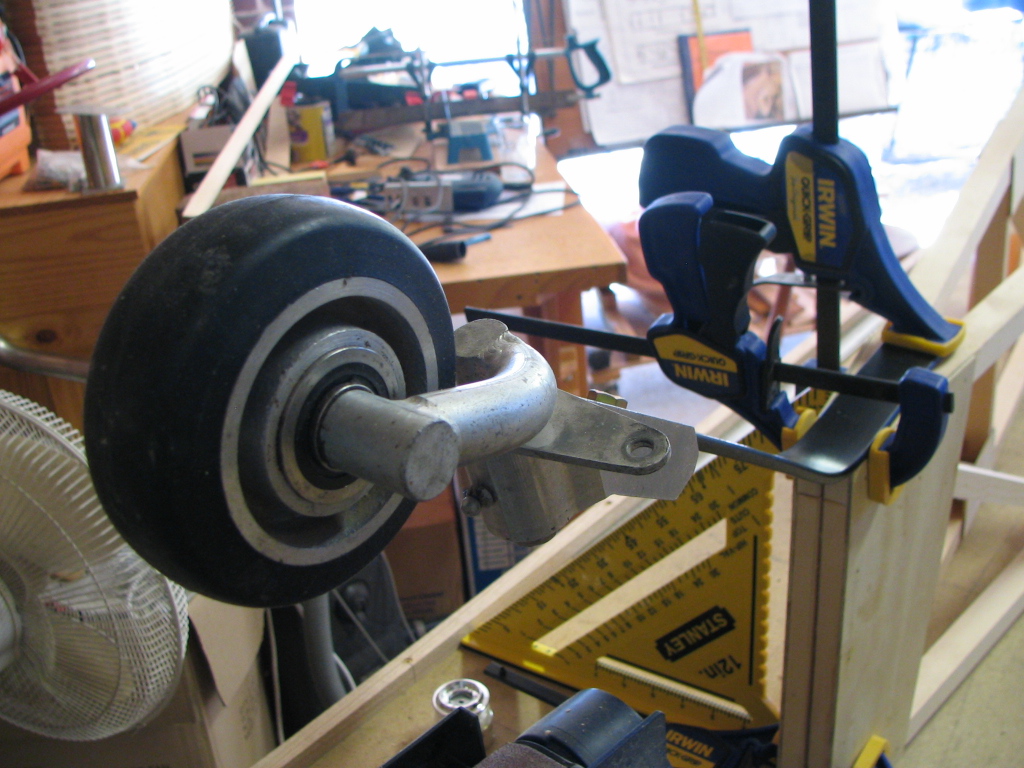
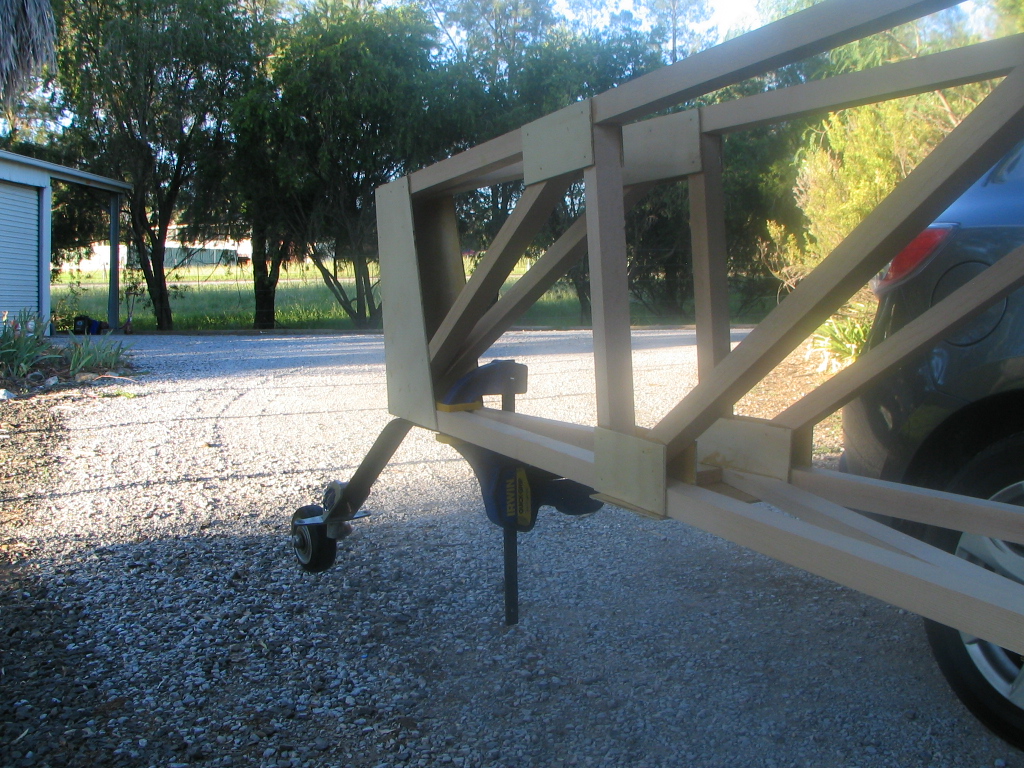
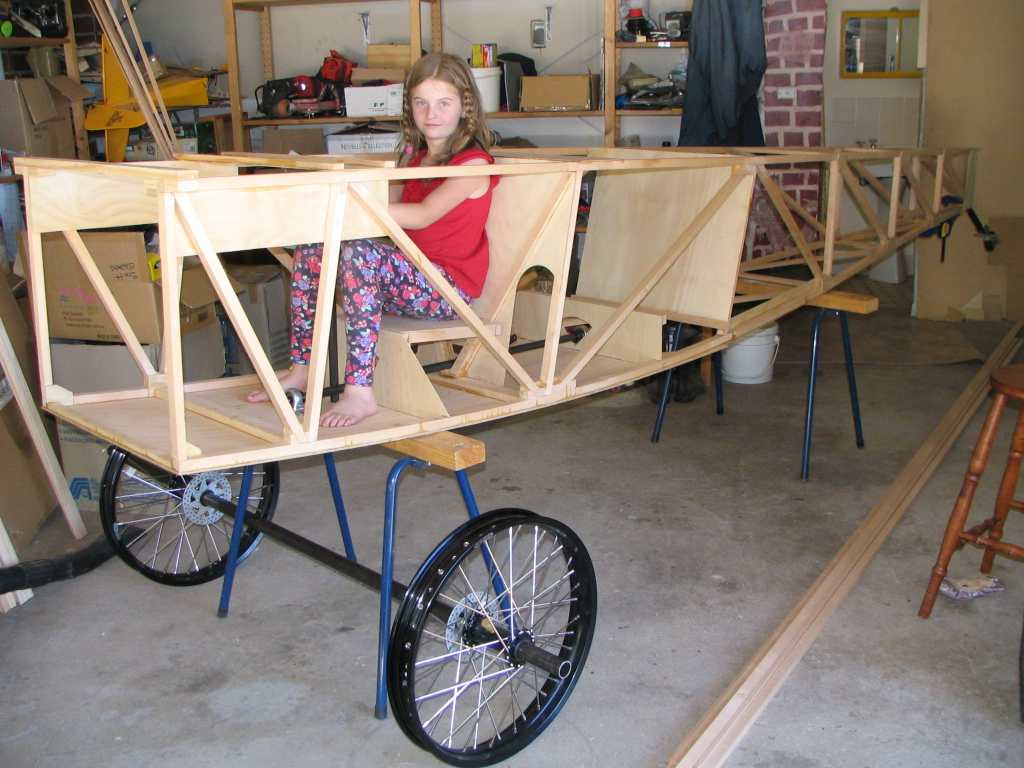
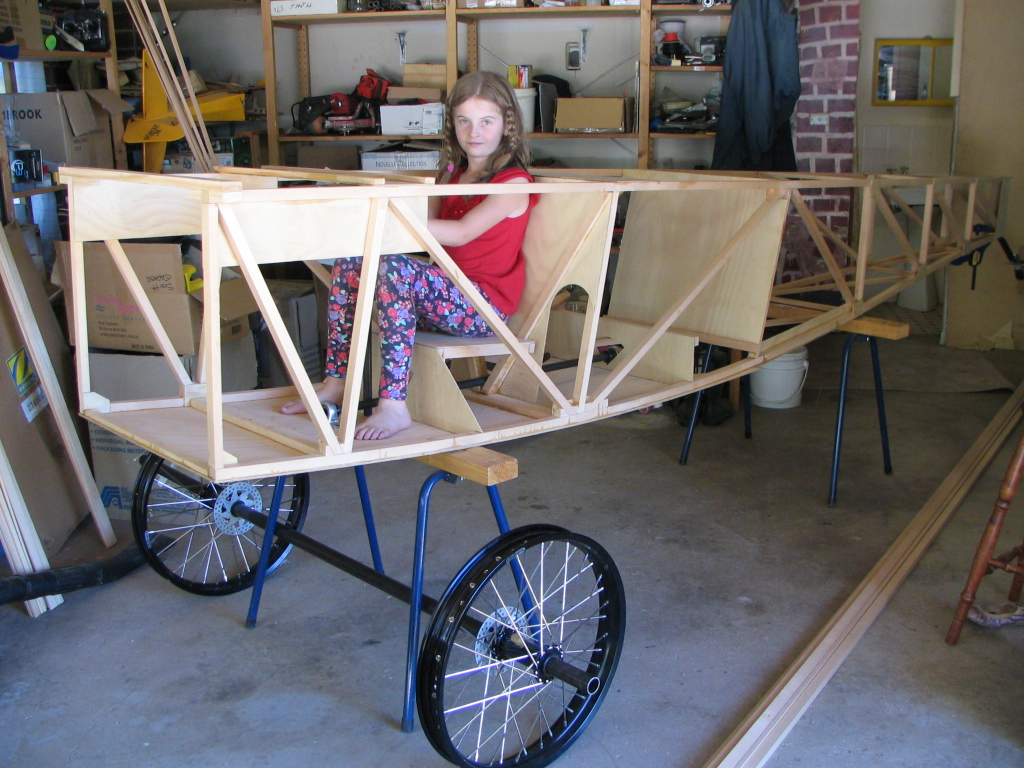
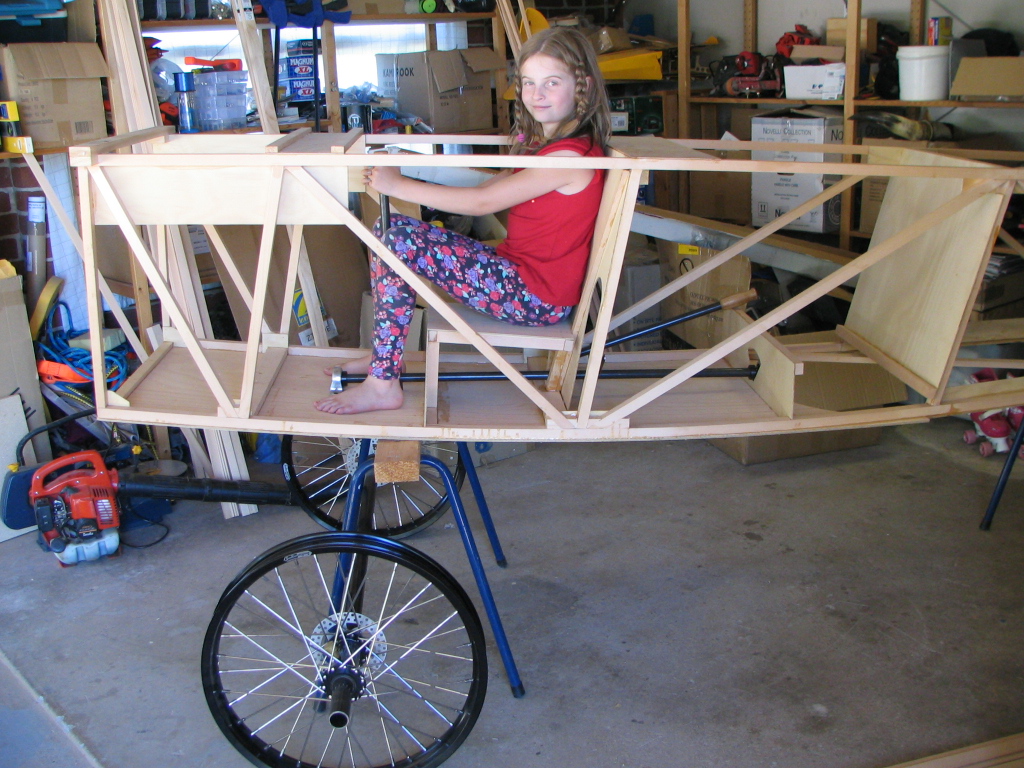
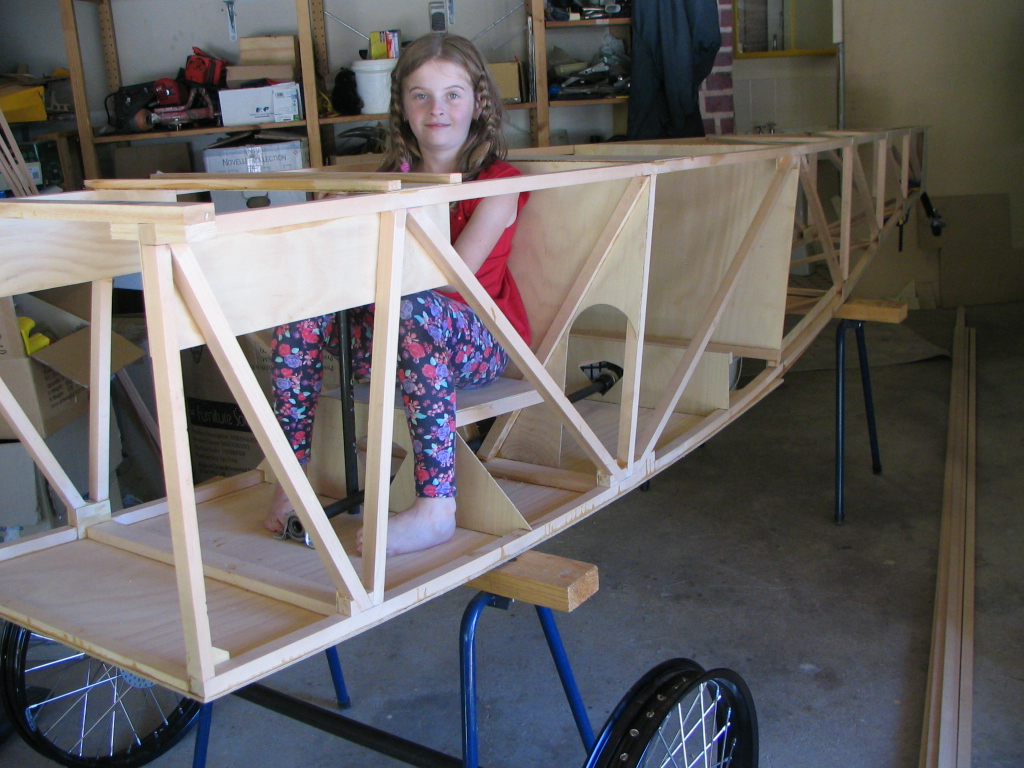
Miss 9 decided she wanted to try out the front seat! Thought I would sling the wheels and axle underneath to see what it would look like...
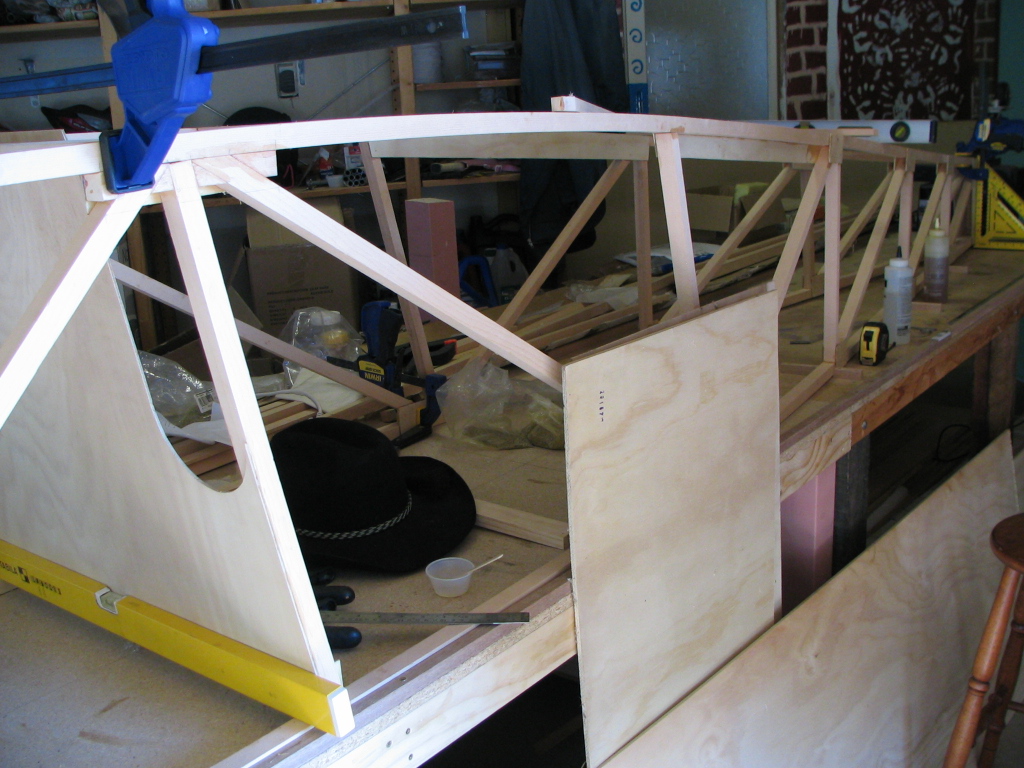
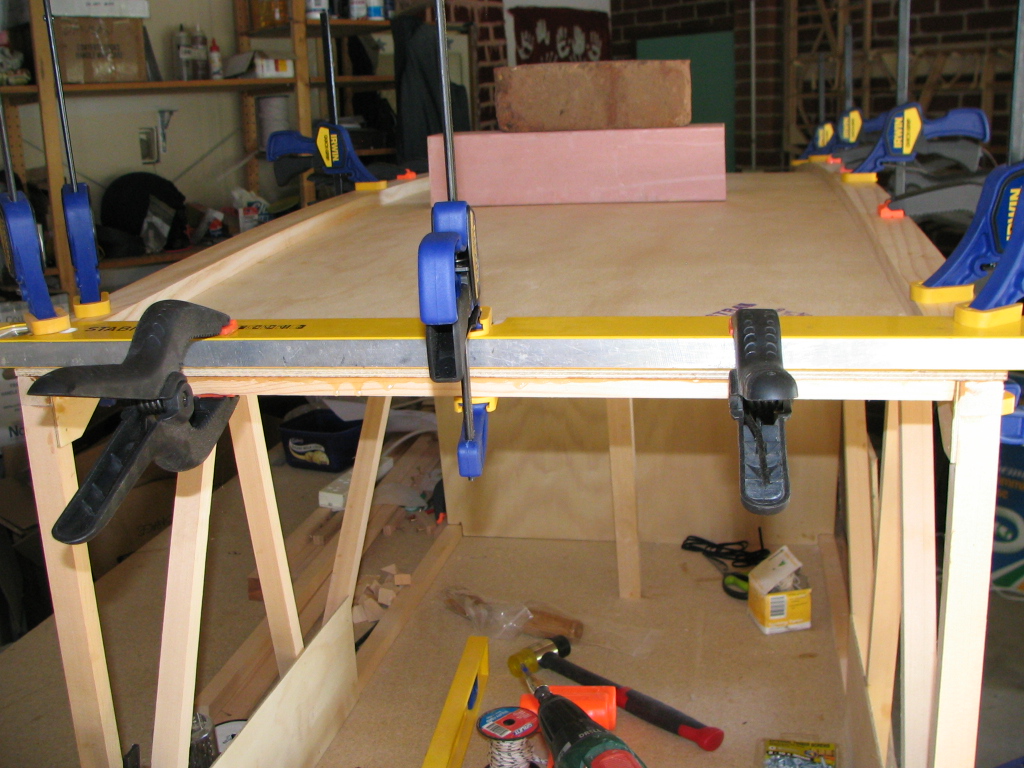
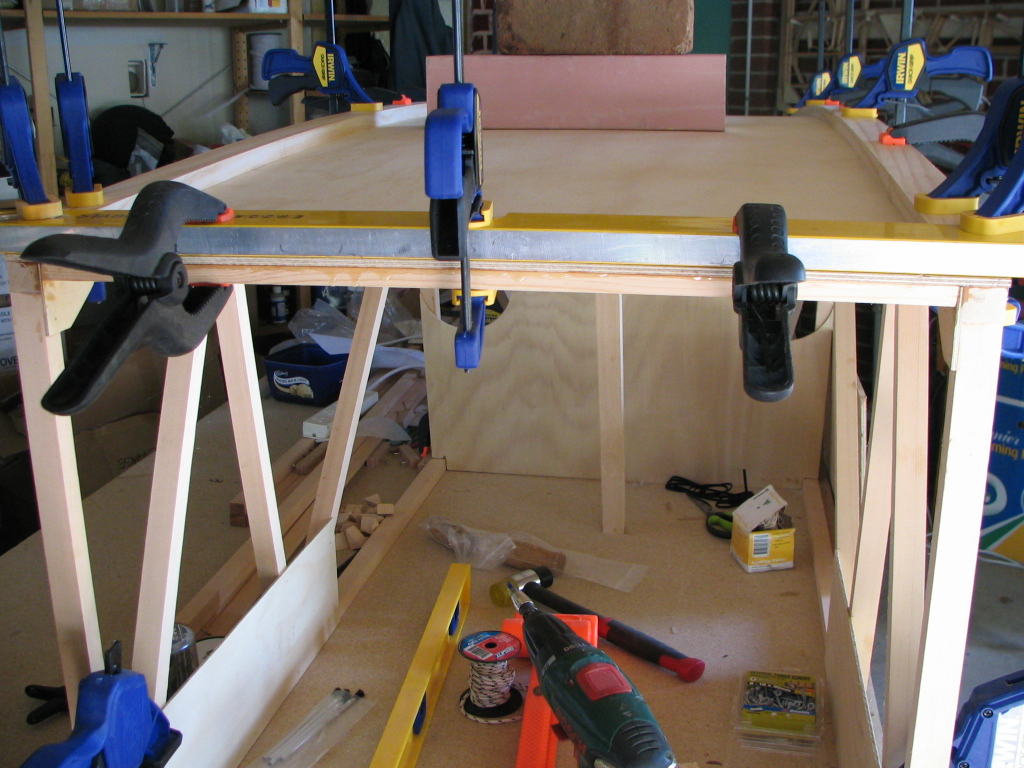
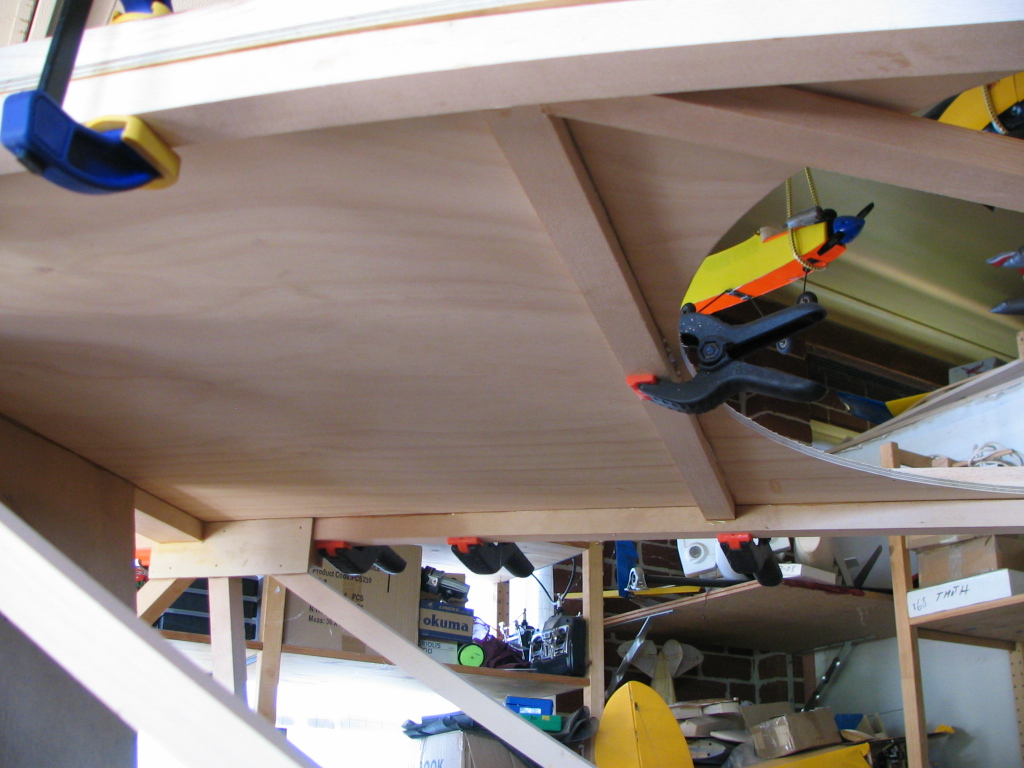
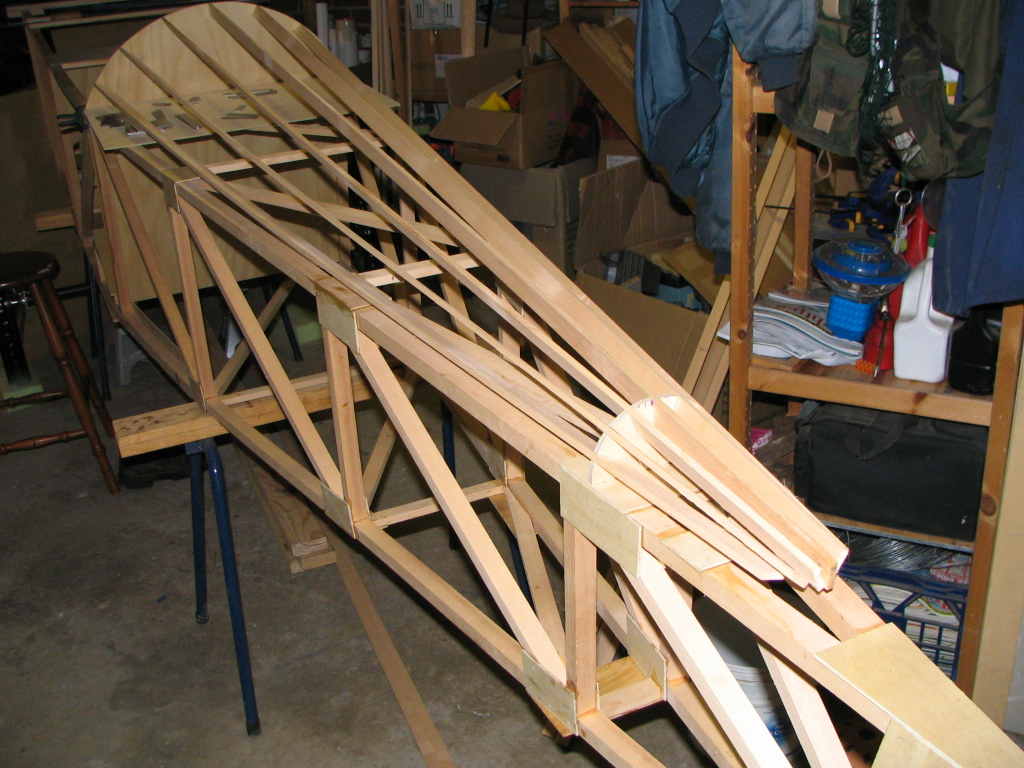
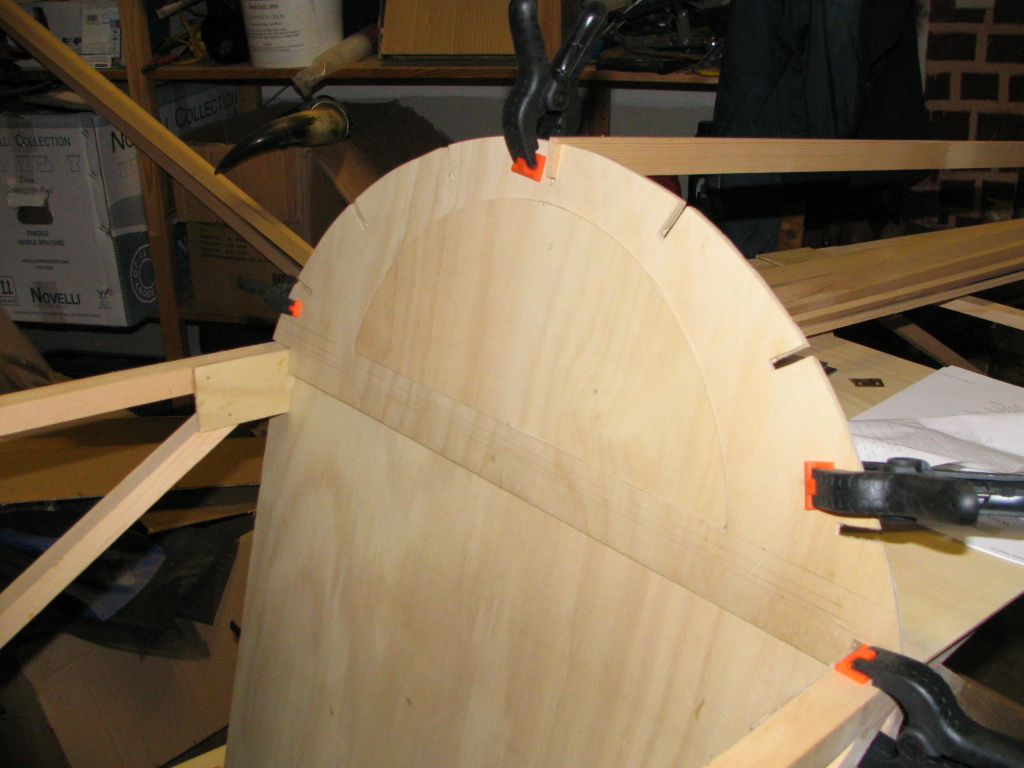
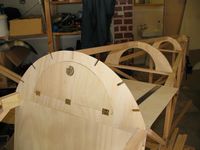
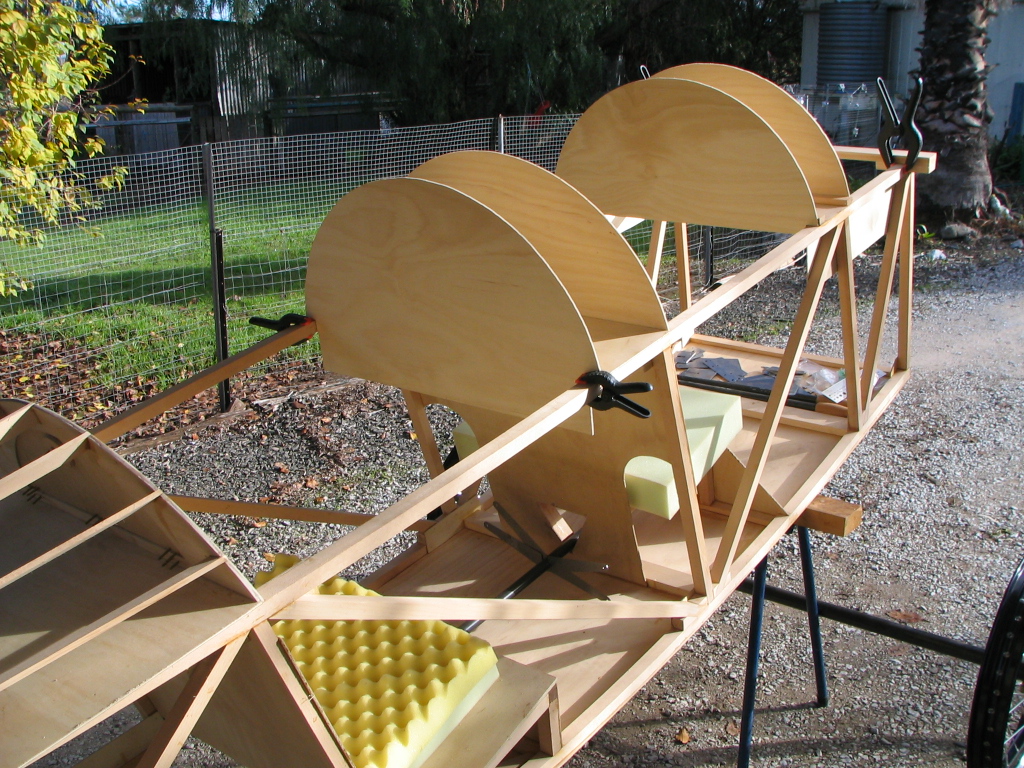
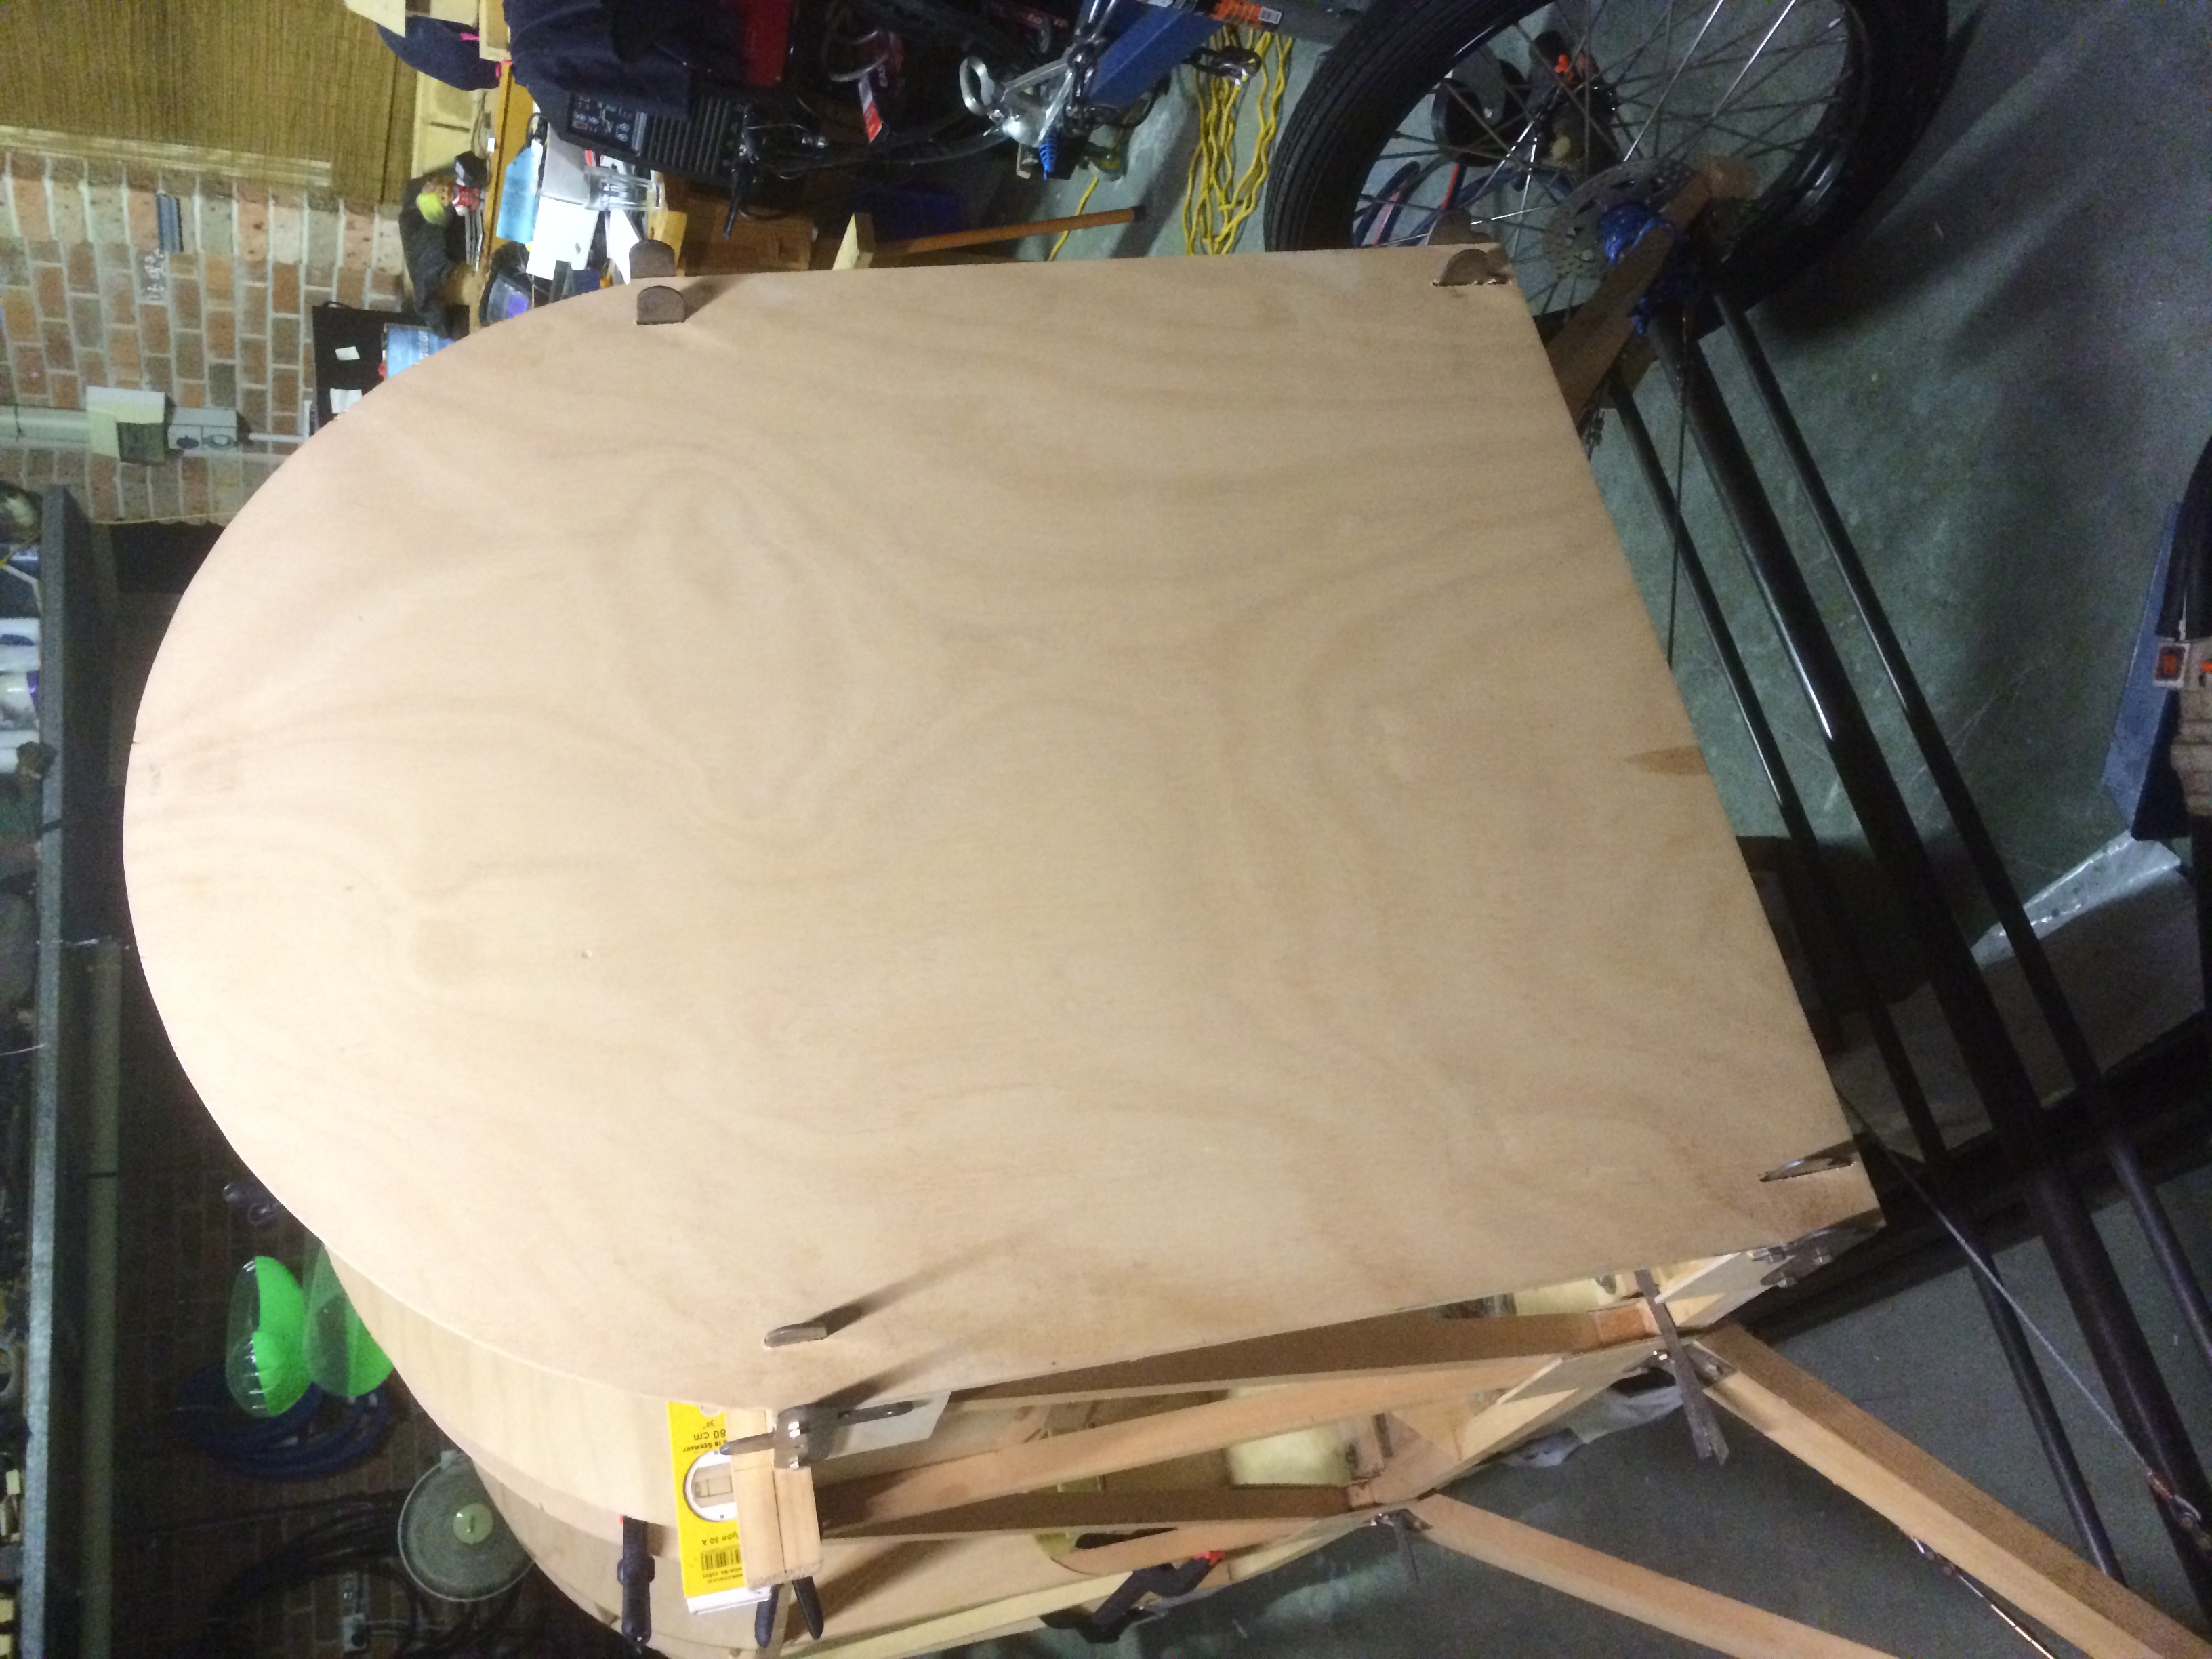
Started work on the turtle deck. I made a cardboard mock up of the forward and aft frame and once I was happy with the angles, I remade them in ply...
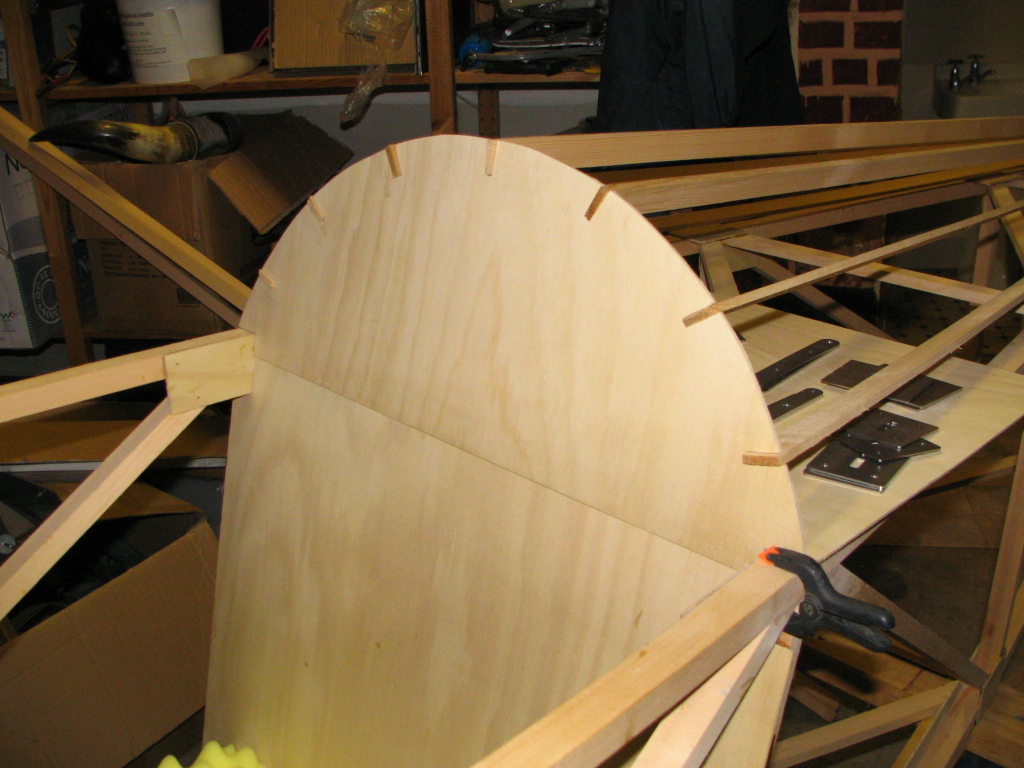


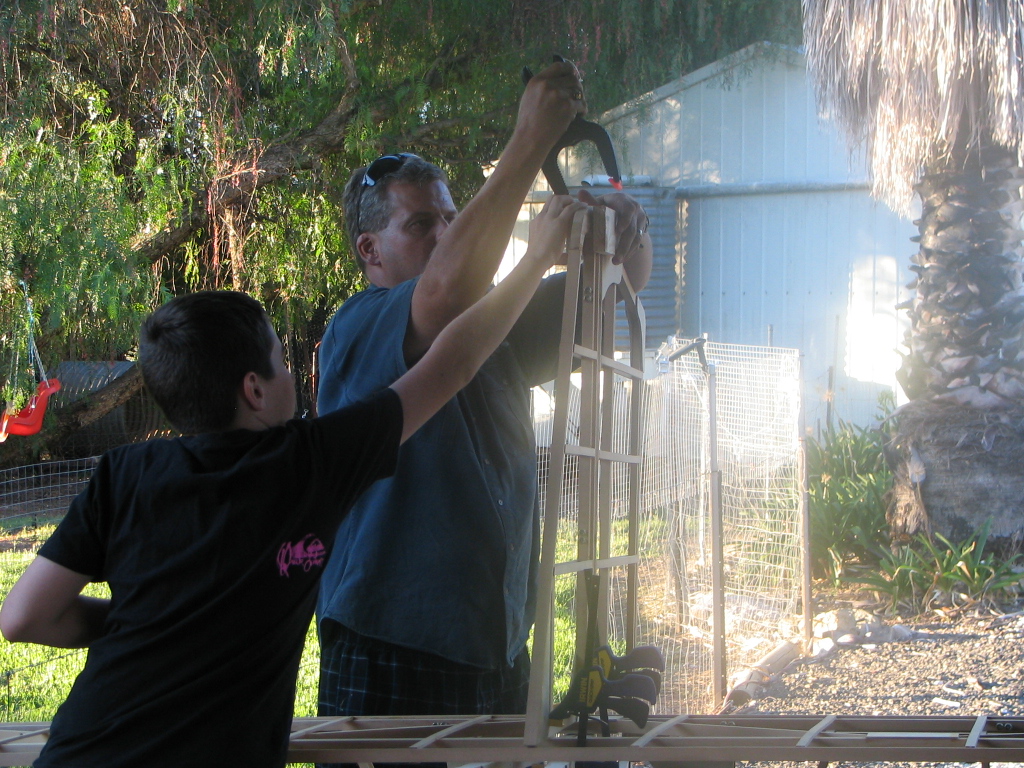
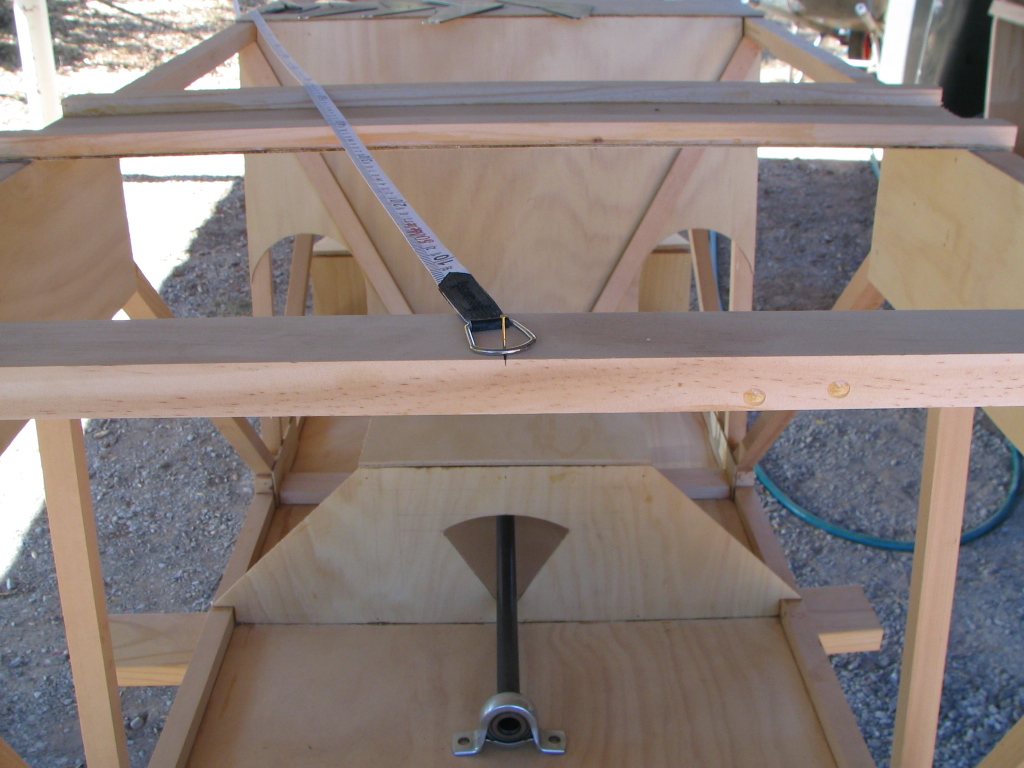
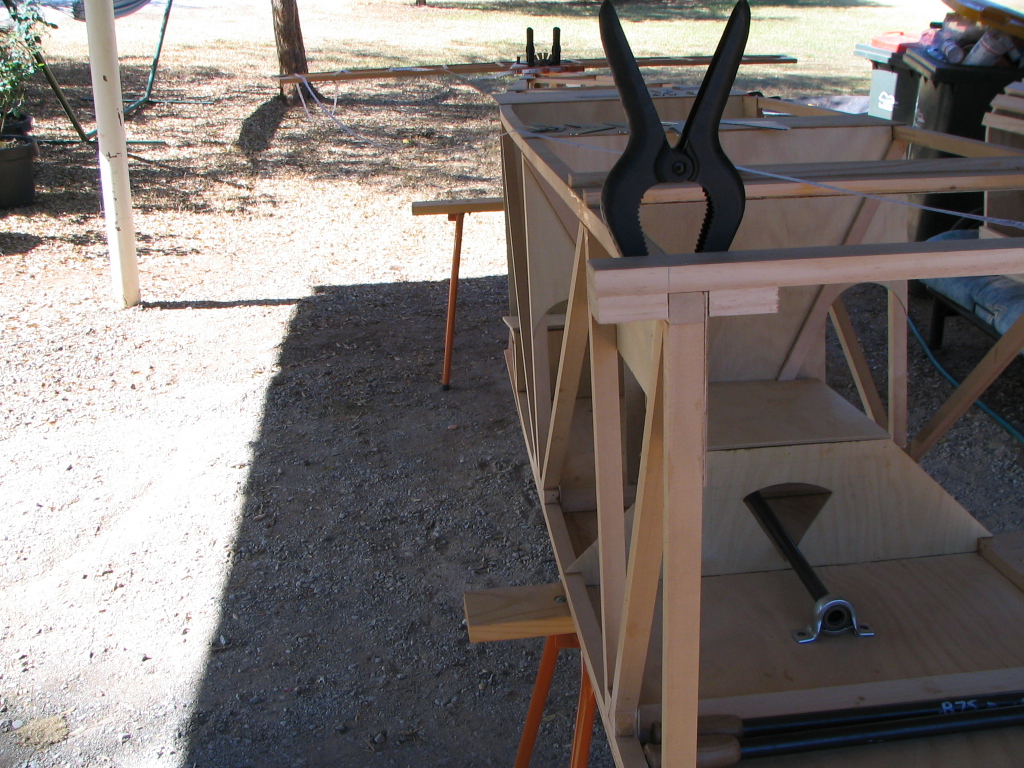
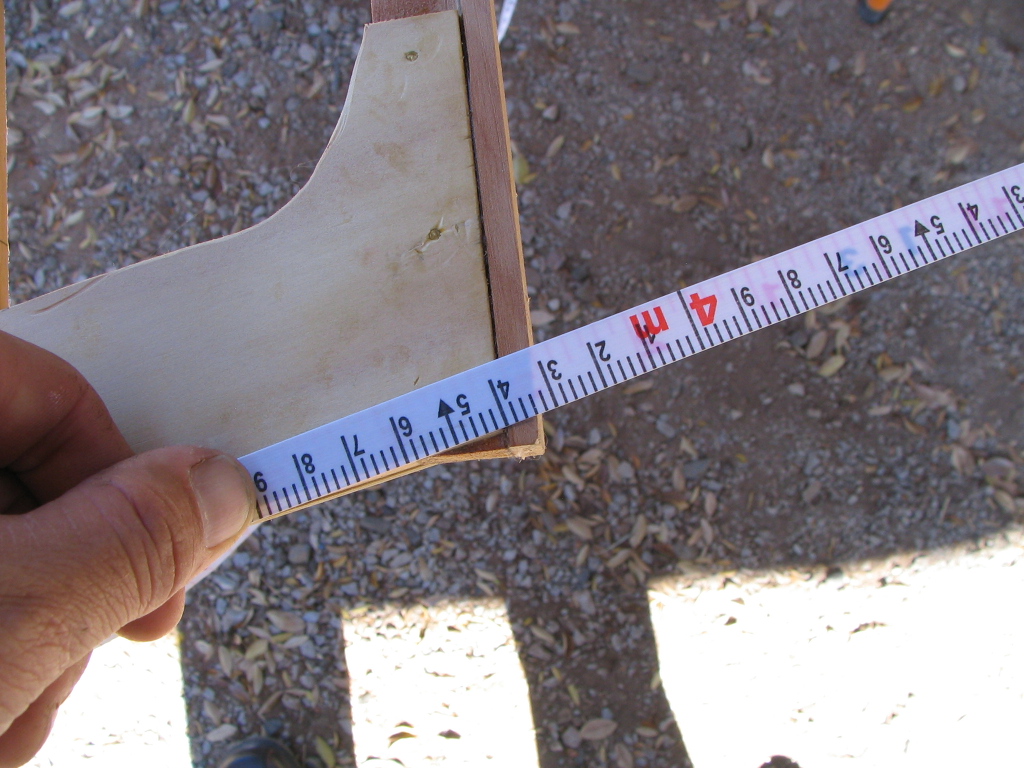
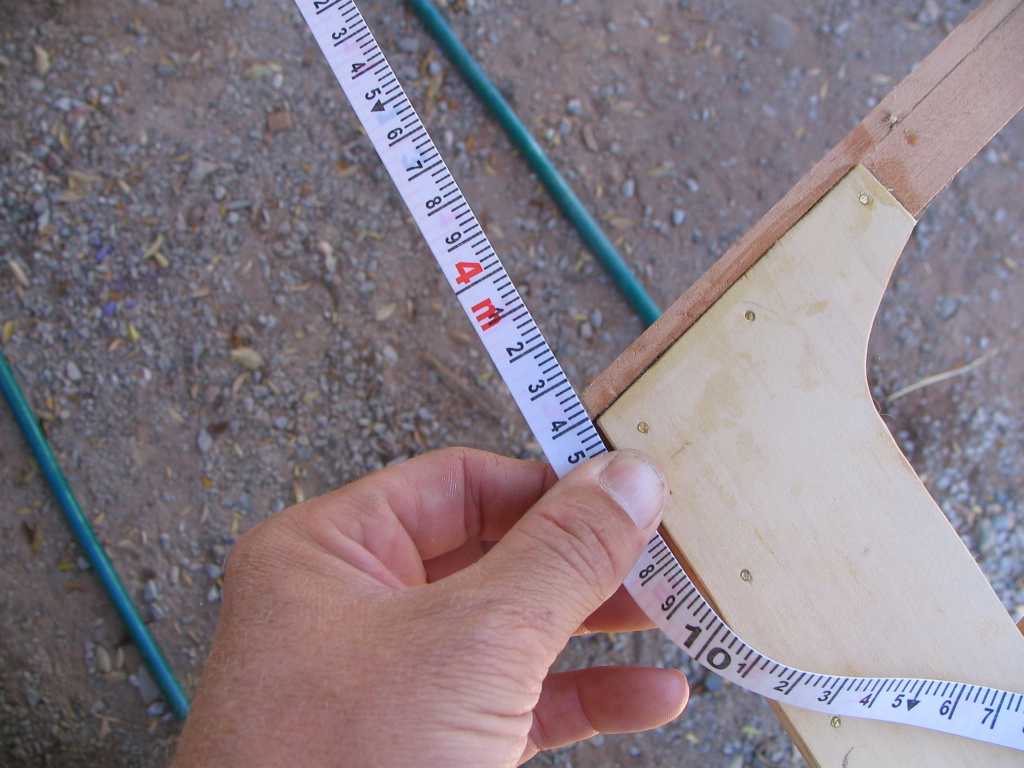
It was time to pull her out of the garage and line the horizontal stab up so the rear turtle deck former could be glued on. I drove a nail in to the centre of the front of the fuselage and hooked my tape measure on to it and measured both sides to the front corners of the horizontal stab. I was amazed that they were exactly the same! I then allowed 2mm for the covering and paint and glued the former in place...

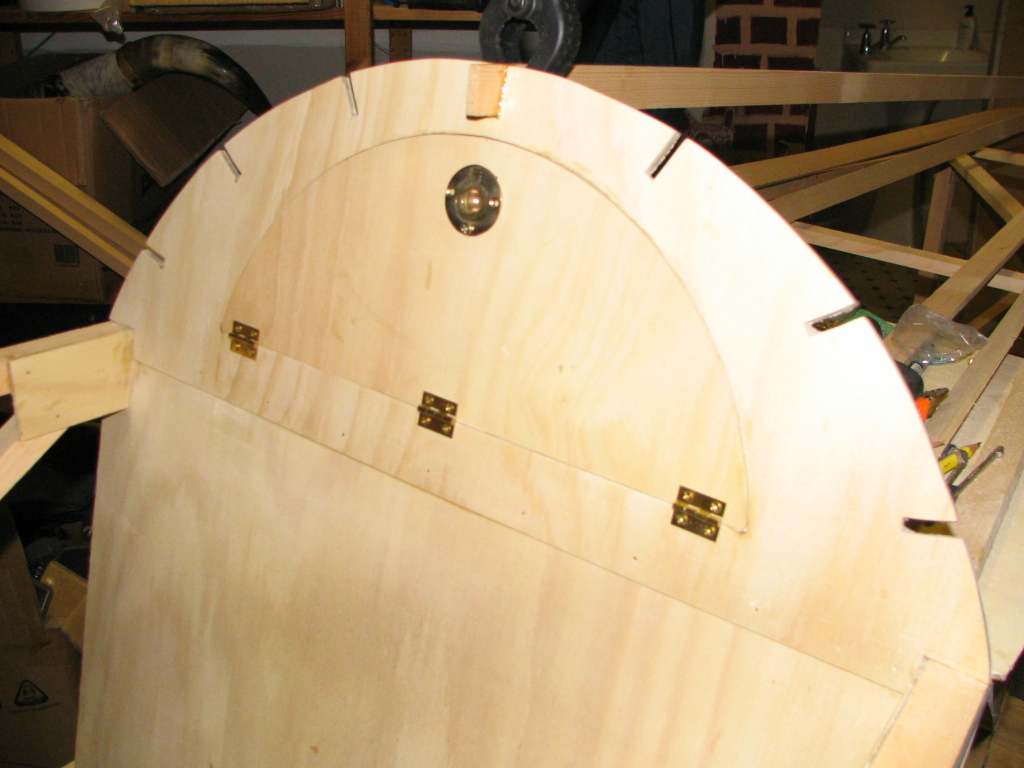
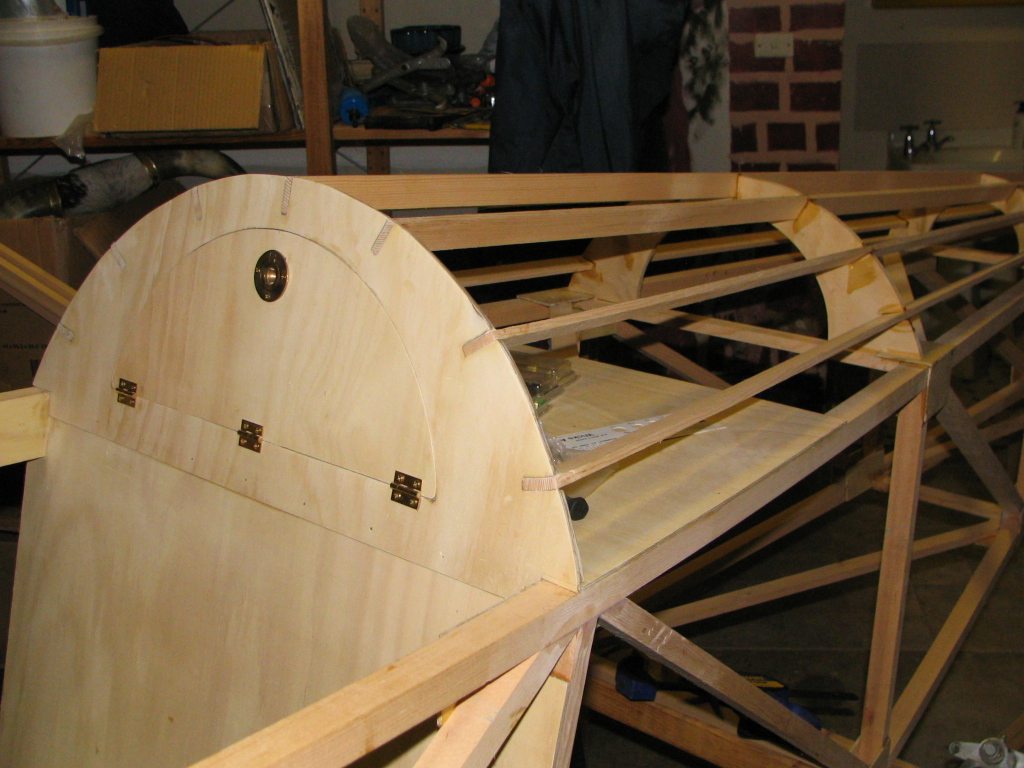
I made the turtle deck front former with a parcel tray opening and door. I made the former out of 3mm ply and then put a doubler behind it for extra strength...

Glueing the doubler to the front turtle deck former. Once the glue dried, the edges were cleaned up and the door trimmed to fit. I fitted brass hinges and pull ring. Once all lined up, I glued the first stringer in place...
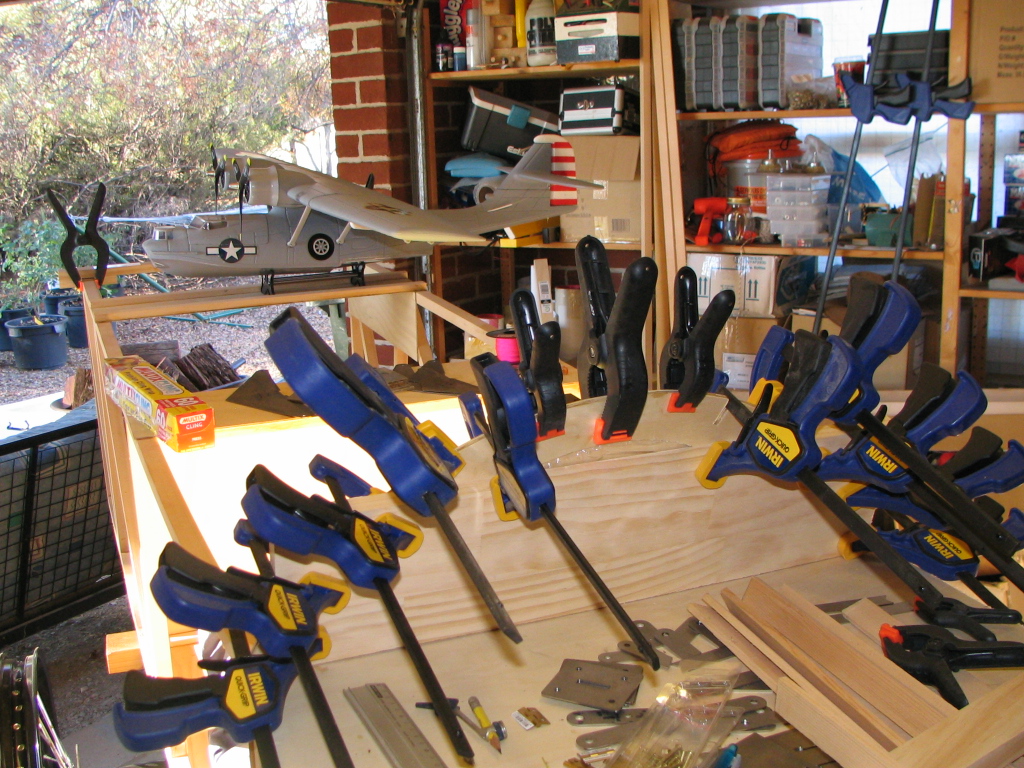


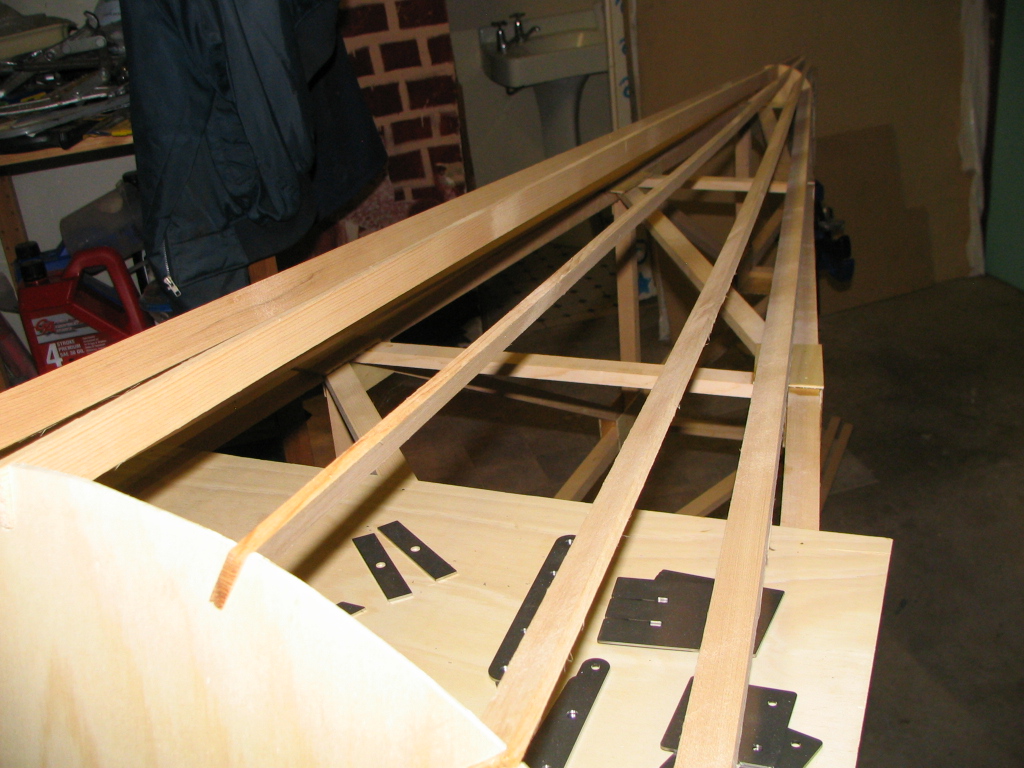
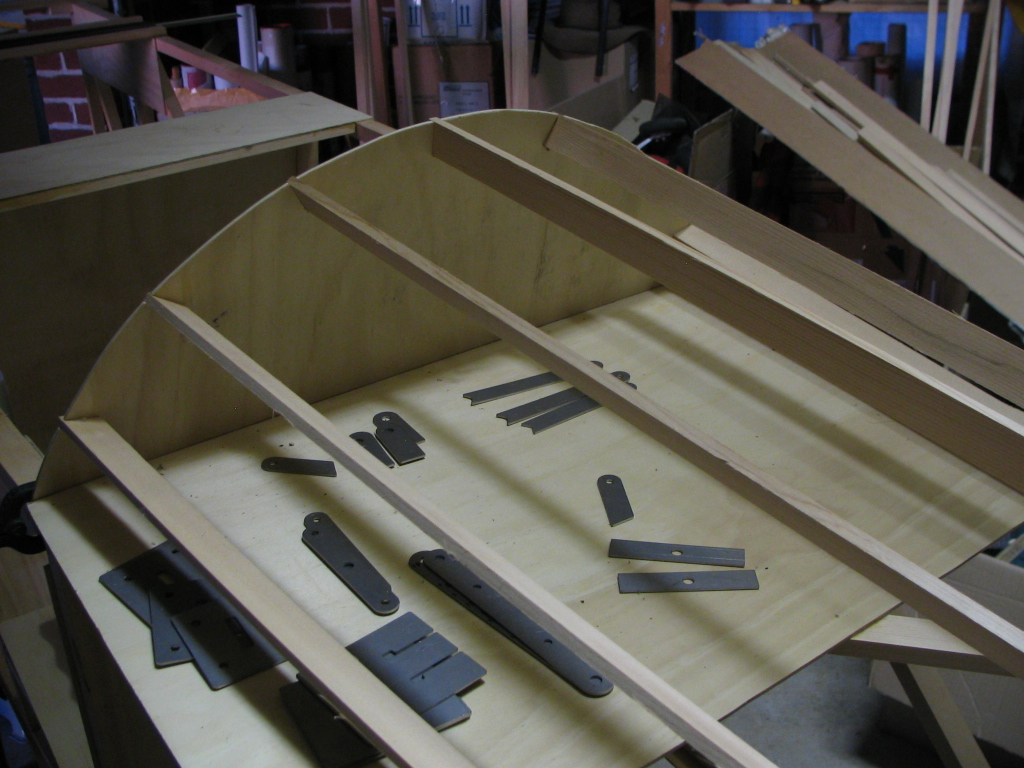
Cut out and glued the turtle deck centre support sections. Once this was all trued, I used a string line and cut the notches for the remaining stringers and glued them in...
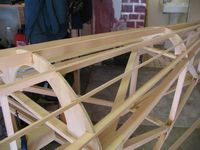
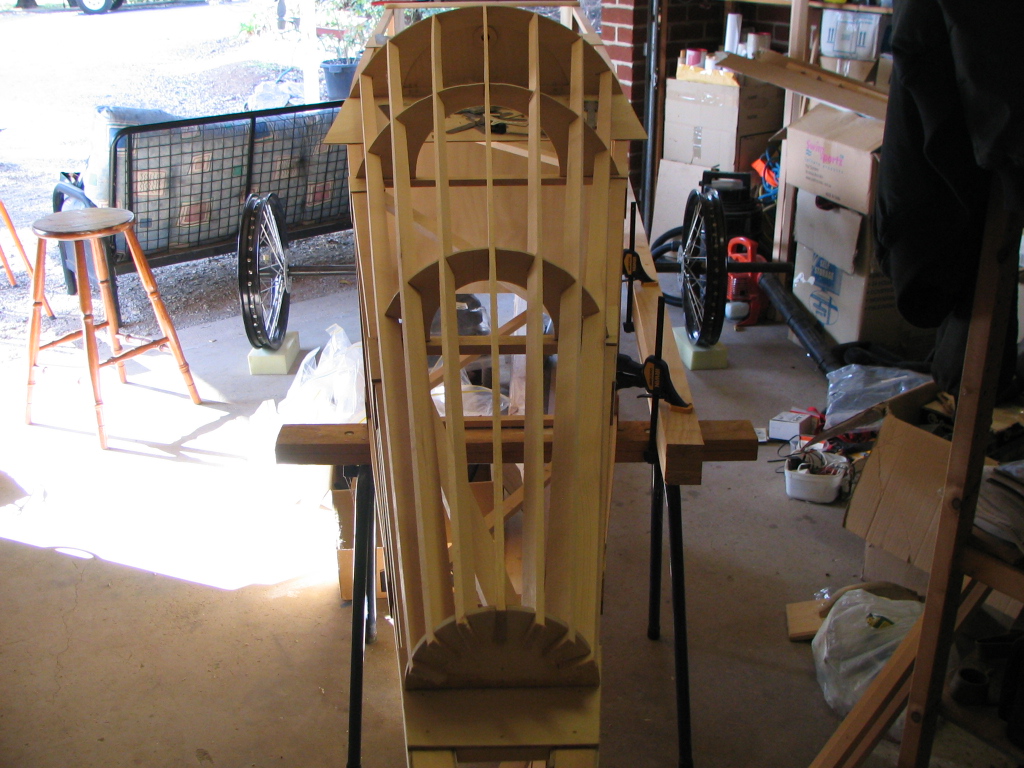
Turtle deck basically complete...

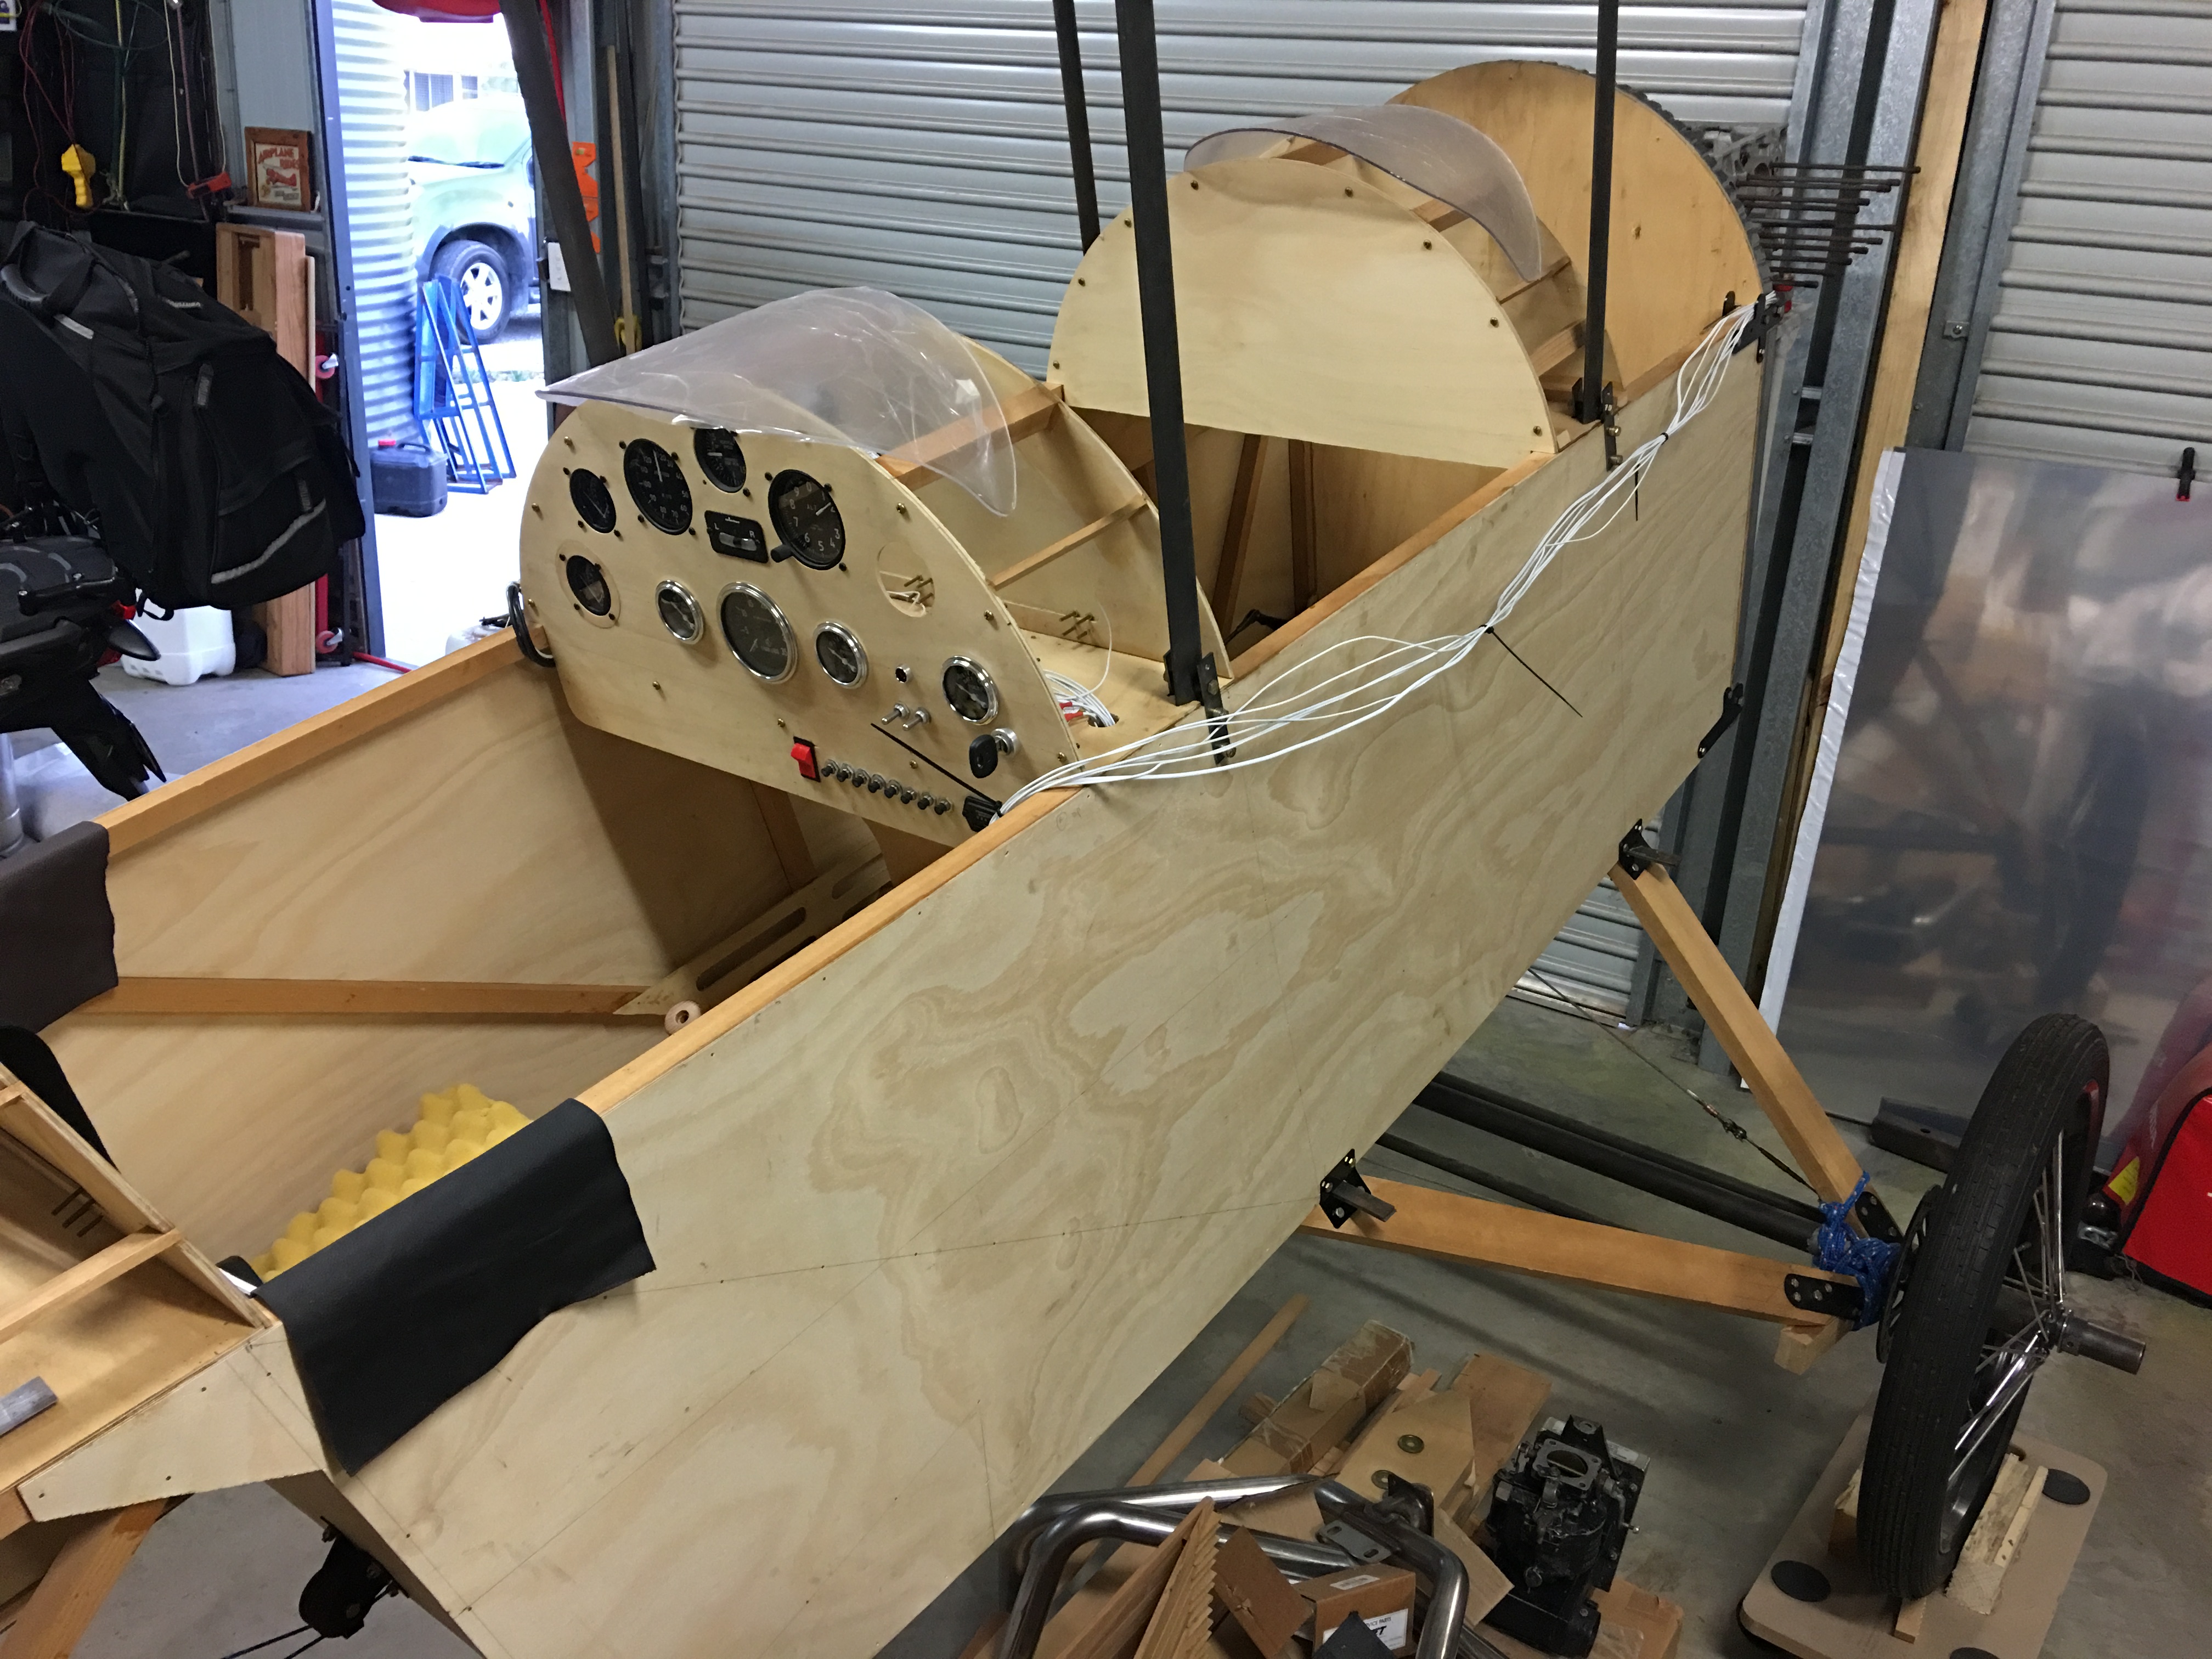
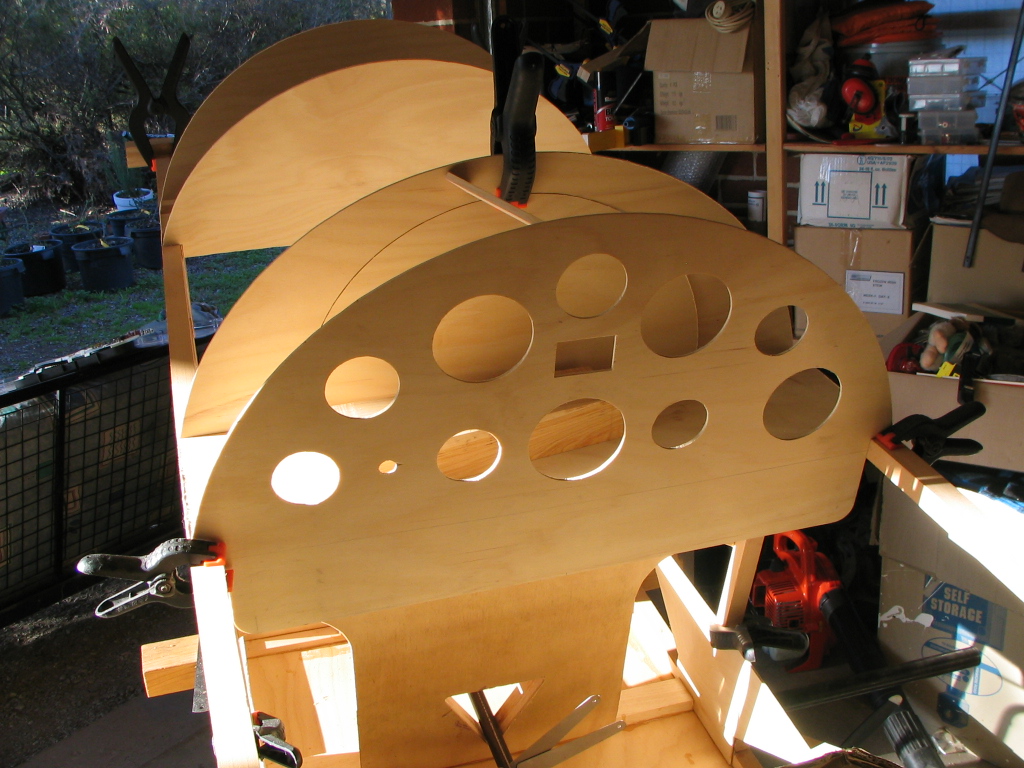
Working on the instrument panels and thought I would bring it out again and assemble what I have done...


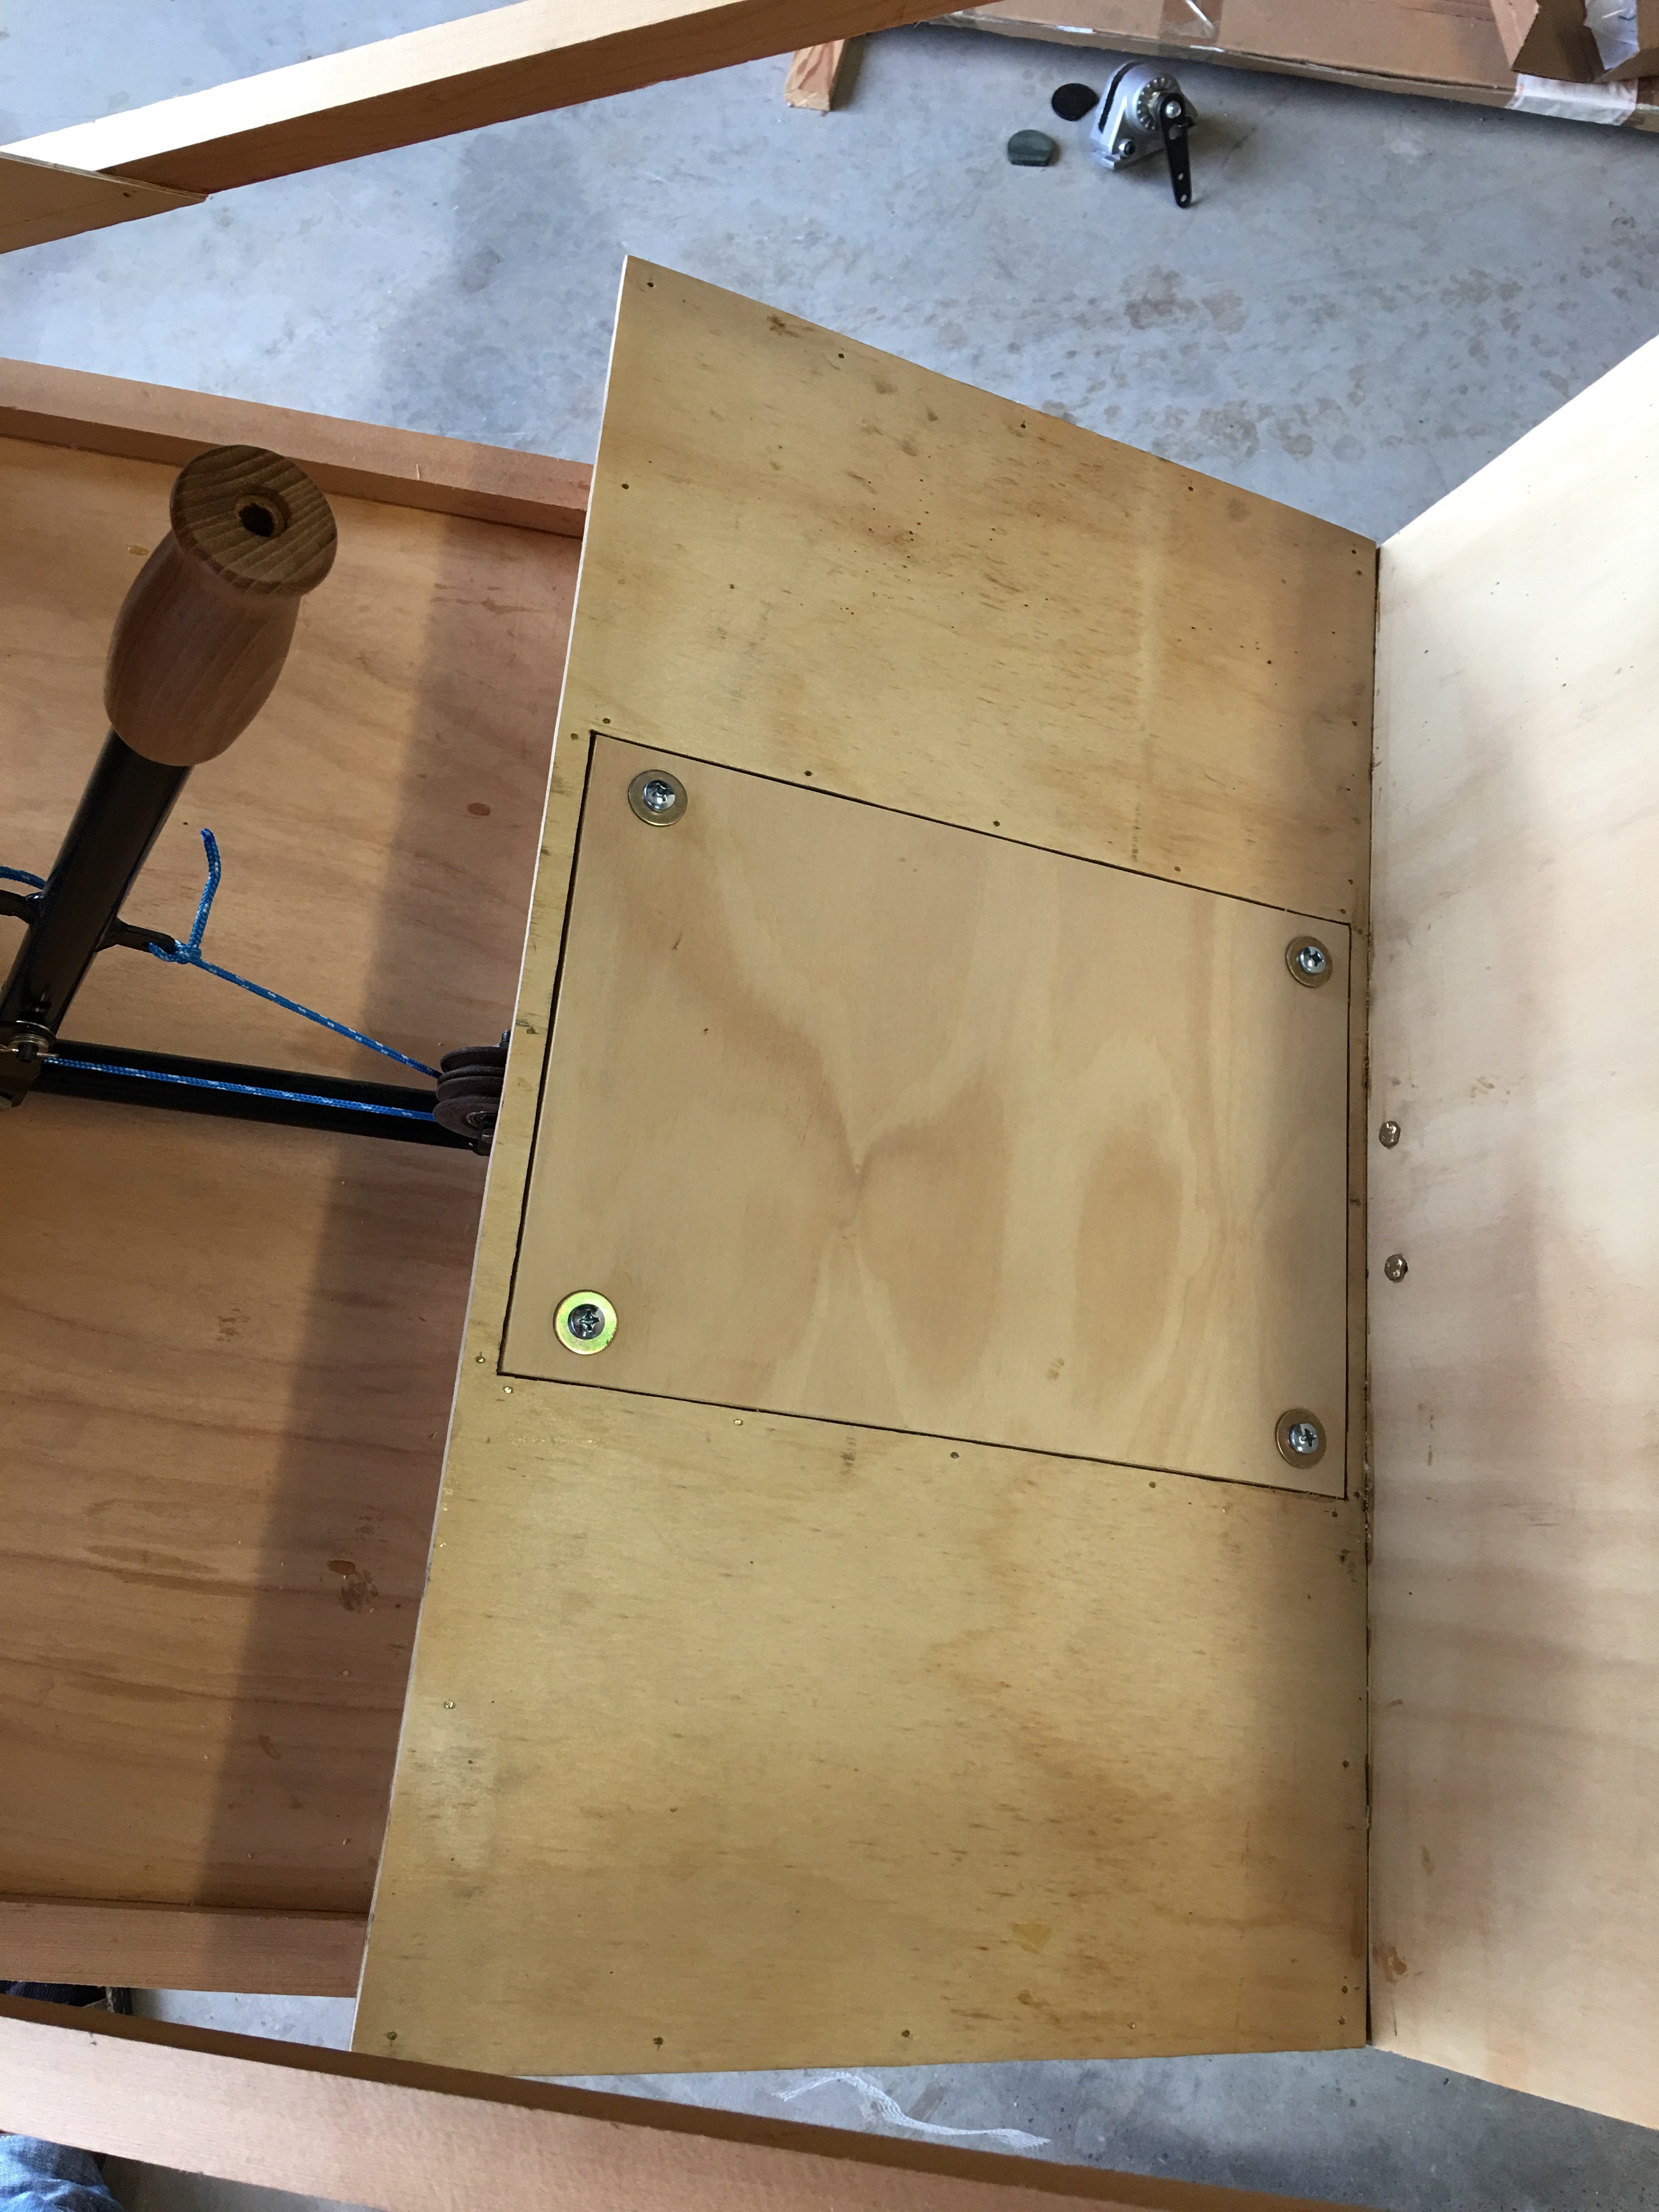
Instrument hole cutting and the access panel in to the rear of the instruments cut out...

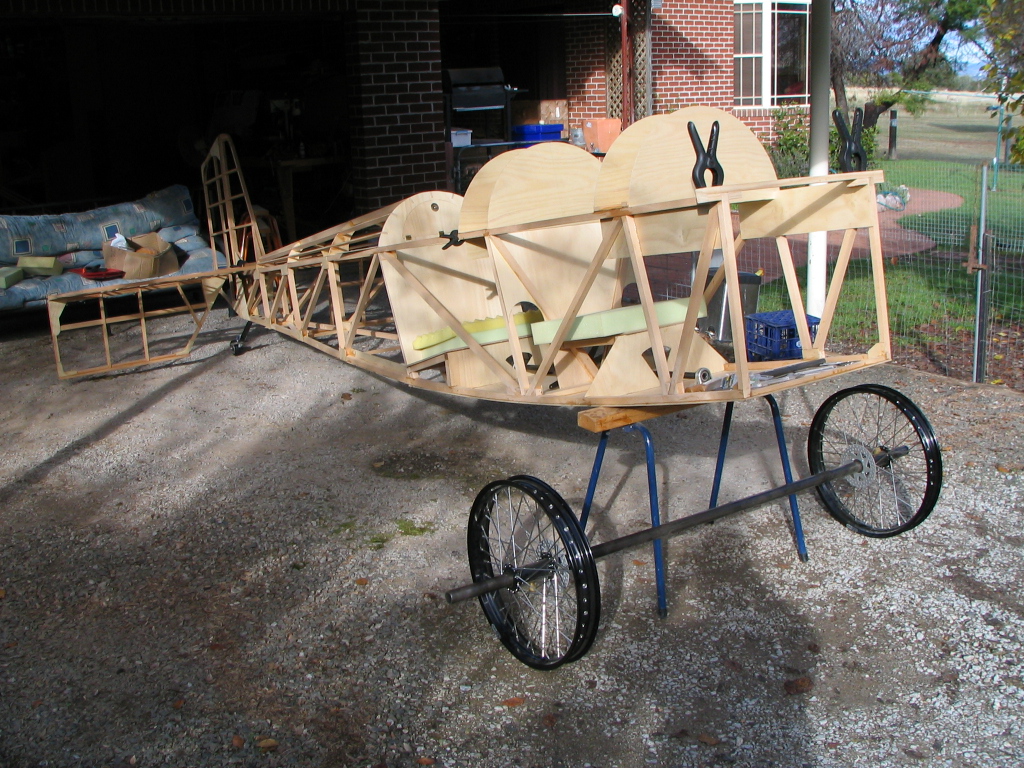
30th March 2014 and she stands on her on 3 feet!

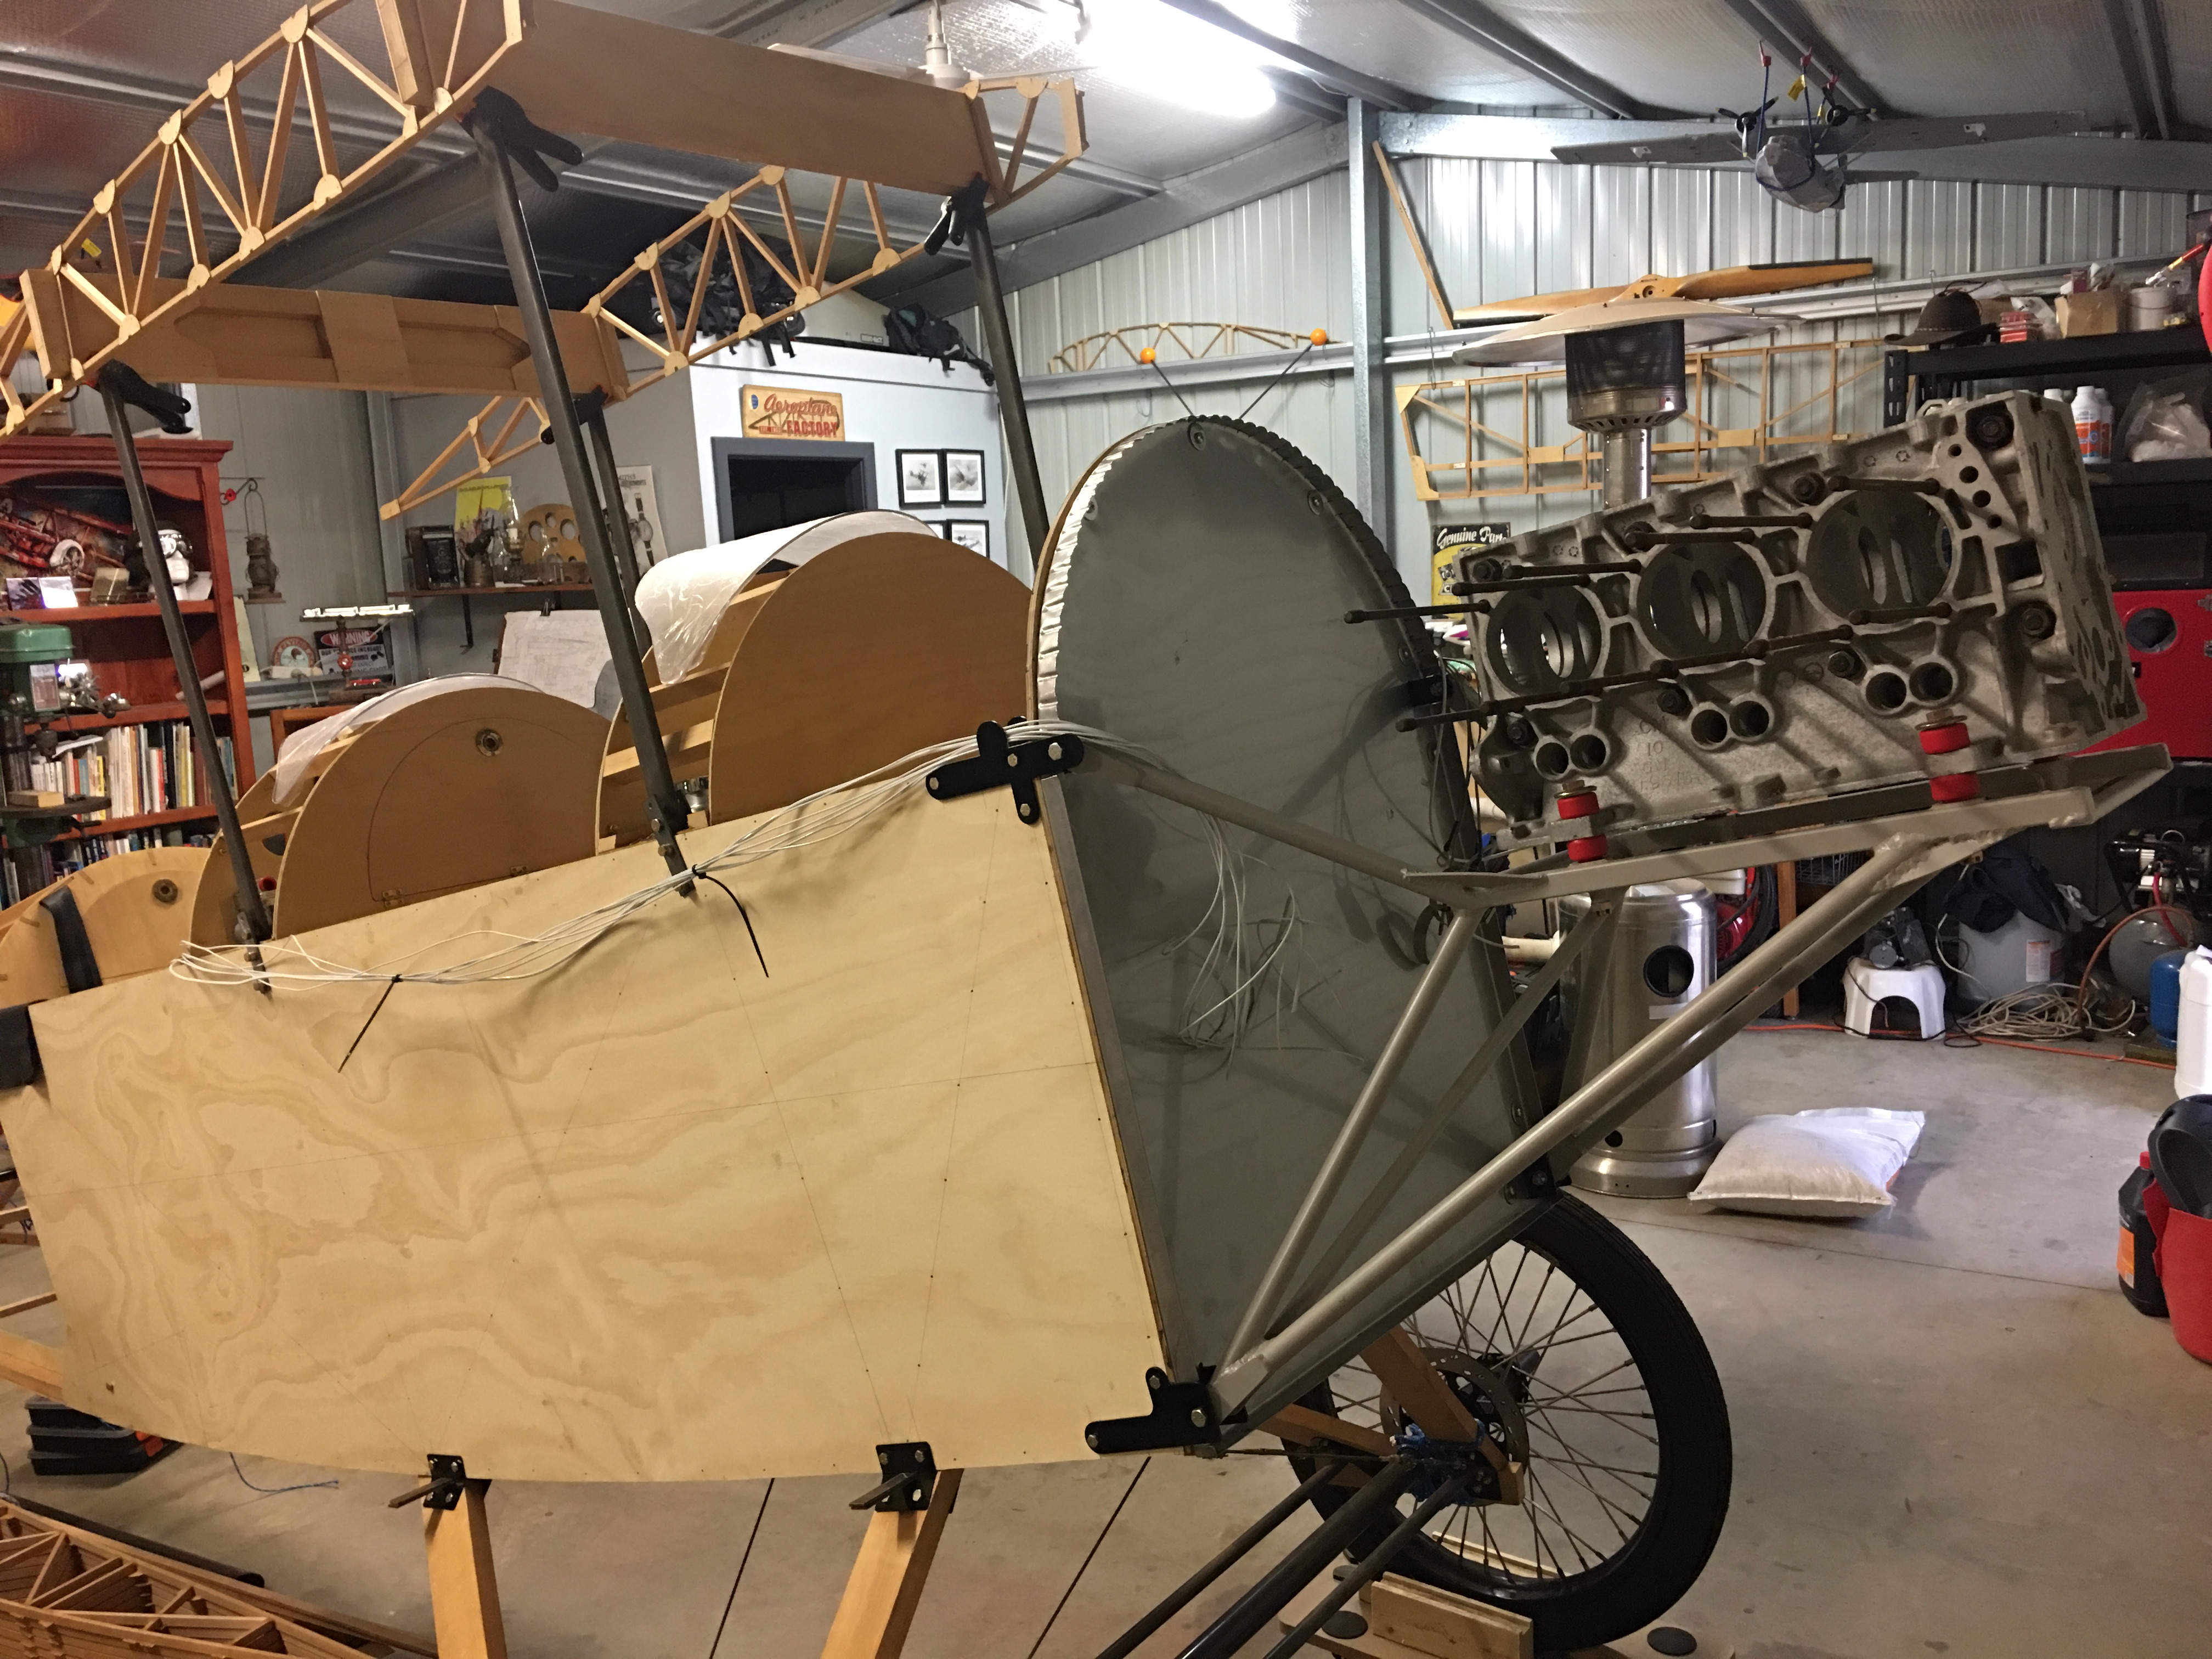
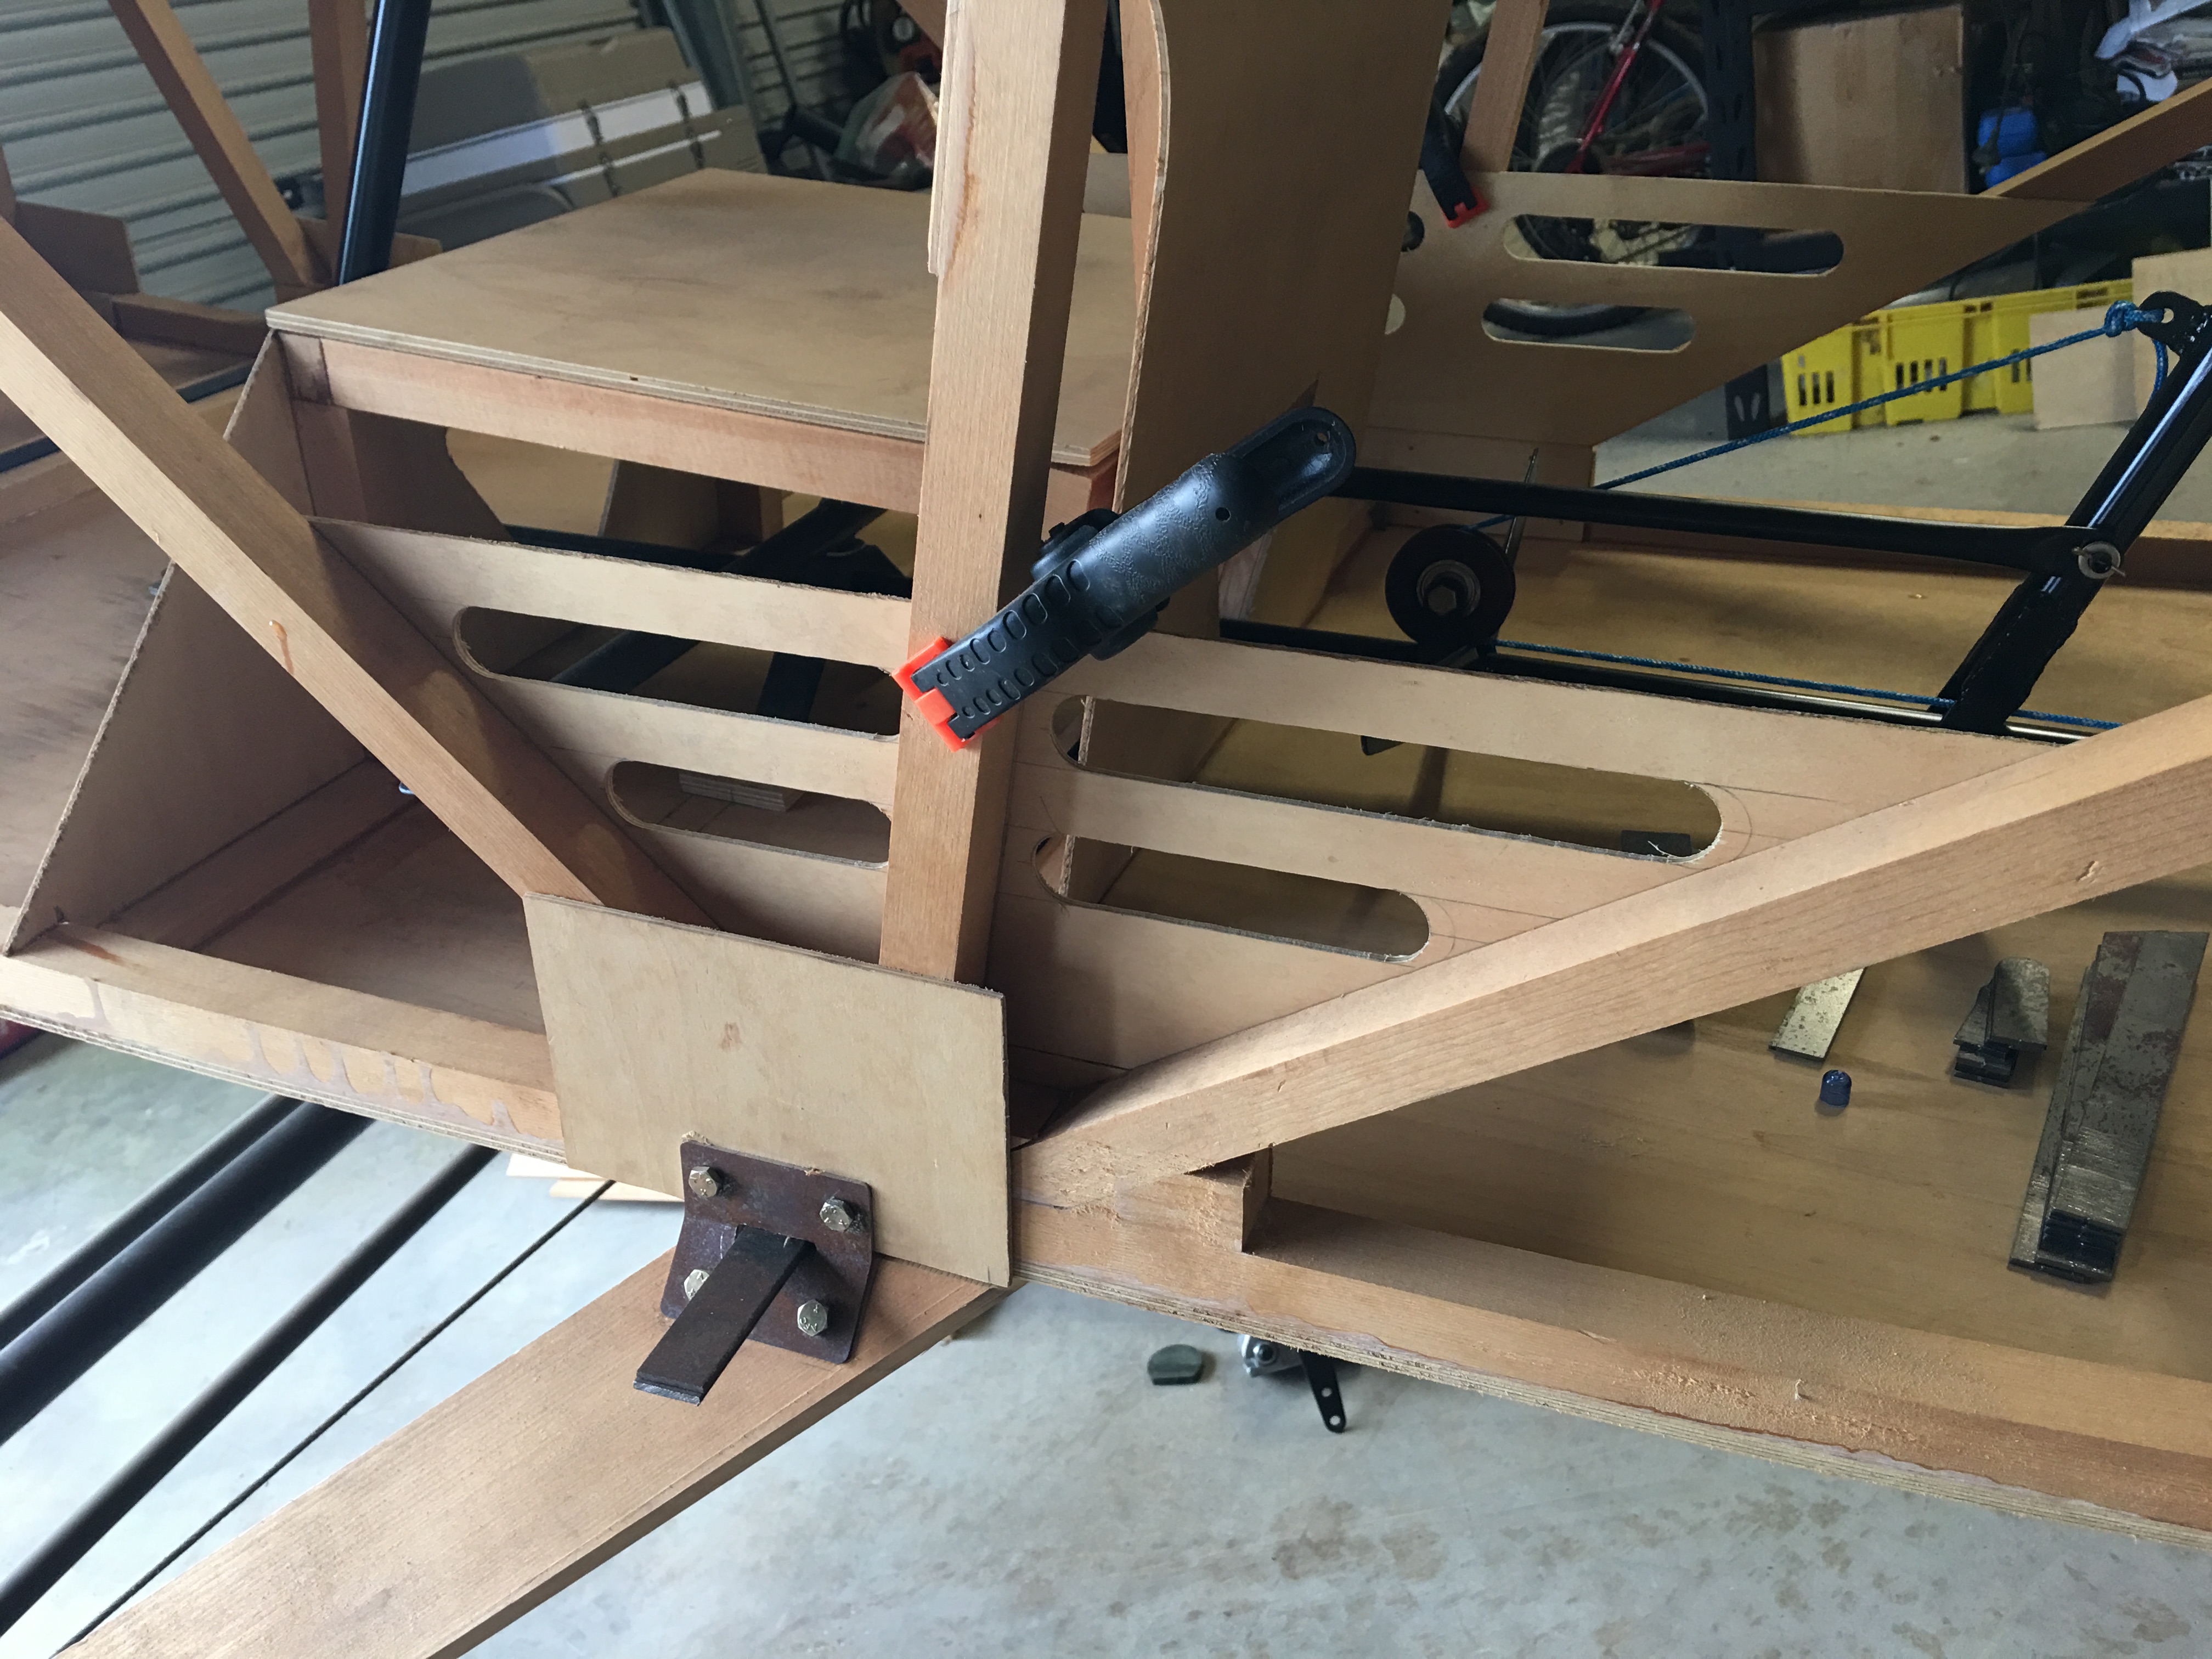
Fuselage engine mount metal fittings installed...
Side parcel tray cut outs done and glued on...
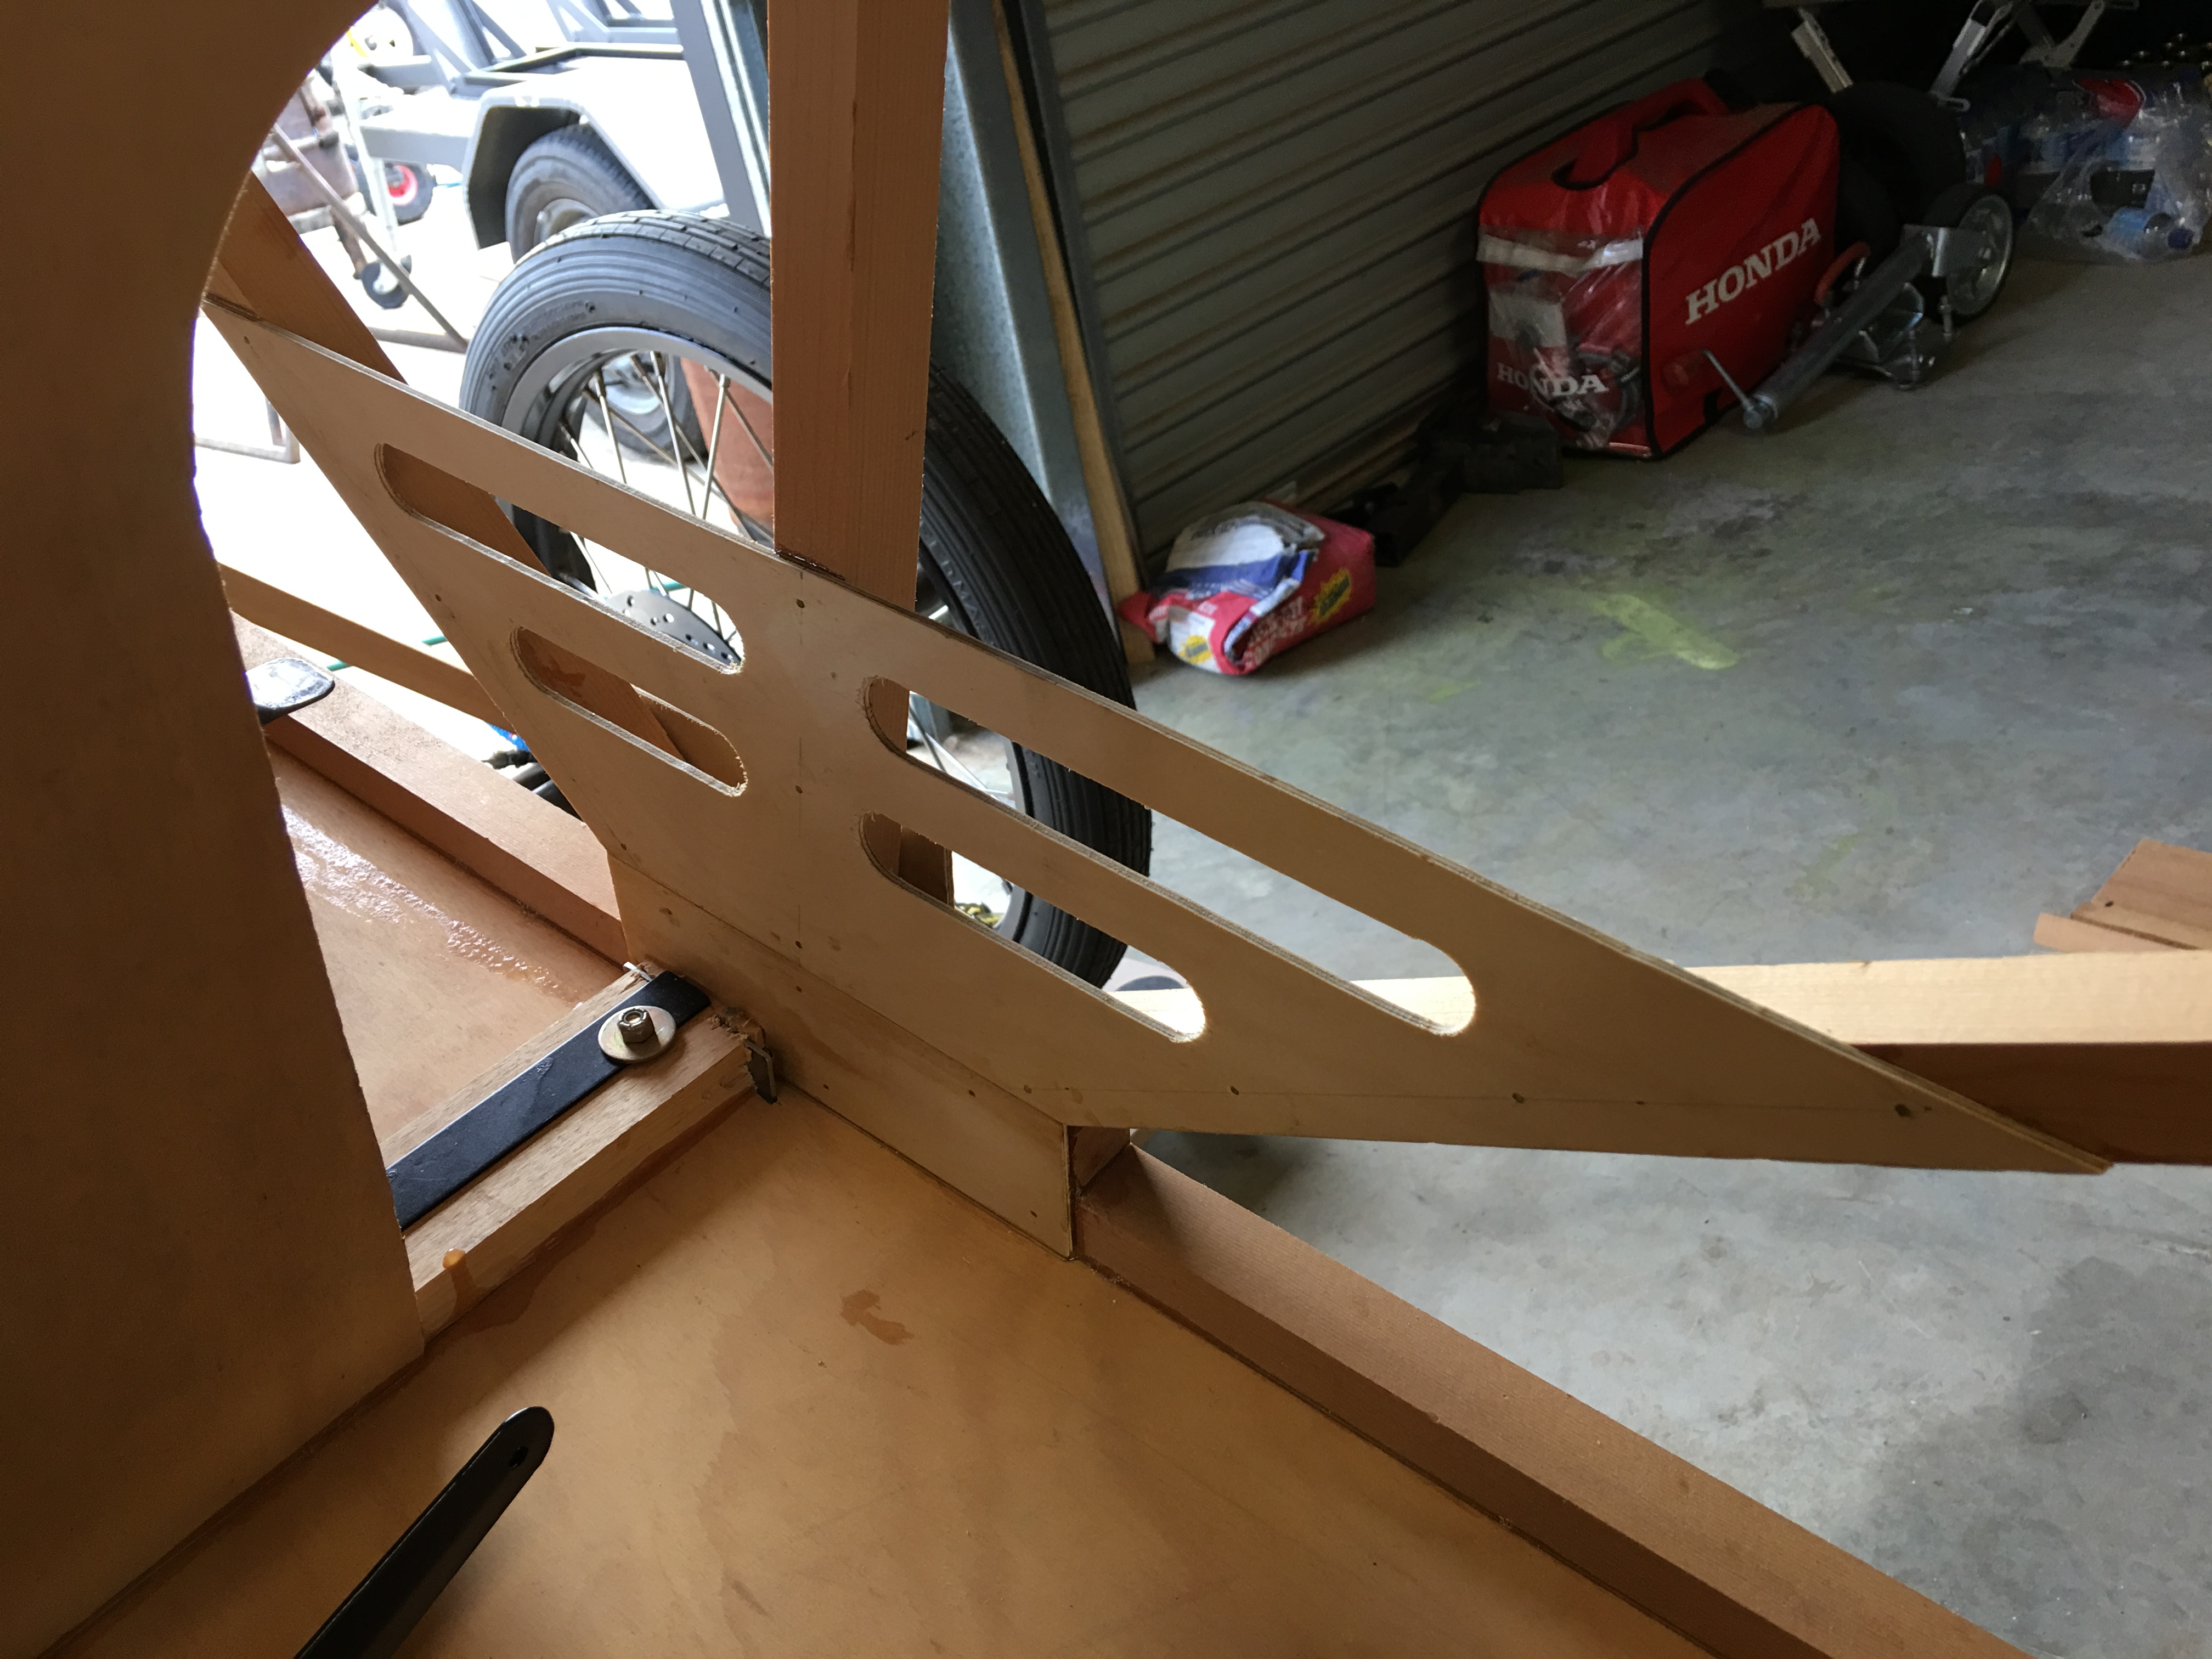
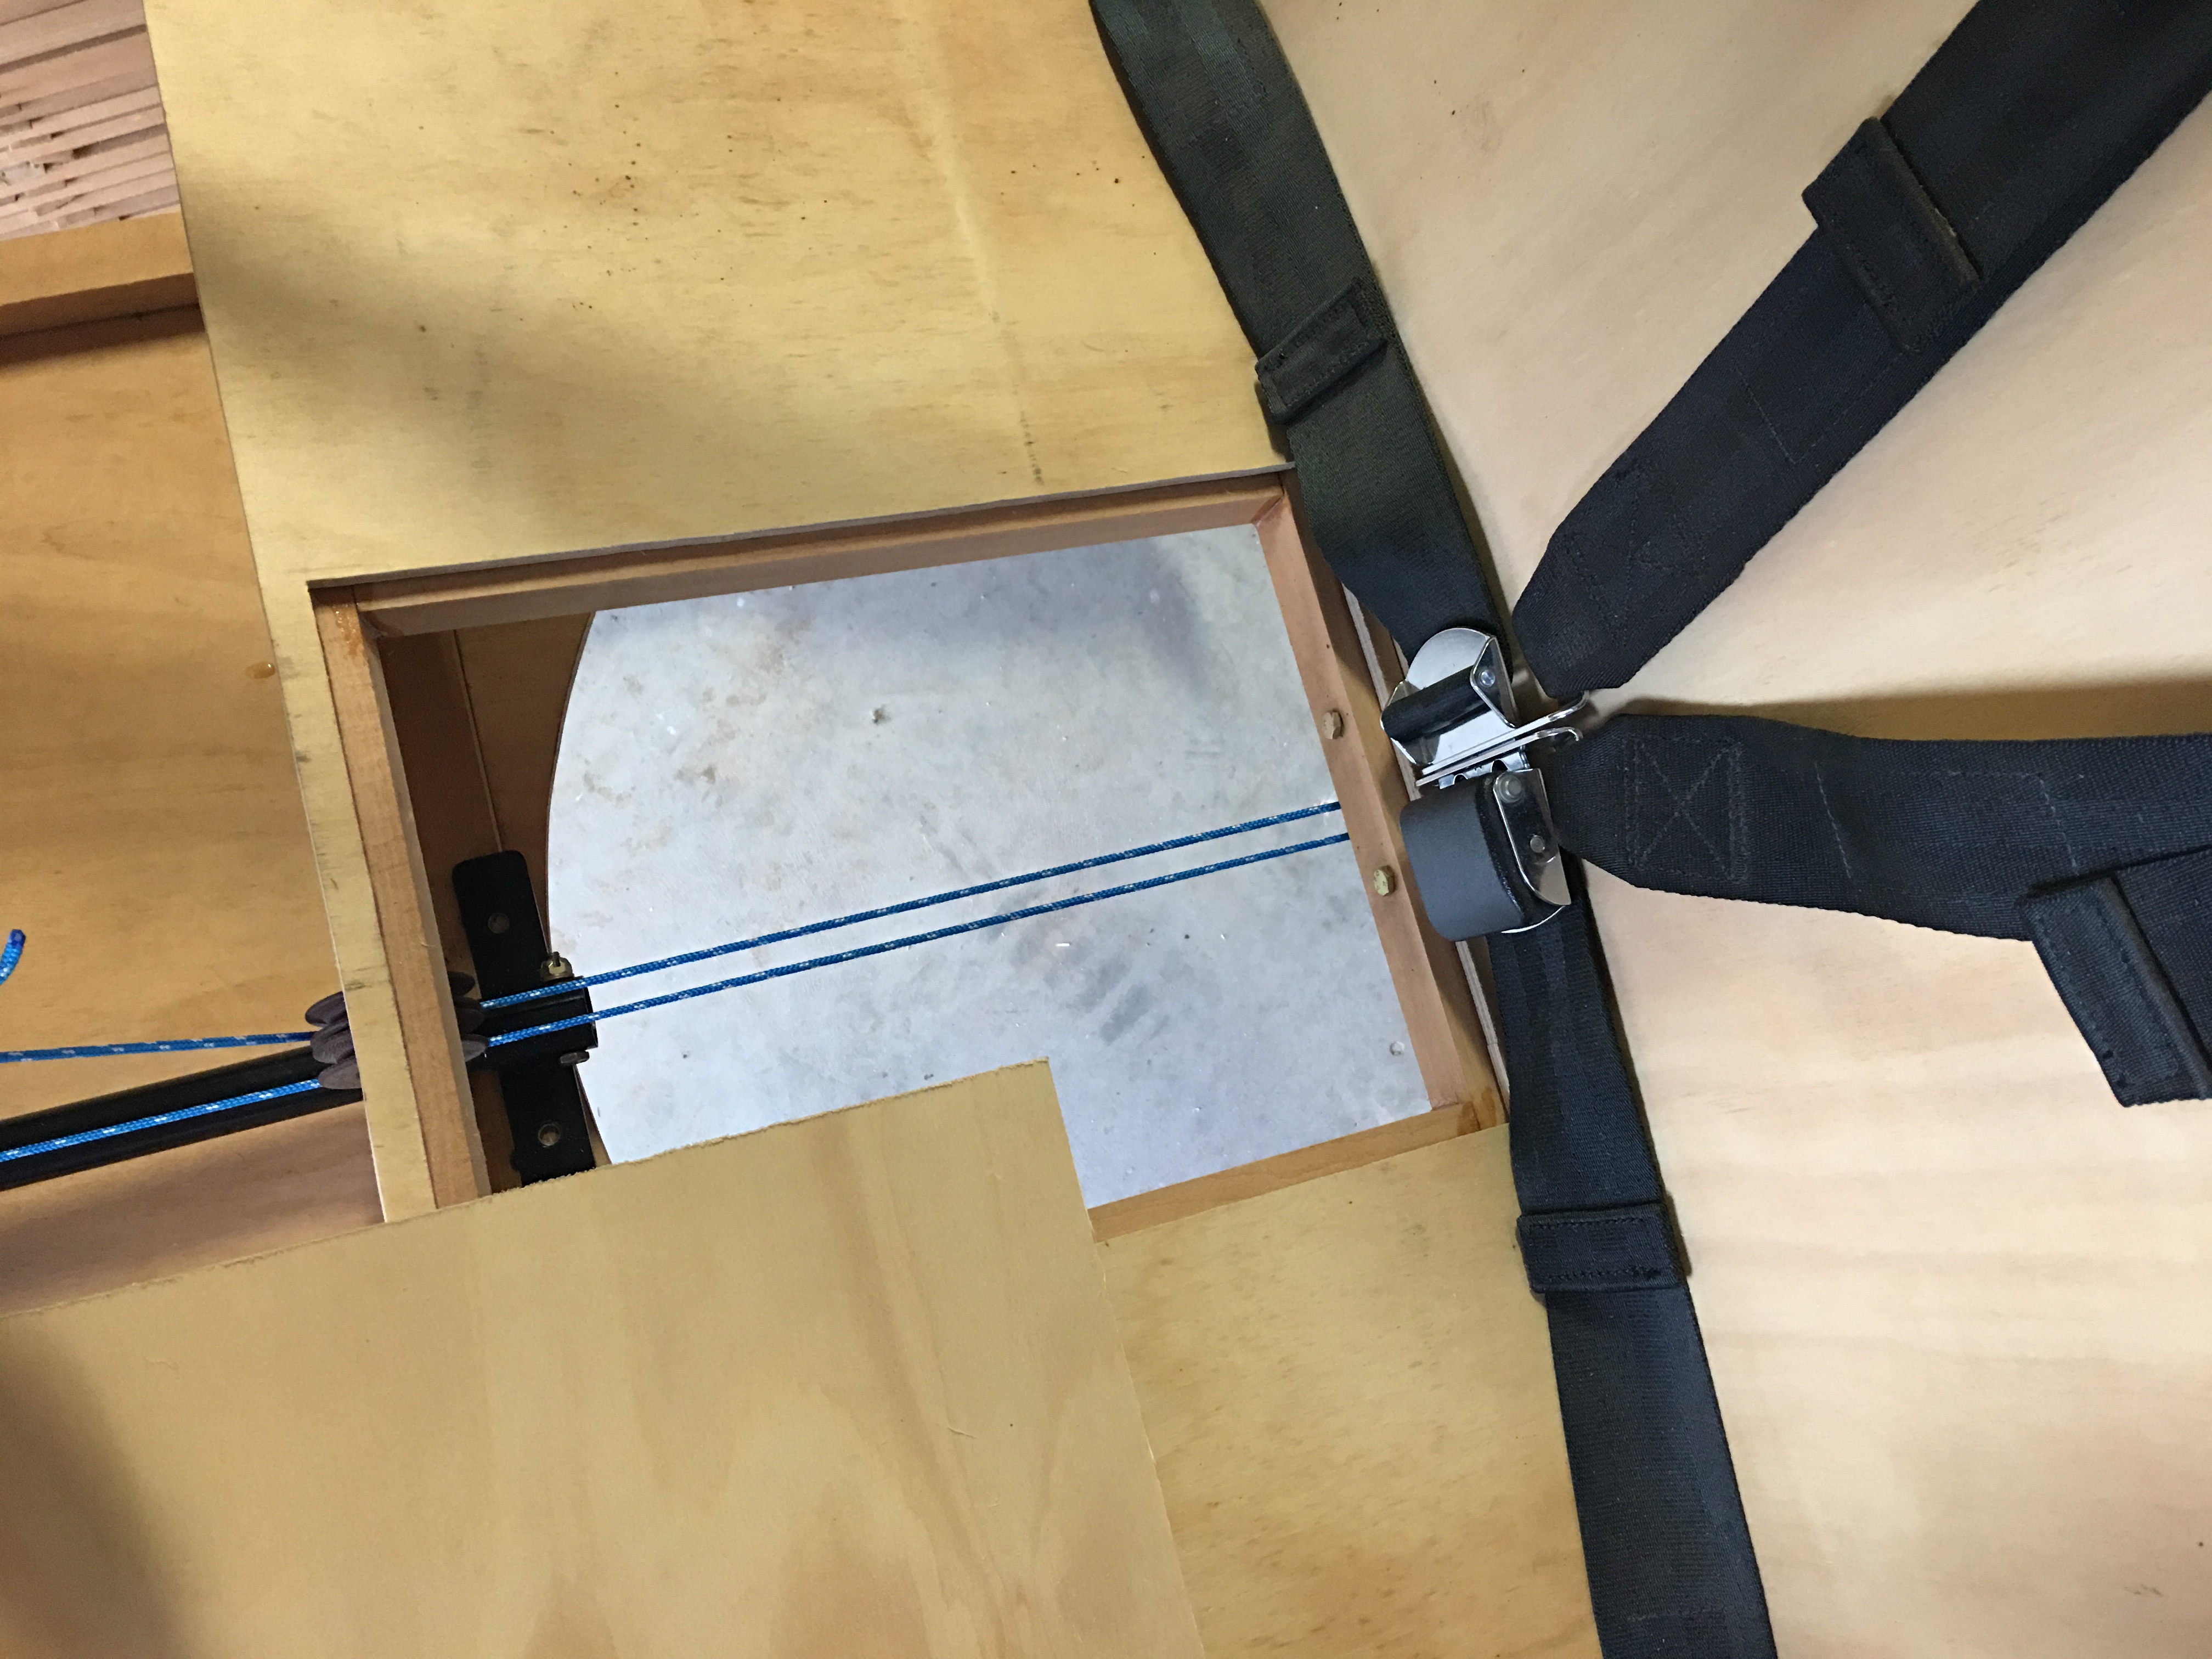
Rear seat I have made a removeable centre section for easier access to underneath once it is finished...


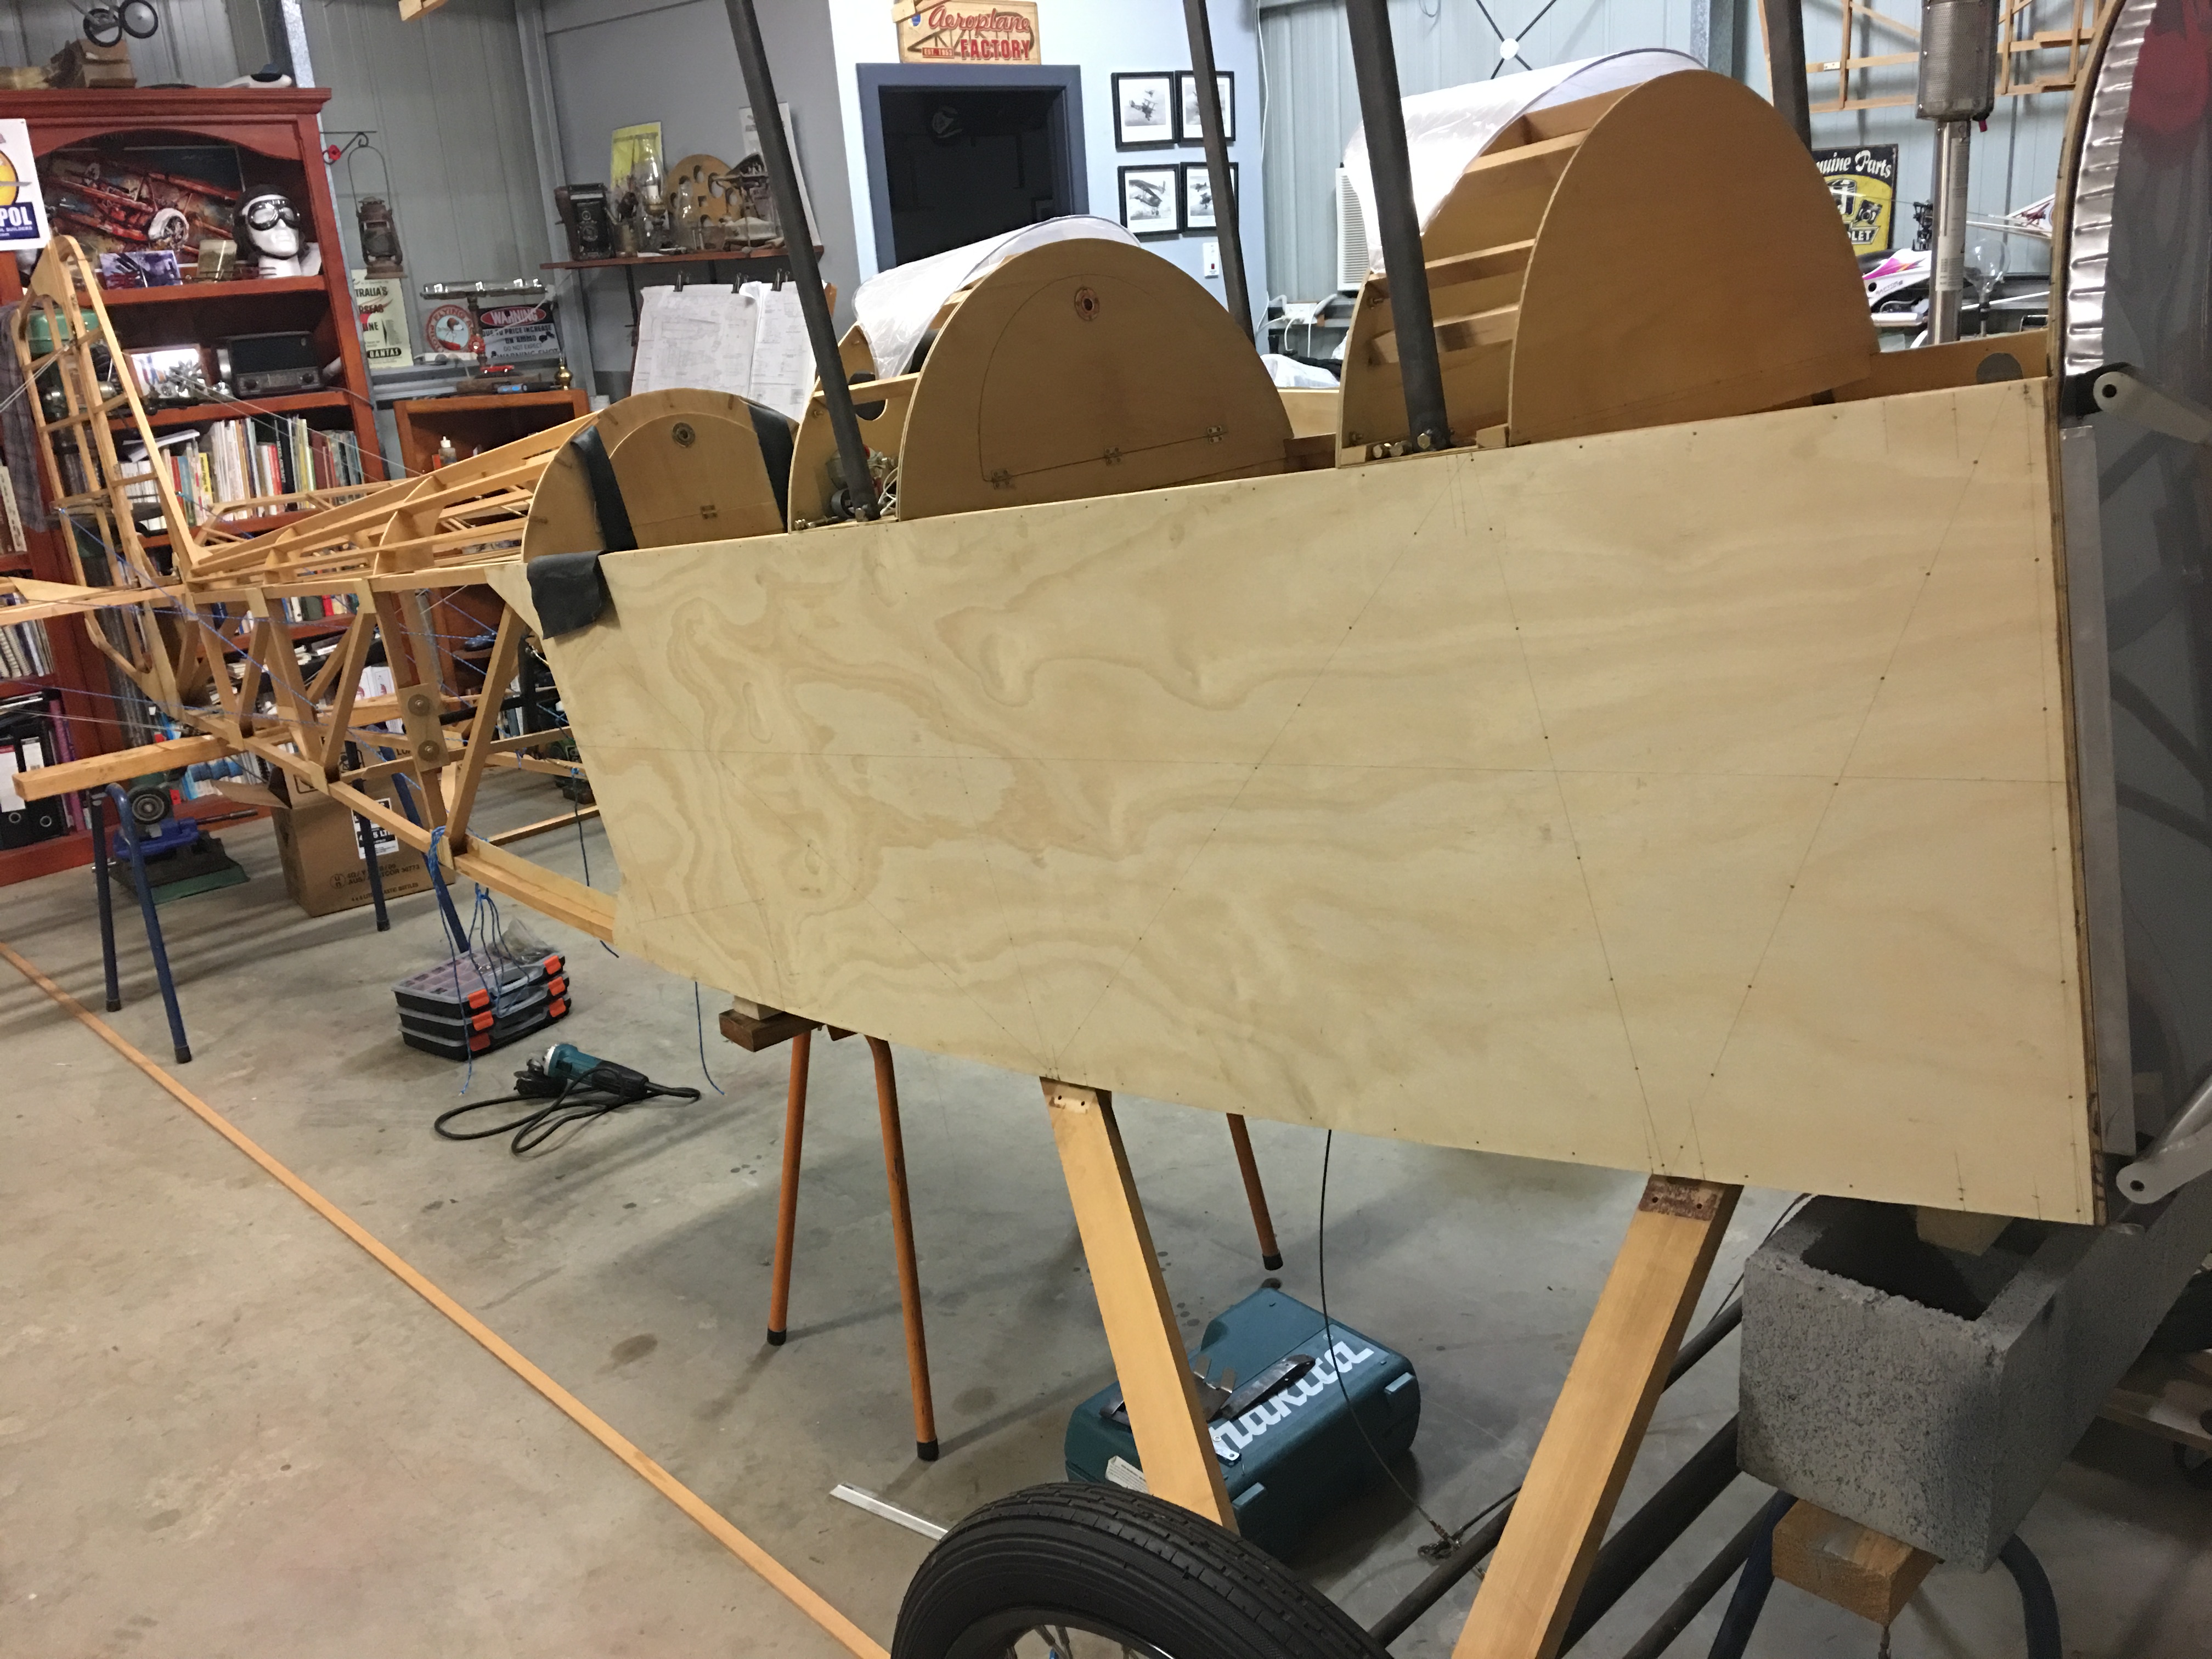
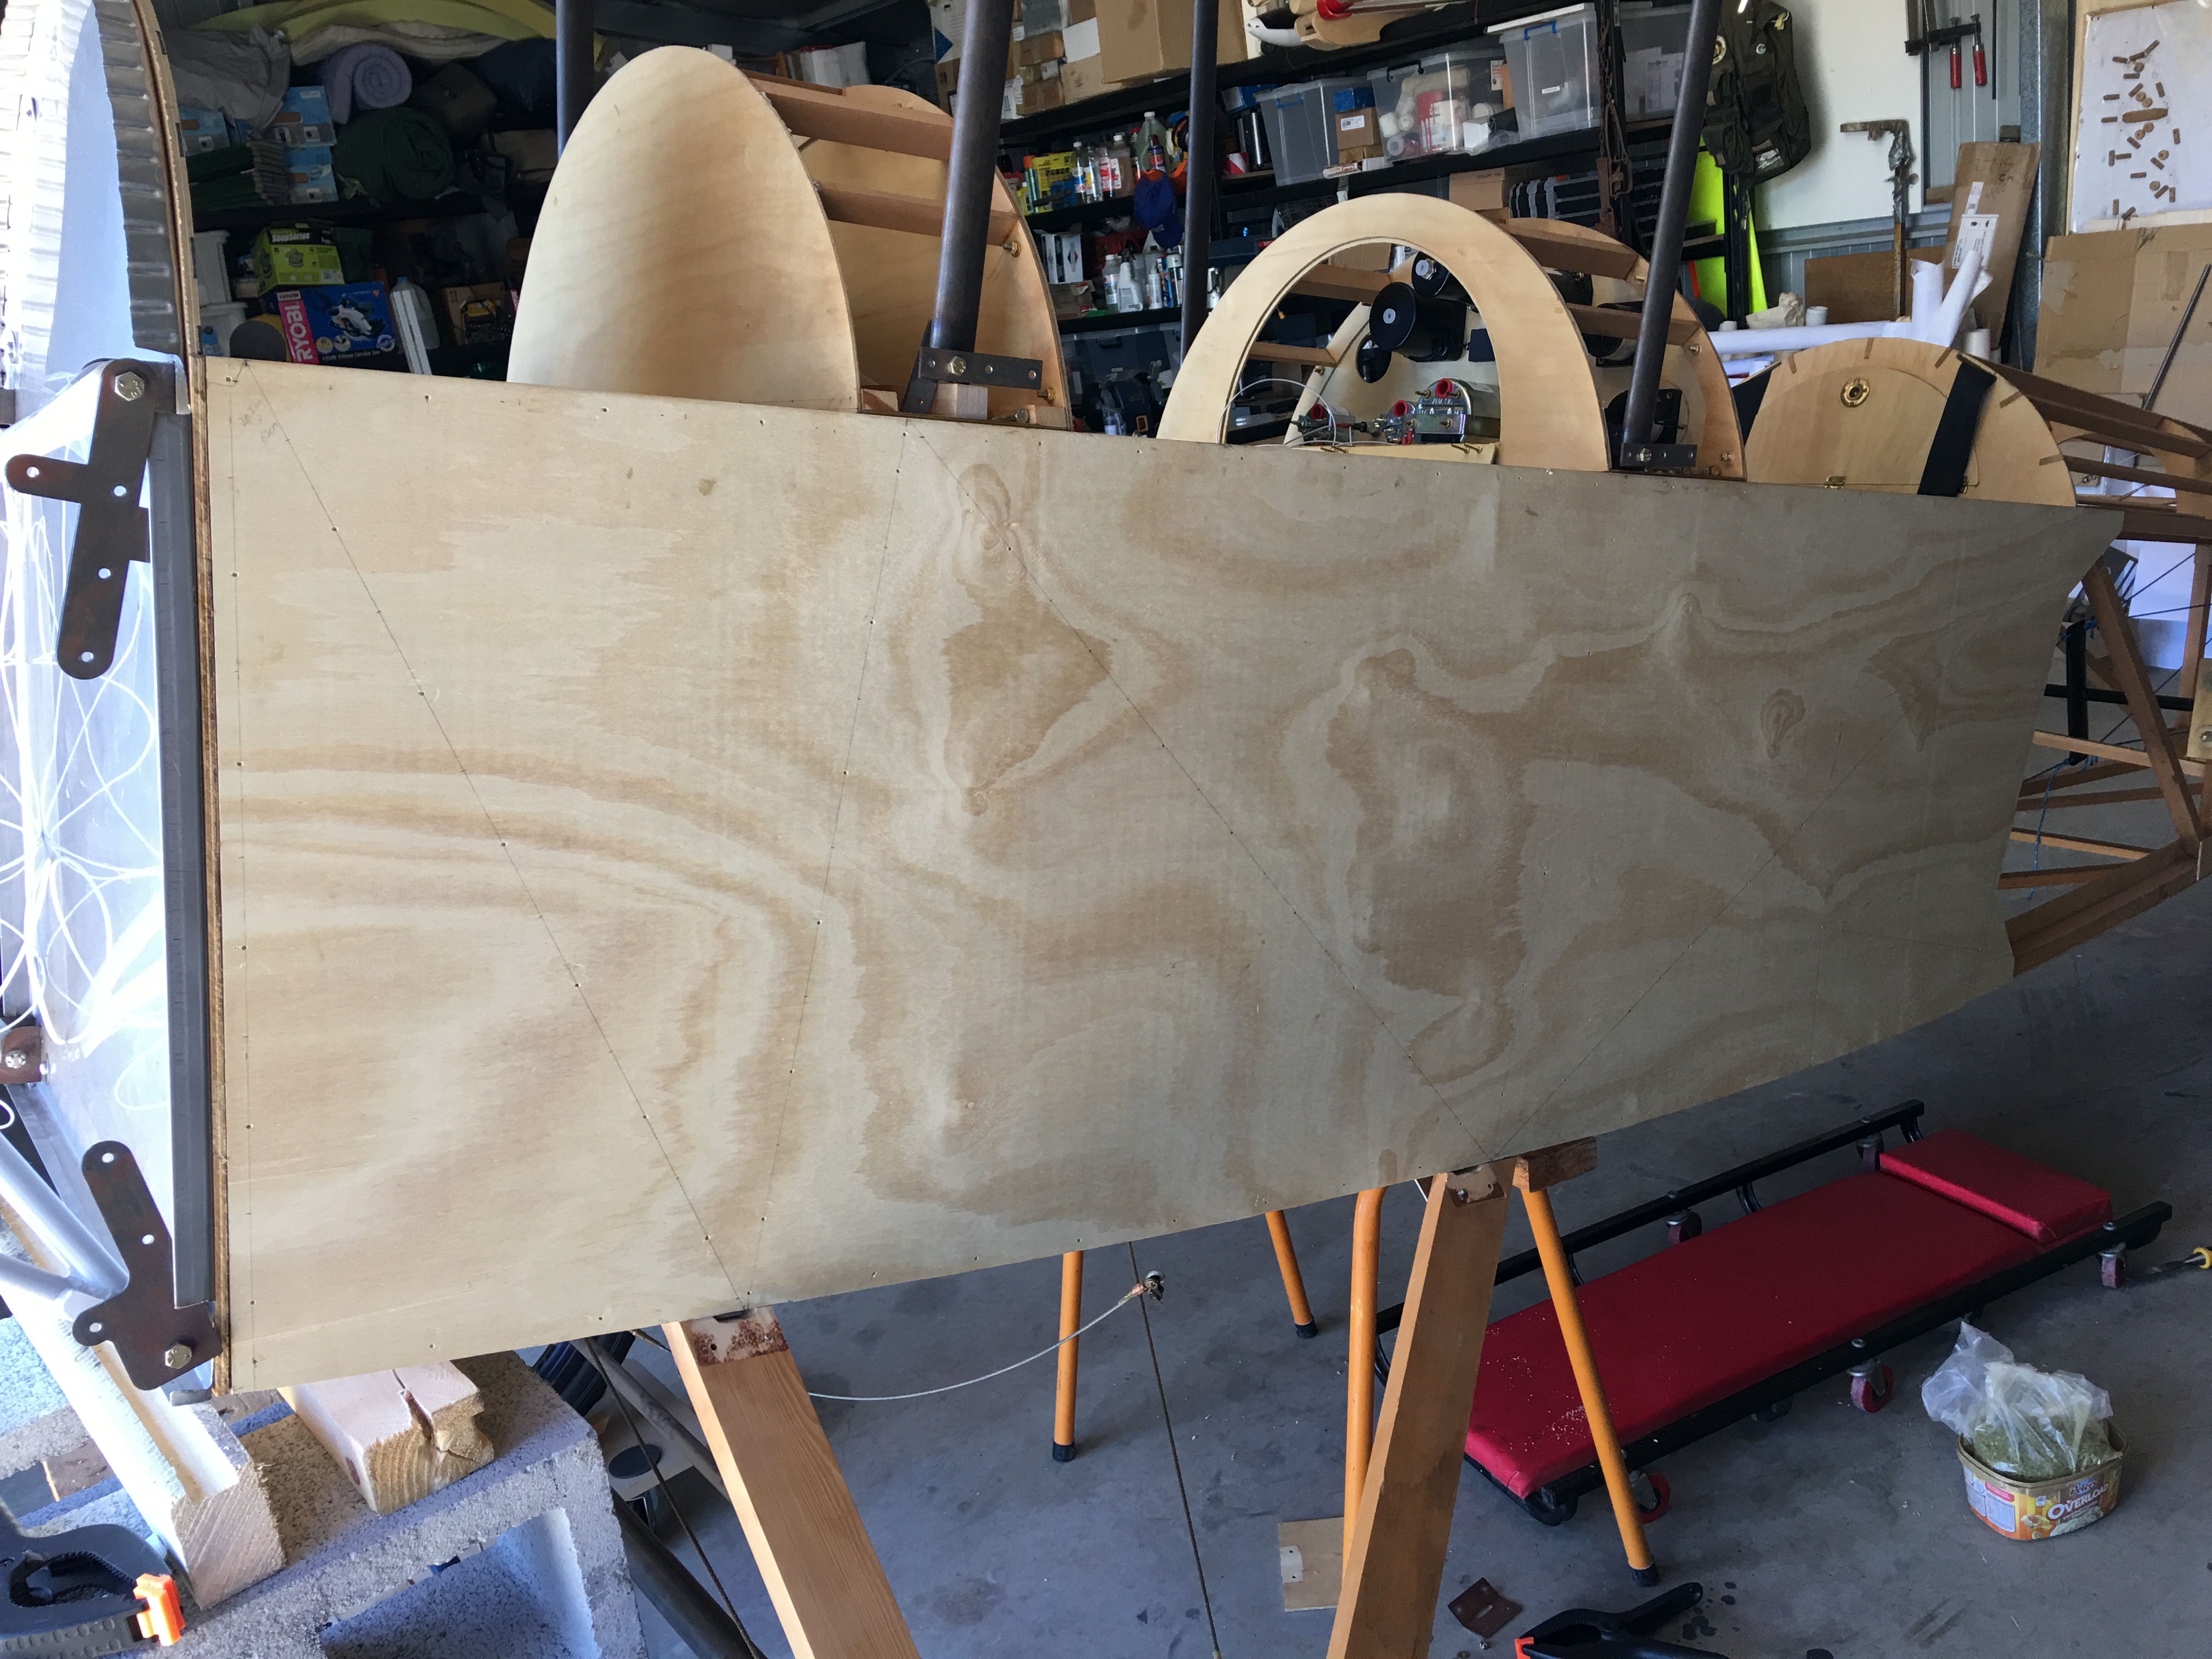
Left side of fuselage sheeted...


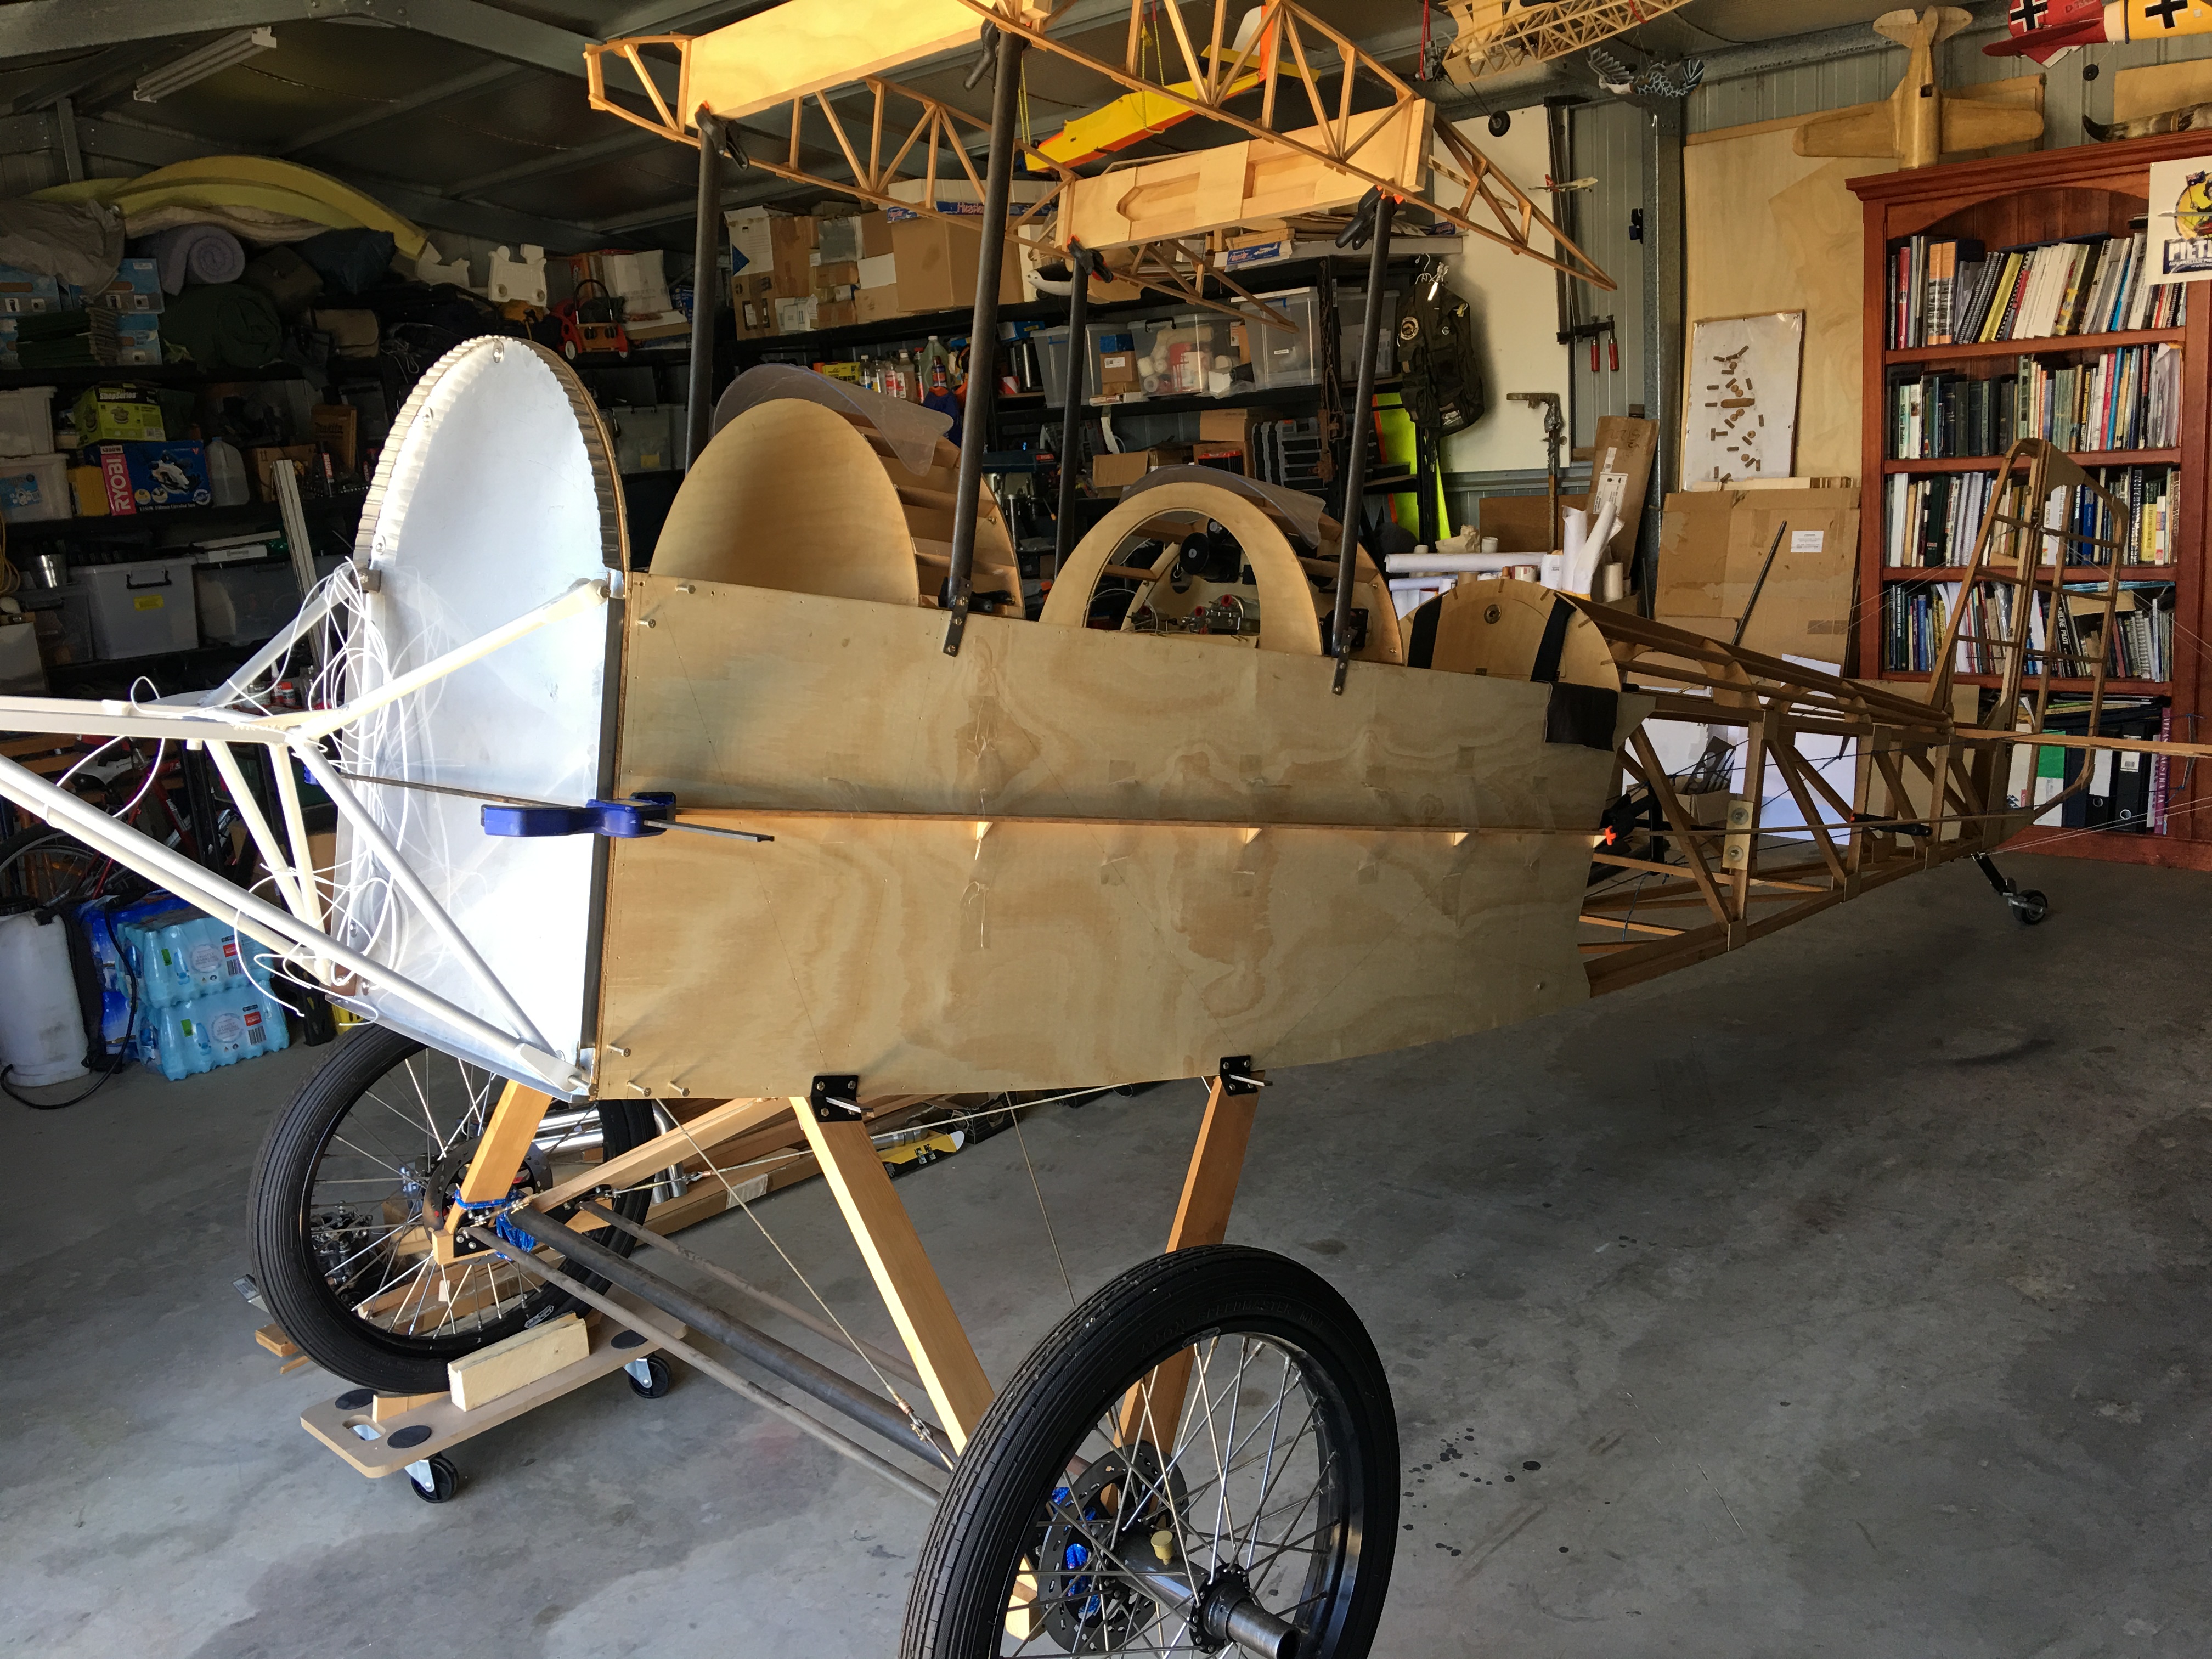
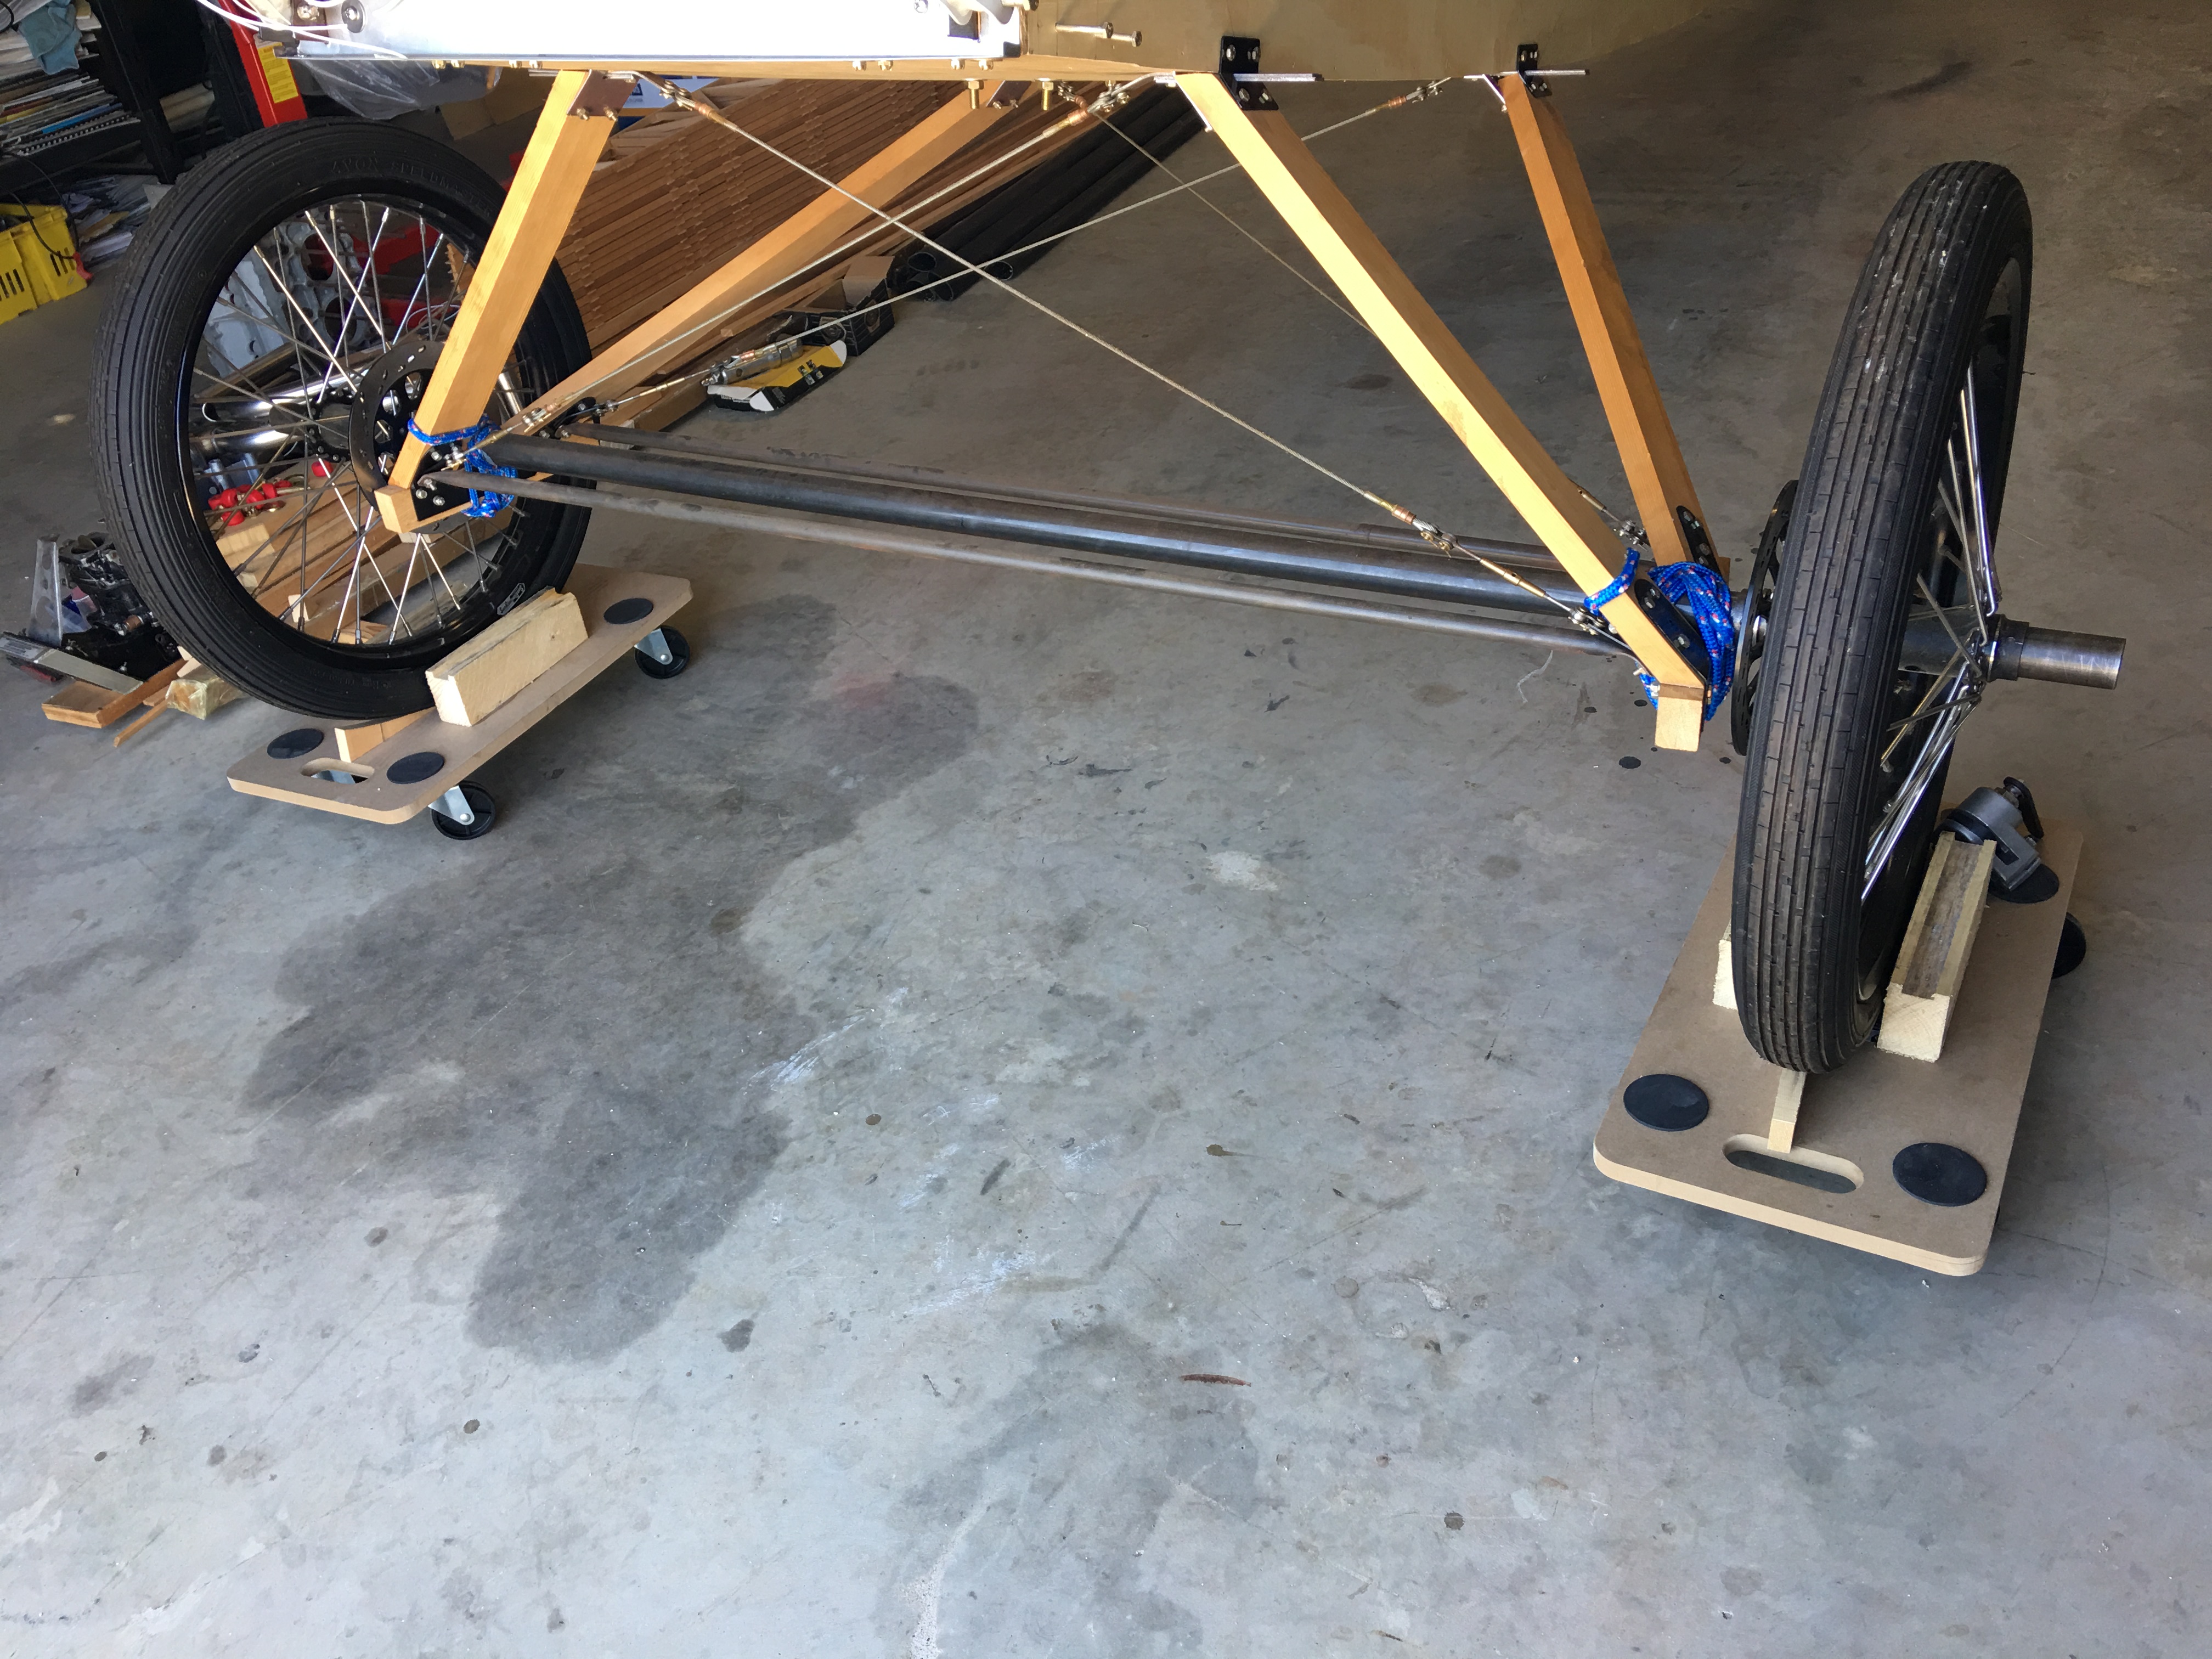
A good way to move the Piet around in the garage is to put these dollys under the main wheels...
Right side of Fuselage sheeted...