Wing Ribs
(Click on images to enlarge)
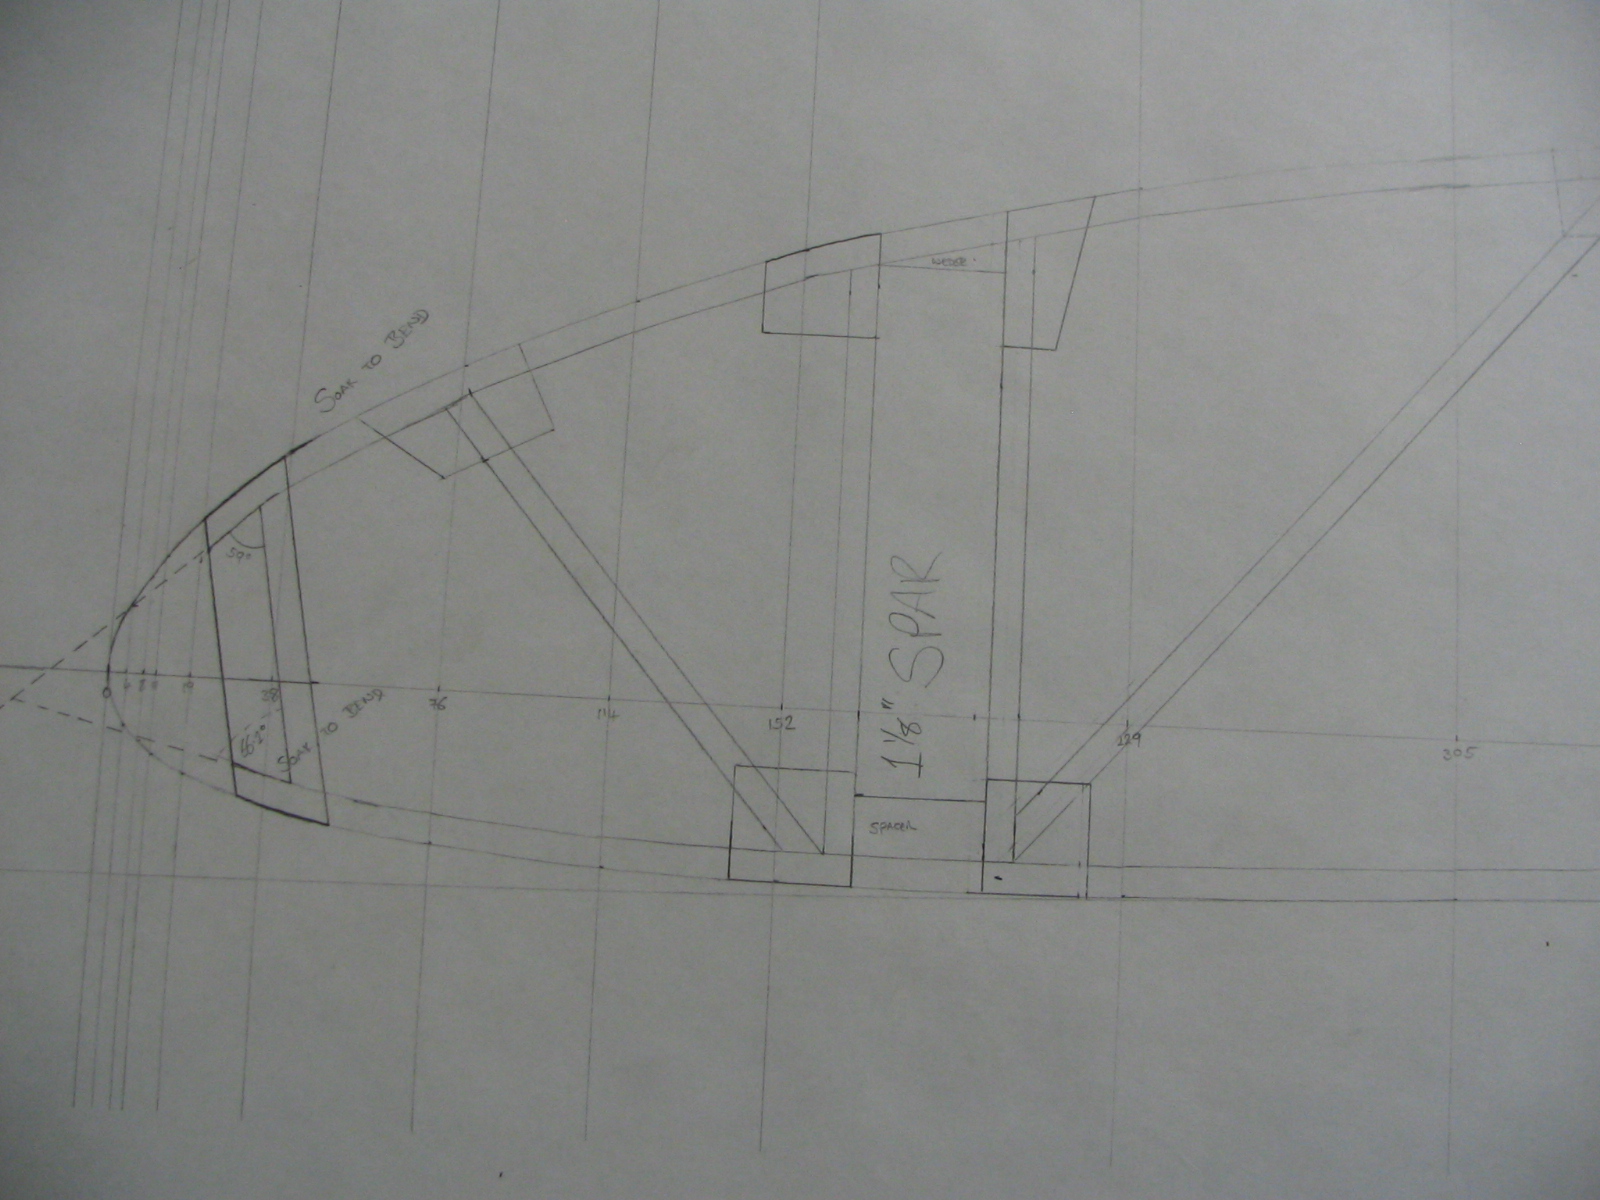
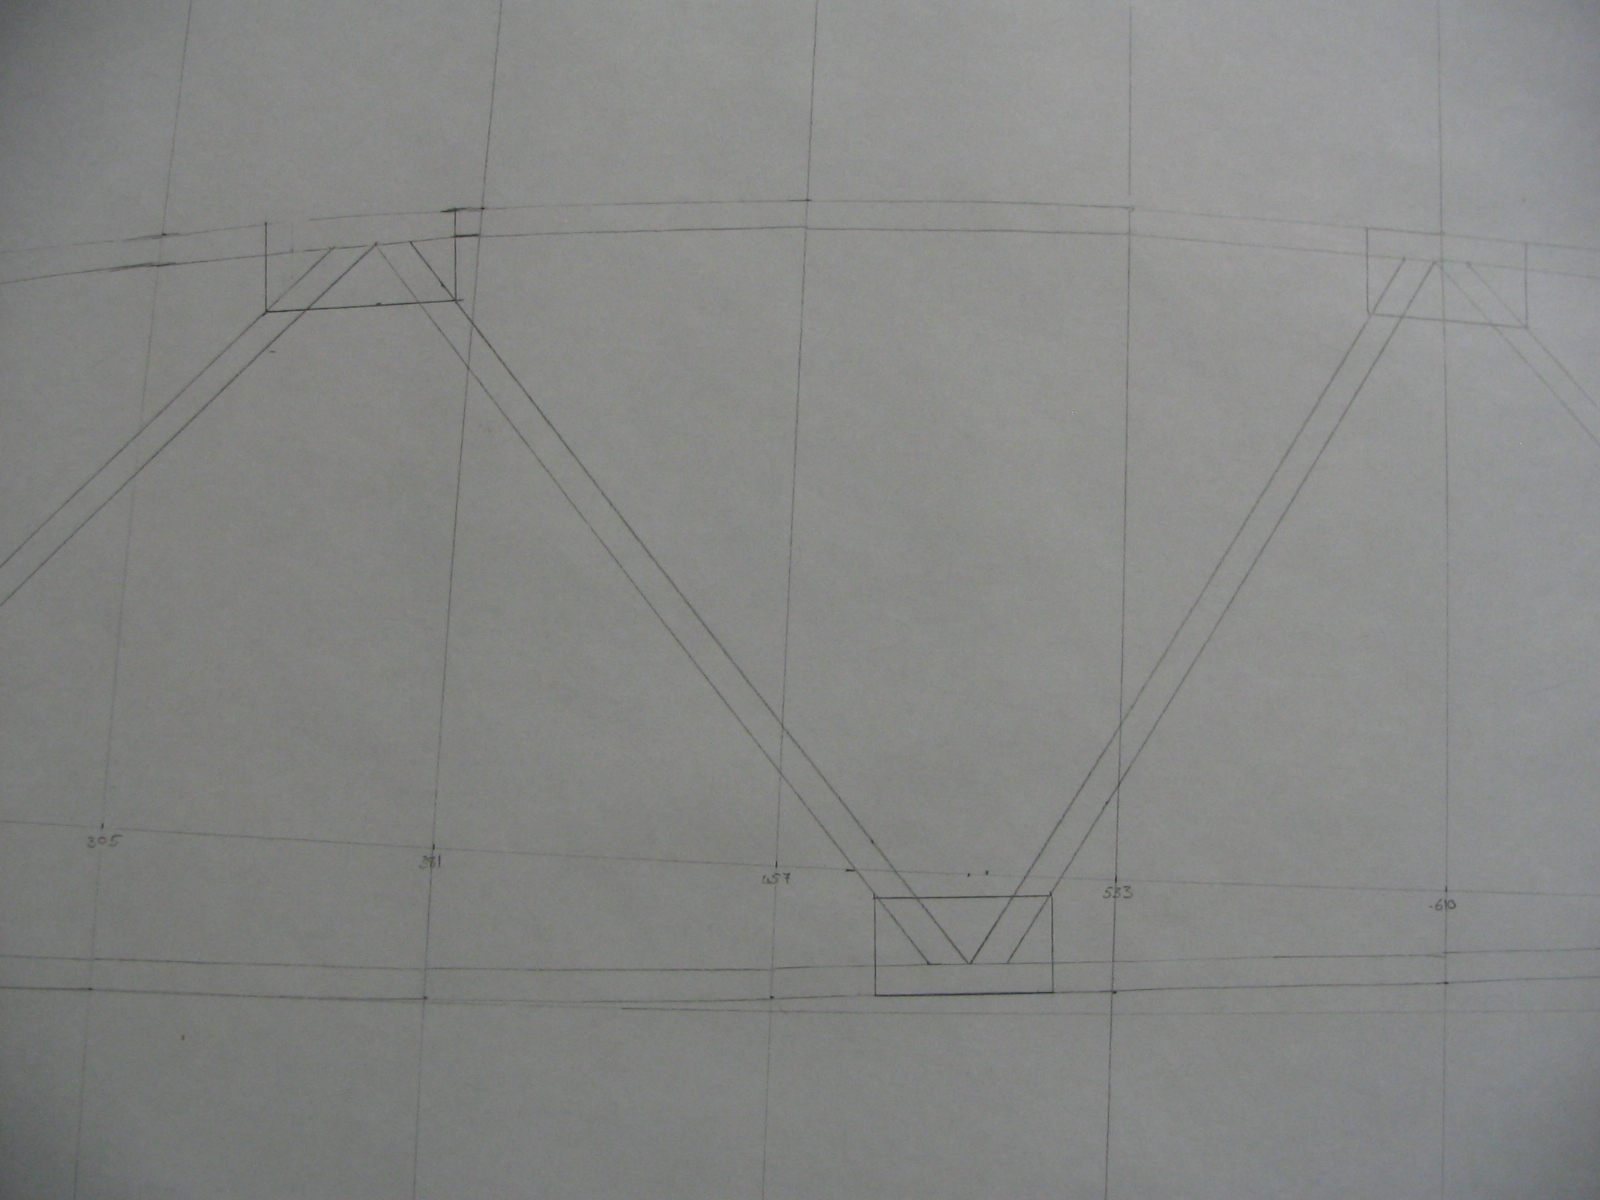
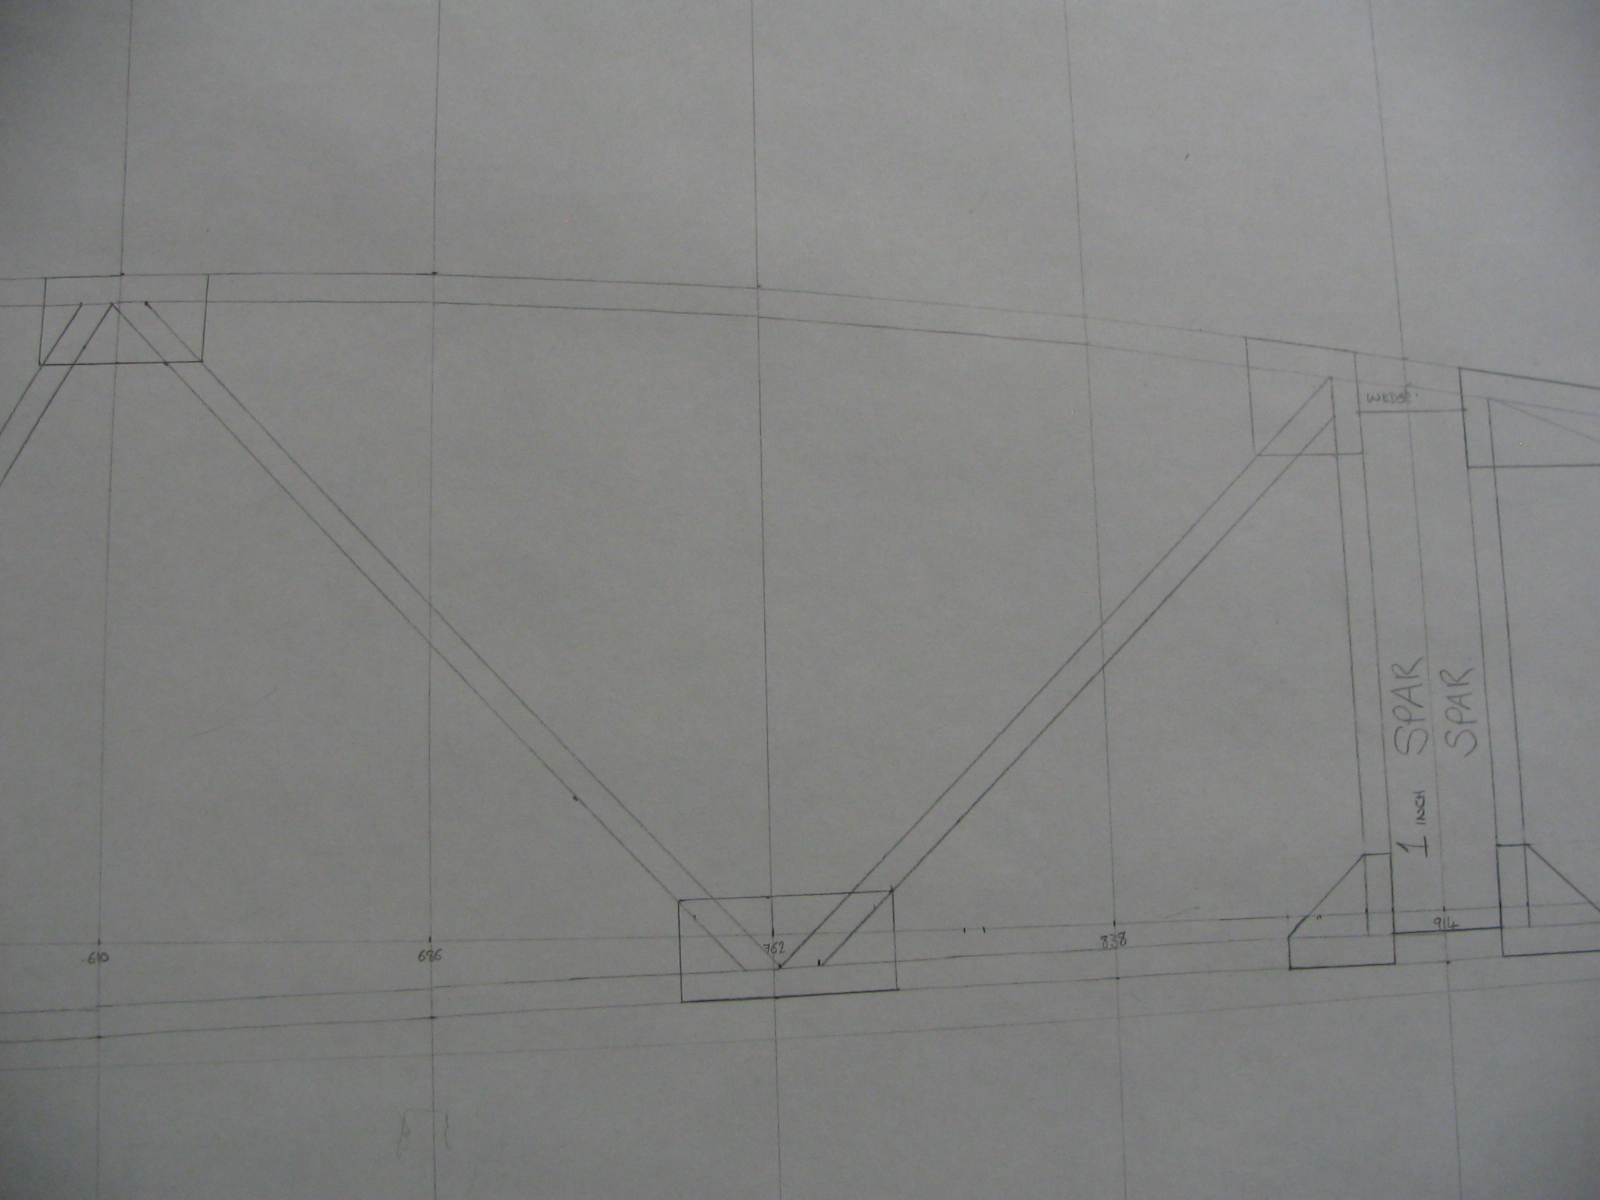
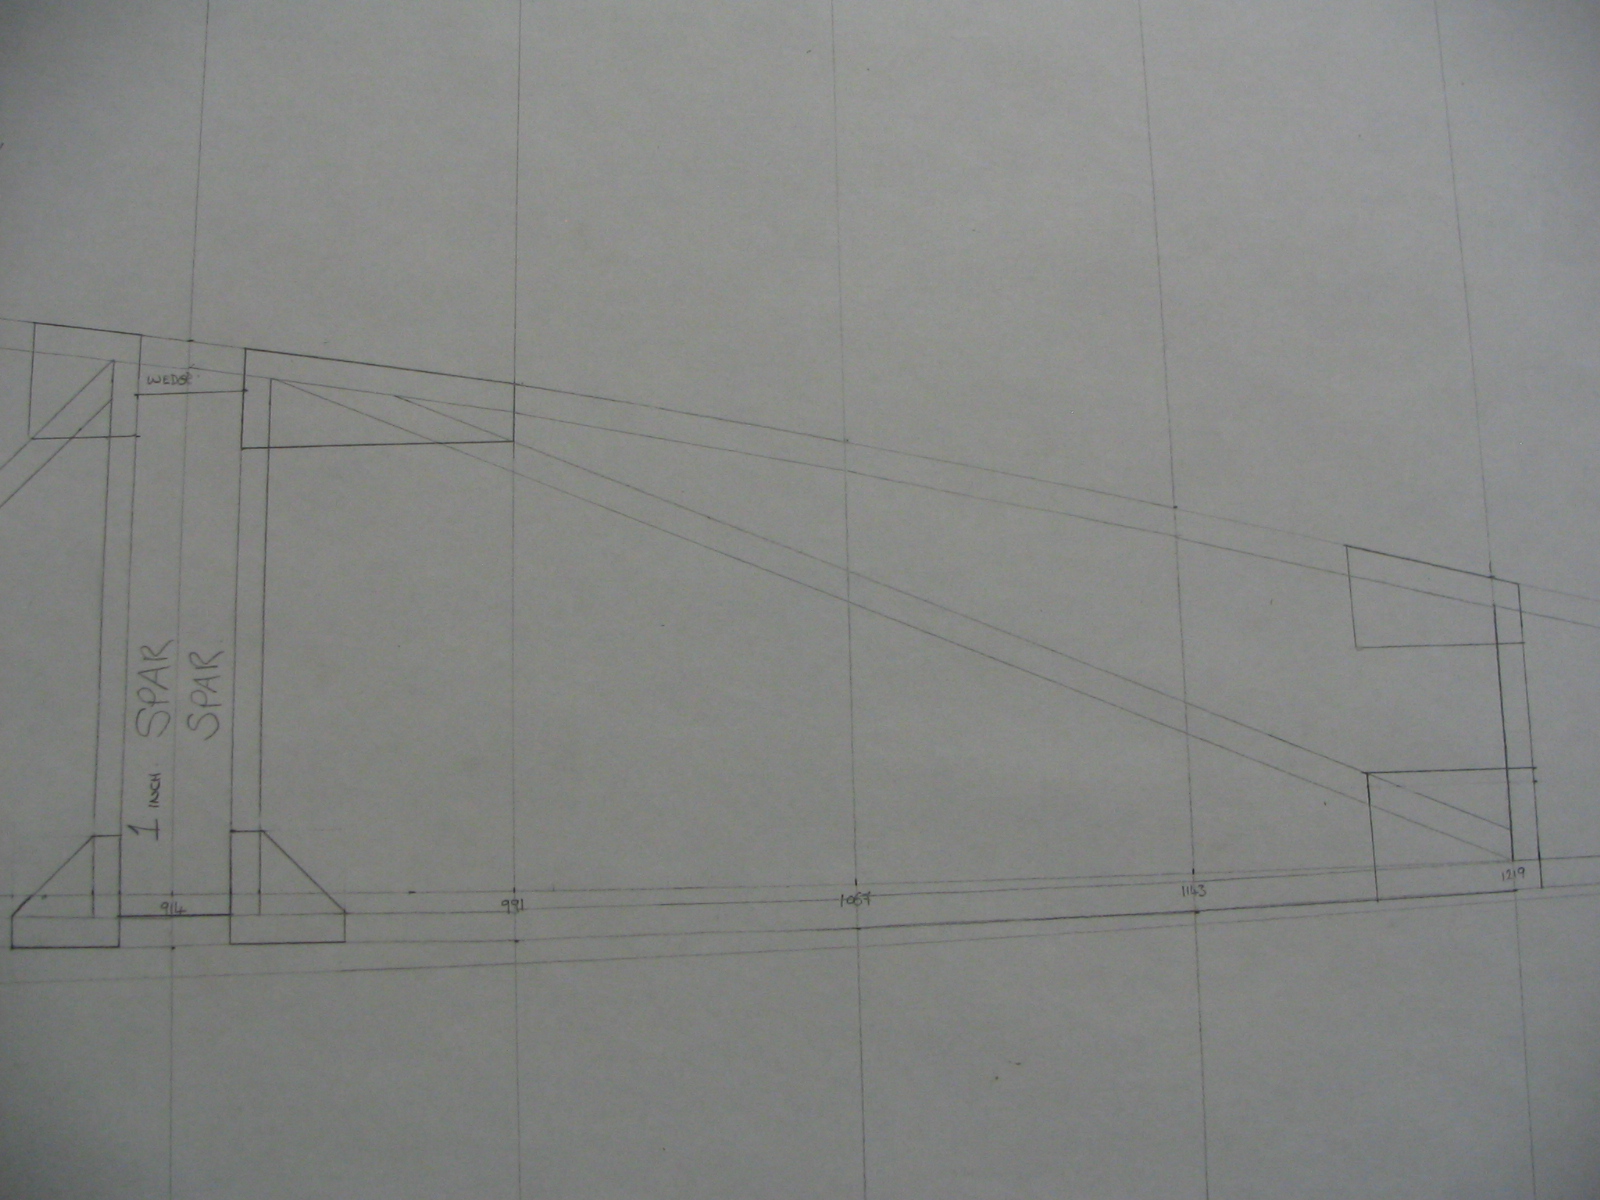
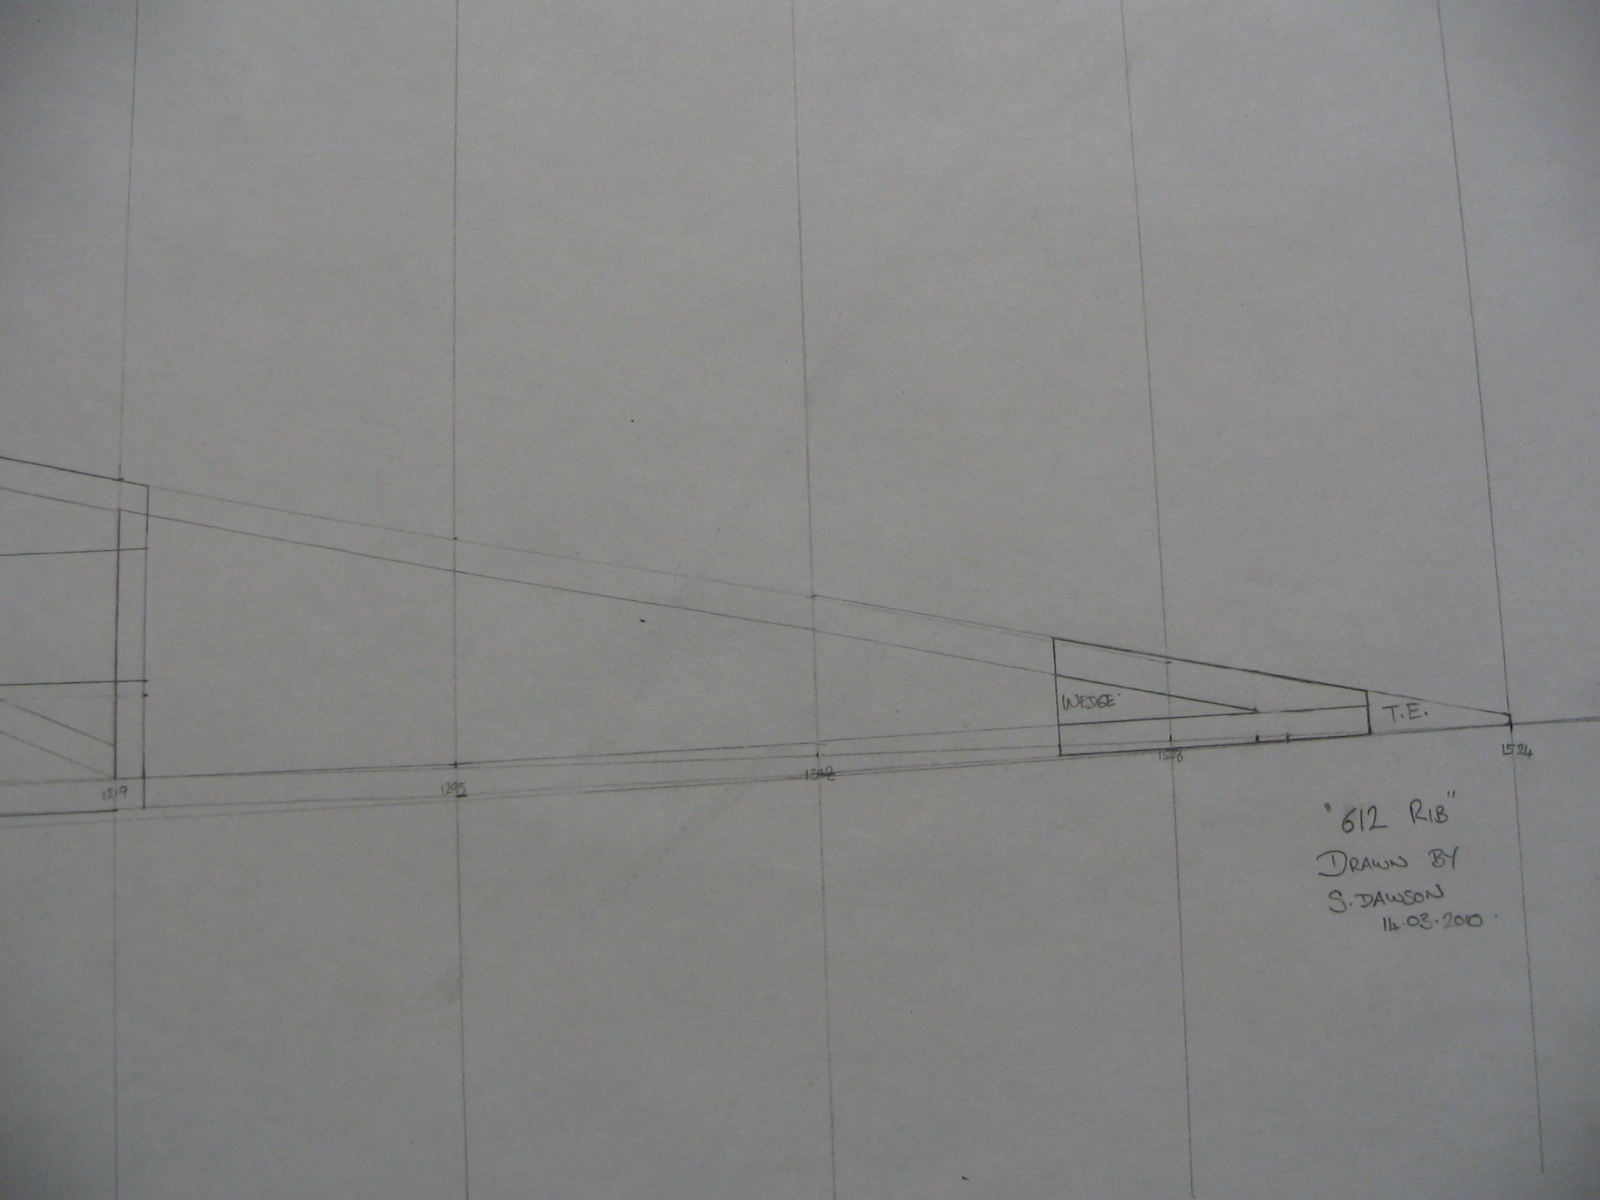
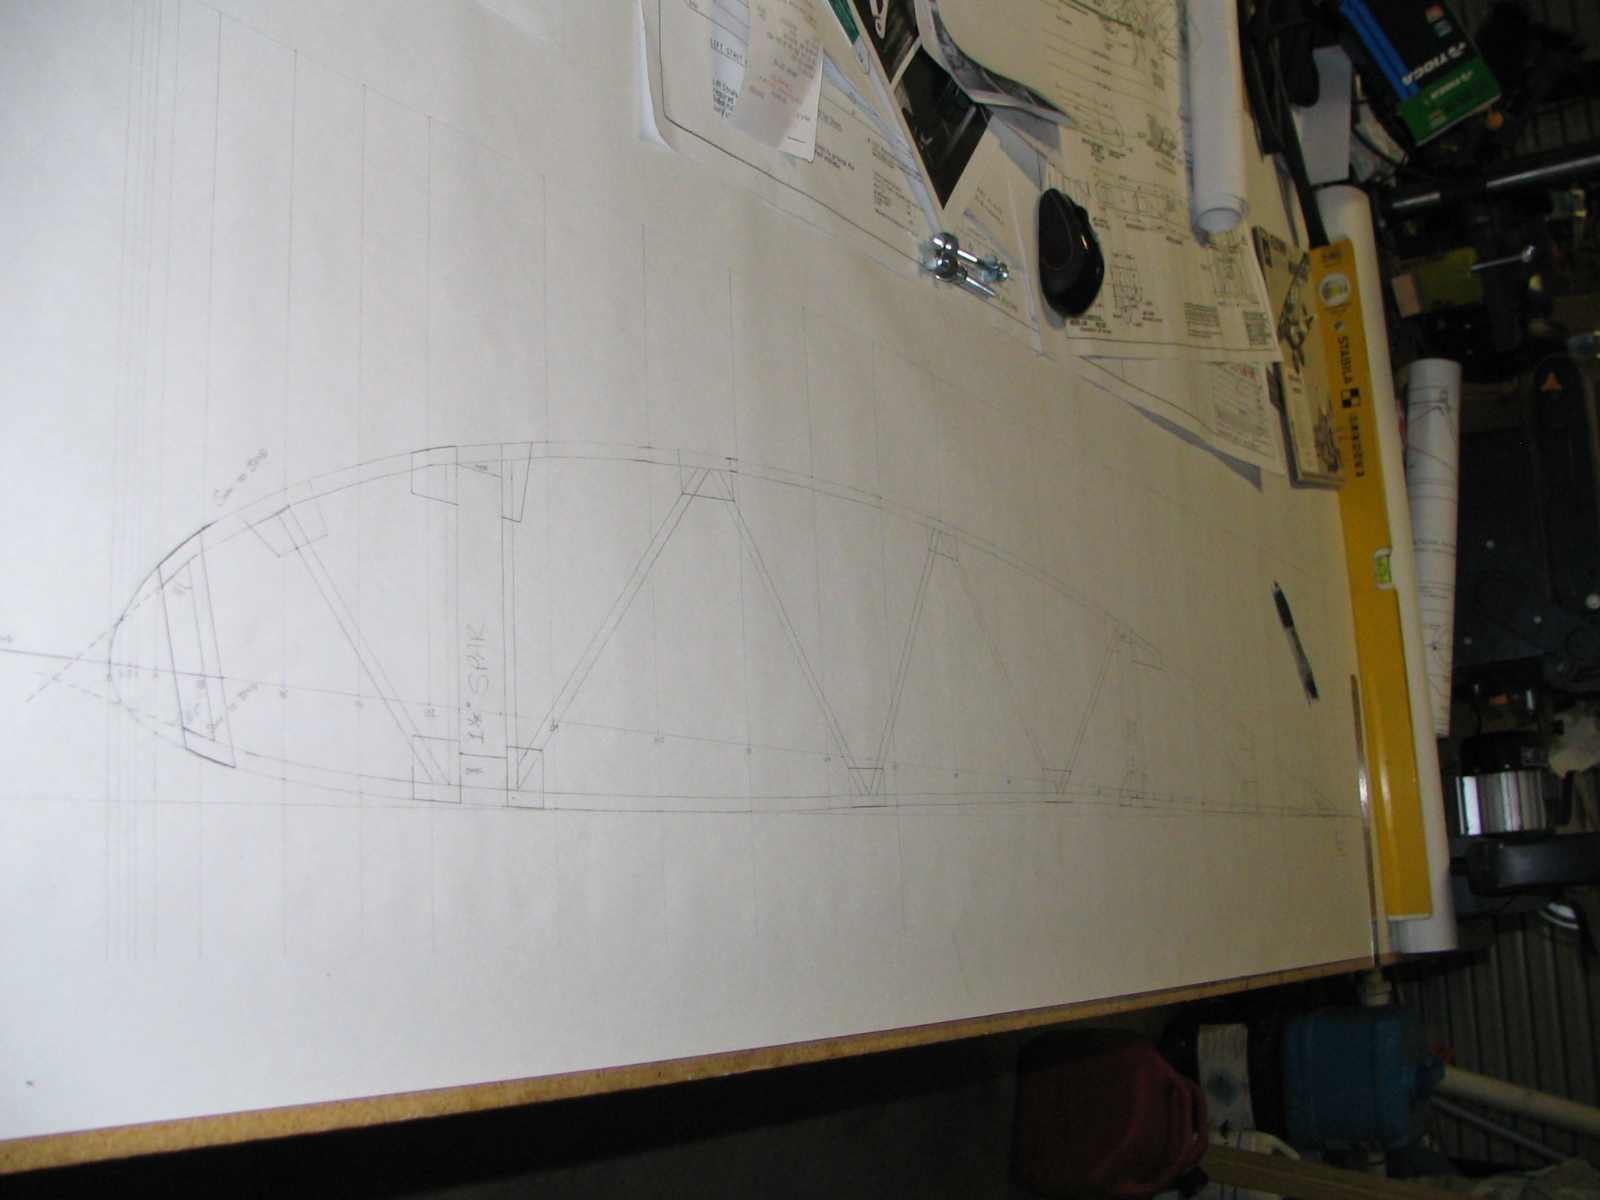
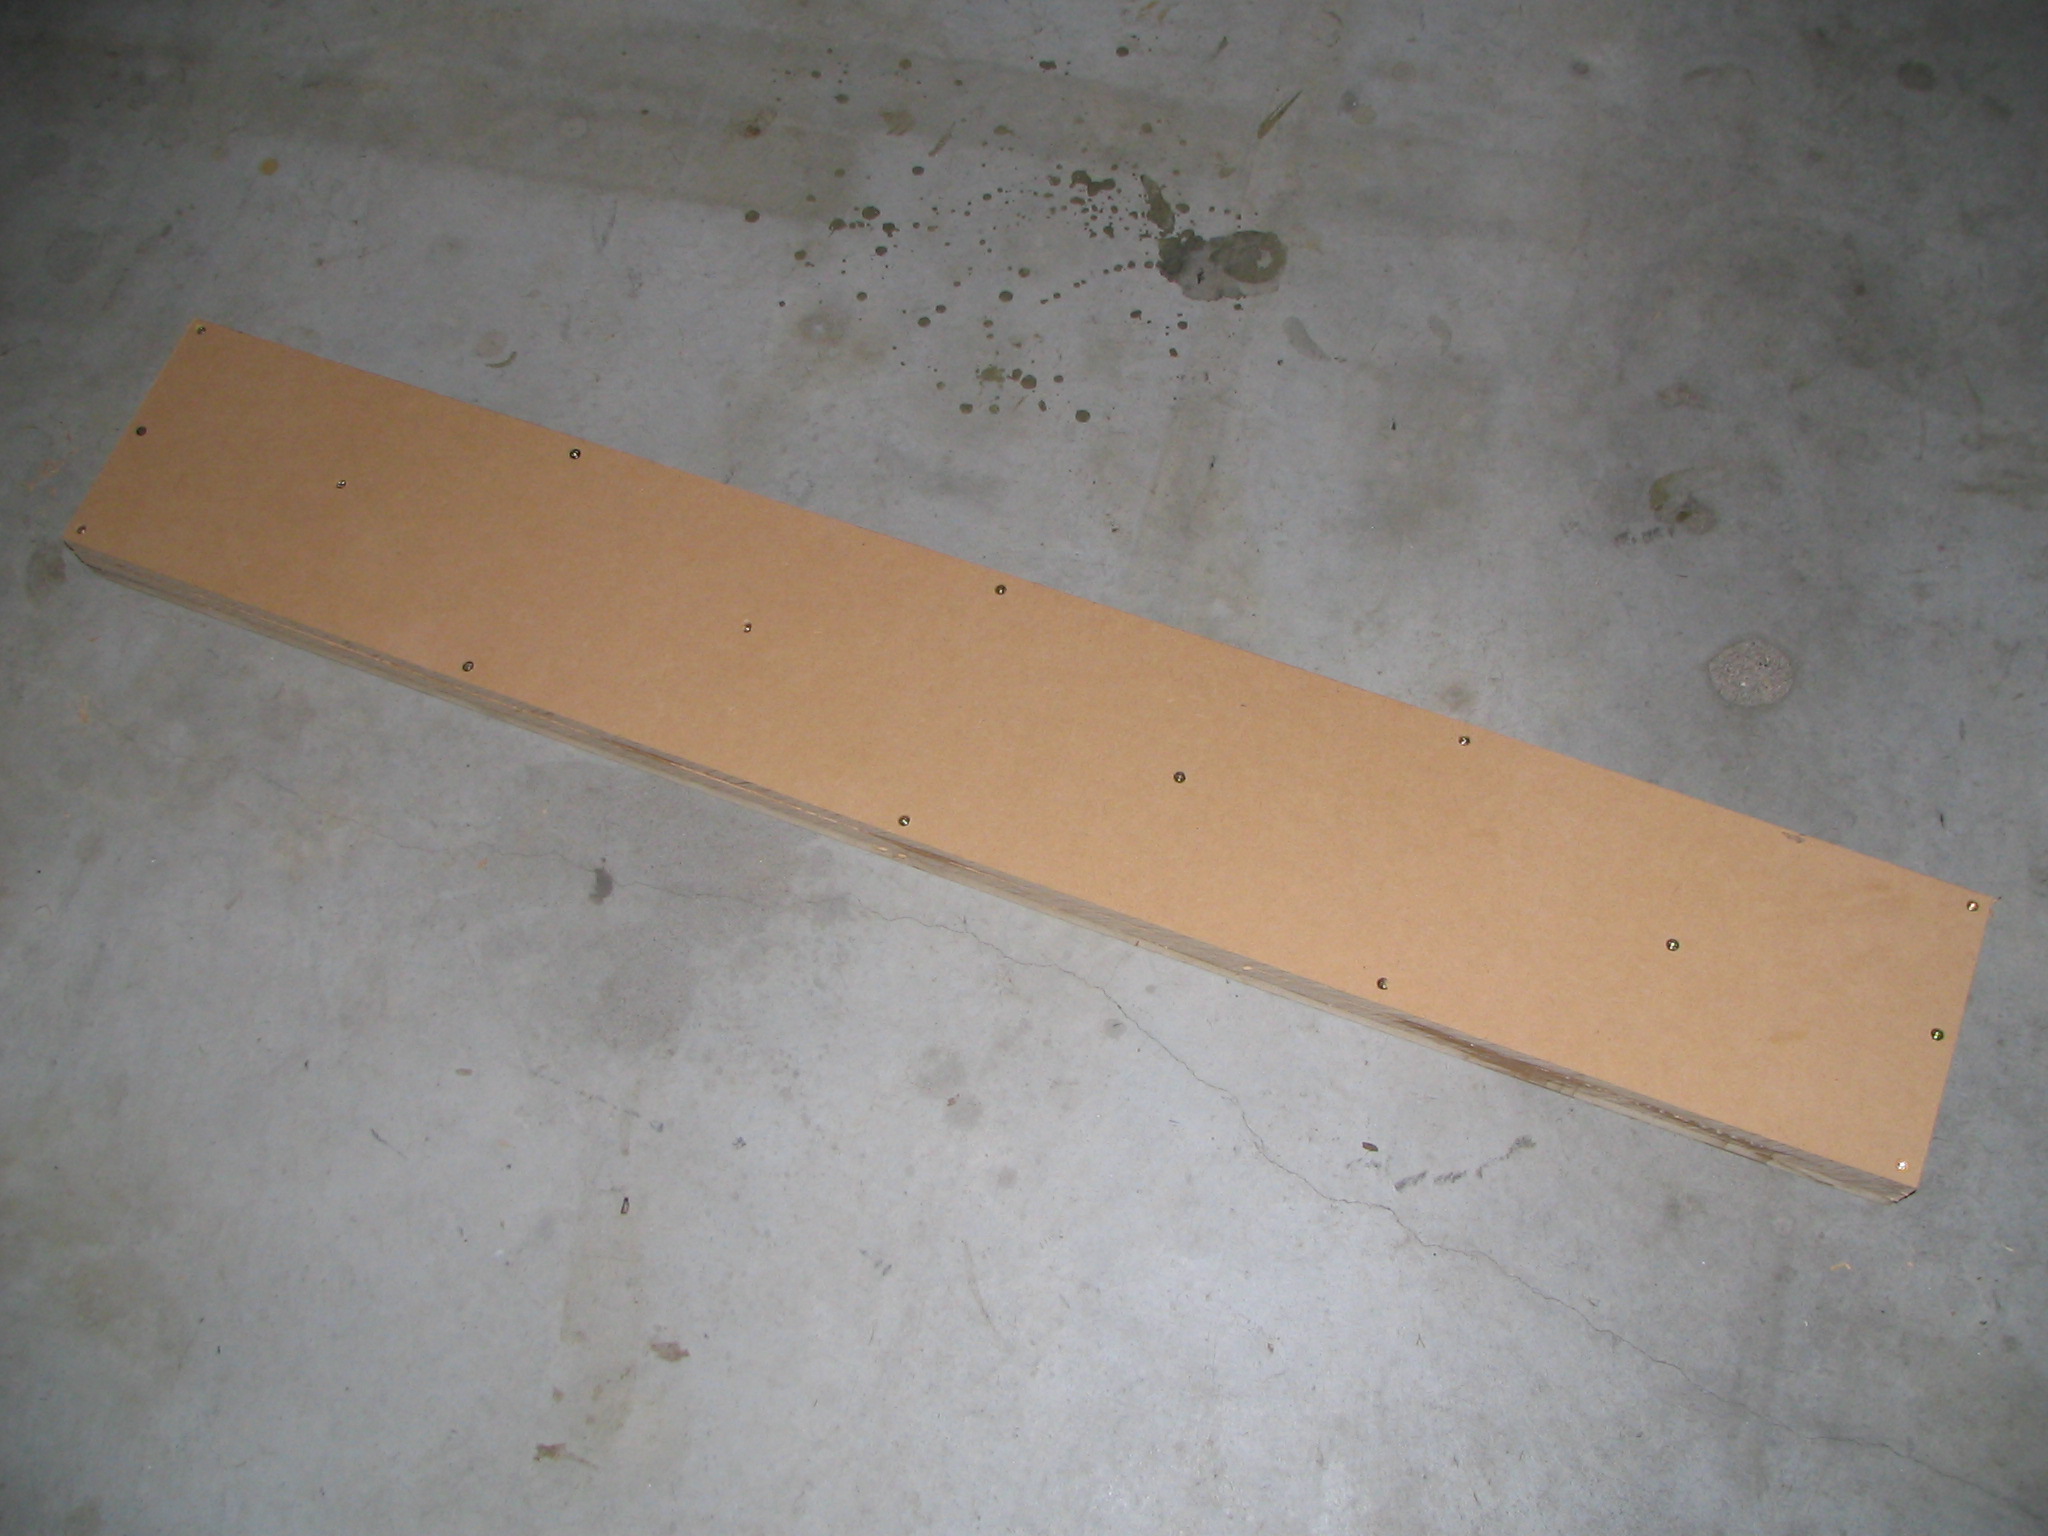
The finished product! Wing rib template drawn.....You can really get bogged down thinking about all the variations like built up spar V's solid spar, Spar height placement, drawing from chord line or base line. In the end you just need to do it!
First attempt at soaking and bending a piece of cap strip in the rib bending jig....Soak in boiling water for an hour in the PVC tube then clamp in the jig until dry....

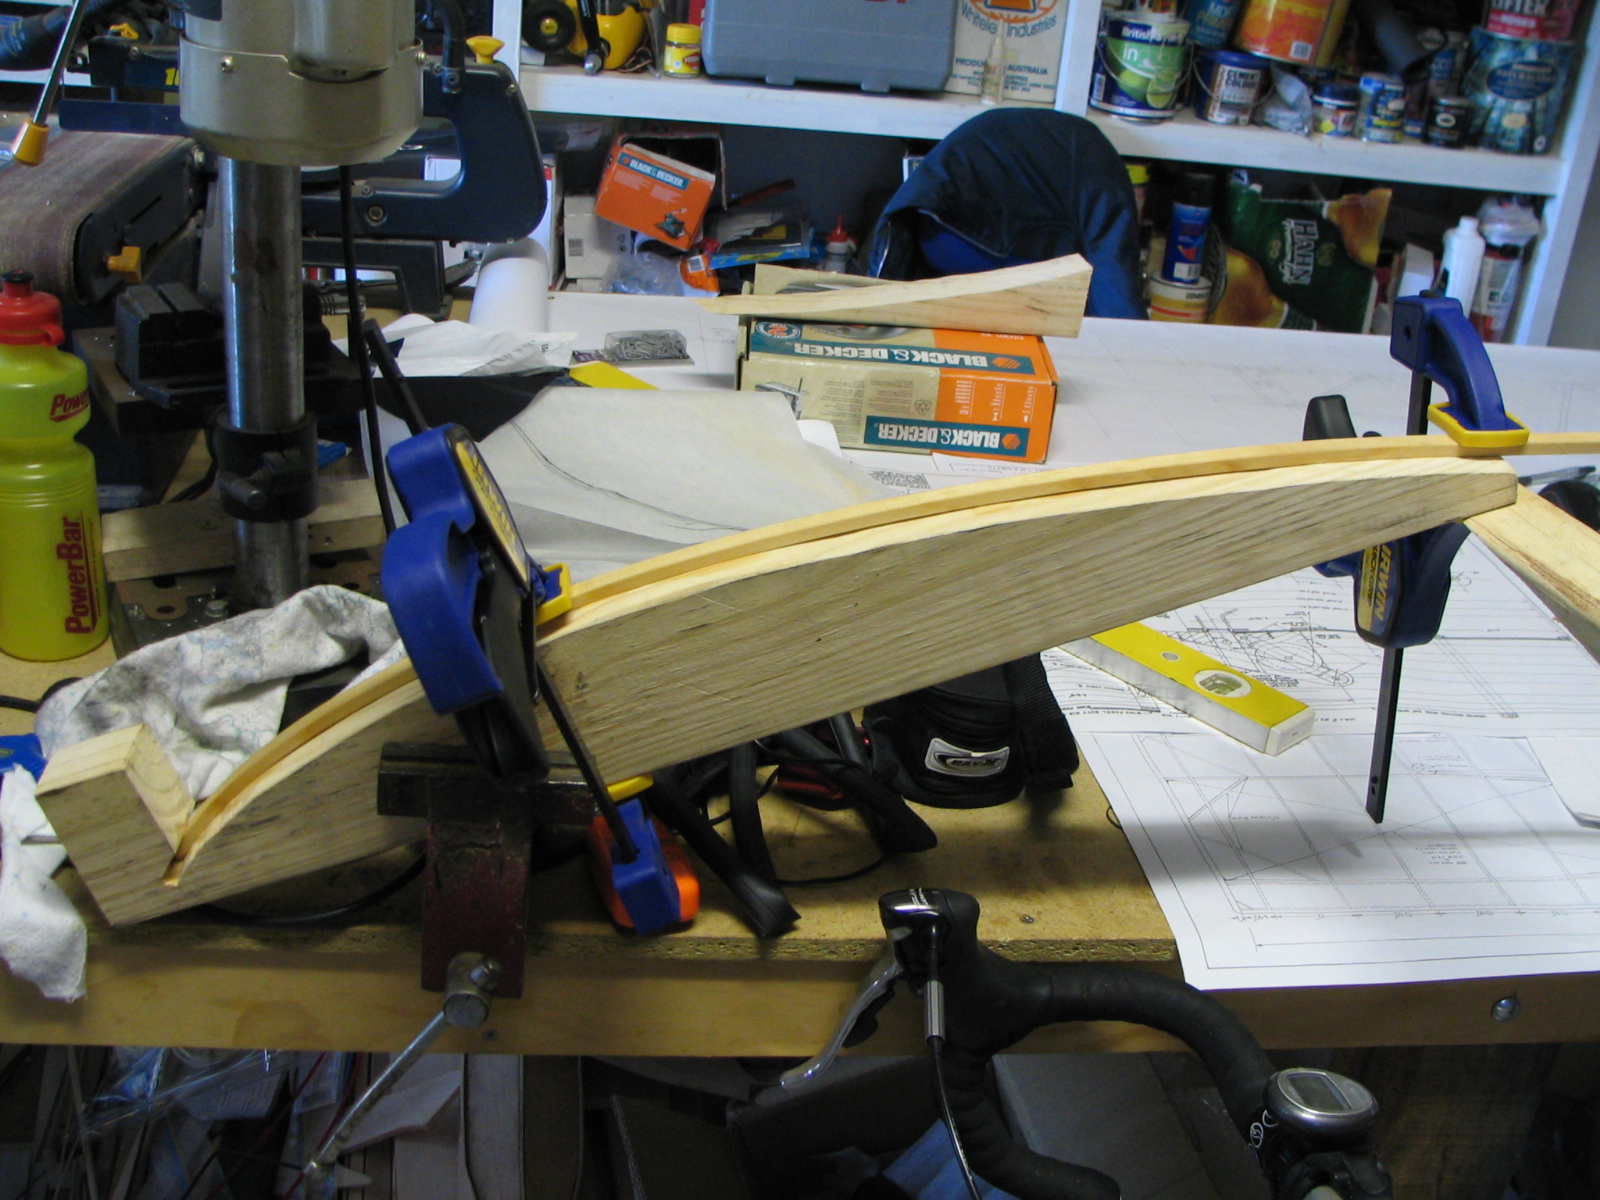
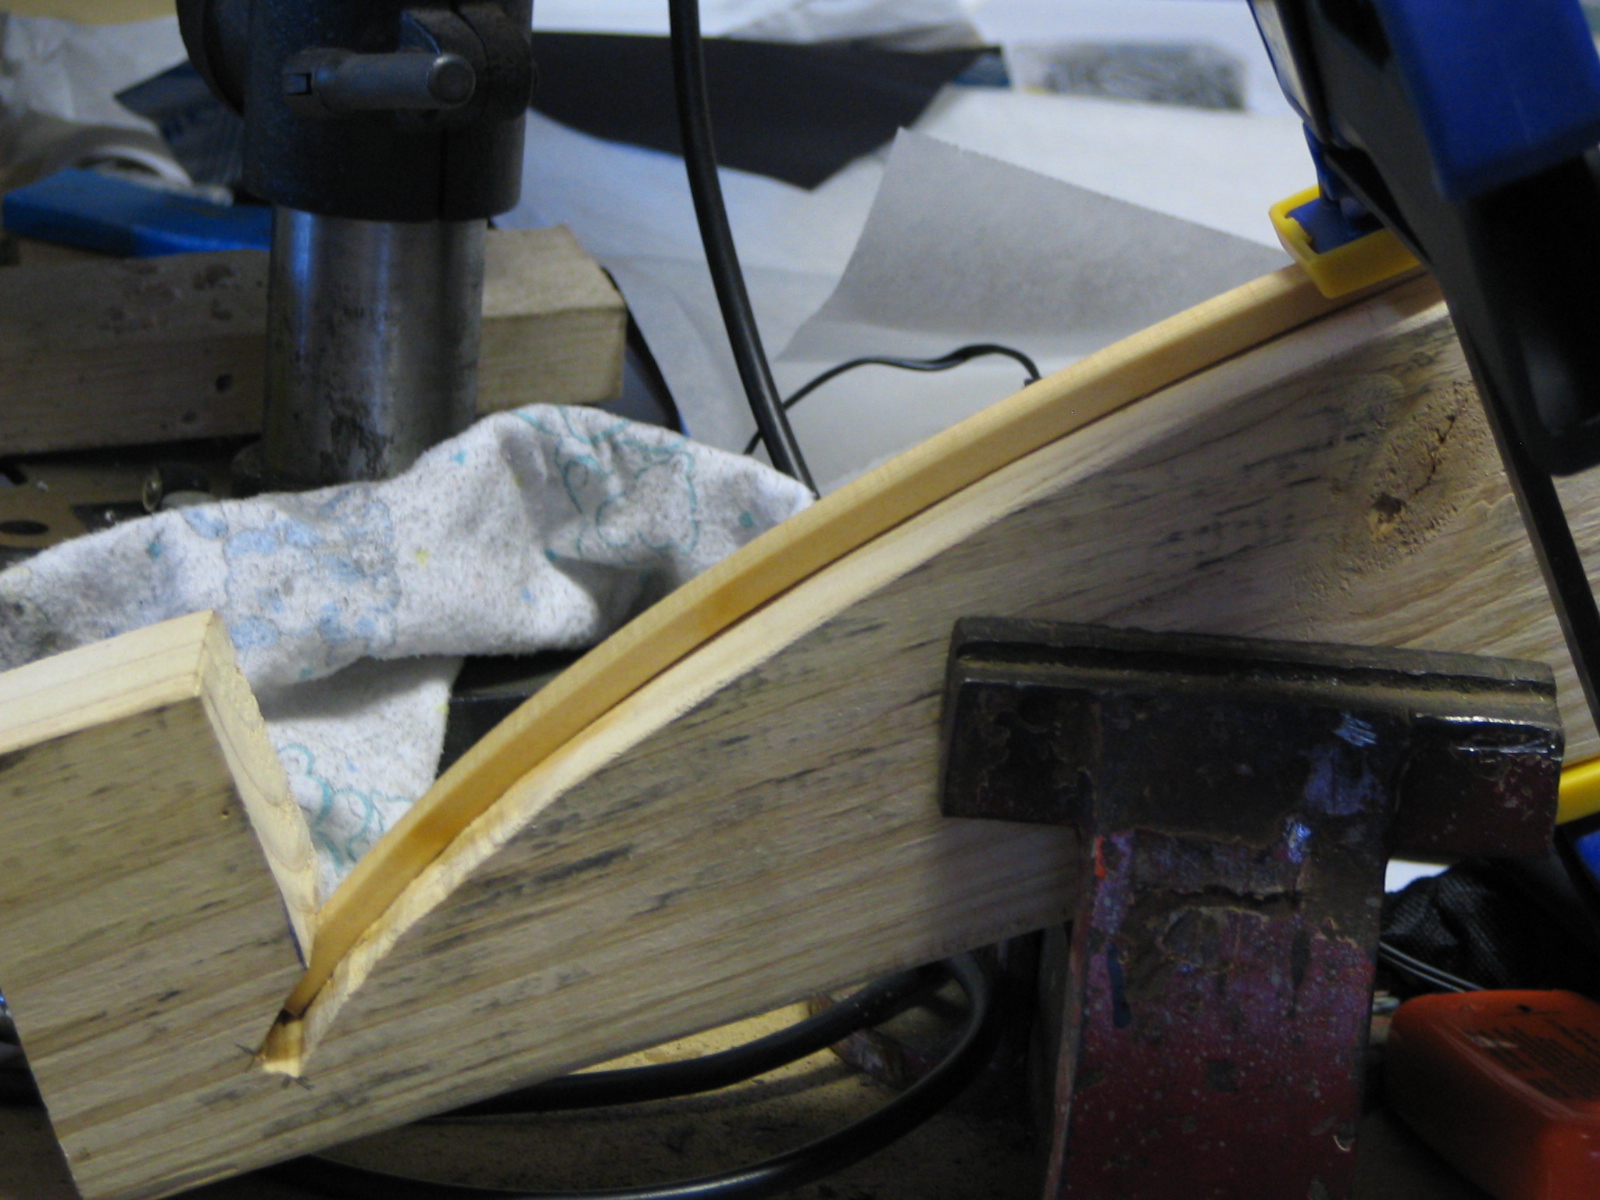
One day later....Voila! ..........nice curve that sits perfectly on the template. 1 down, 31 to go! I made the curve in the jig more acute to compensate for the spring back of the spruce once removed from the jig. Worked perfectly!

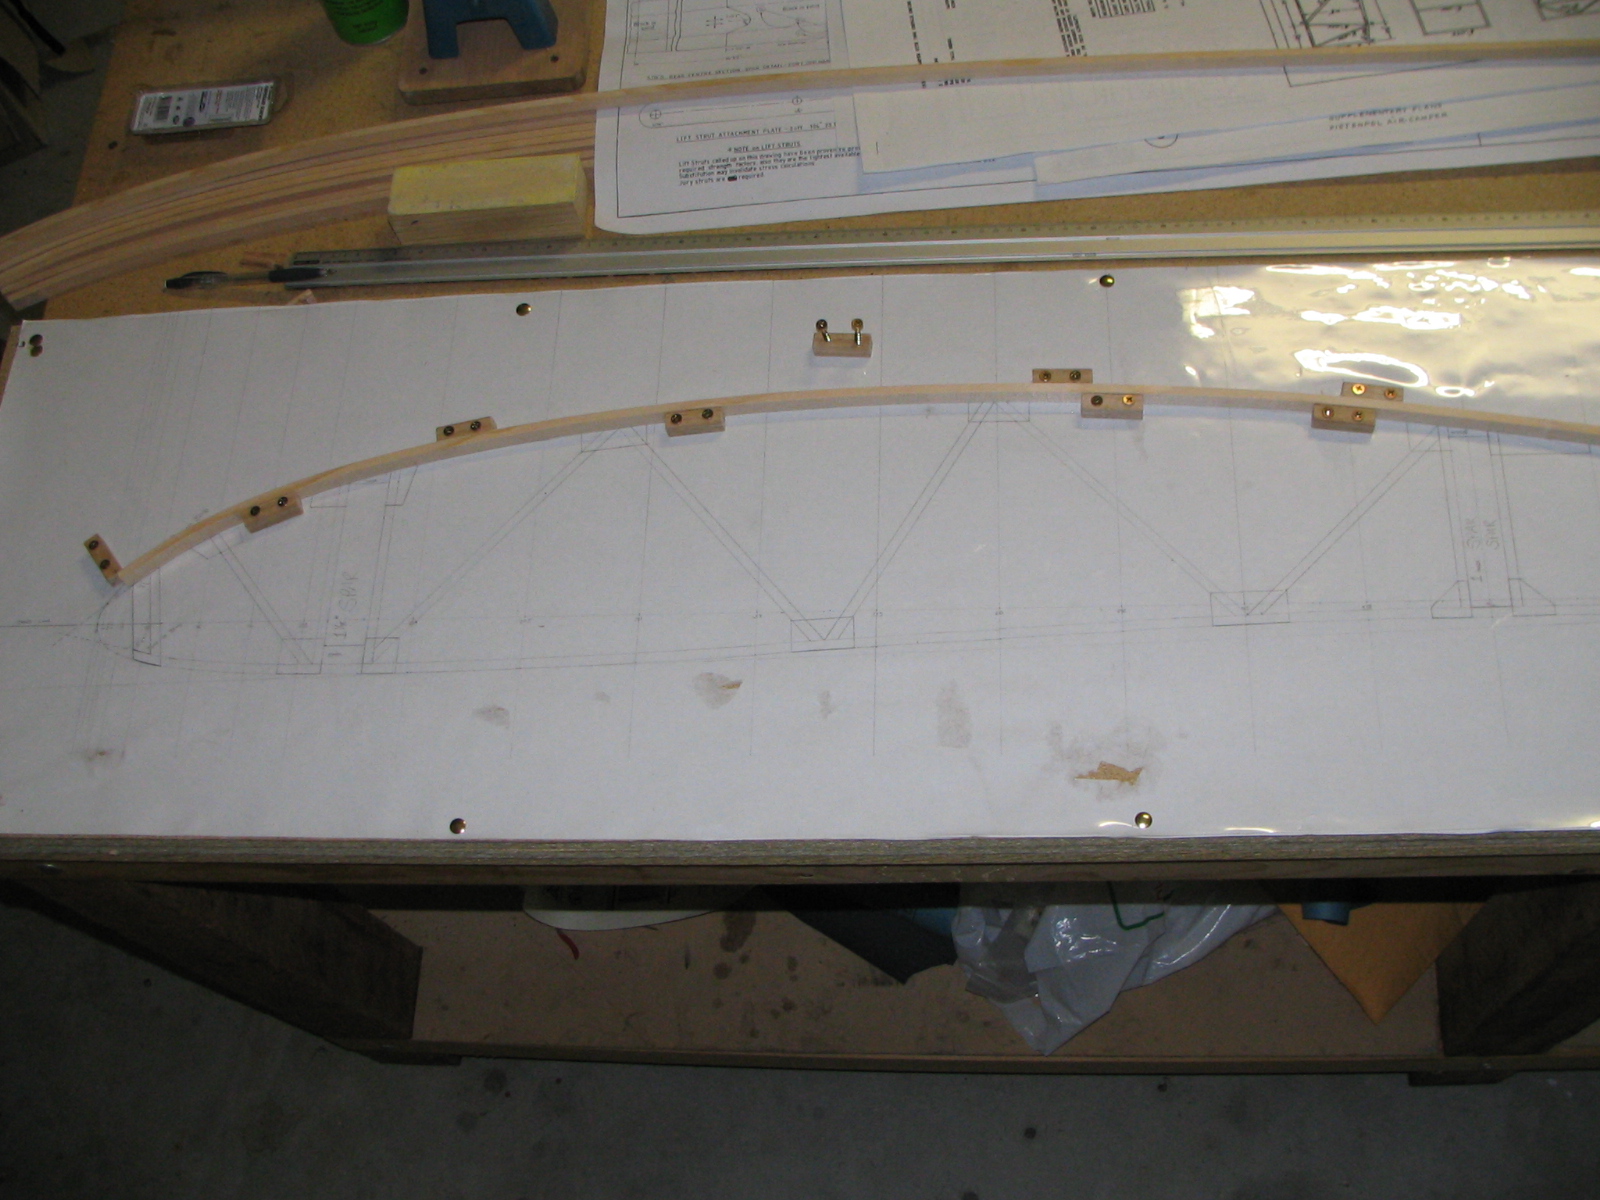
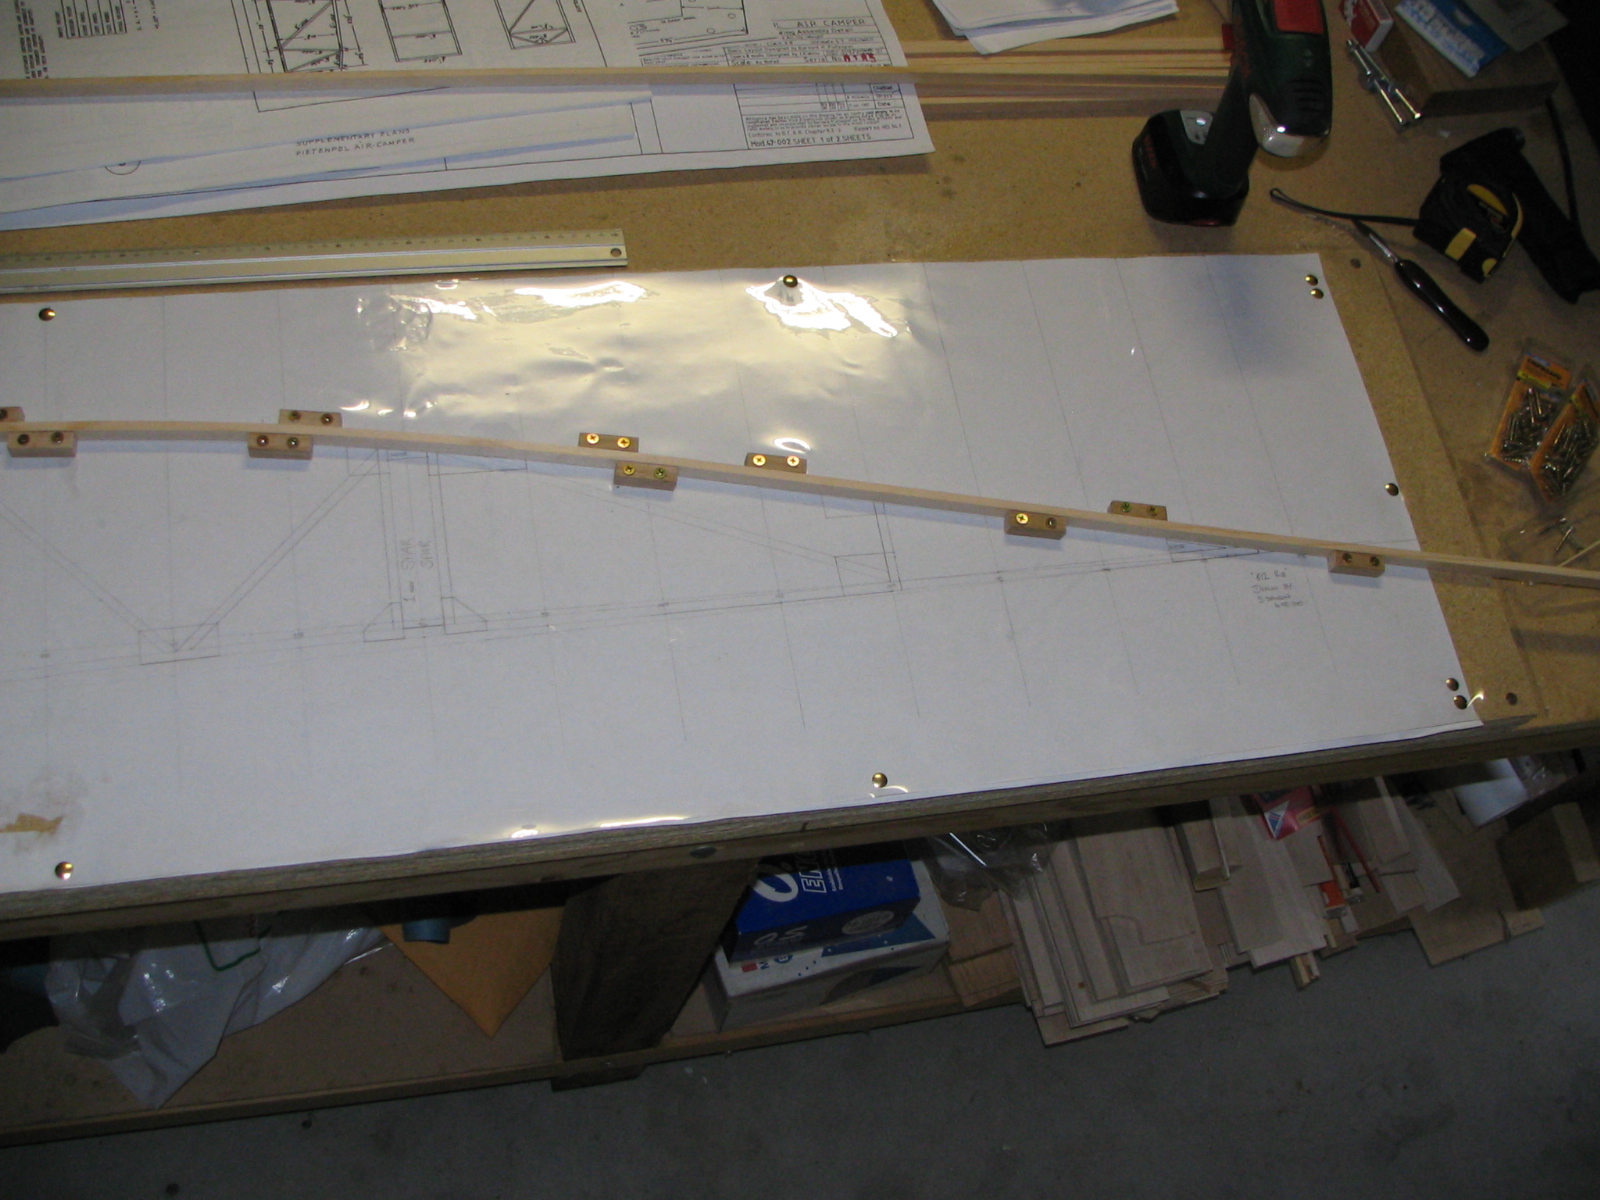
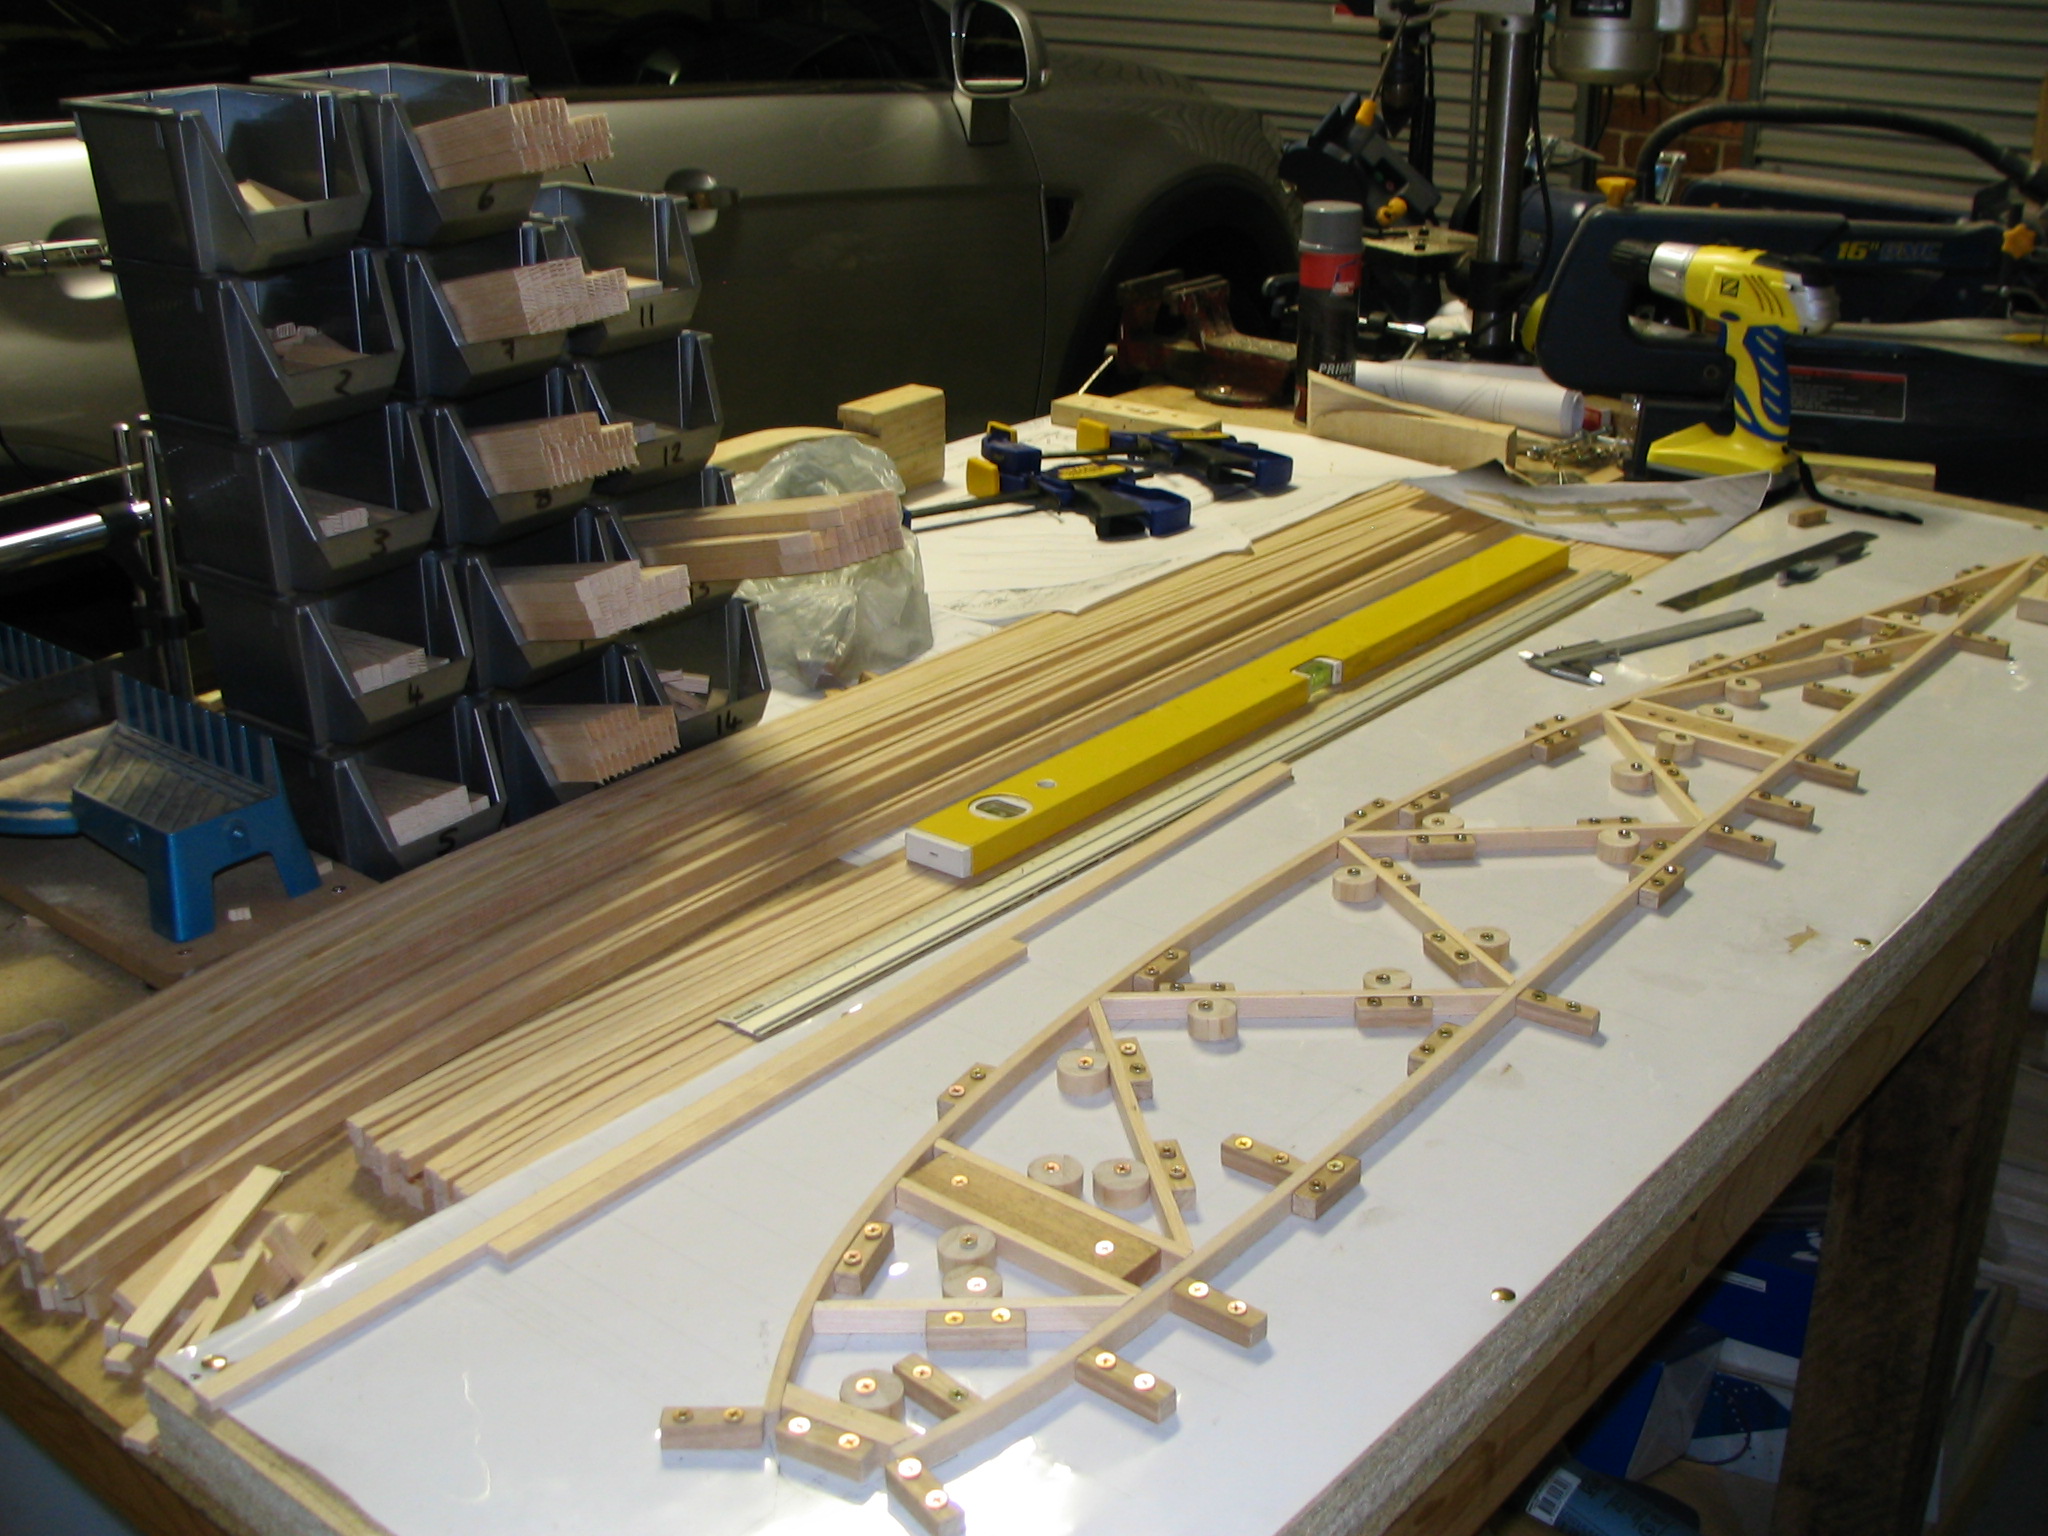
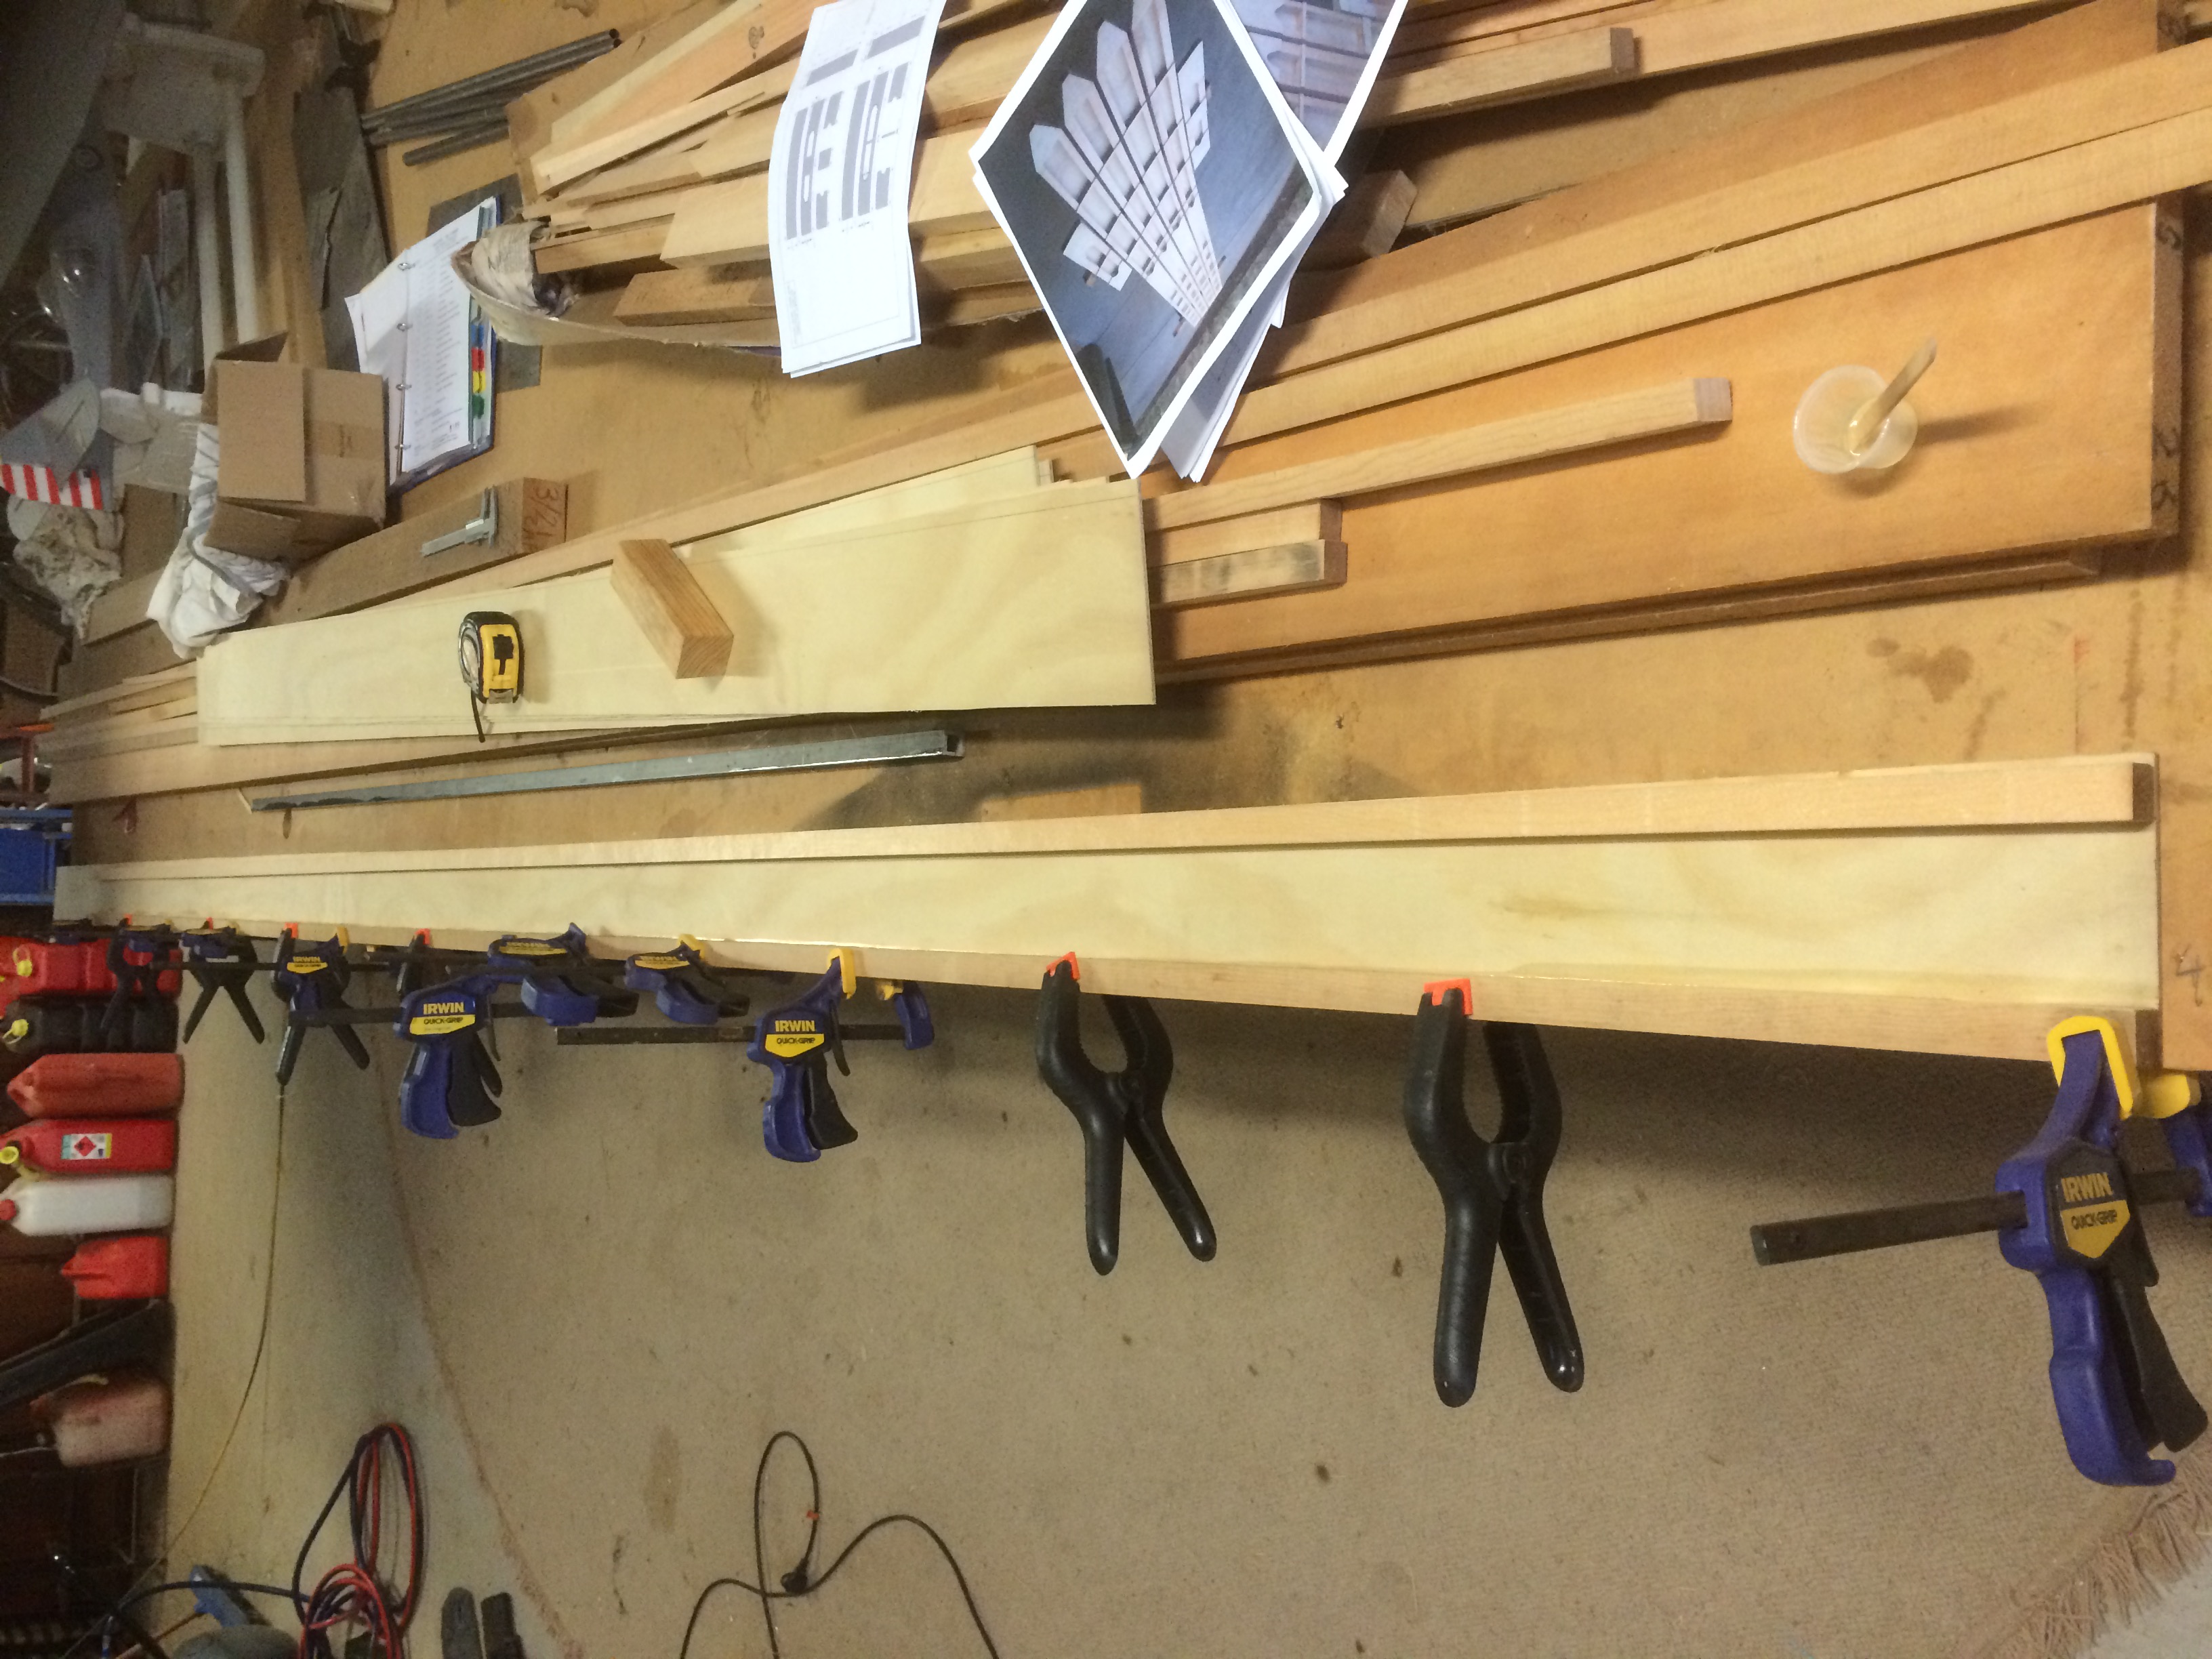
Screwing in the blocks I made to hold the capstrip for glueing with T88 Adhesive. I layed the rib template out on 2 layers of 19mm pine board screwed to the bench after being levelled. I then covered the template in plastic so the glue doesnt stick.
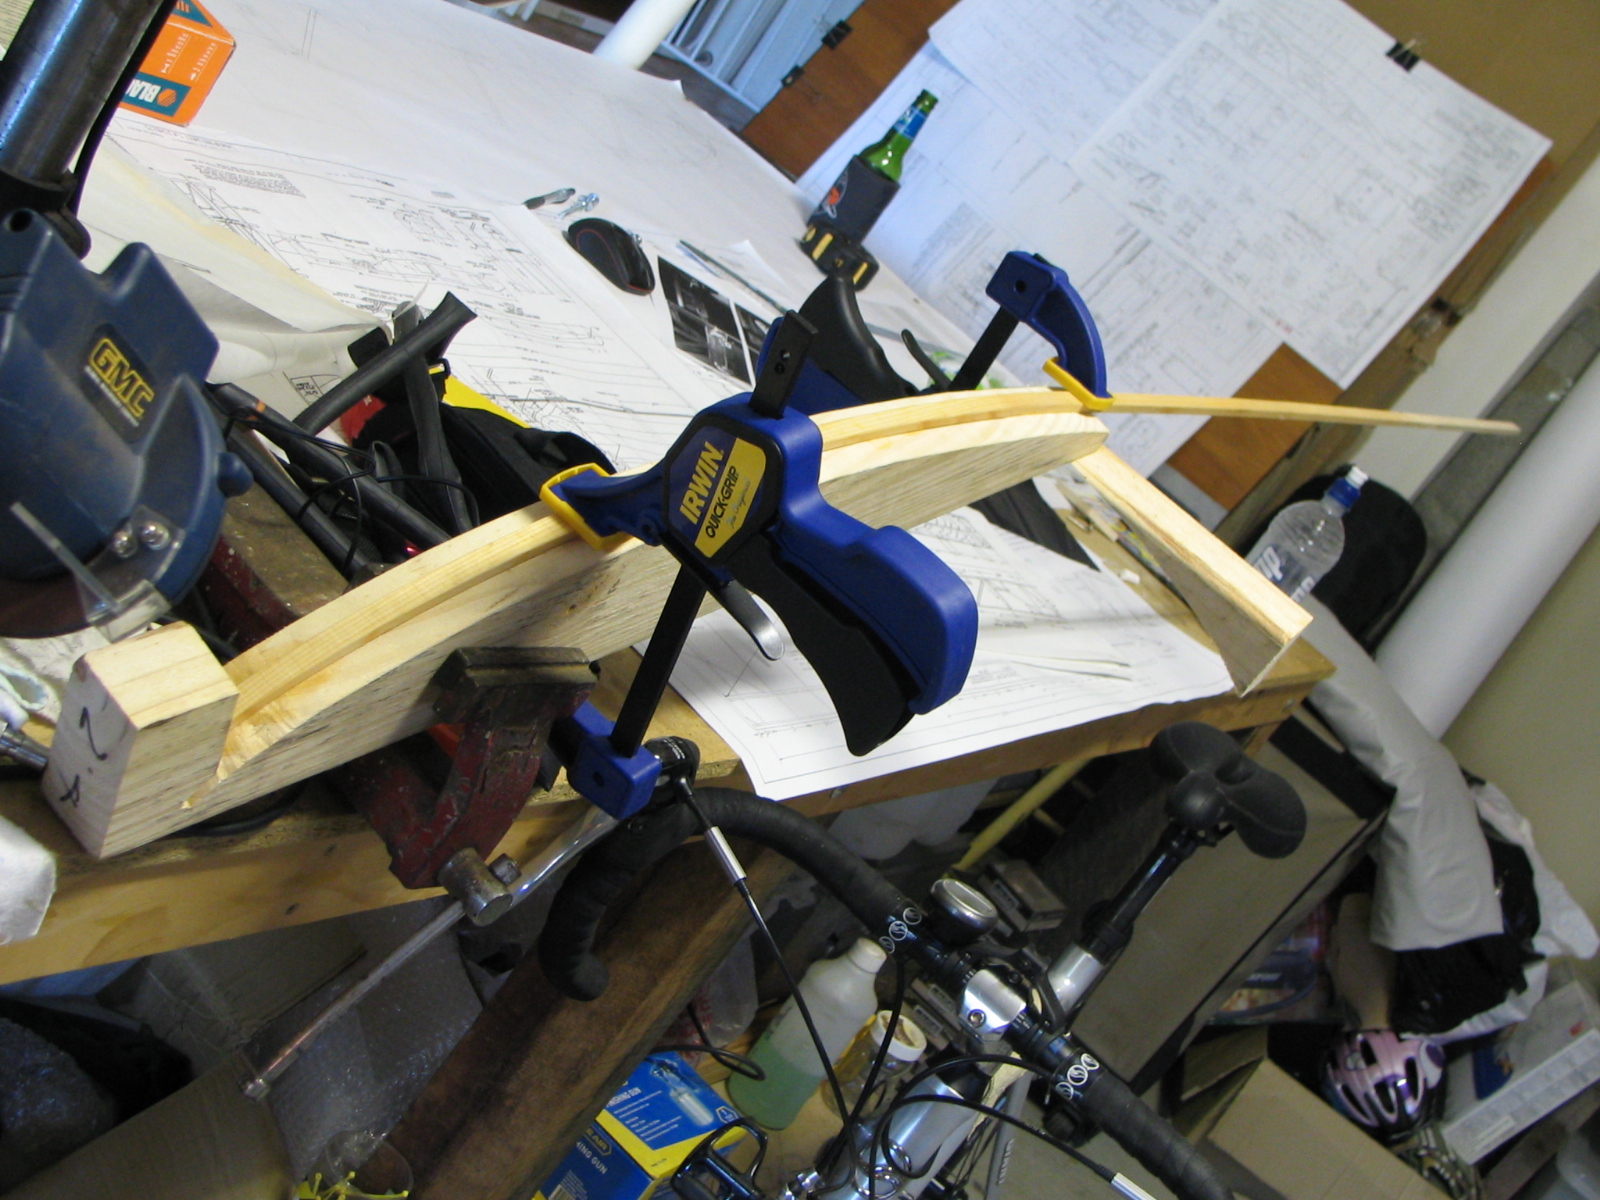
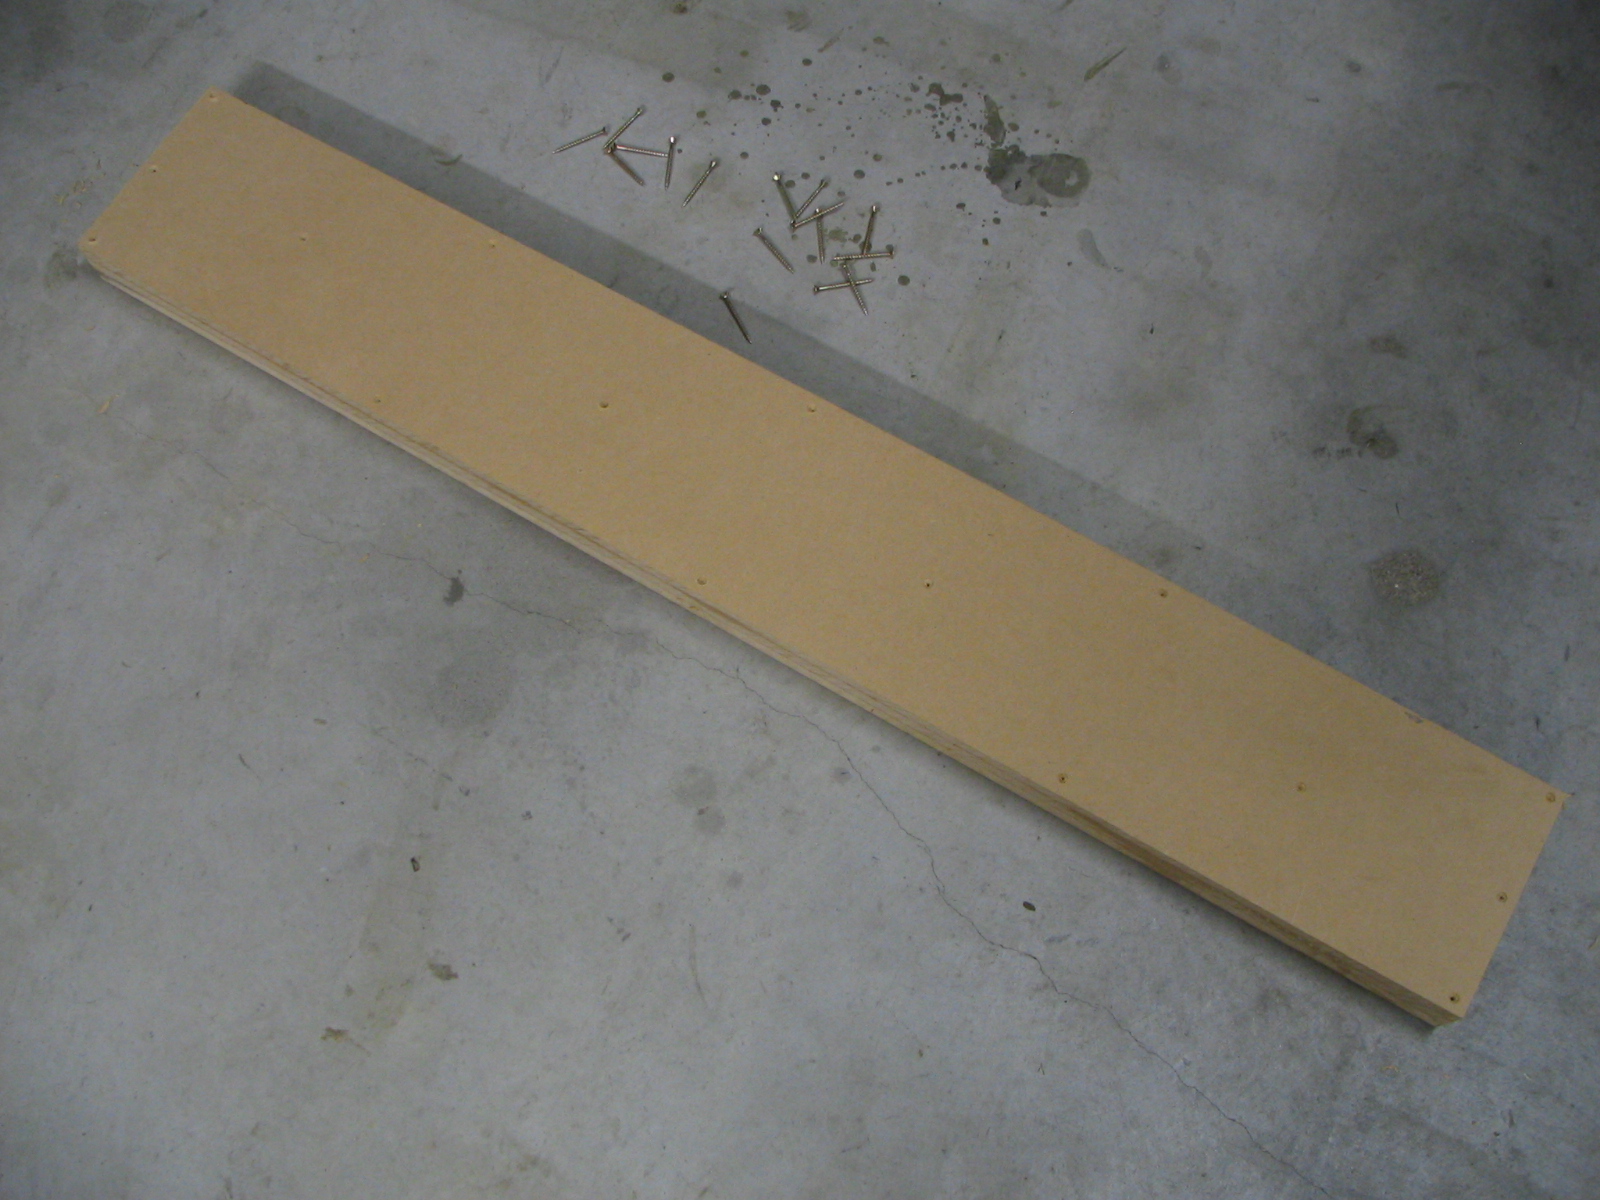
First rib capstrip is cut and assembled to test fit the pieces. I am now going to use these pieces as patterns to cut out all the pieces for all 32 ribs before I start glueing.
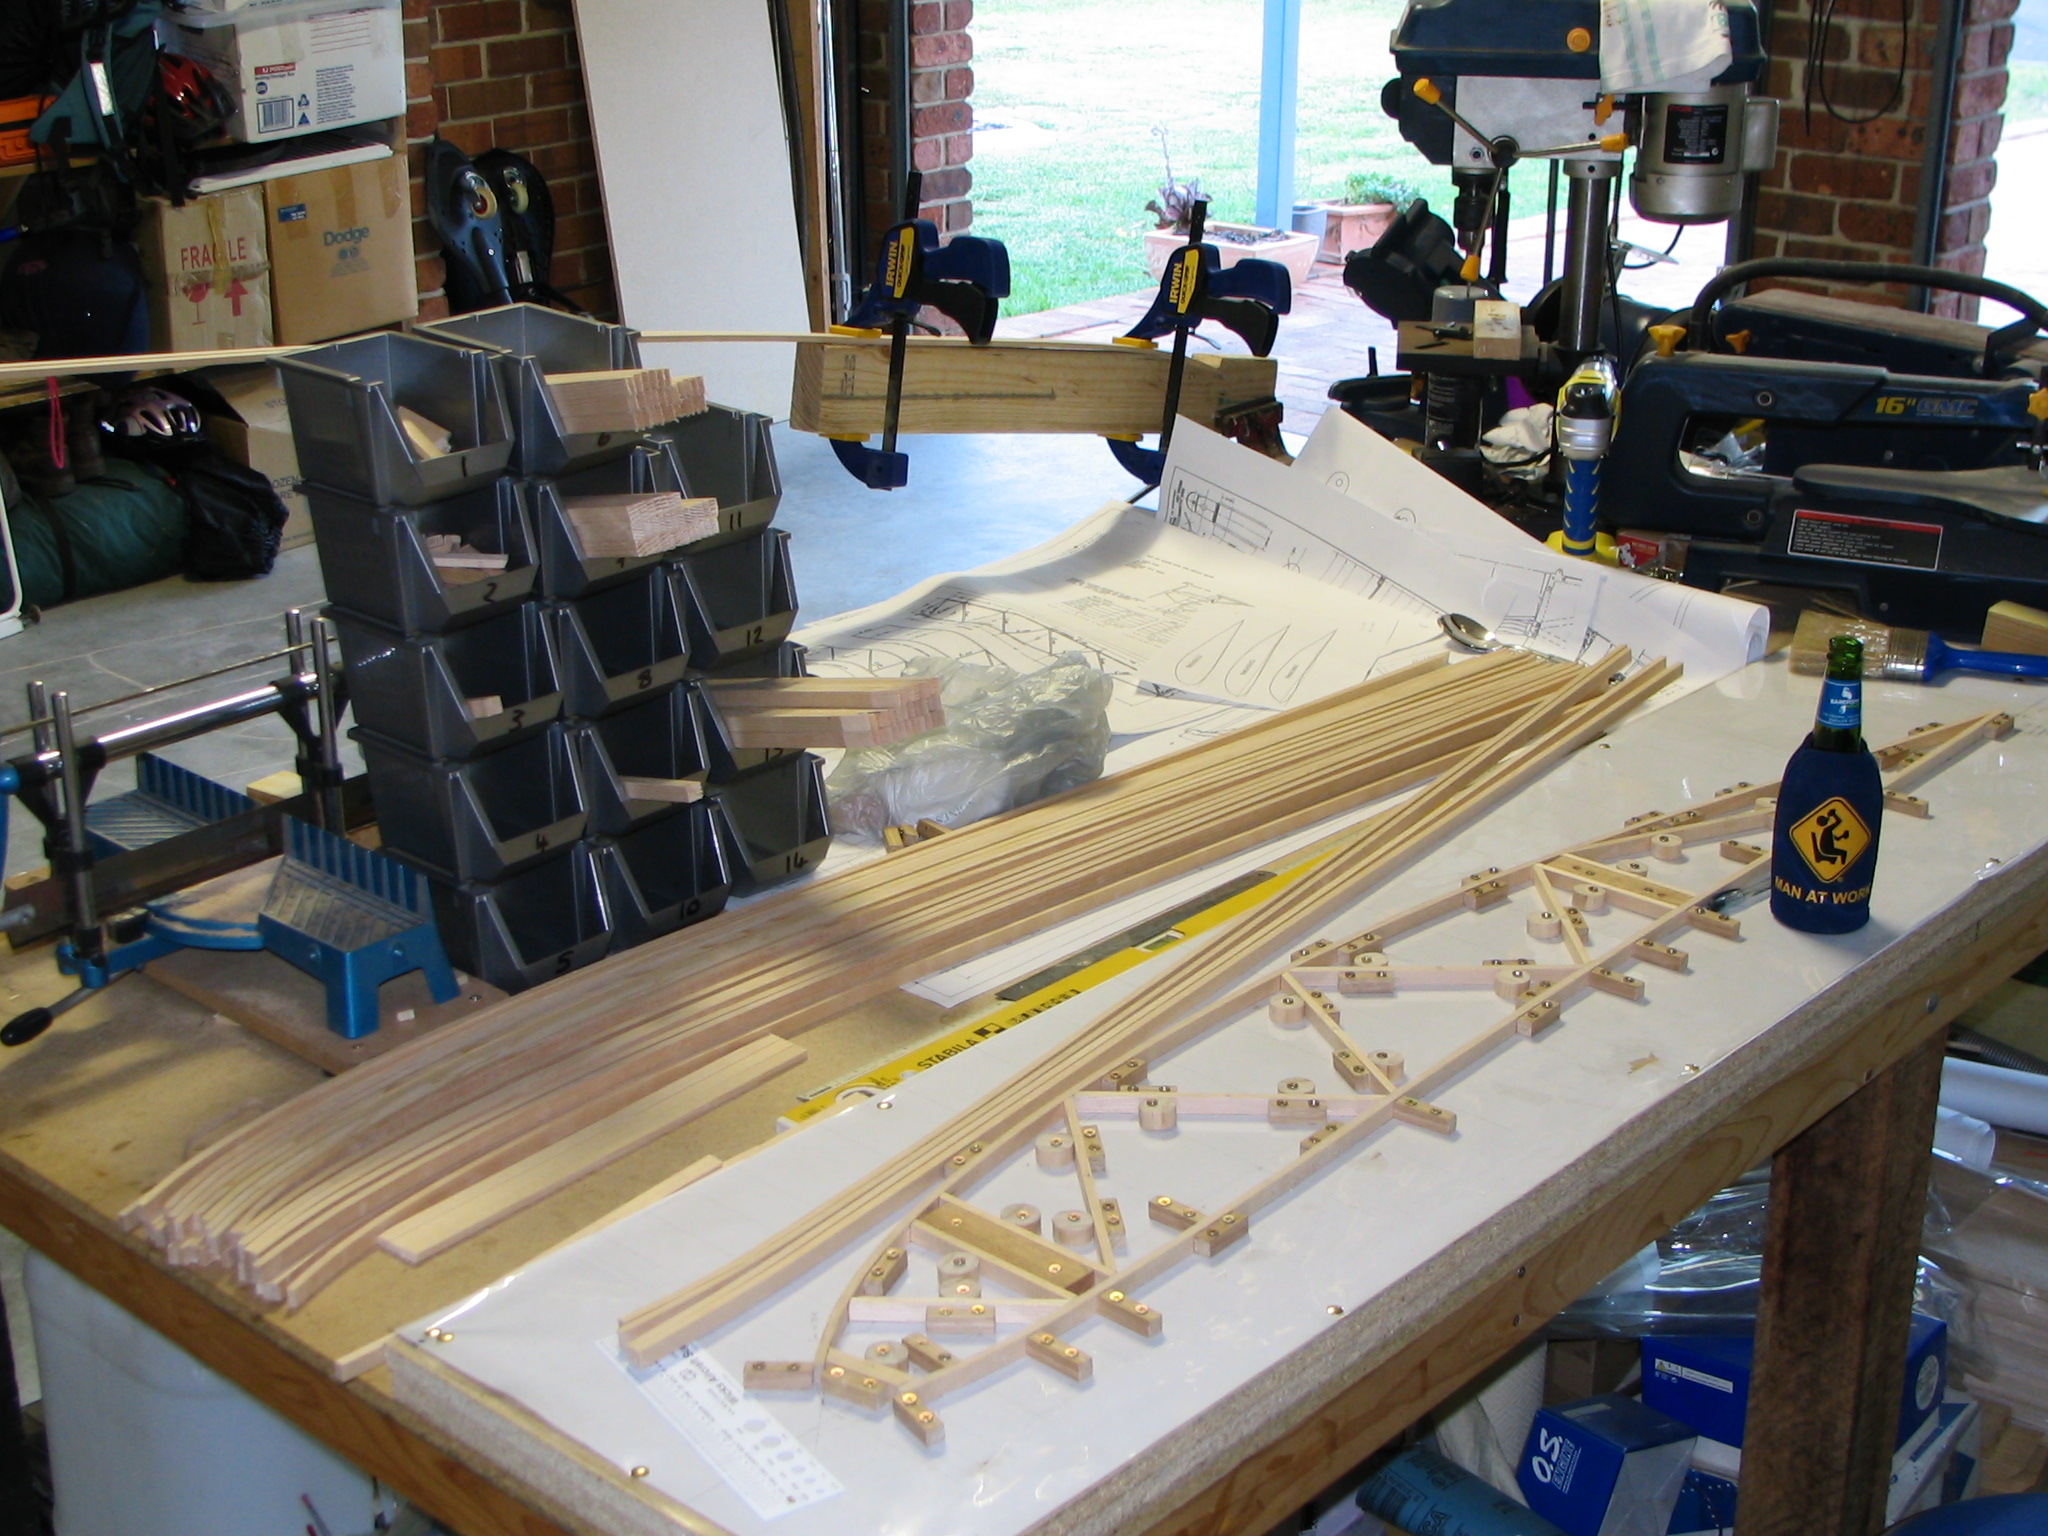
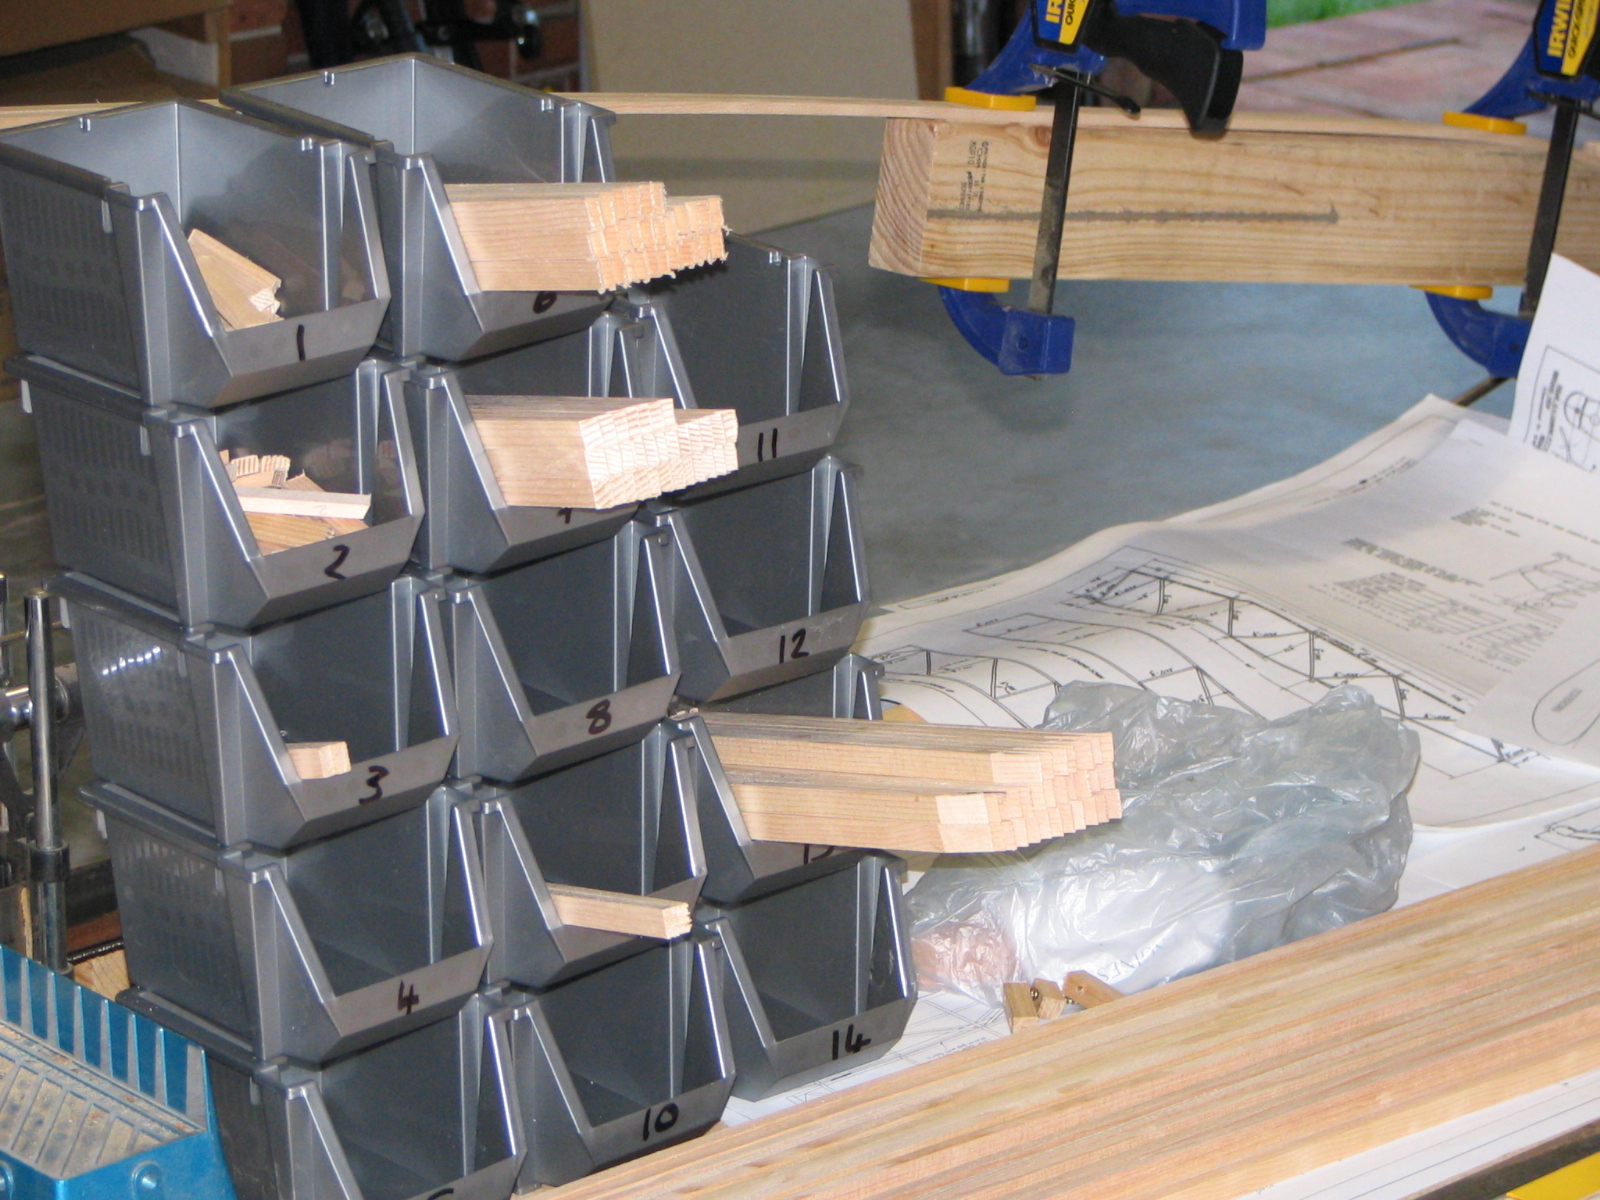
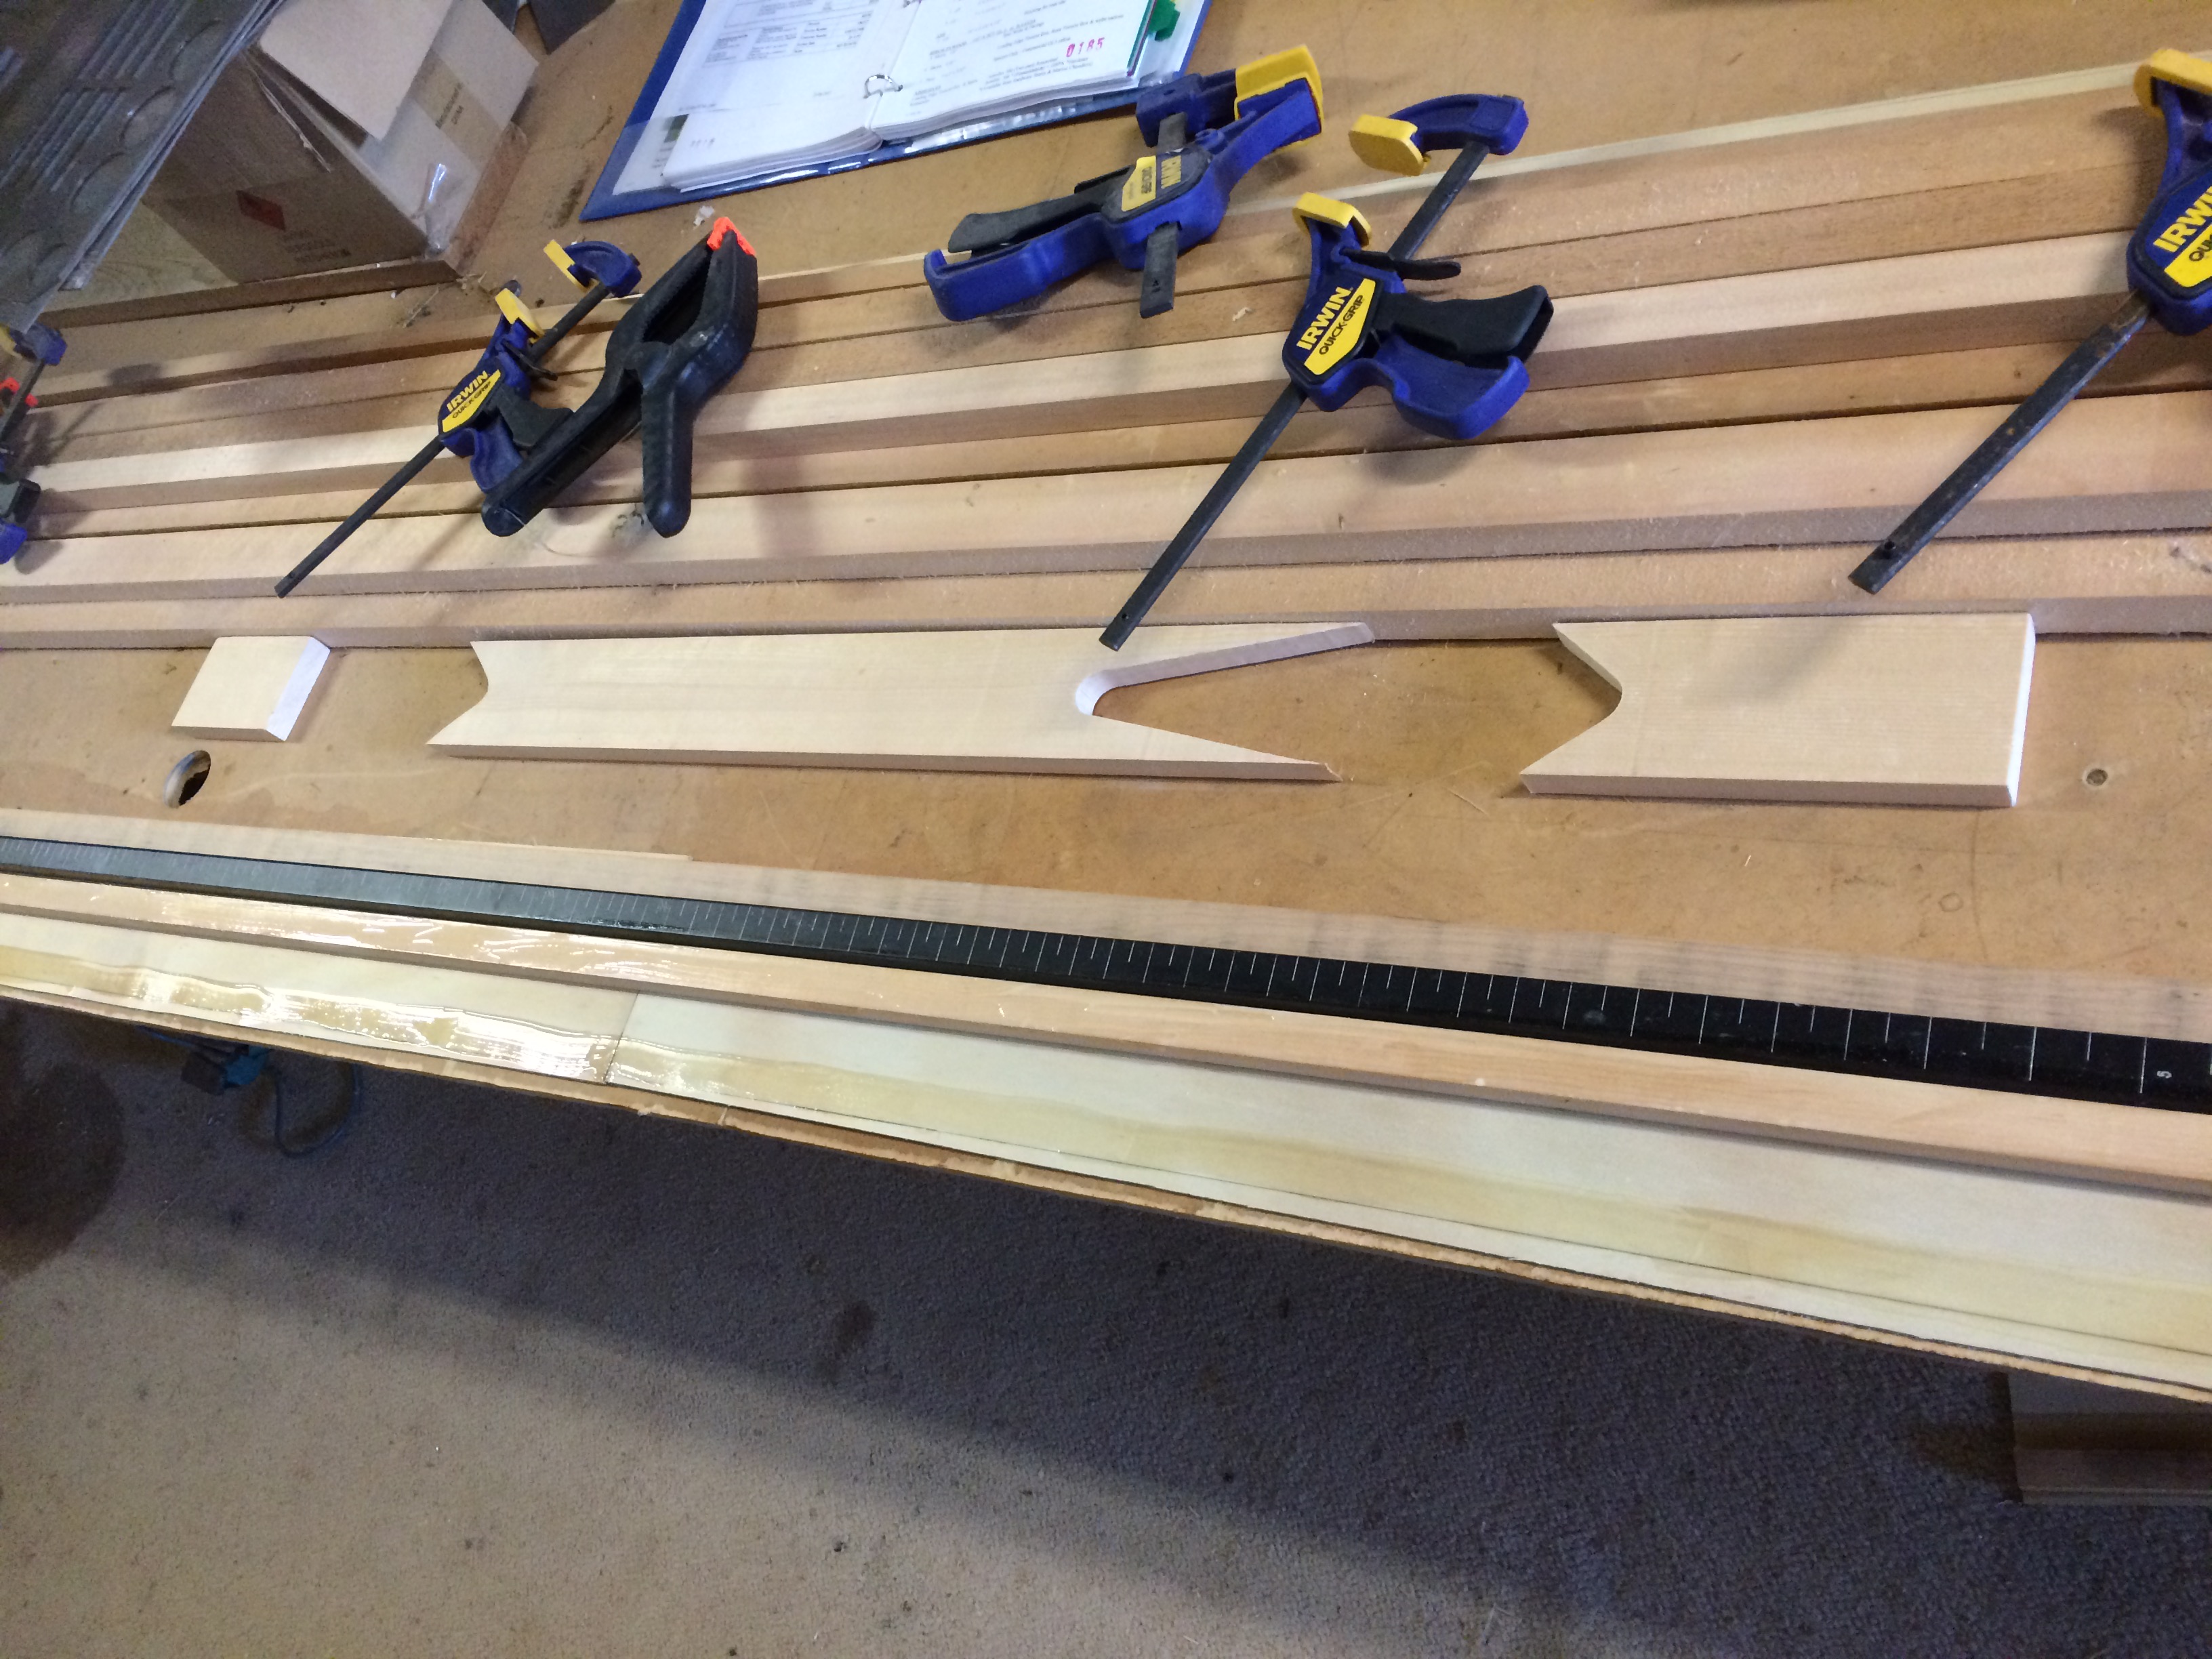
A slow mounting pile of rib parts. Each section of the rib has its own tub. When all cut out, will start gluing.....
I now have a full compliment of capstrip cut out for the ribs. Waiting on the 1/16 Aircraft Ply to arrive to cut gussets and glue them all together....
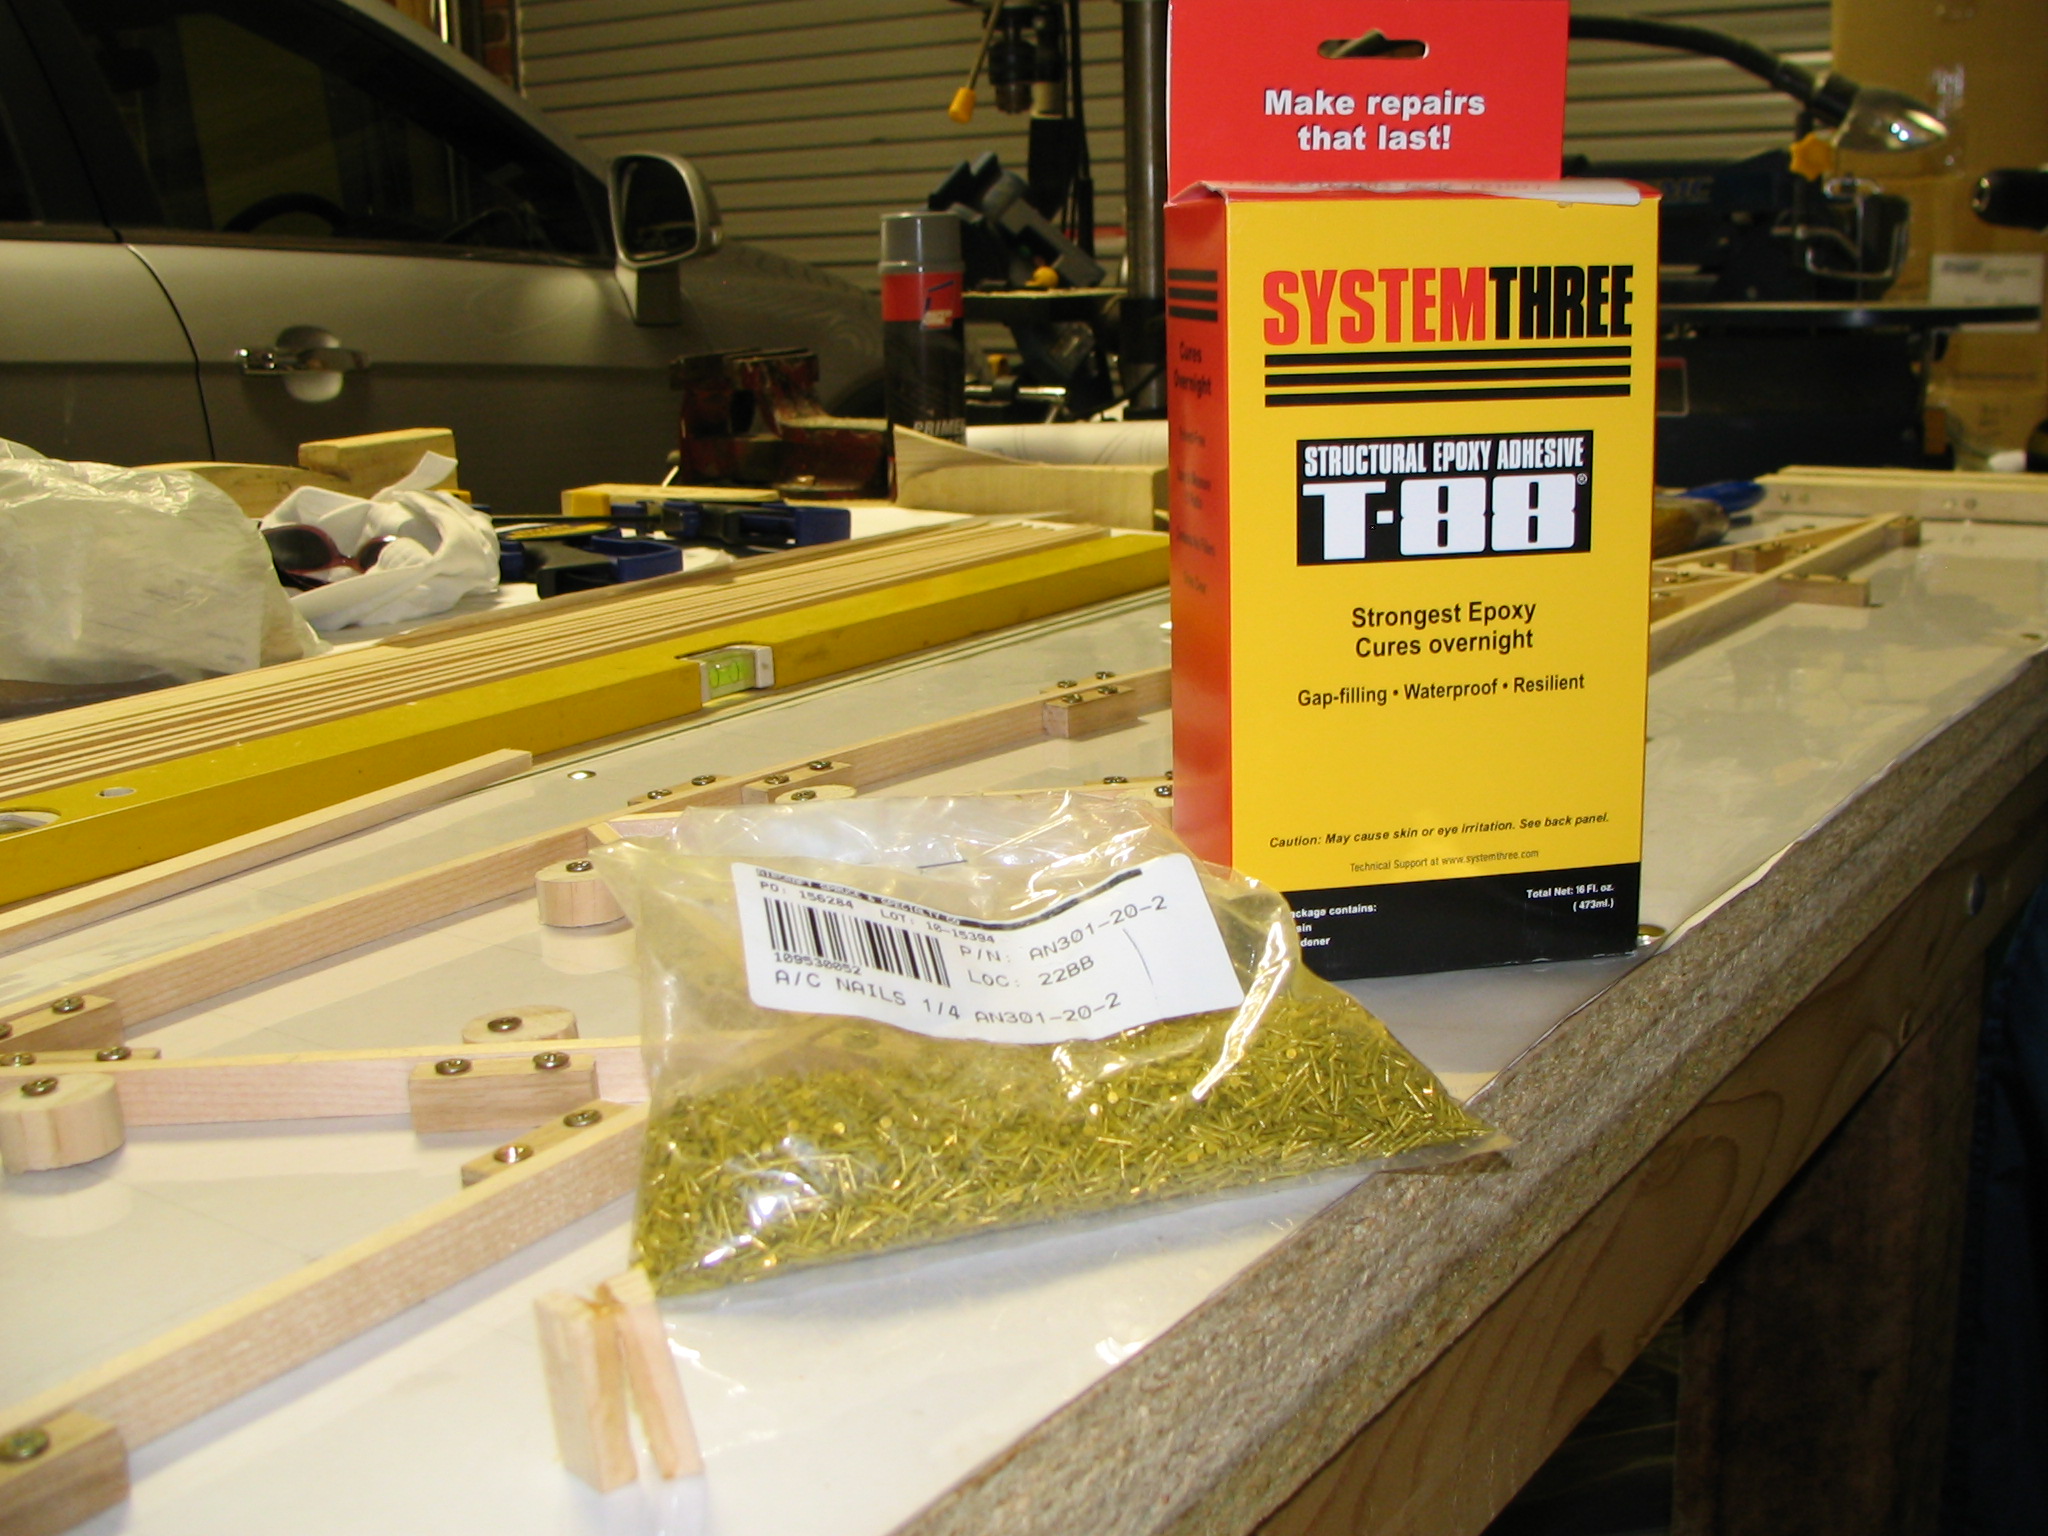
I had a trial test of glueing with the T88 Adhesive. I glued 2 scrap pieces of spruce together, left overnight to dry and then hit right on the join with a chisel and hammer. As can be seen, the glue didnt let go and the wood split. Good enough for me! The glue is stronger than the spruce! Would you believe there is approx 9000 nails in that little bag?


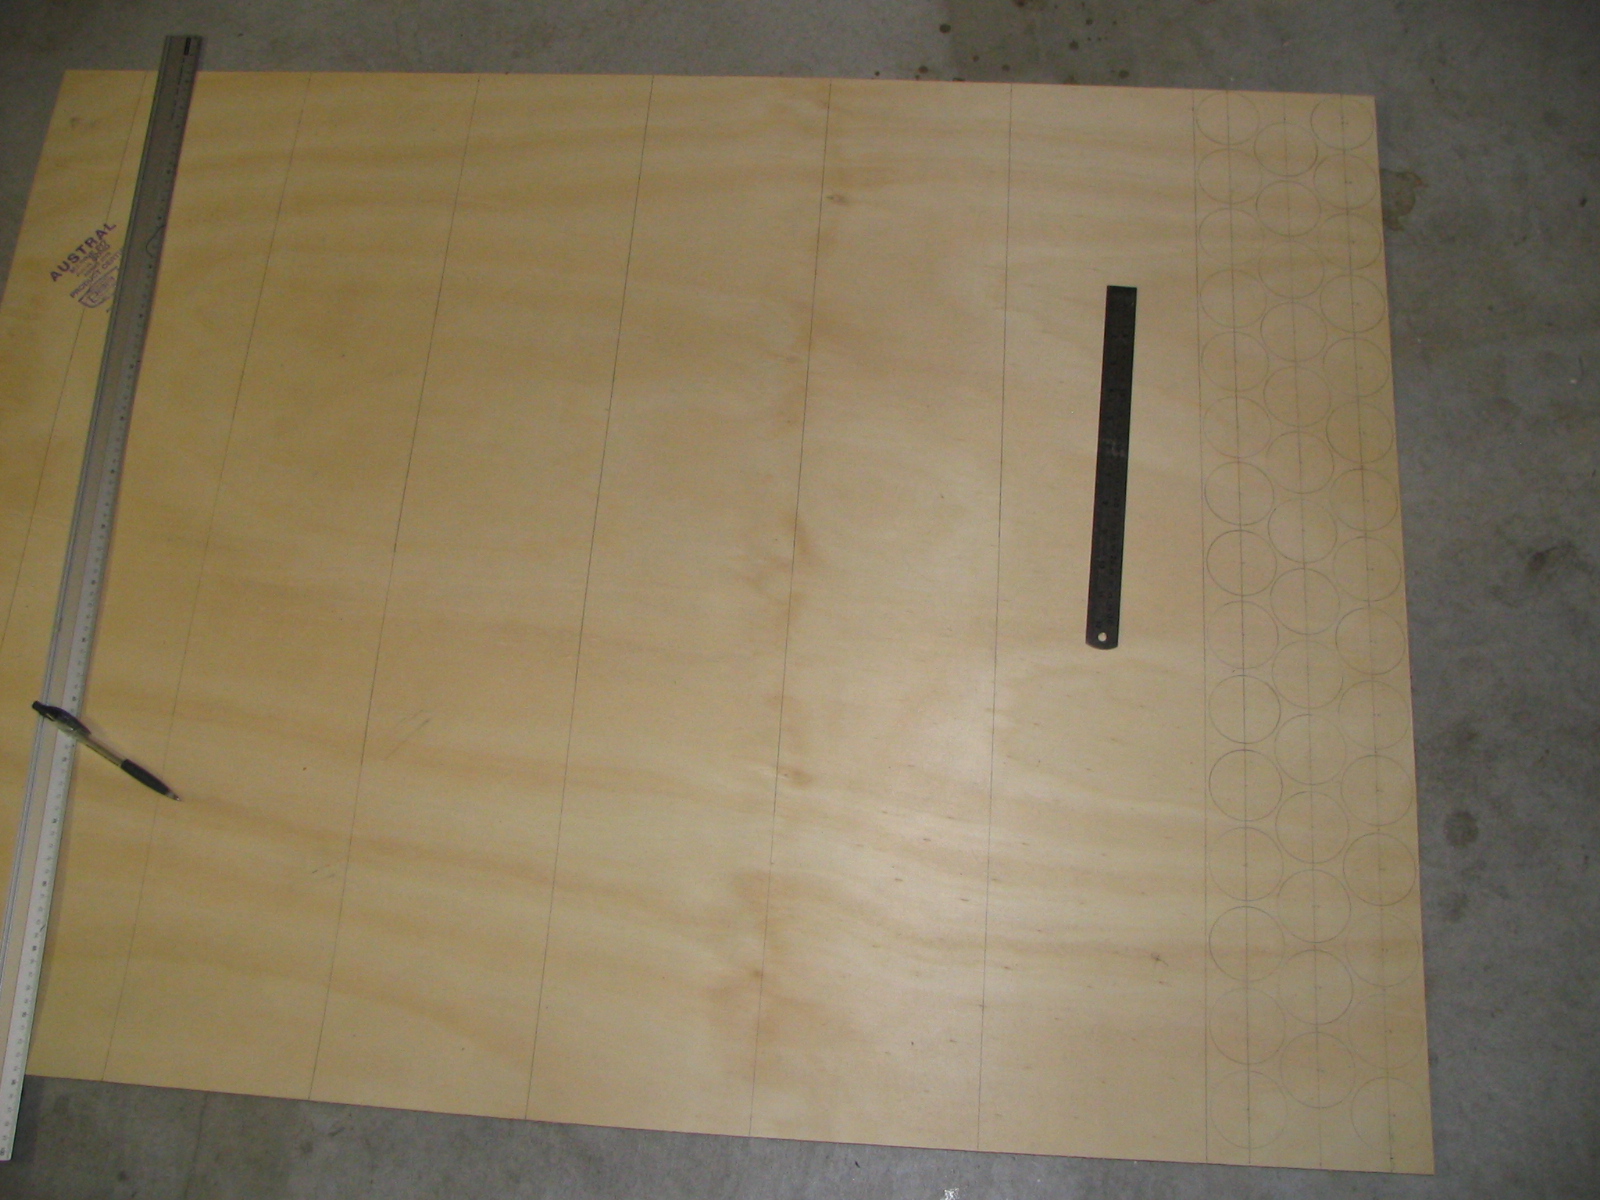
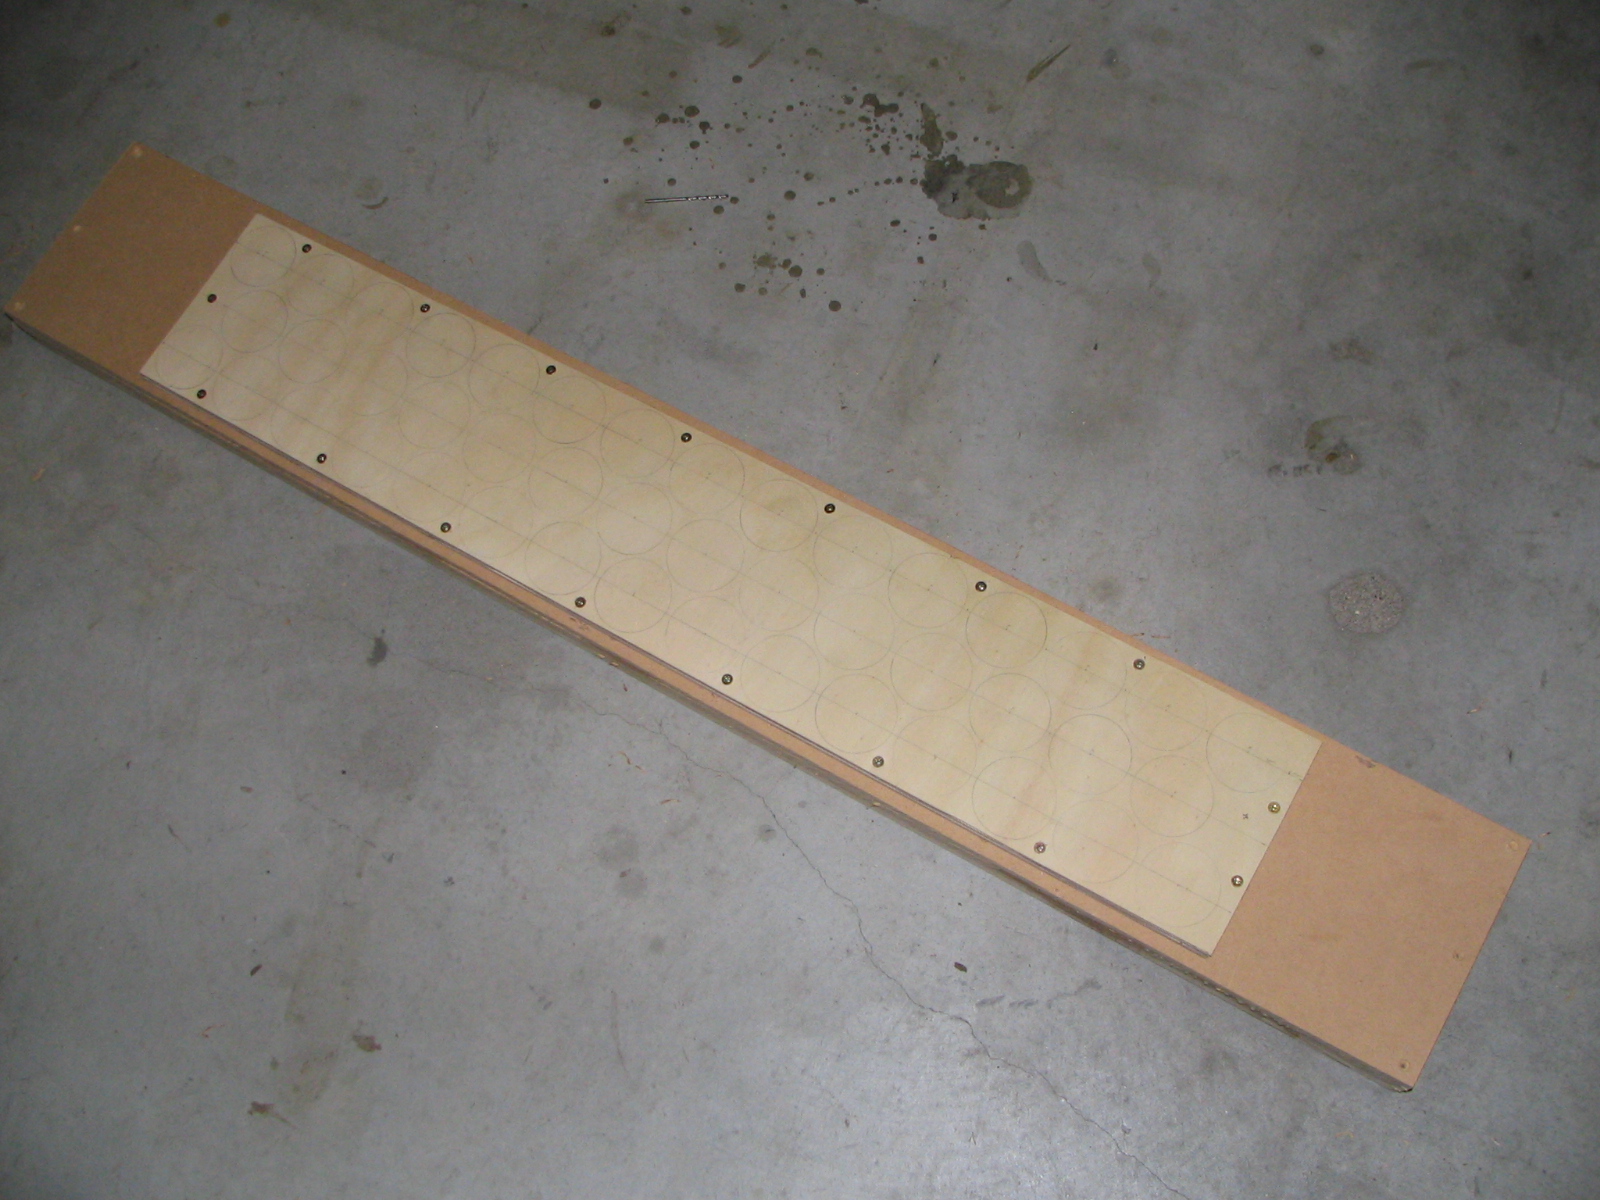
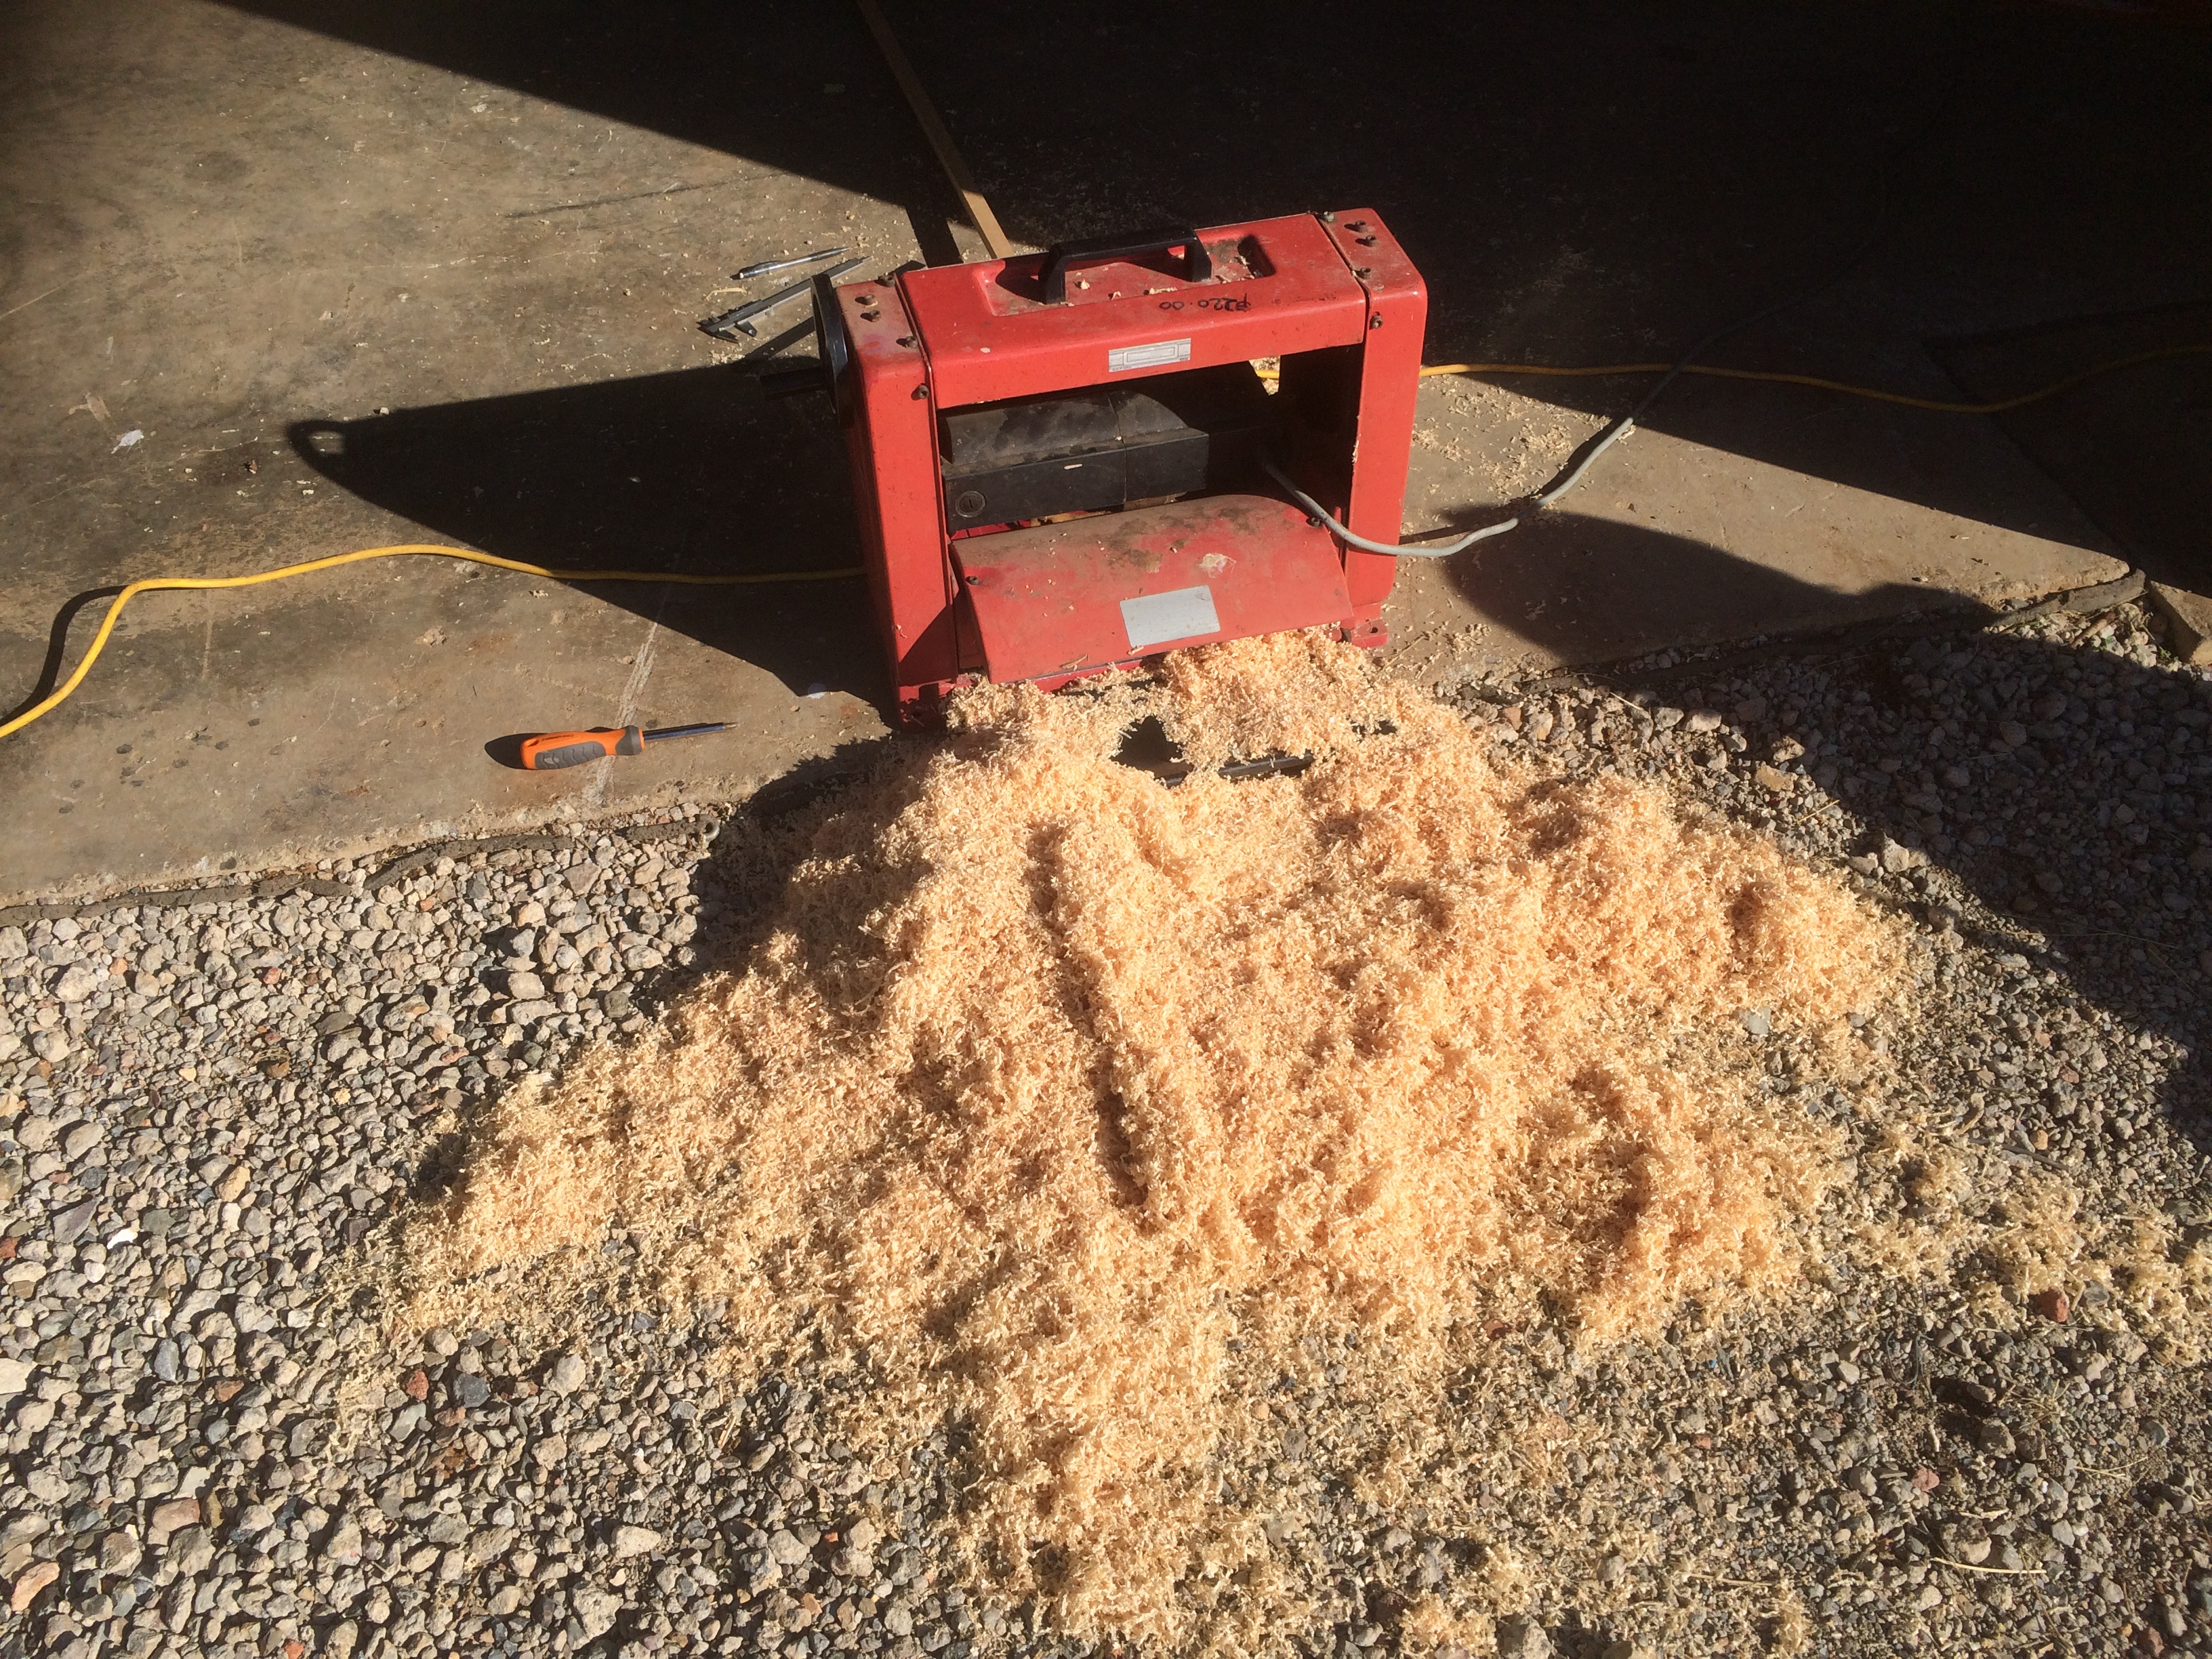
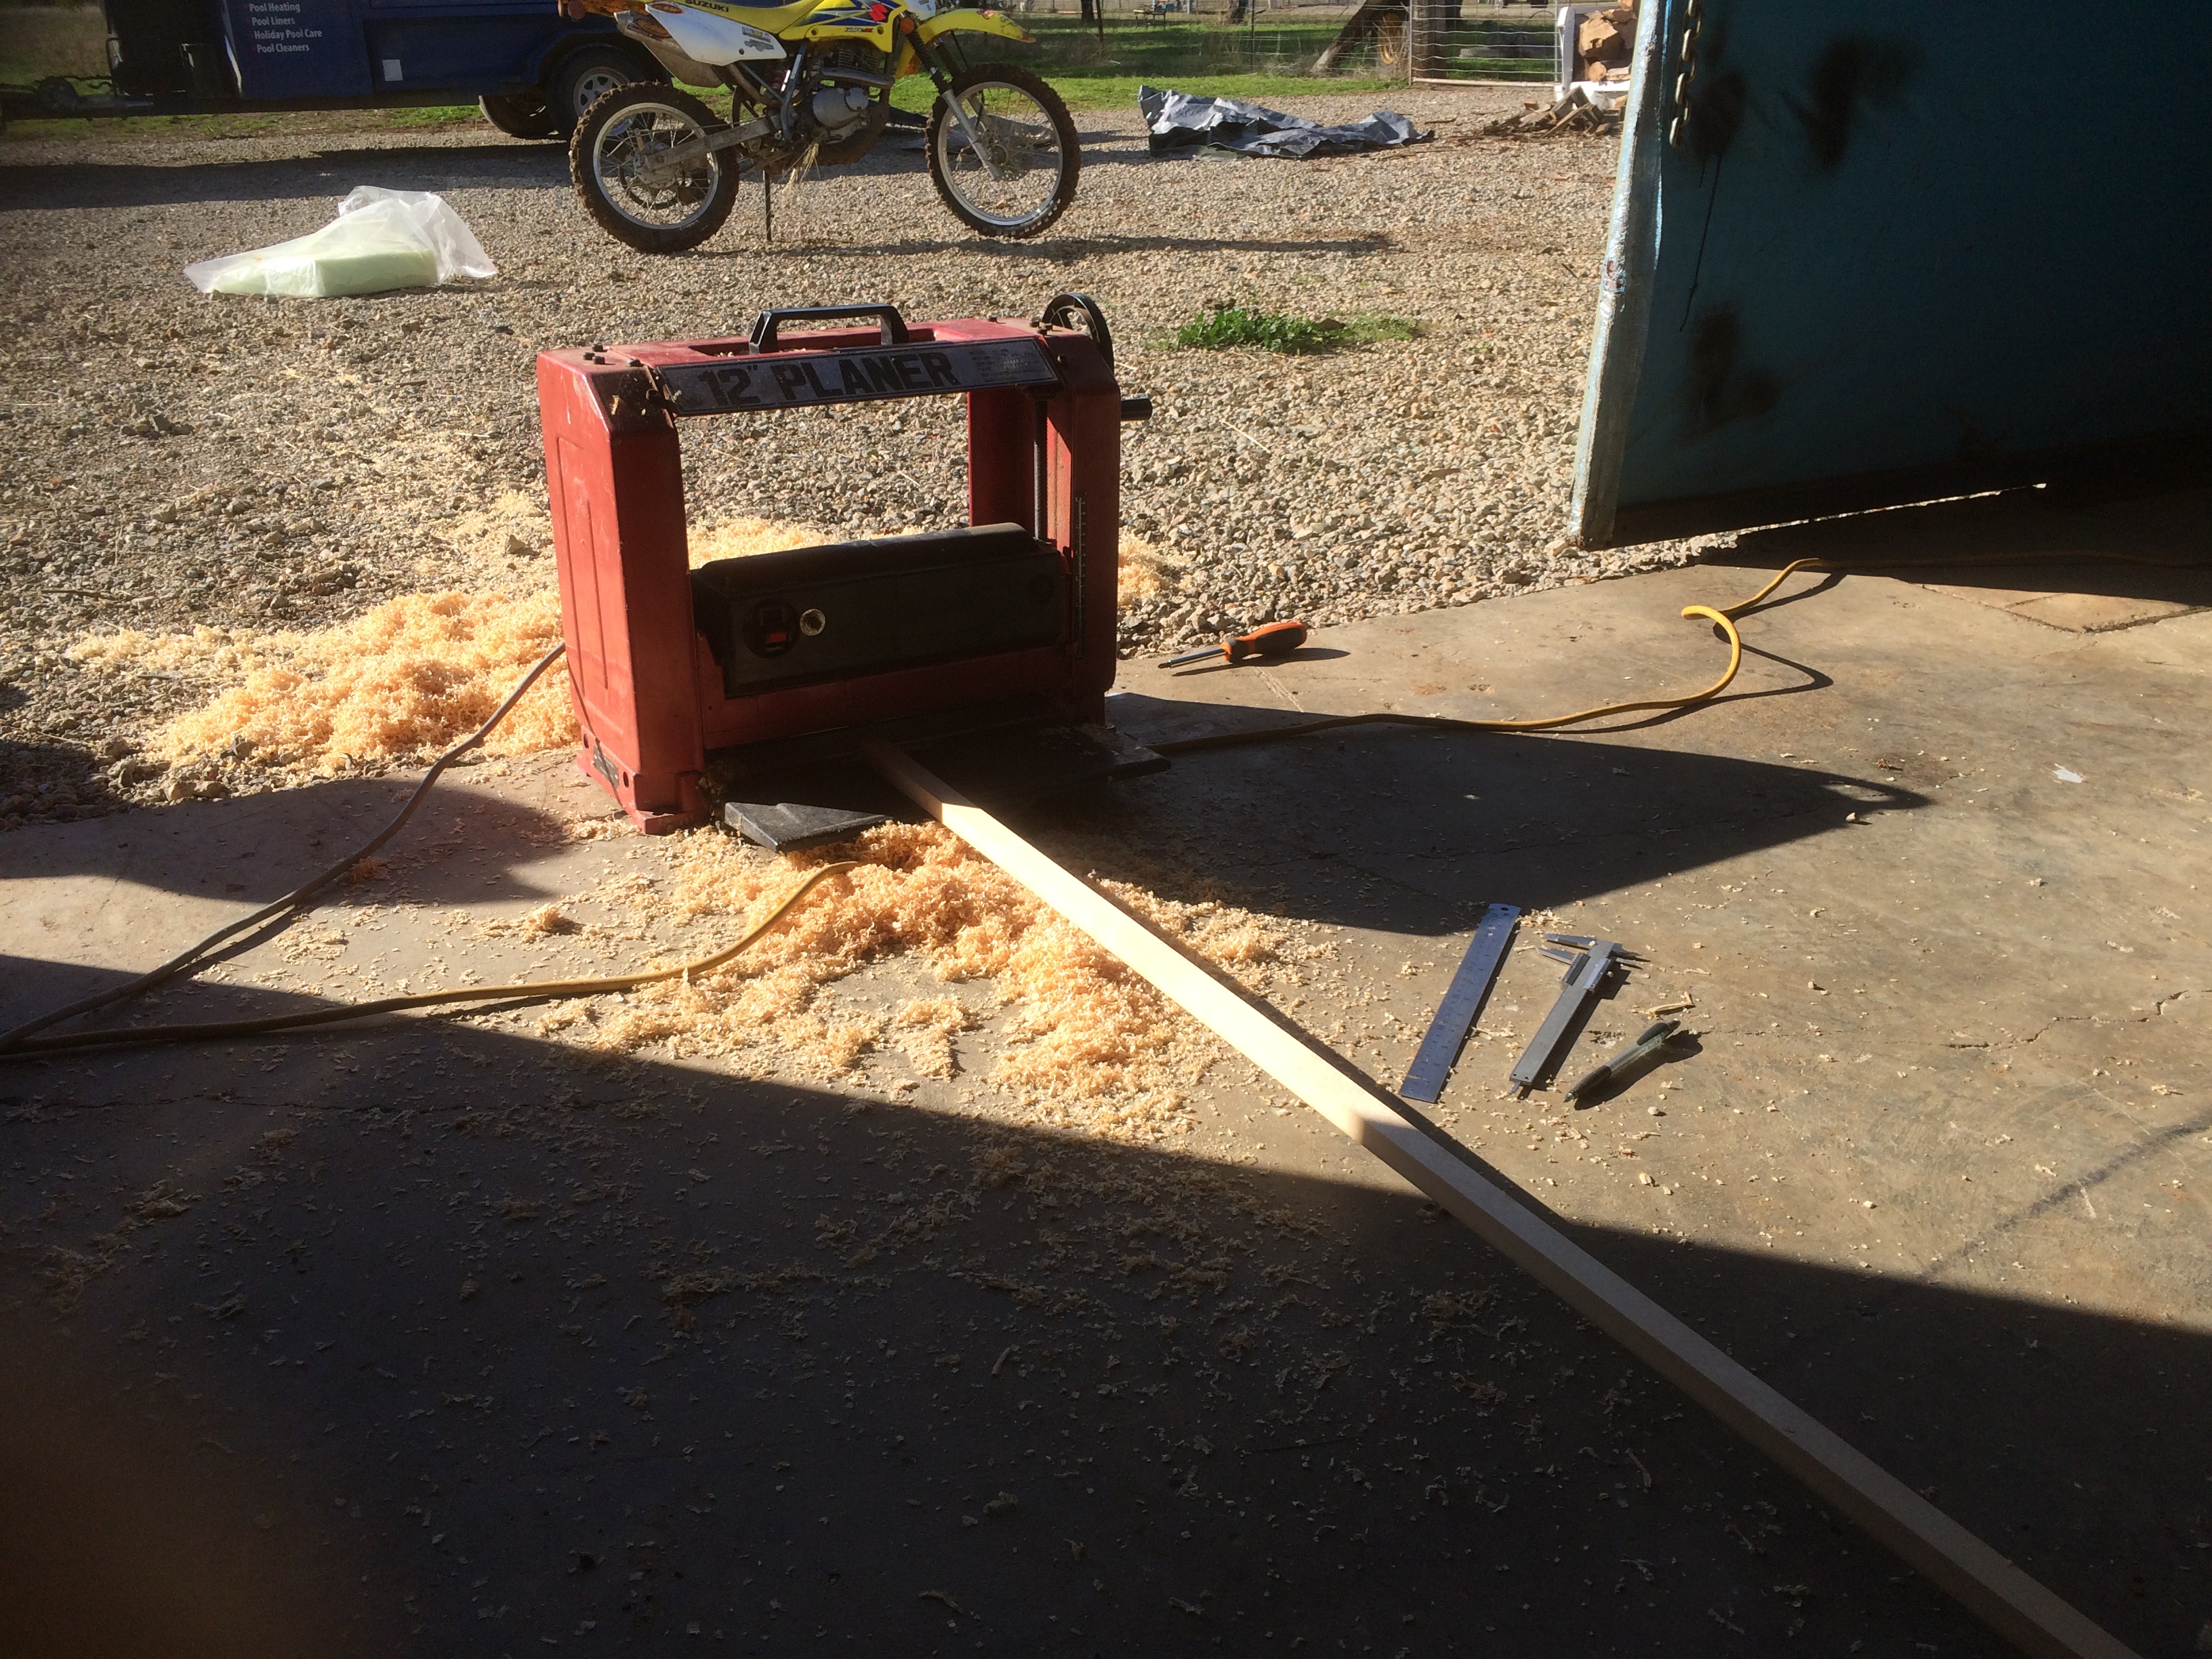
After some procrastination over what will be the most time effective way to cut all these rib gussets out, I have decided to use a 54mm hole saw. Instead of cutting them out individually, I am going to try and sandwich a number of lengths of ply together and try and do several sheets at once. I have no idea if this is going to work but my theory is that I should end up with a nicer finish with them all stacked on top of each other. Will let you know if it works!
Here I have drawn where each circle will be and then will cut the other lengths out and stack them on top of each other...
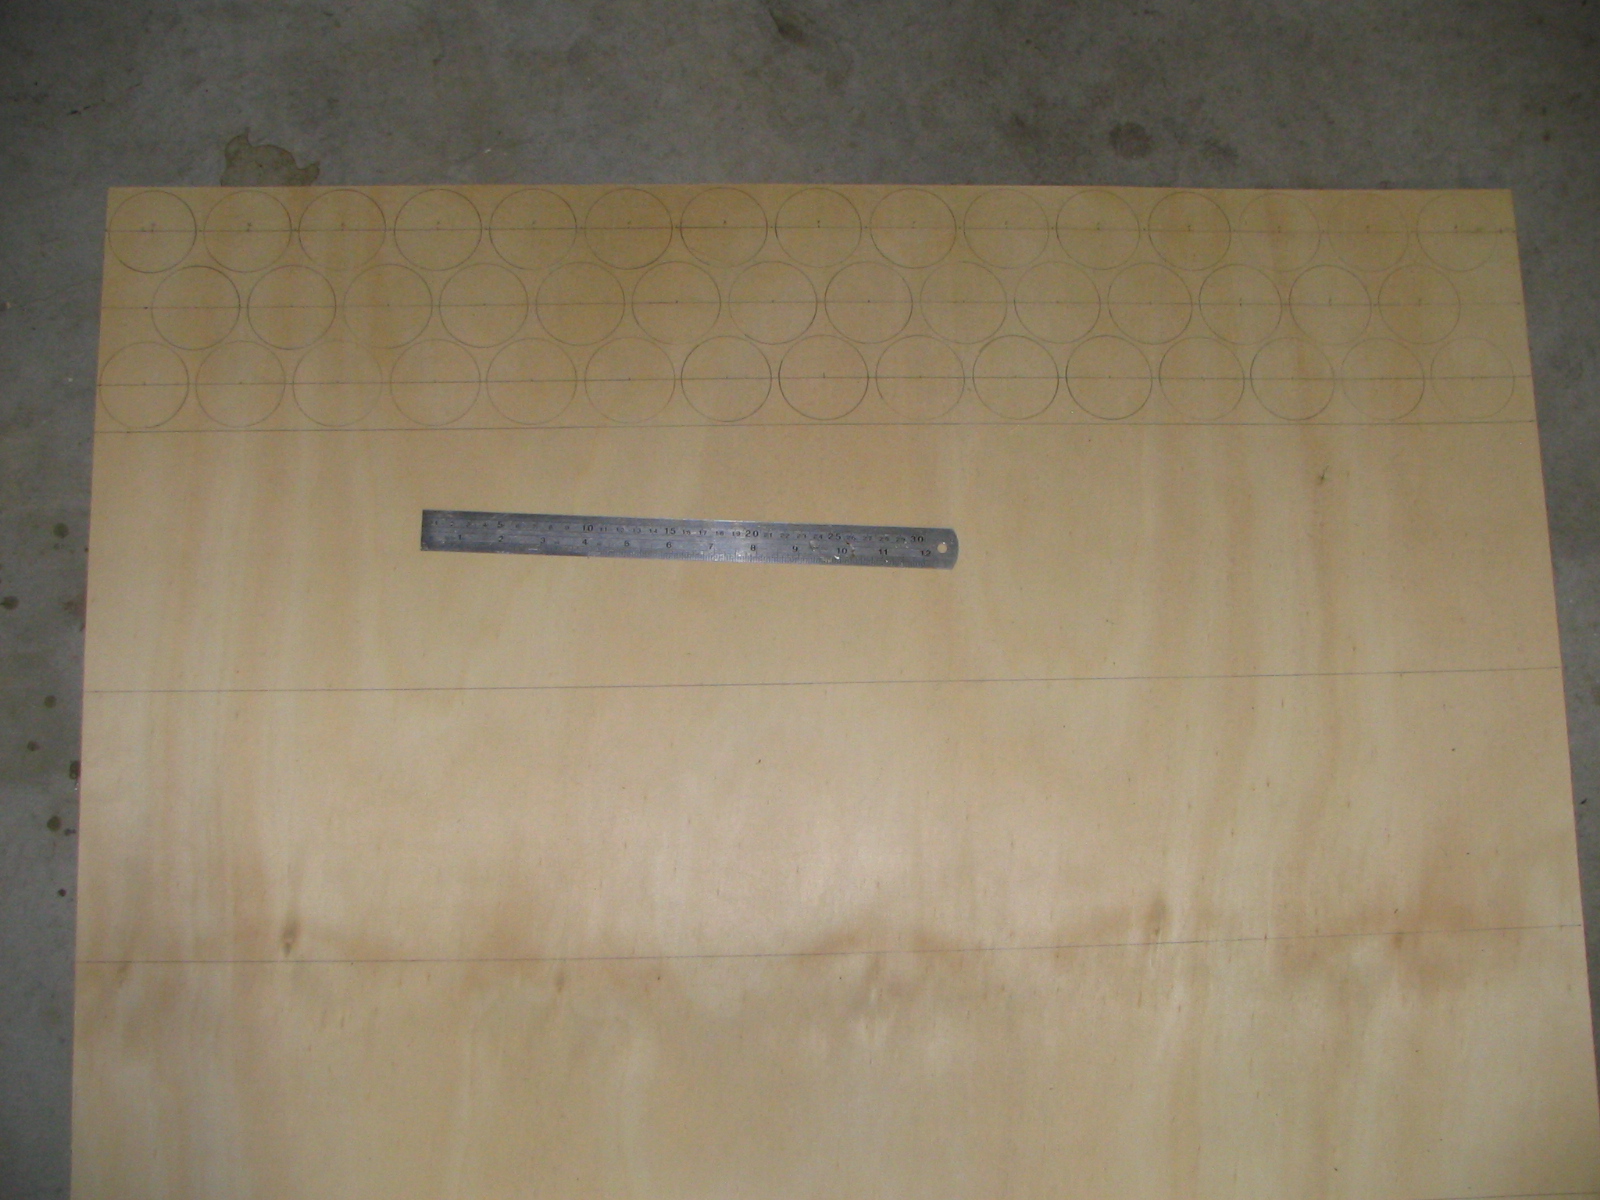
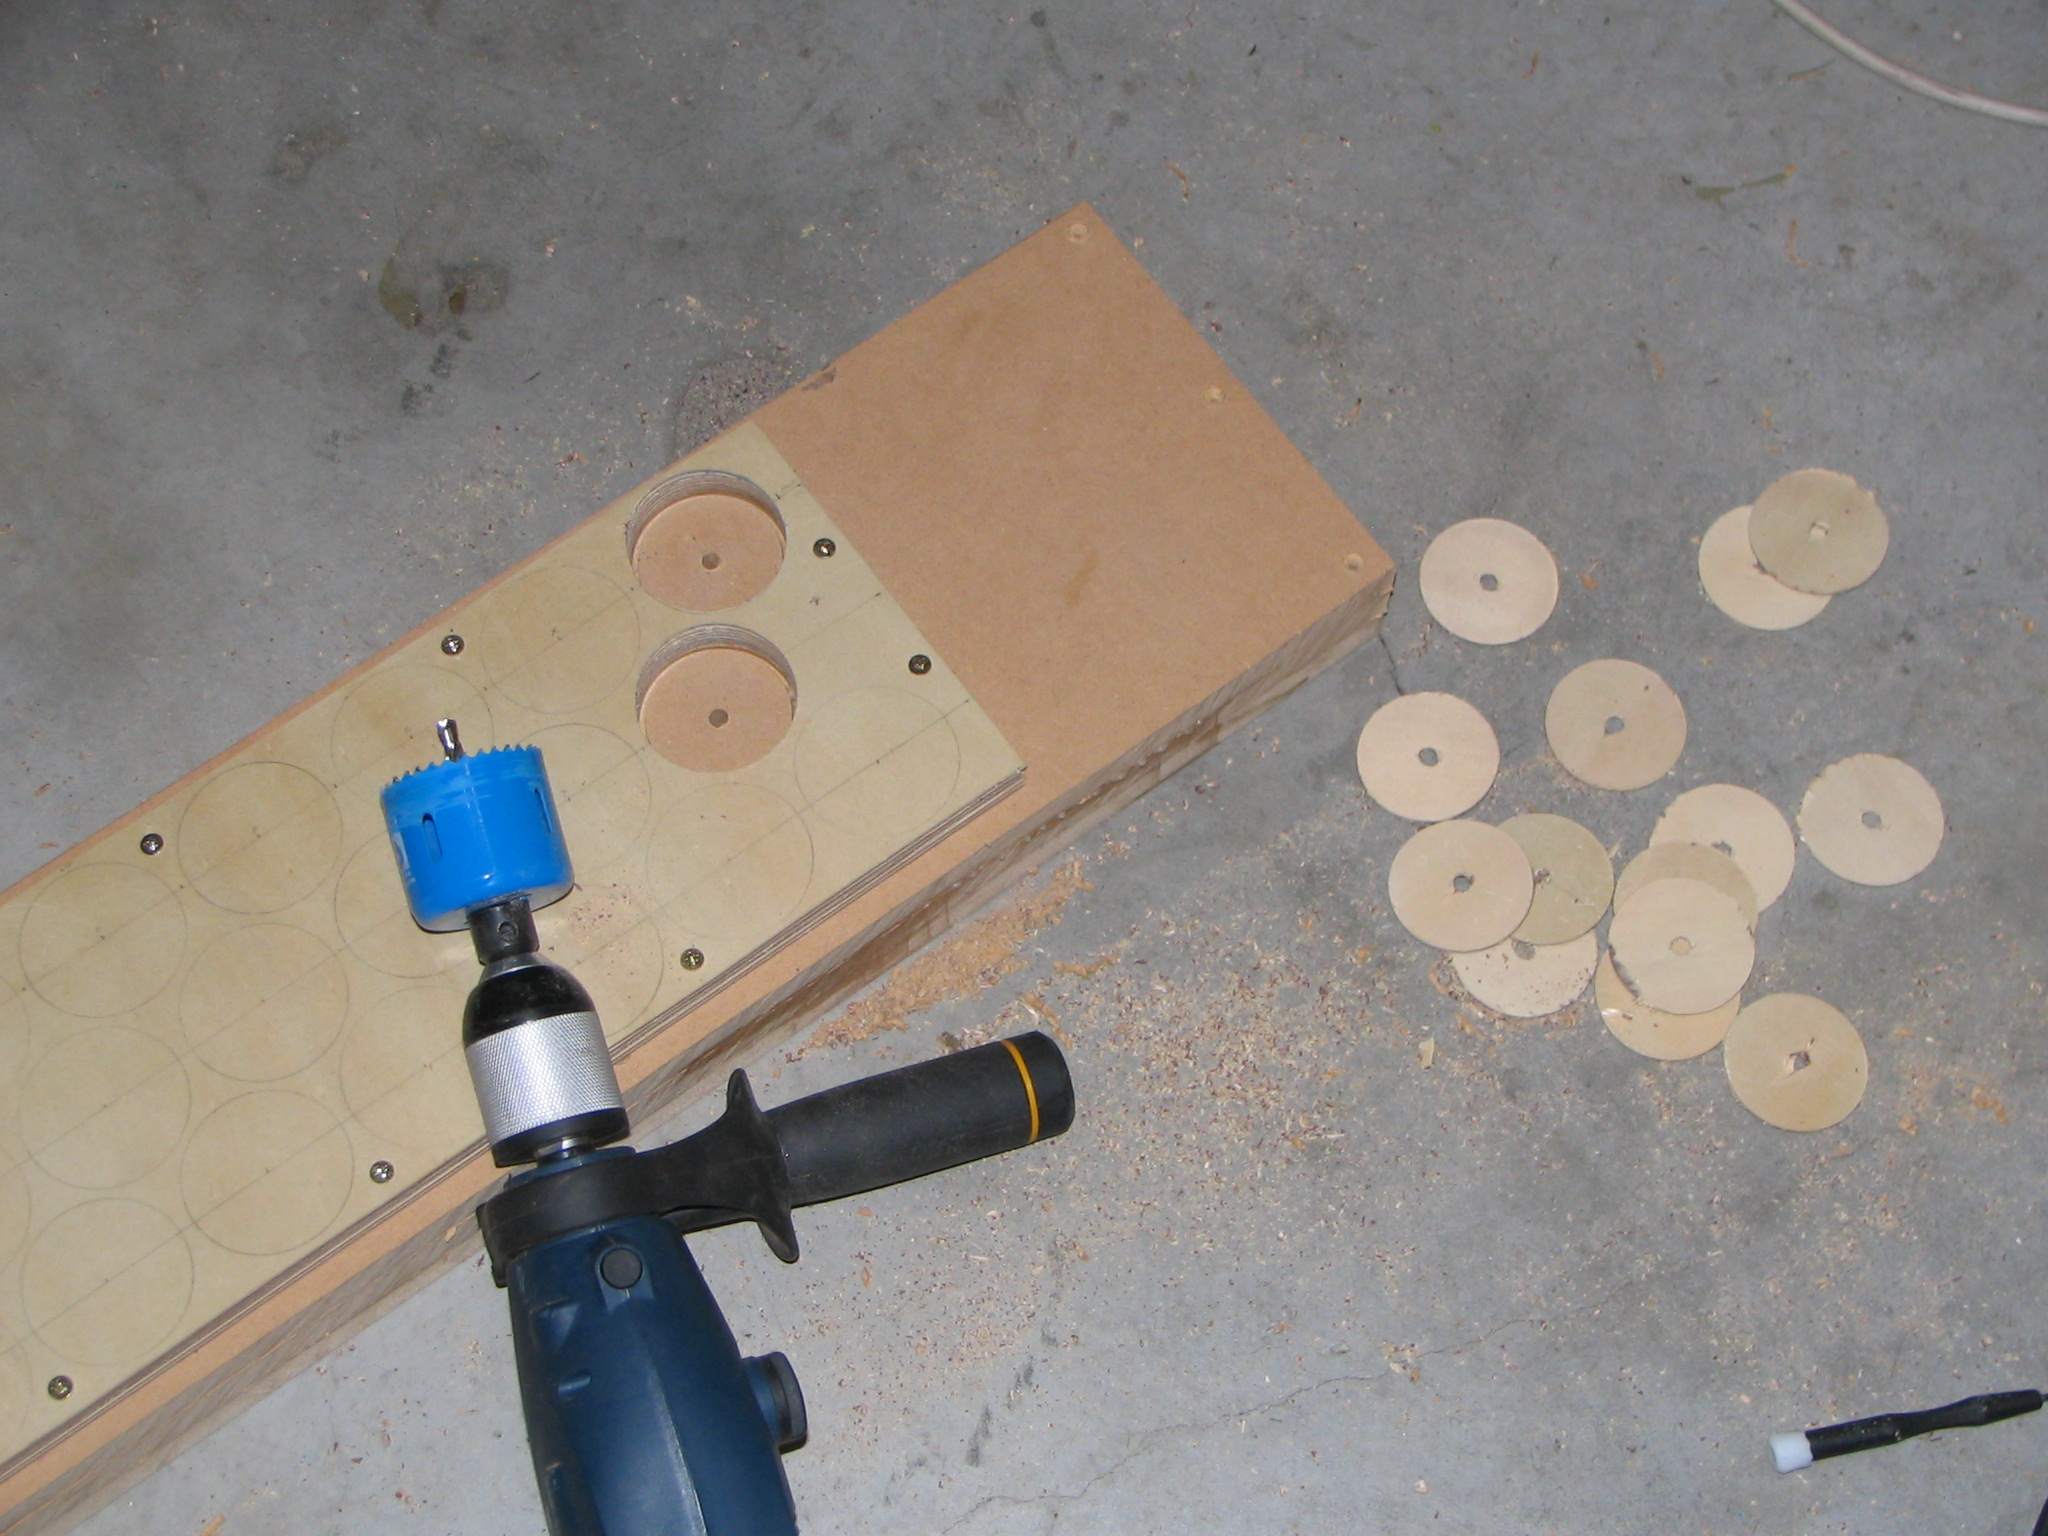
I then glued 3 pieces of 18mm MDF together so the hole saw has something soft to go in to. I glued and screwed it and then removed the screws once it had dried. I then stacked the 7 sheets of ply on top and screwed them down so they couldnt move. They were very easy to drill through and I ended up with a reasonably clean ply disc to use as rib gussets.
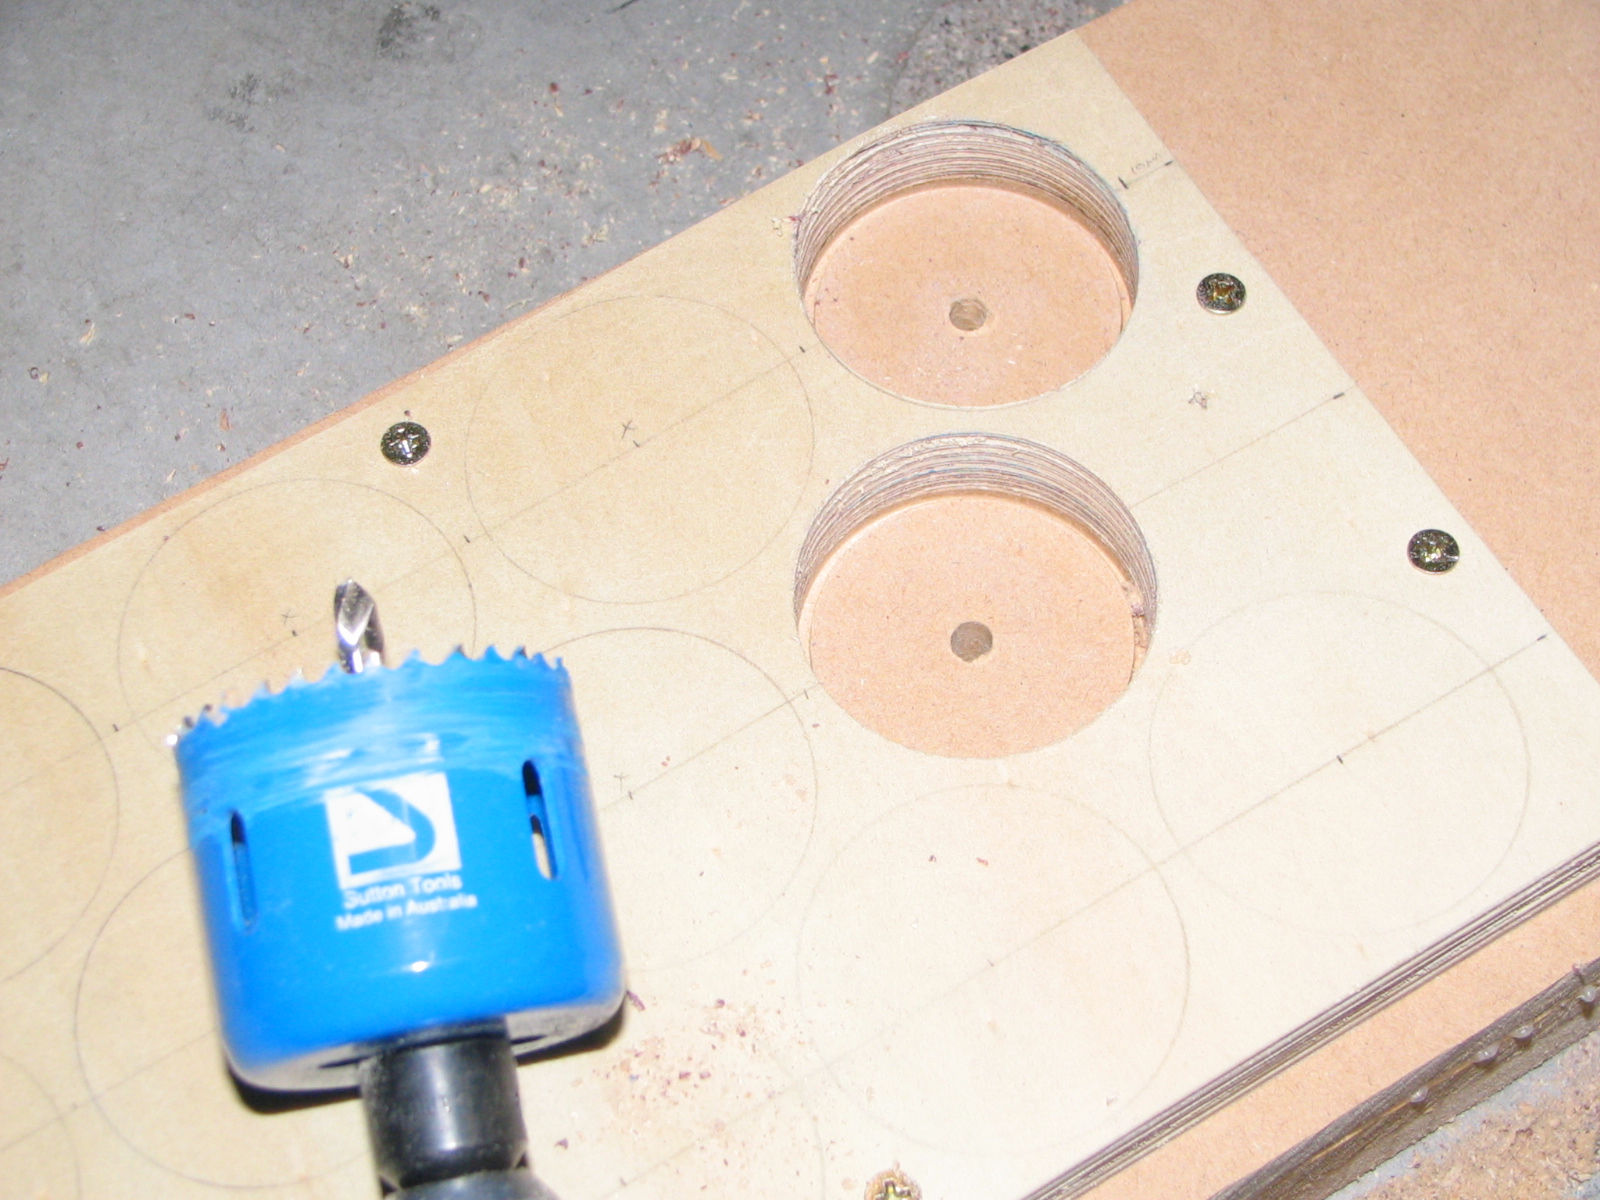

308 disc's to be cleaned up for rib gussets. Not sure if that will be enough yet...

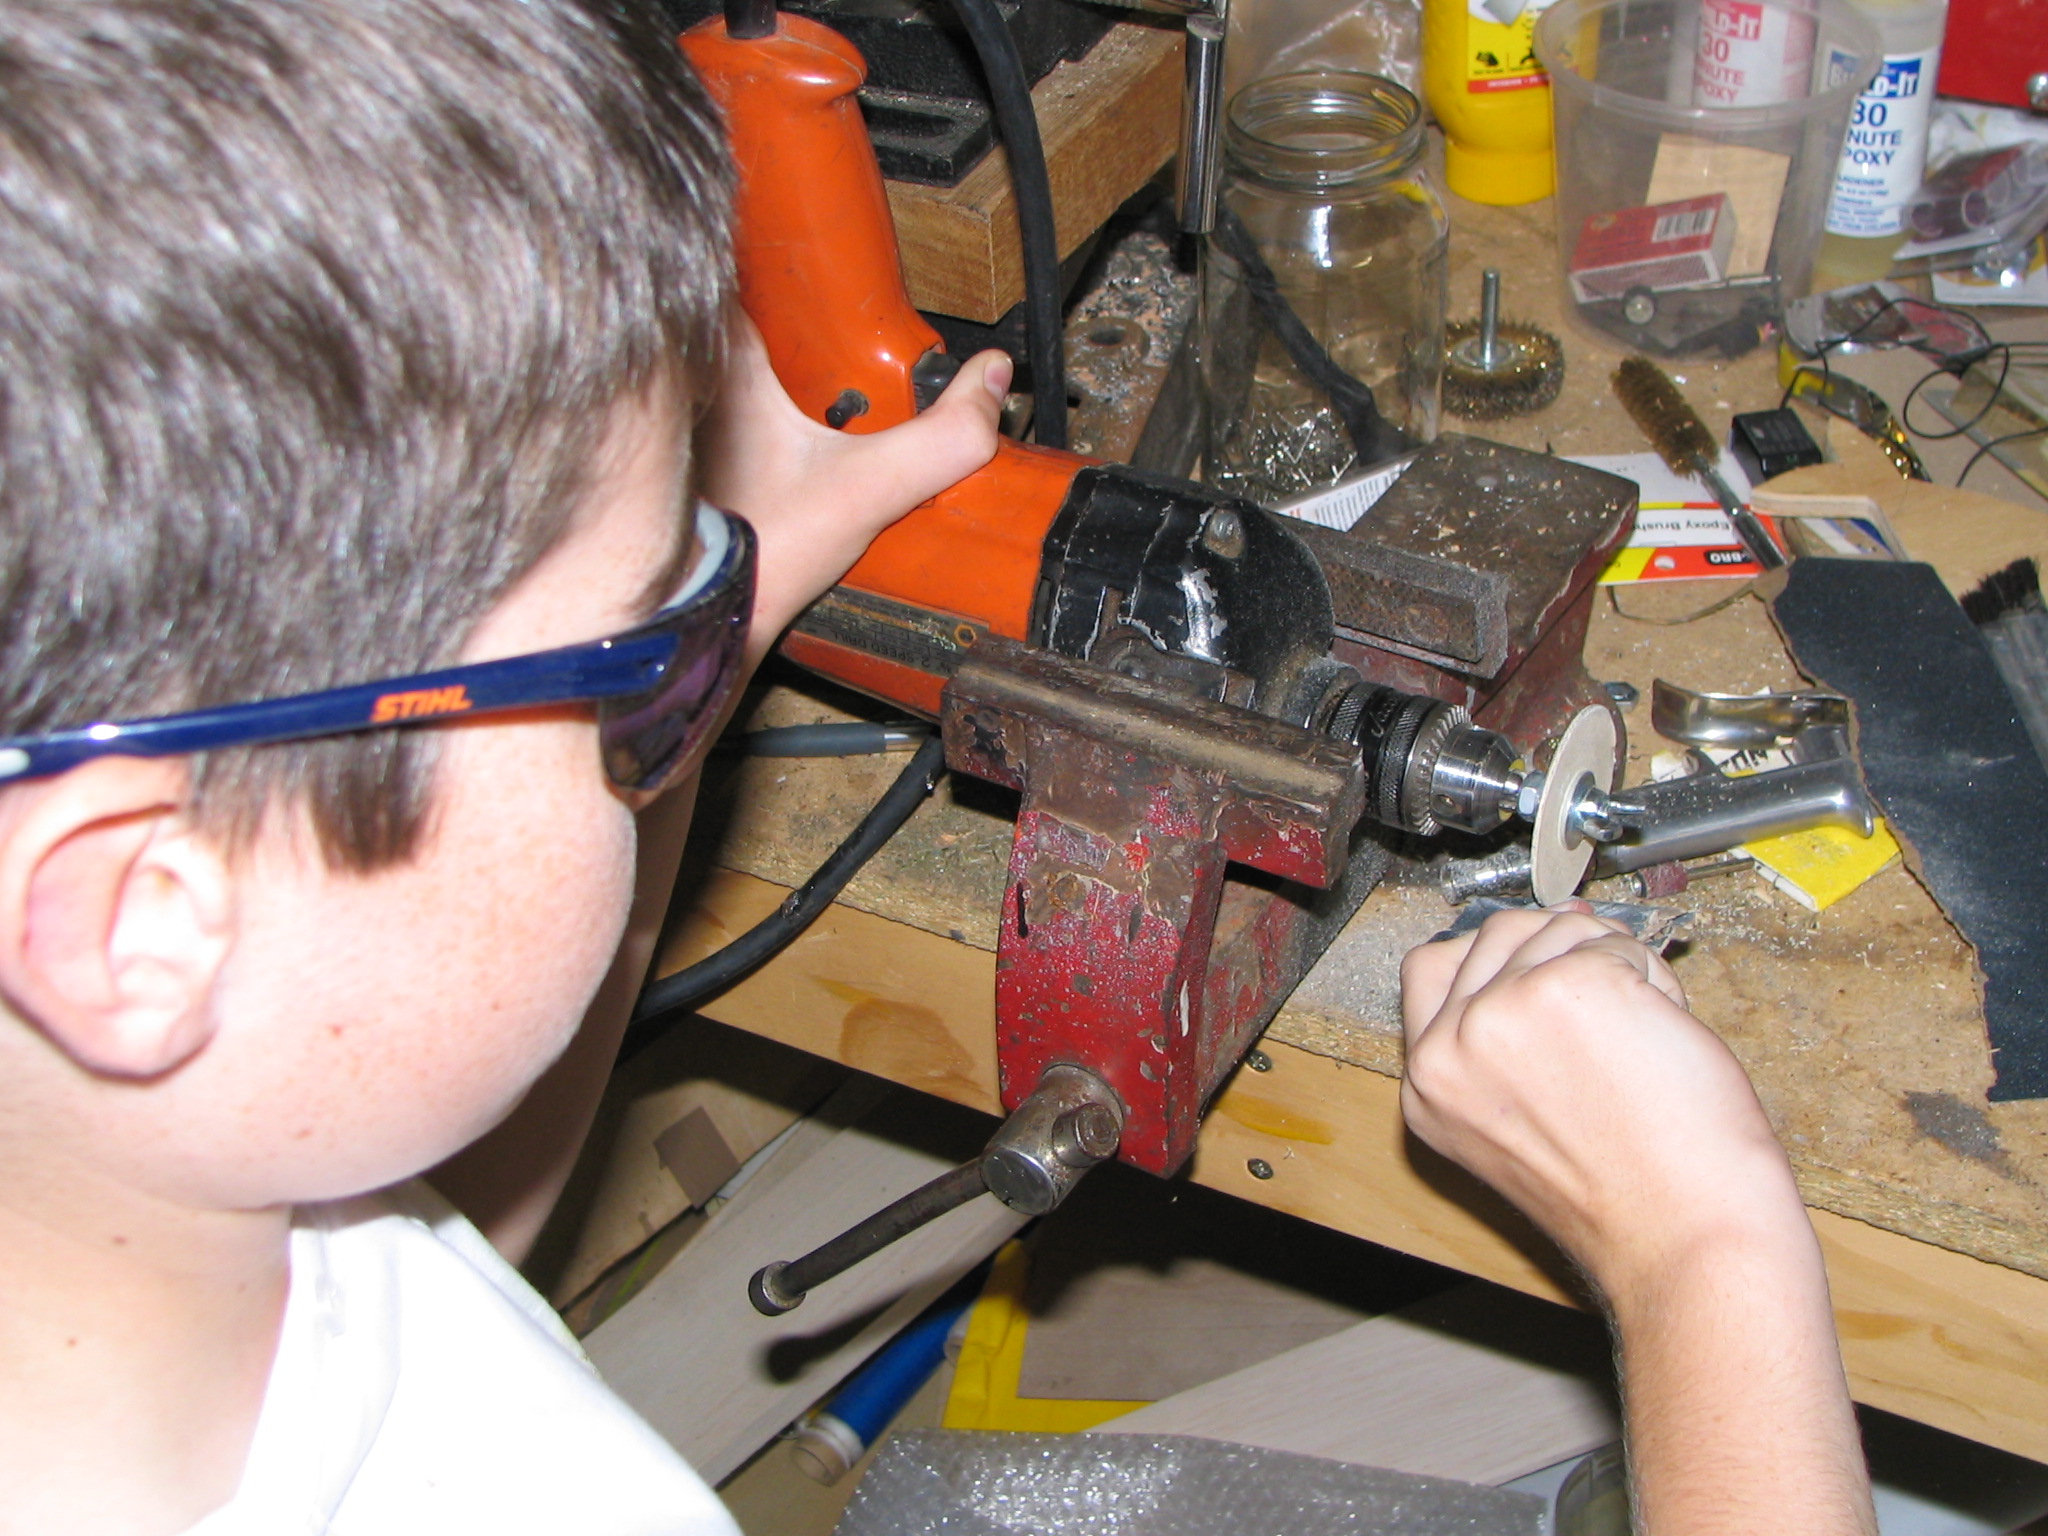
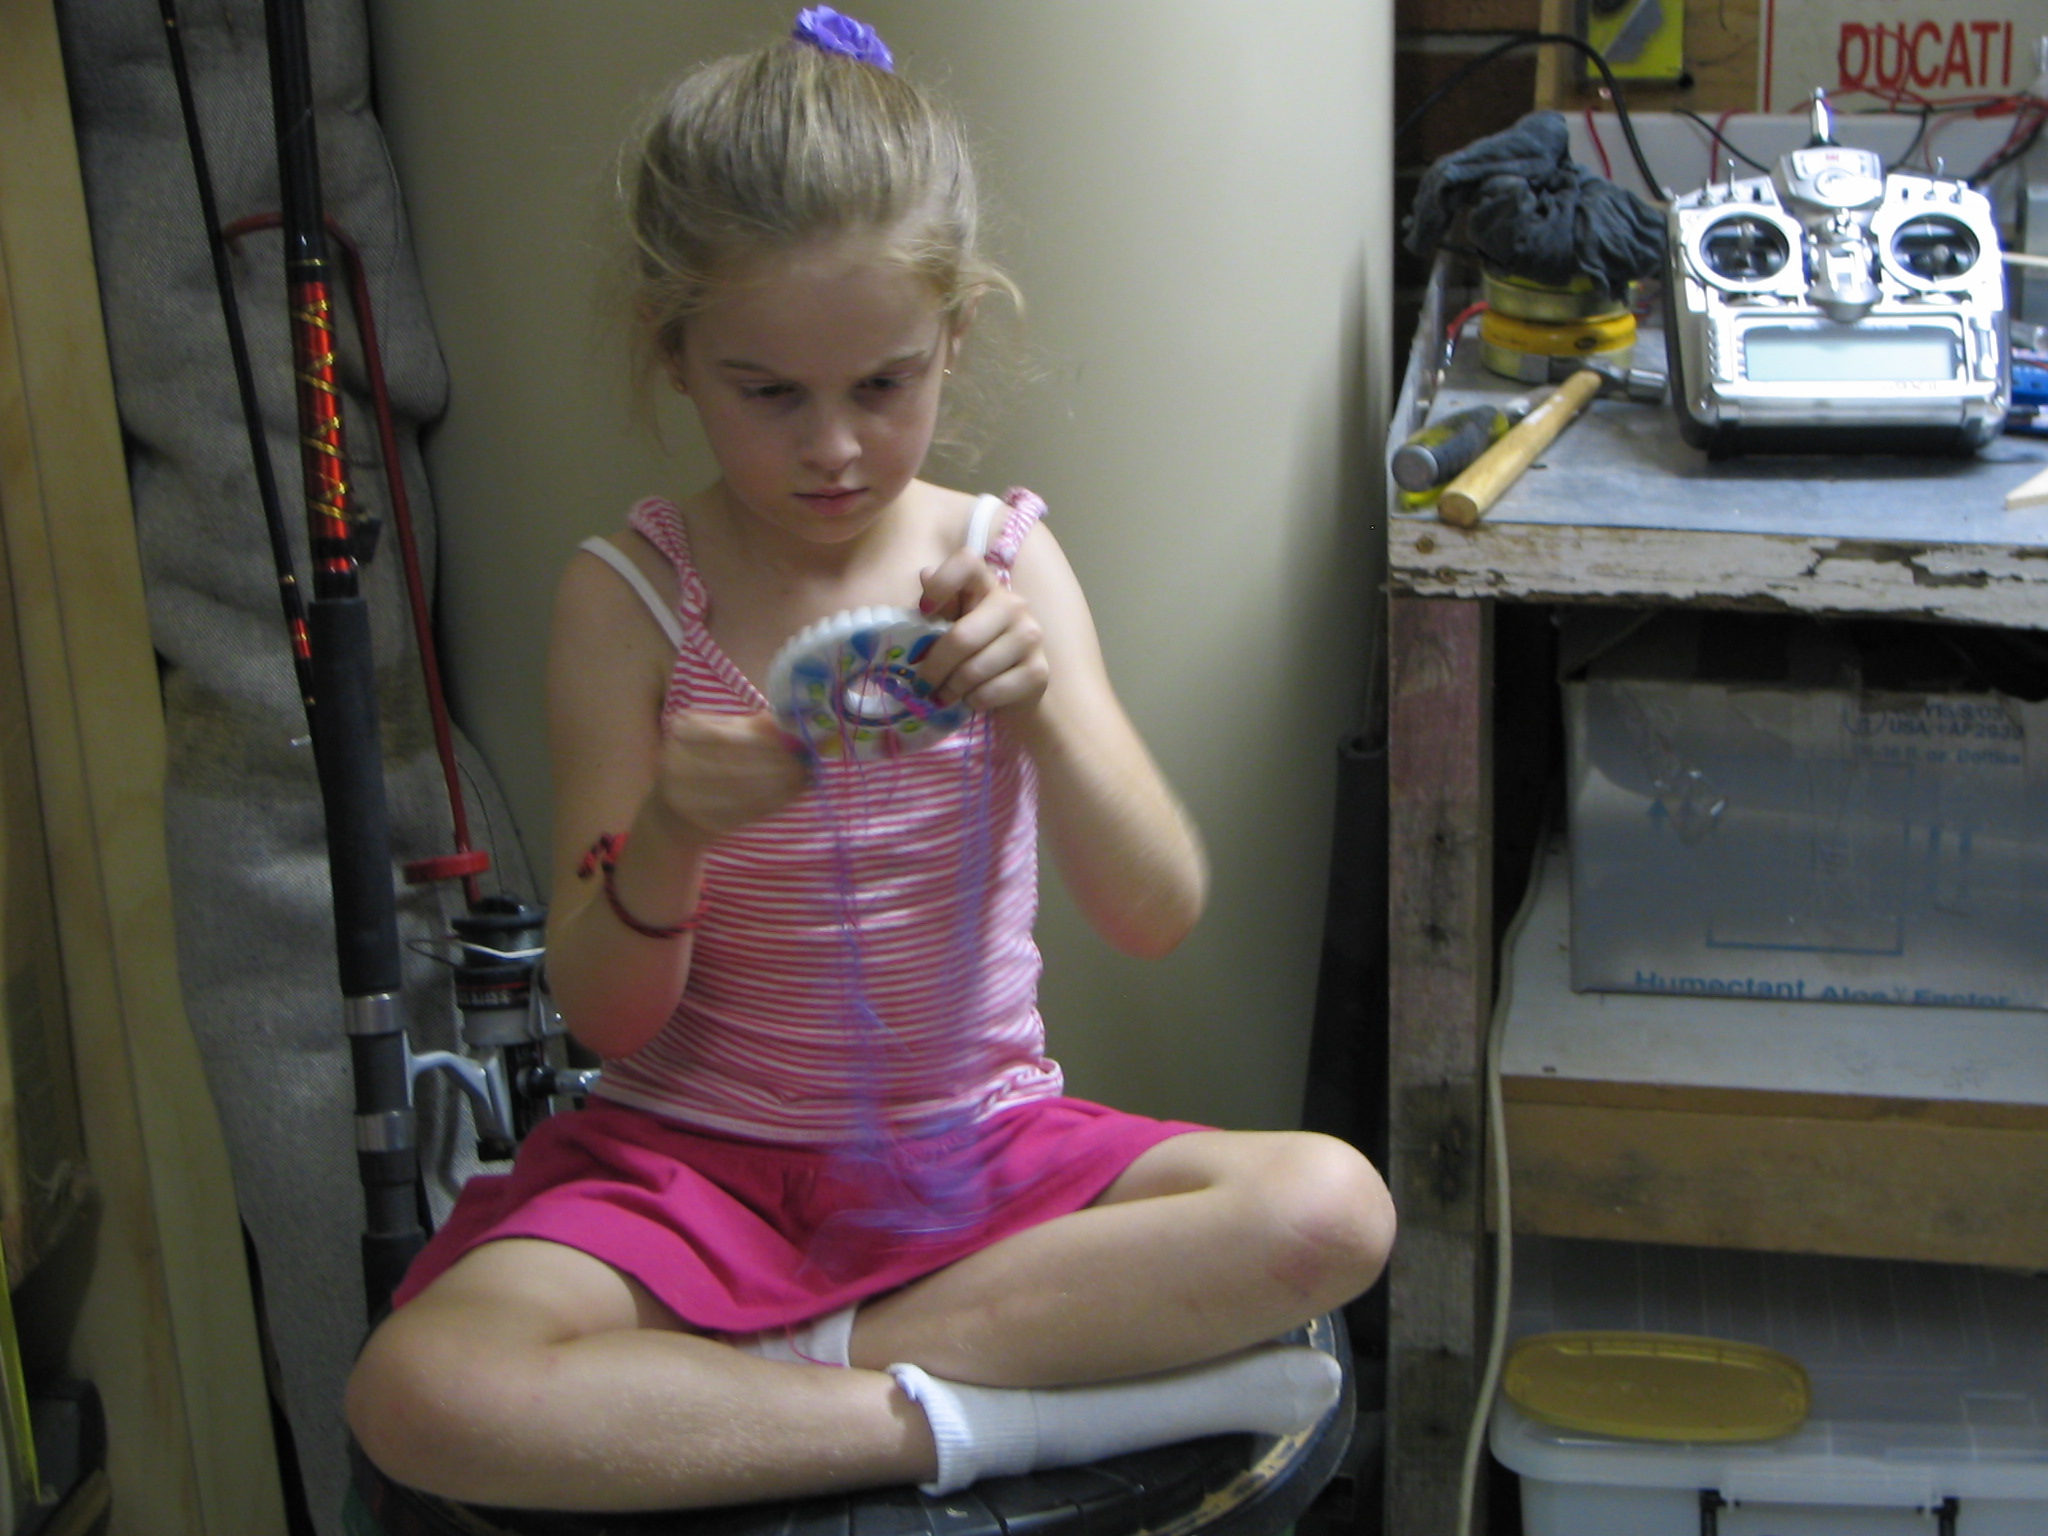
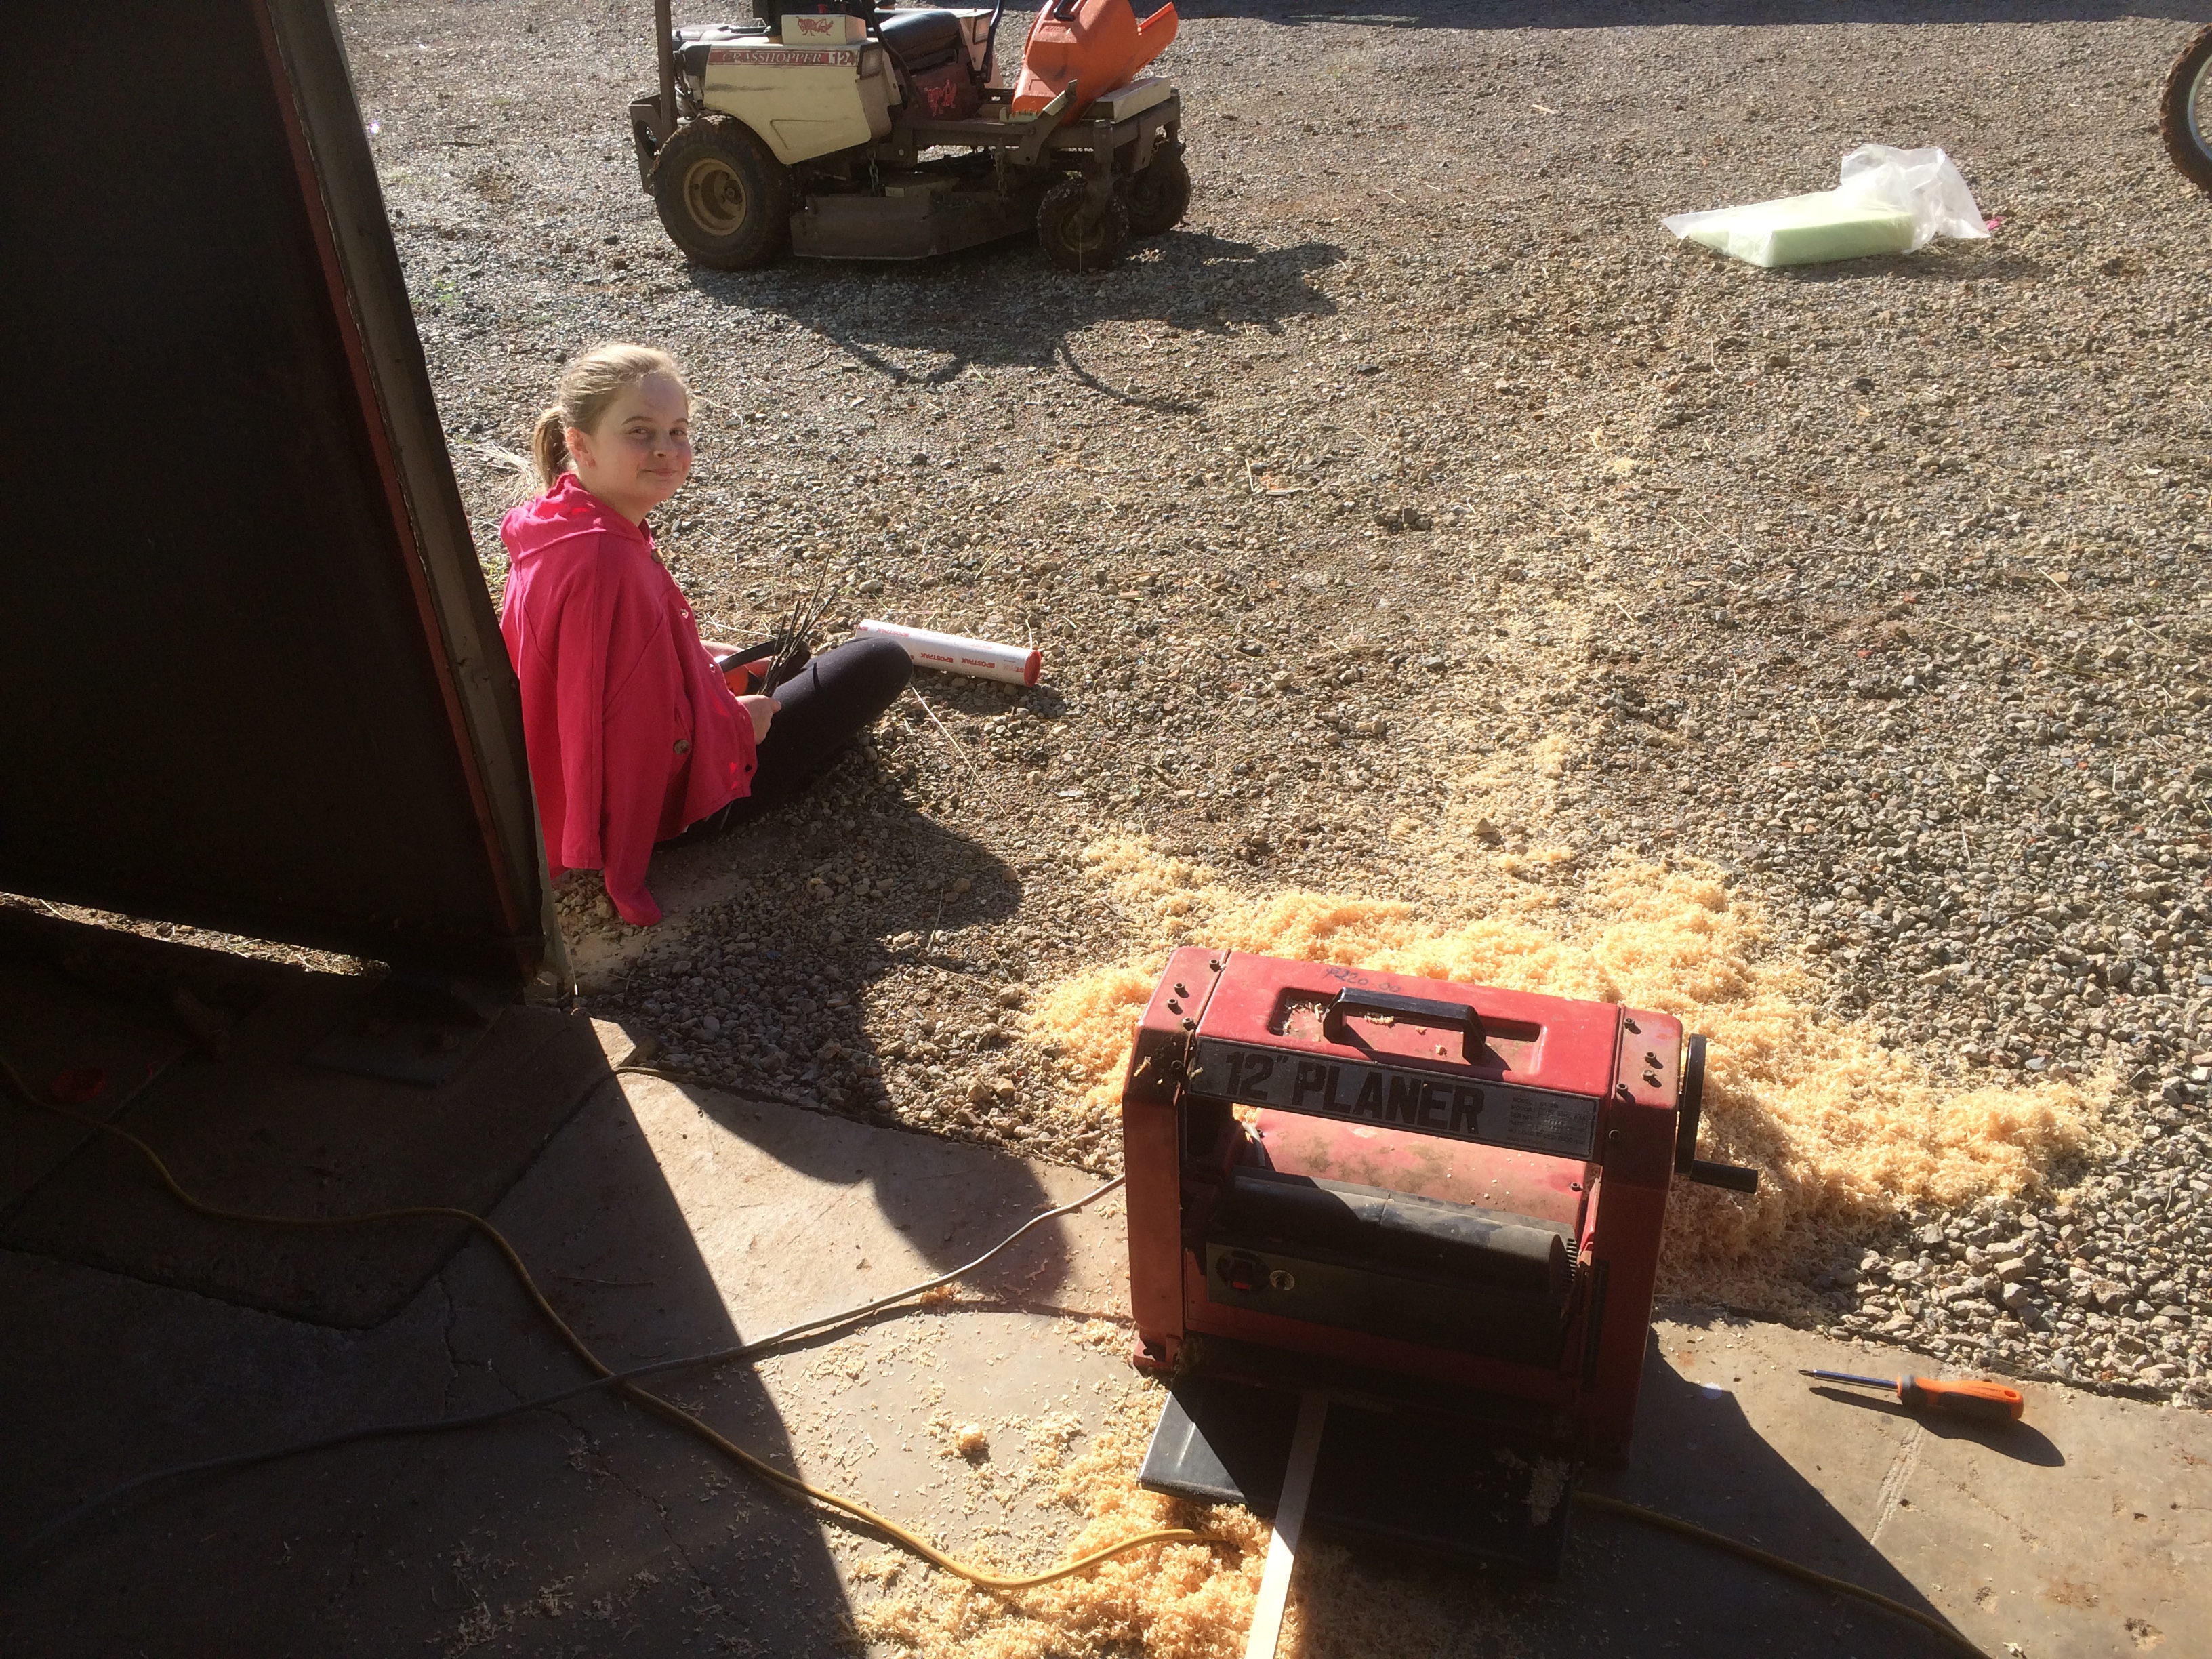
By my calculations I will be about 20 disc's short so not a biggy! Mr 11 year old Jack was keen to help out so he spent some time cleaning up the gusset disc's on the drill...while Miss 7 year old Eliza made her friendship bangle while supervising!
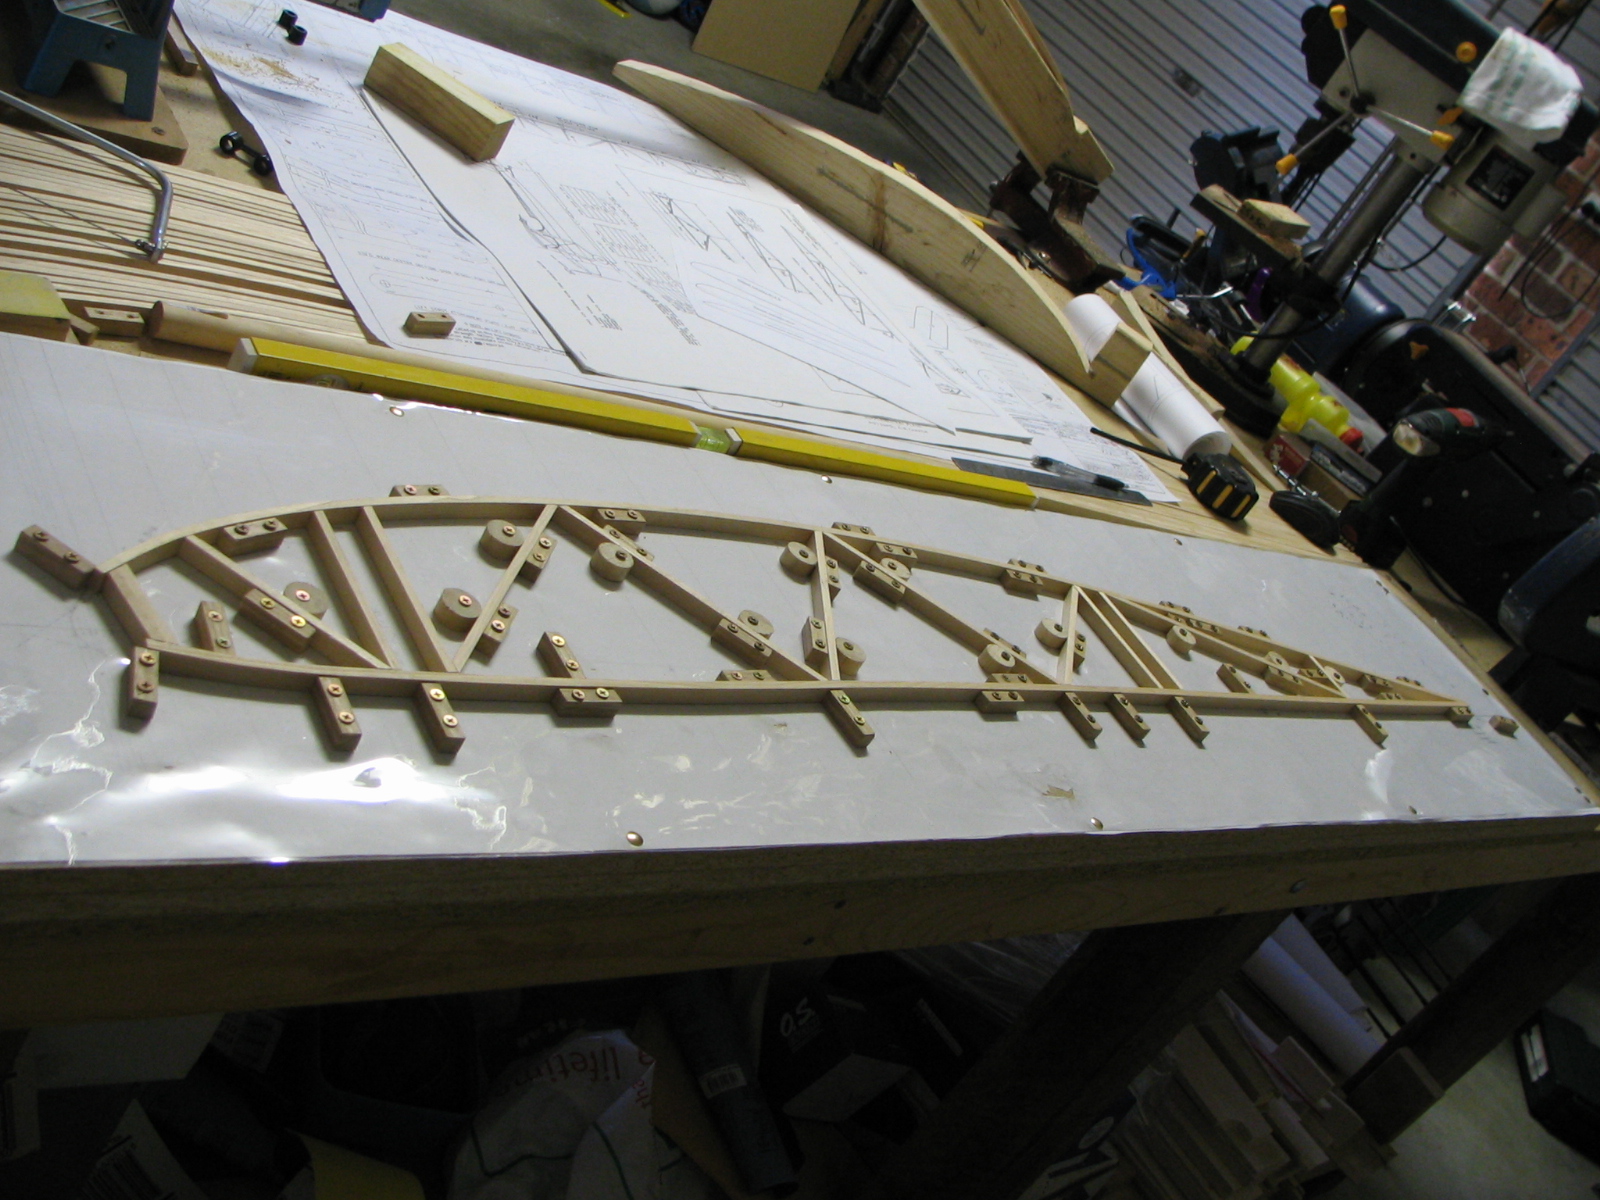
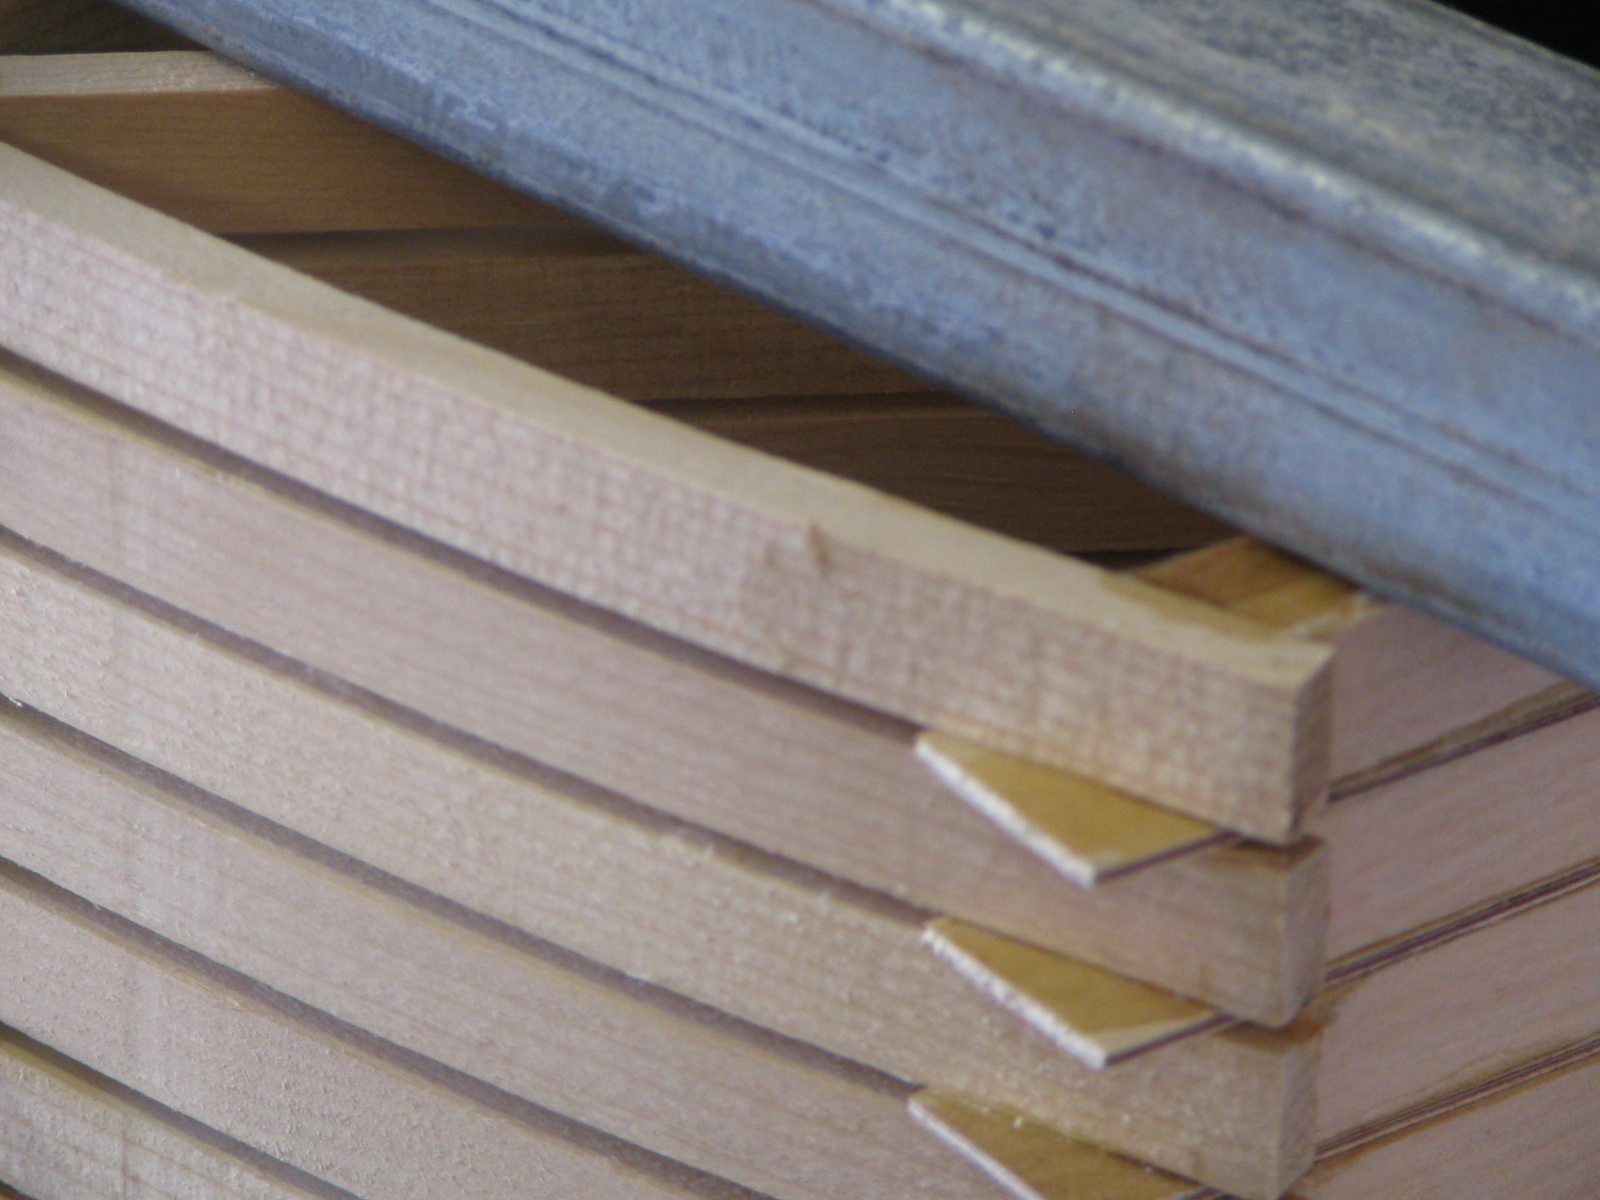
Exciting times...tonight I glued the first rib together! 1 down, 31 to go! The gussets over hang the outside of the rib and once I turn it over and gusset the other side, I will sand them flush...

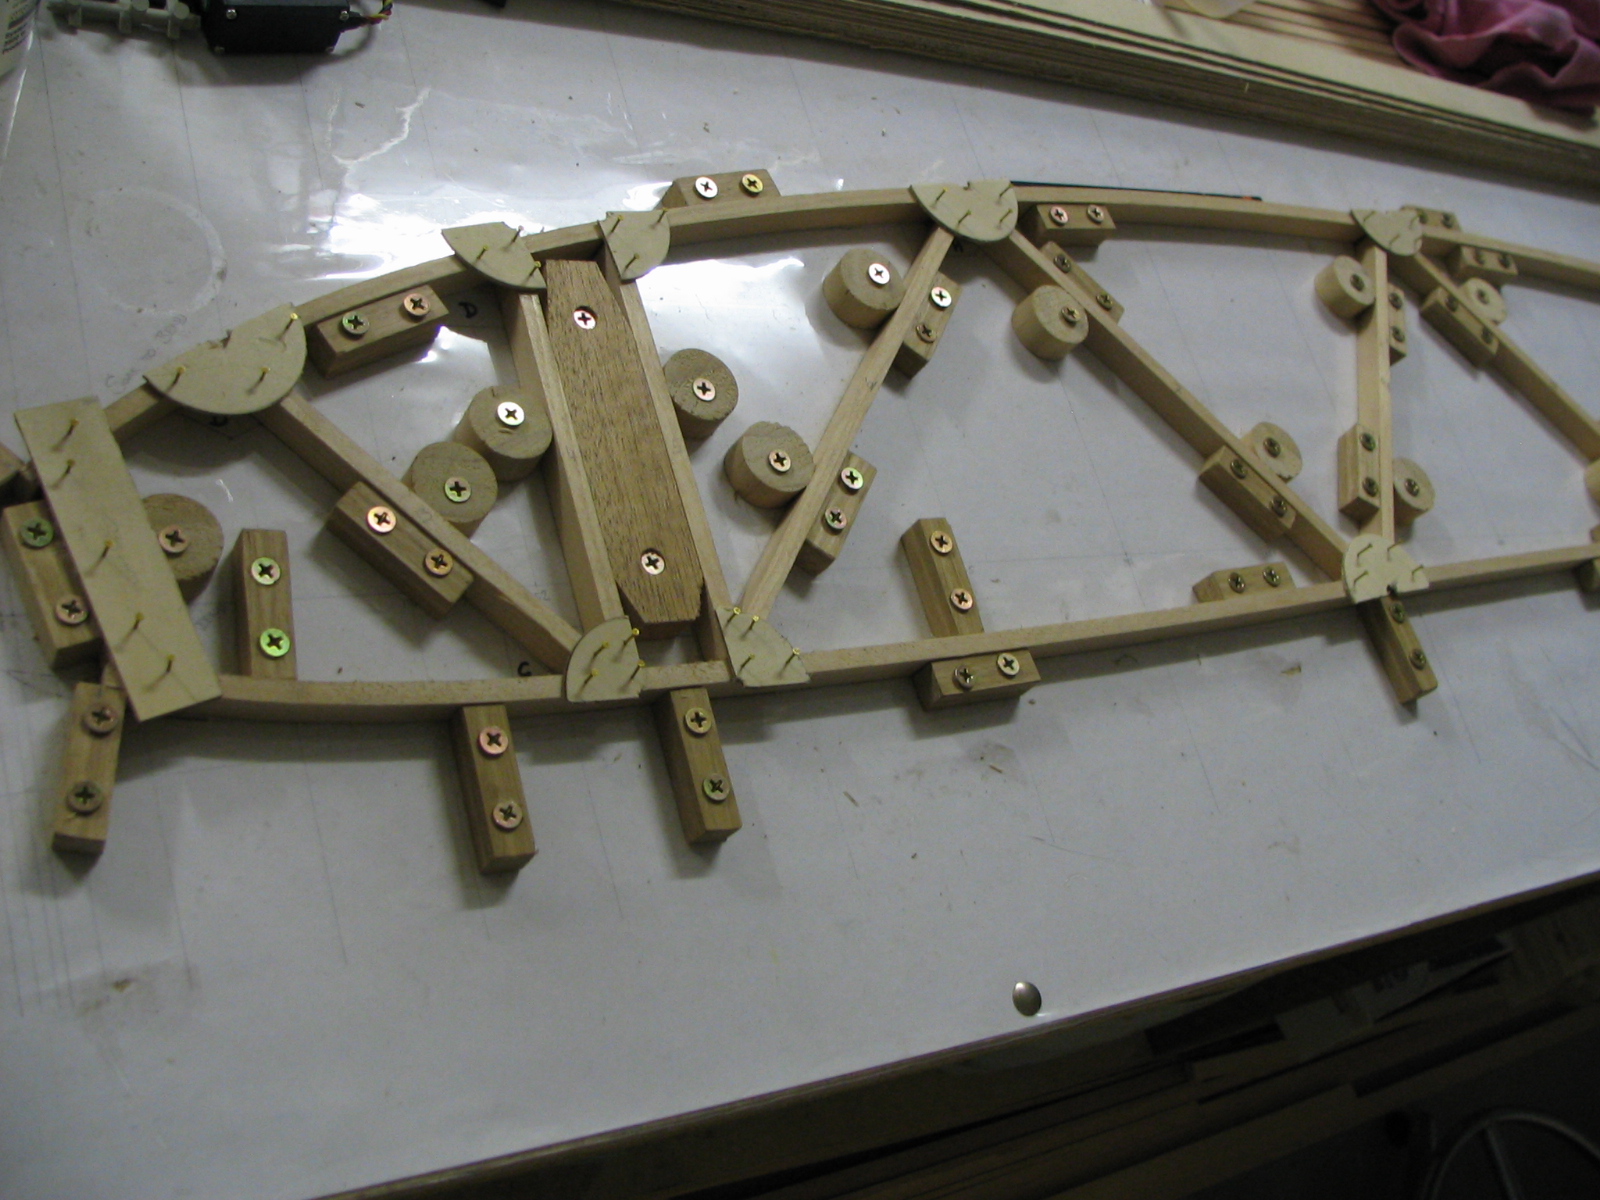
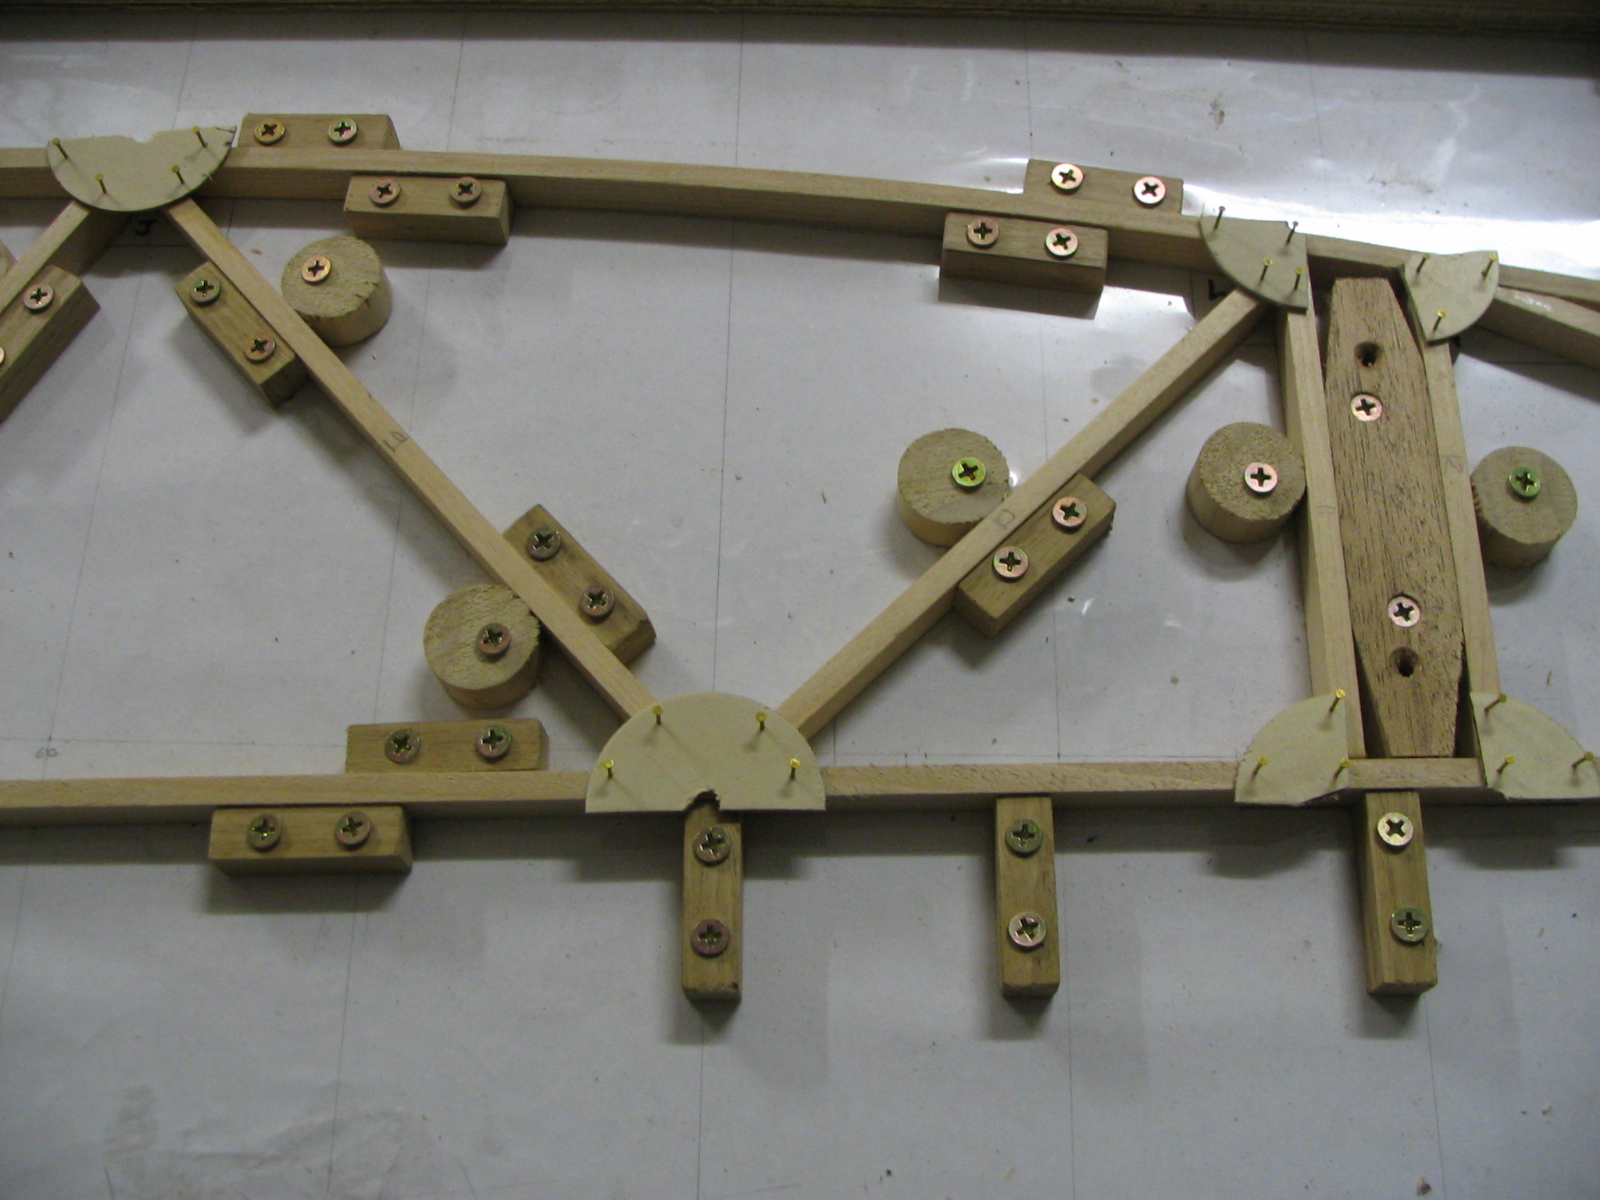

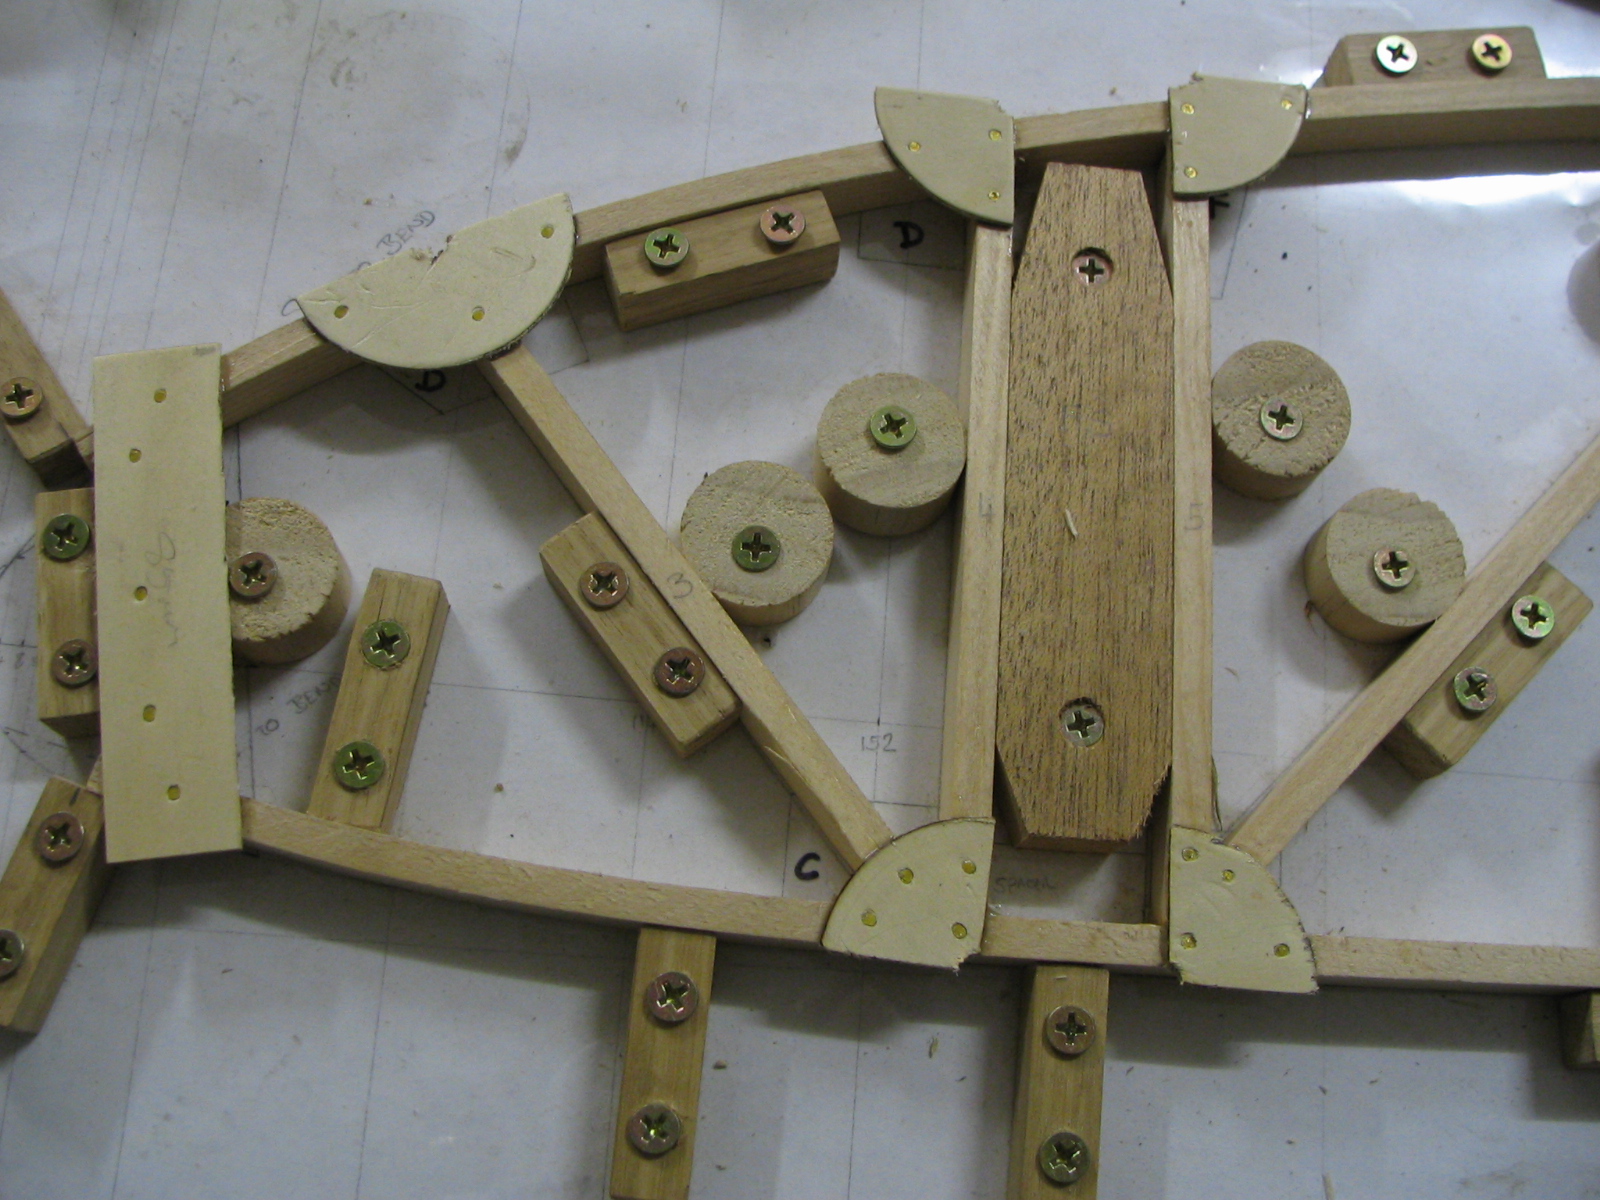
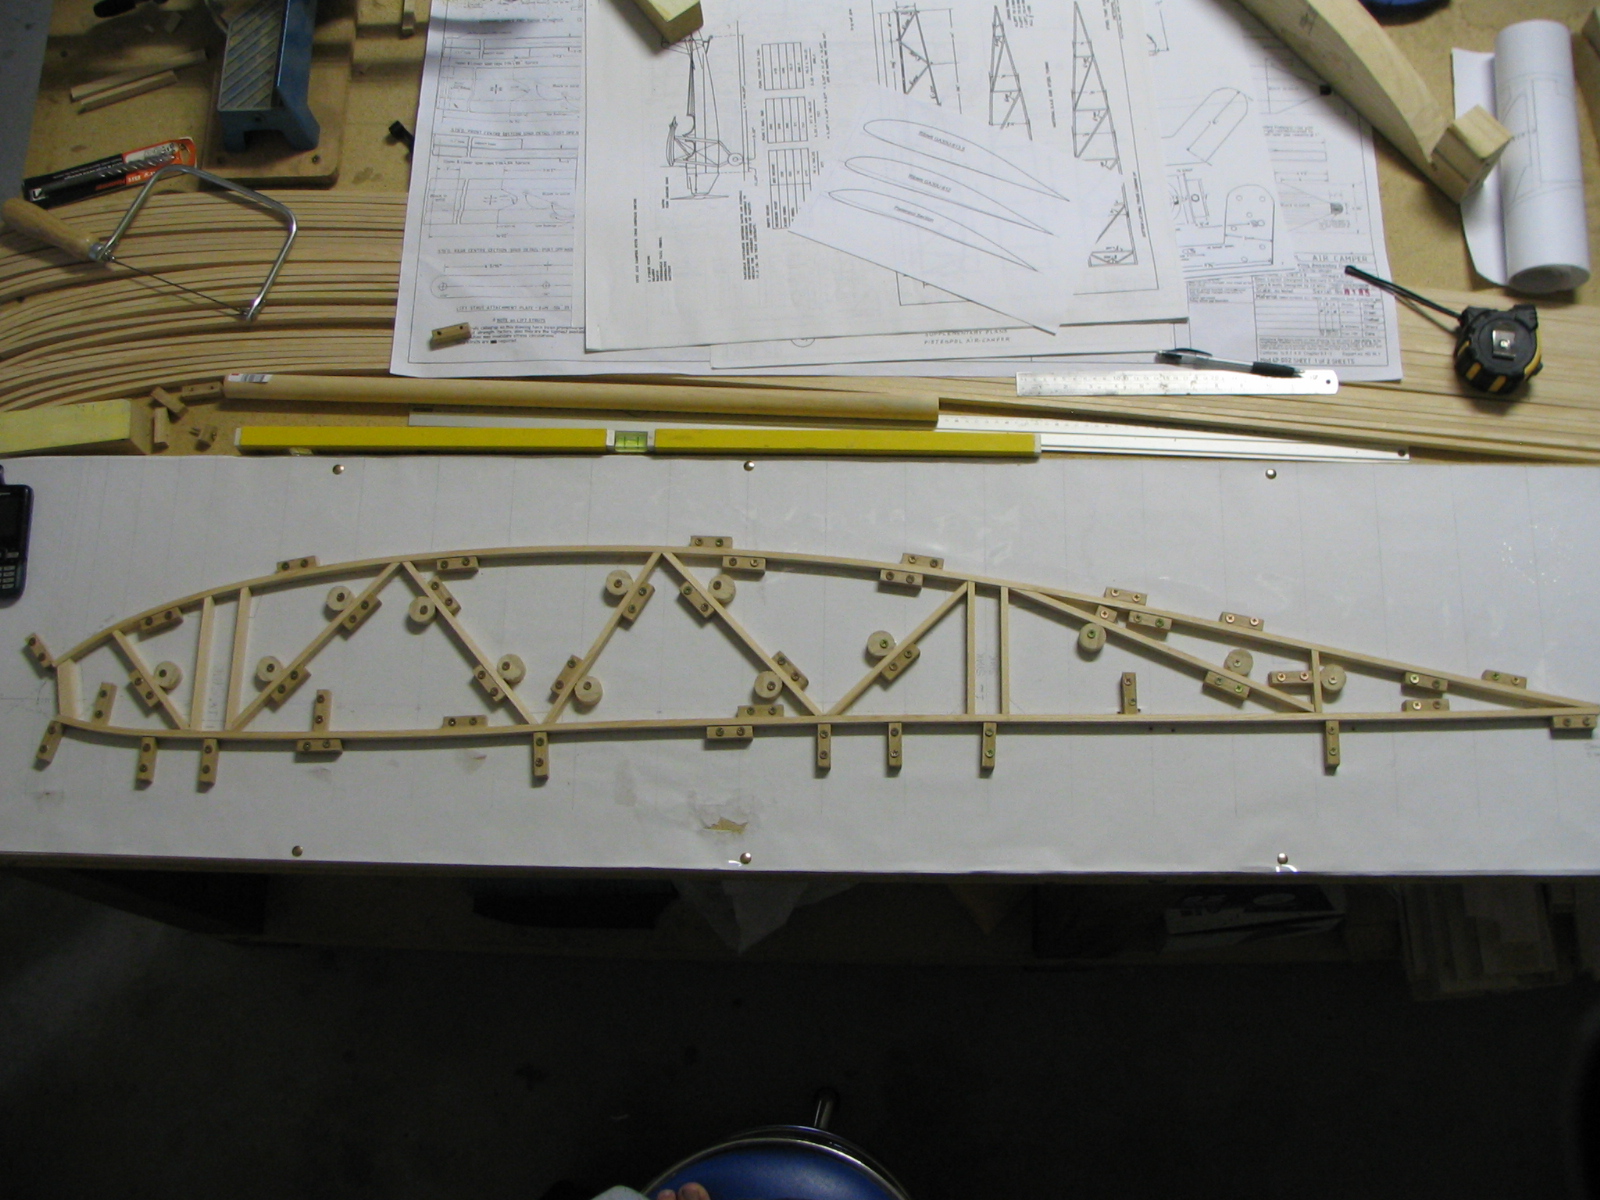
An ever increasing pile of built ribs! Just need to sand the gussets flush with the cap strip and done! Thought while im on a roll I shall keep building...
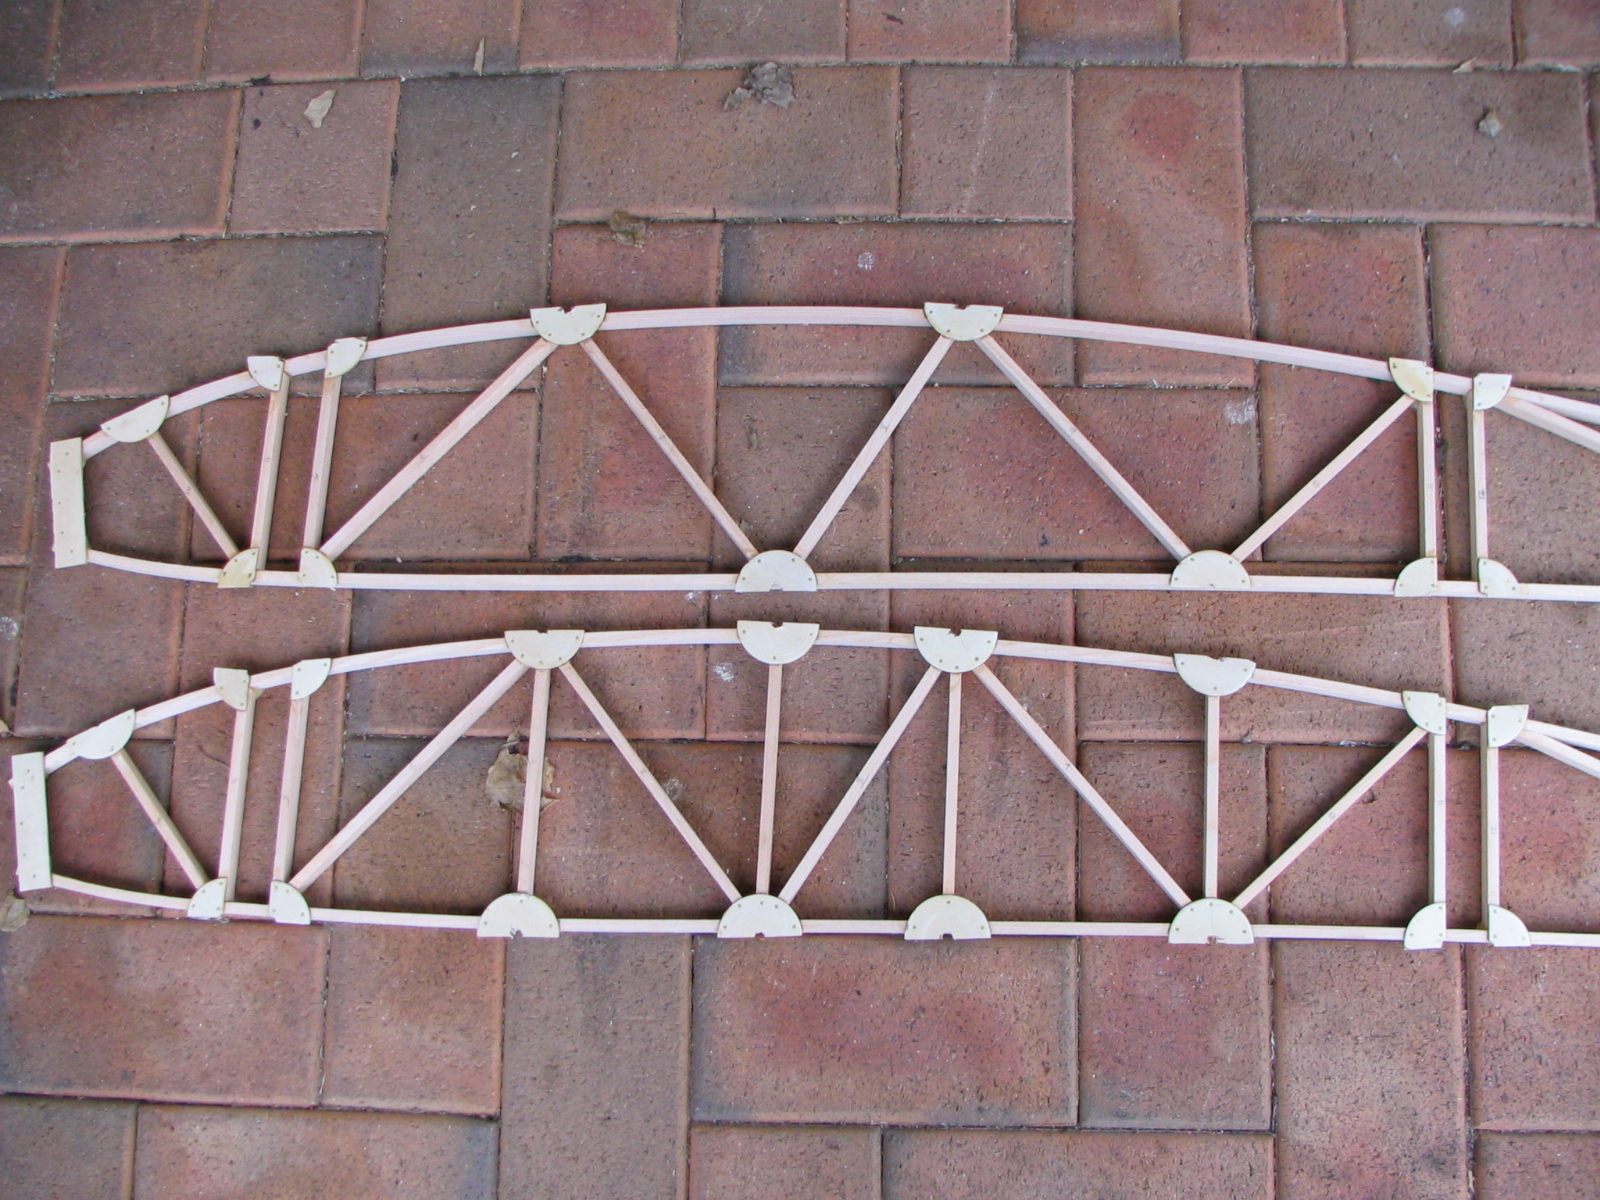
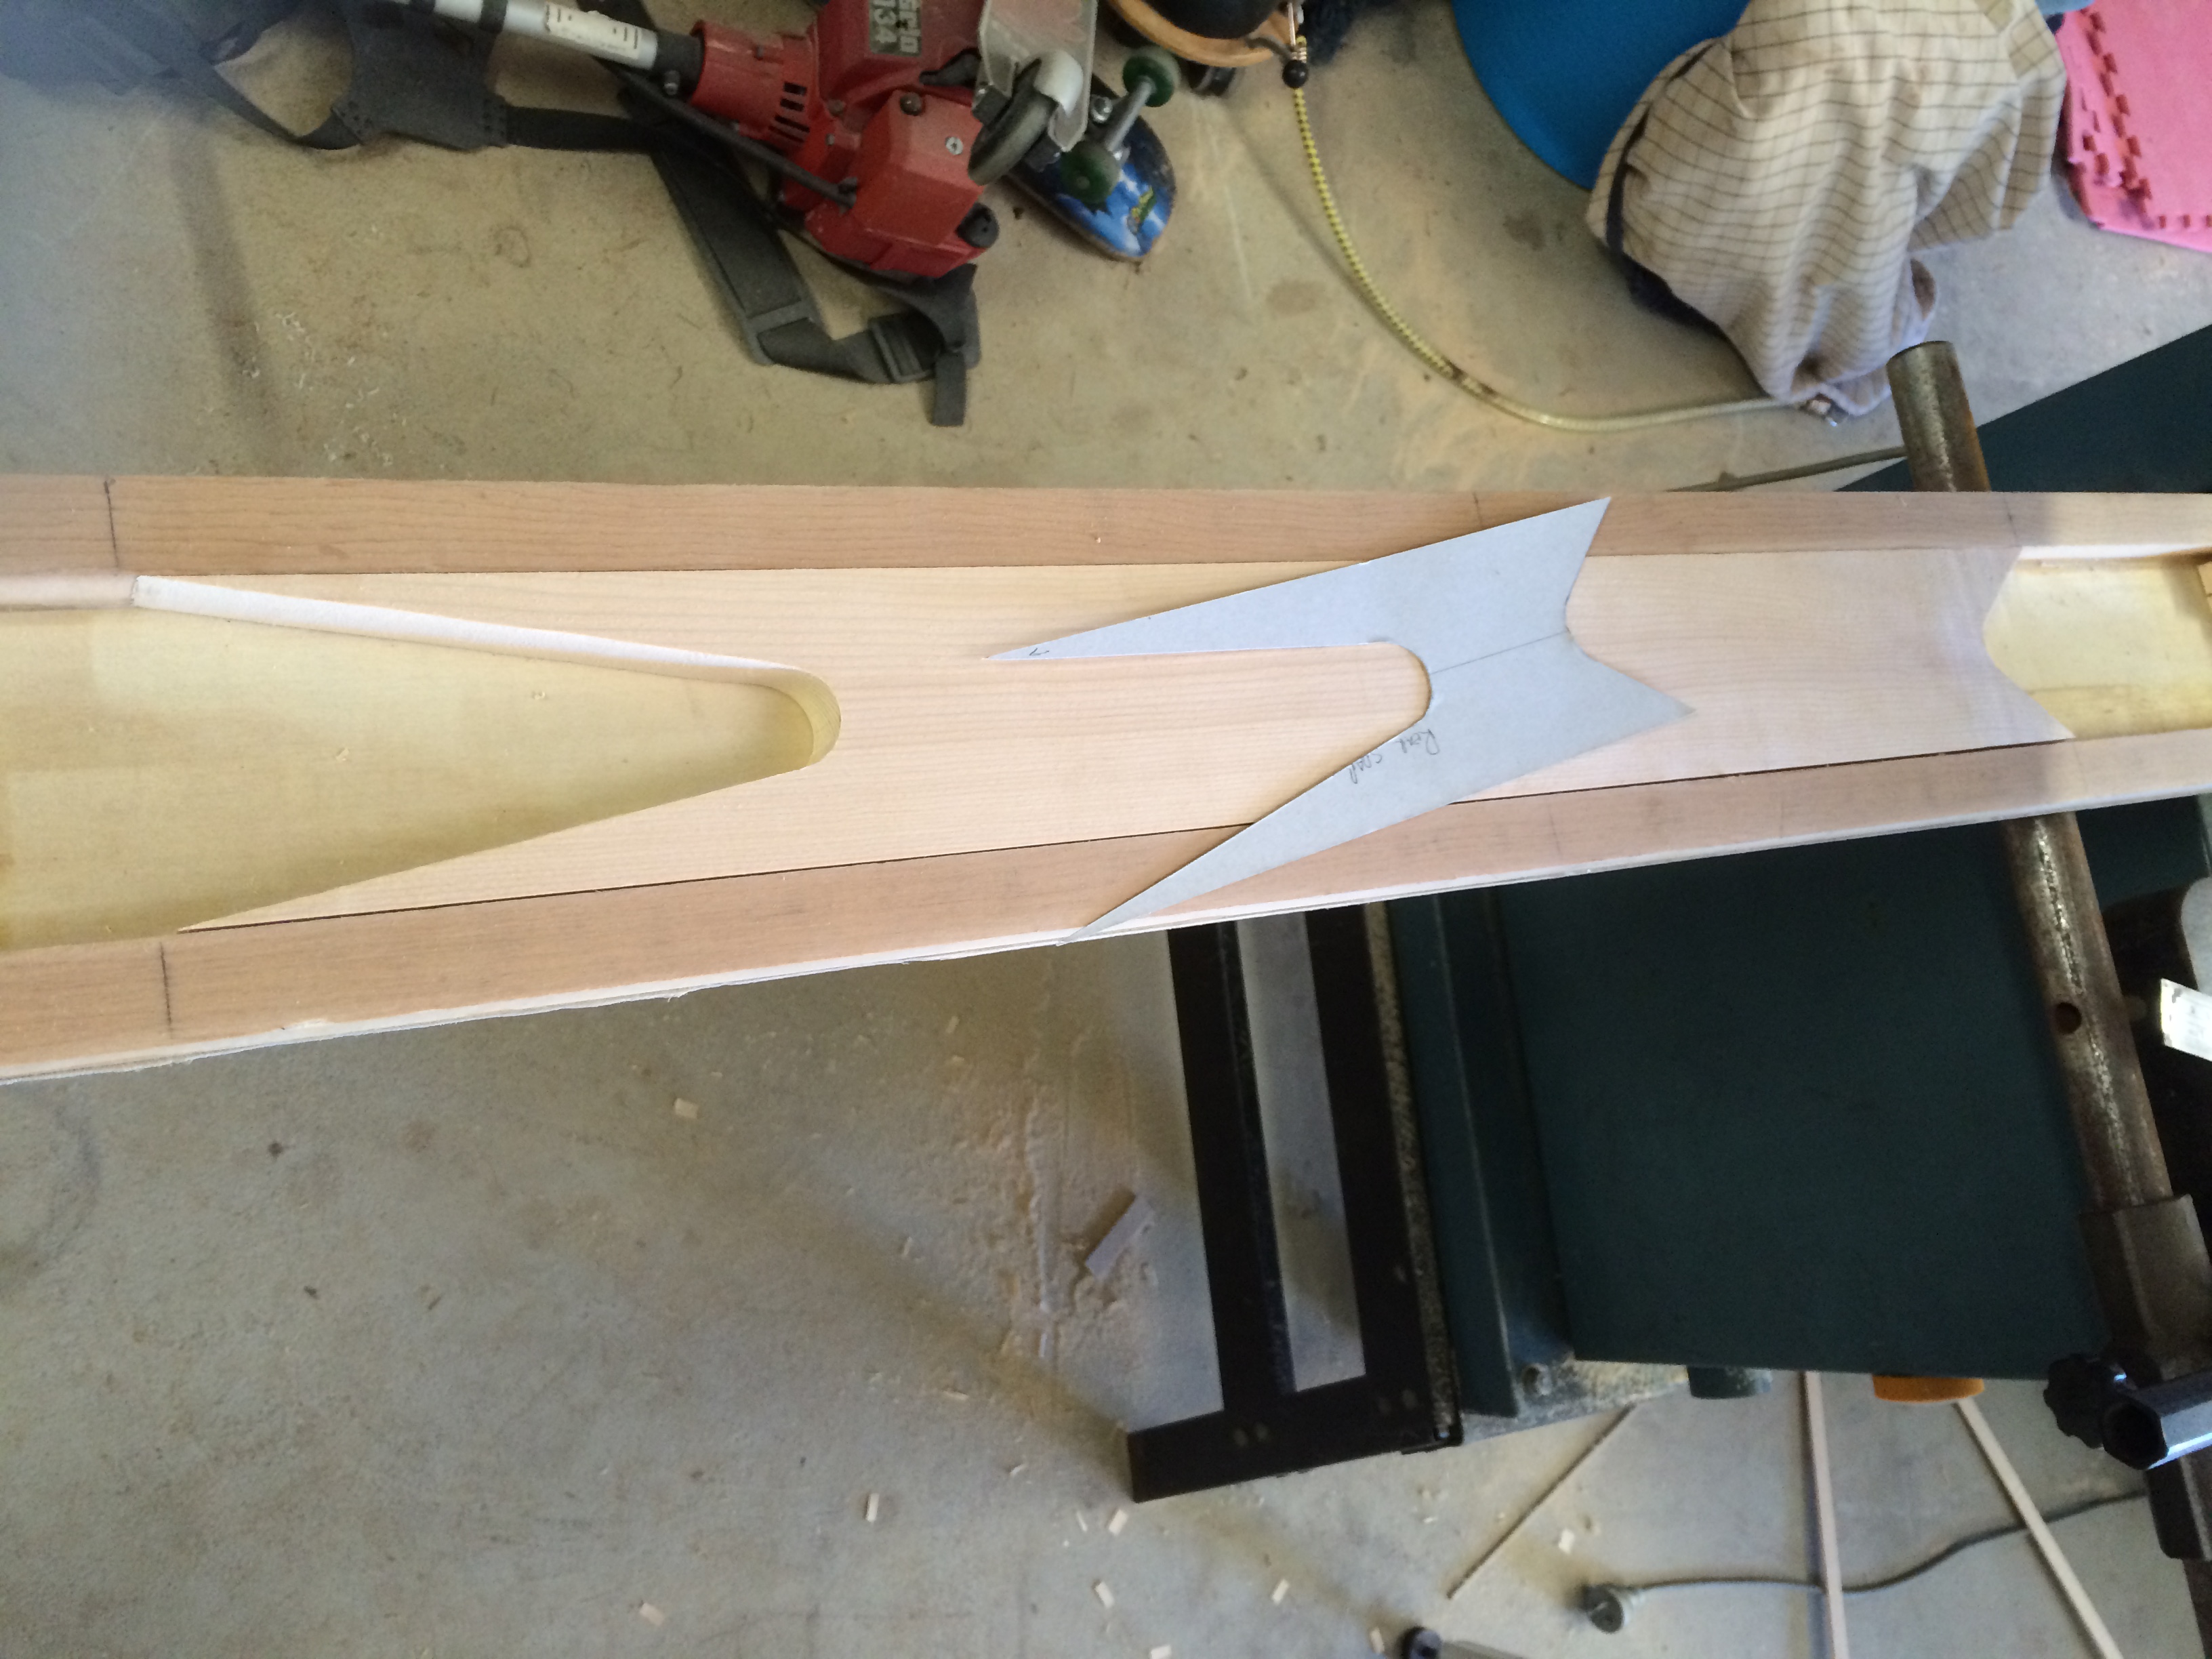
I need 26 standard ribs plus 6 more with extra capstrip braces and four of those with 1/16 ply full gussets on one side each for centre section butt ribs. Total of 32 ribs.

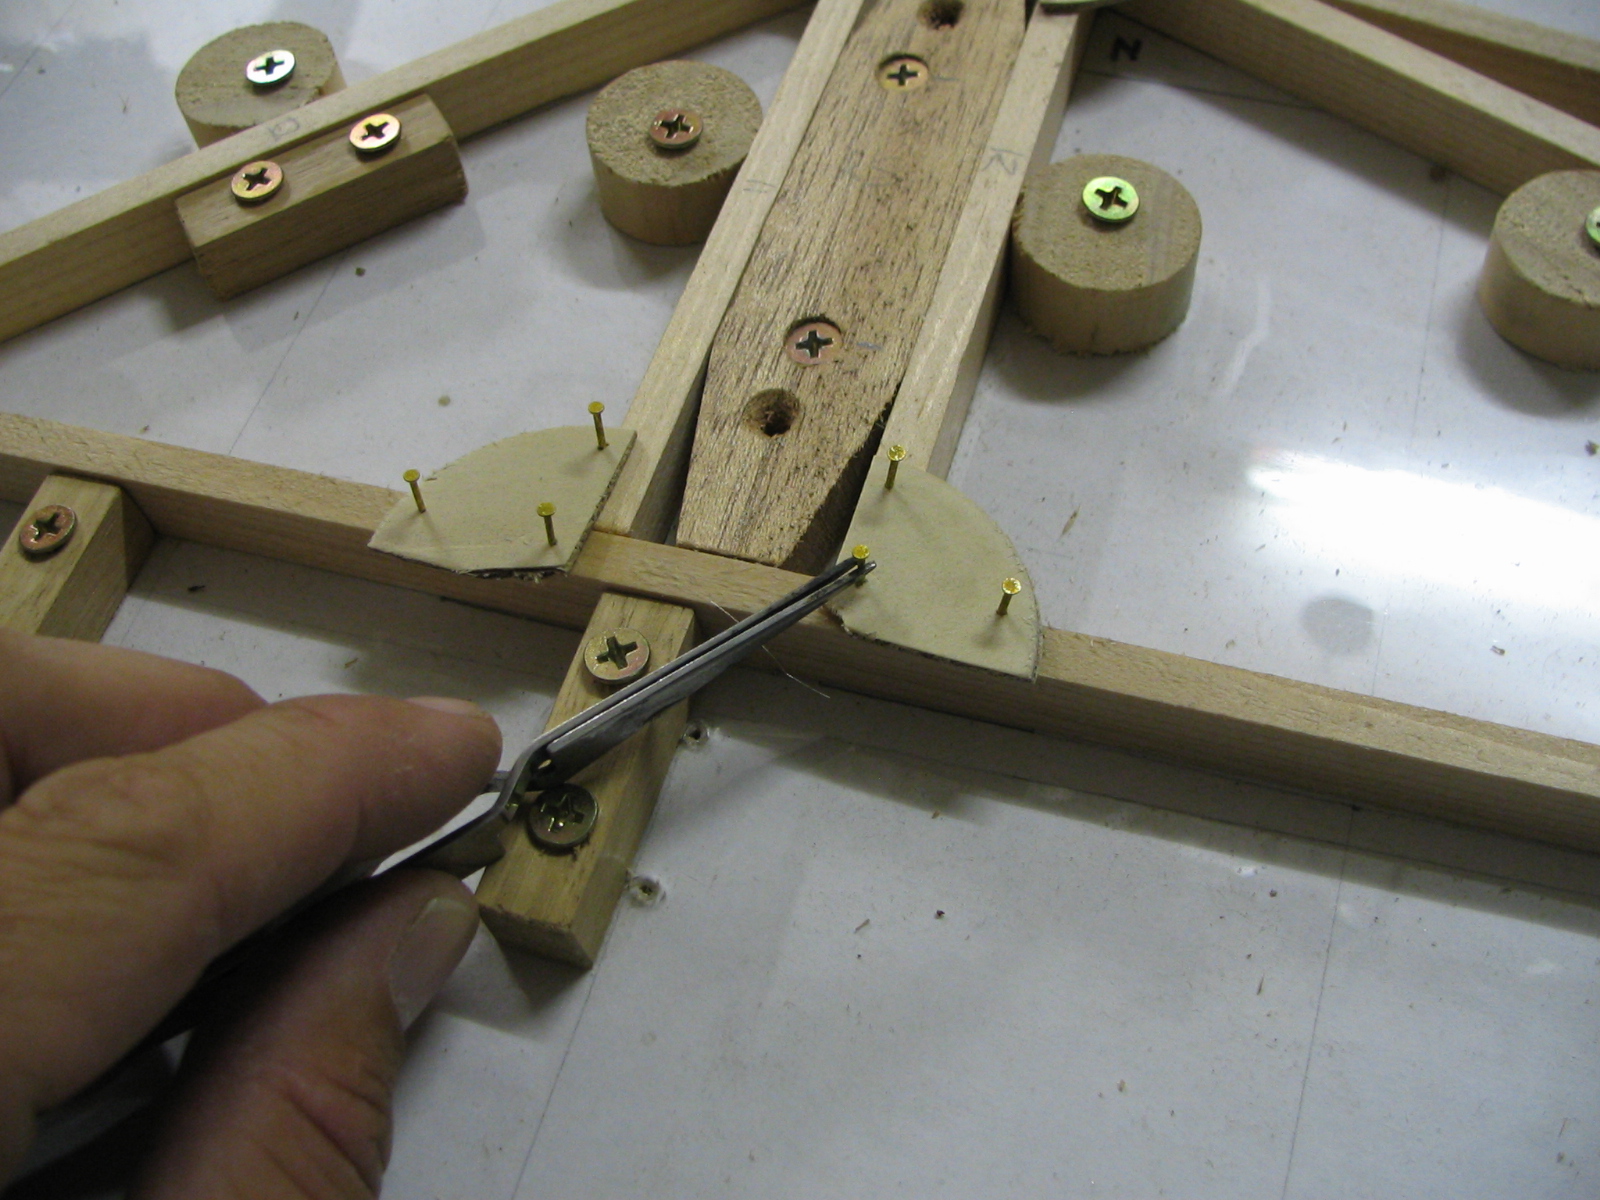
I had to build another rib for rib 19 as after completion and inspection, I found a hairline split in the spruce. I have inspected all the others I have made and am satisfied that it must be a flaw in the wood. They were all soaked and bent in the same way. Pays to inspect all your finished work! If you have a look at the top rib on the pile, behind the front gusset, you can see it. Its not a great photo but is as close as I could get with the camera still being in reasonable focus.
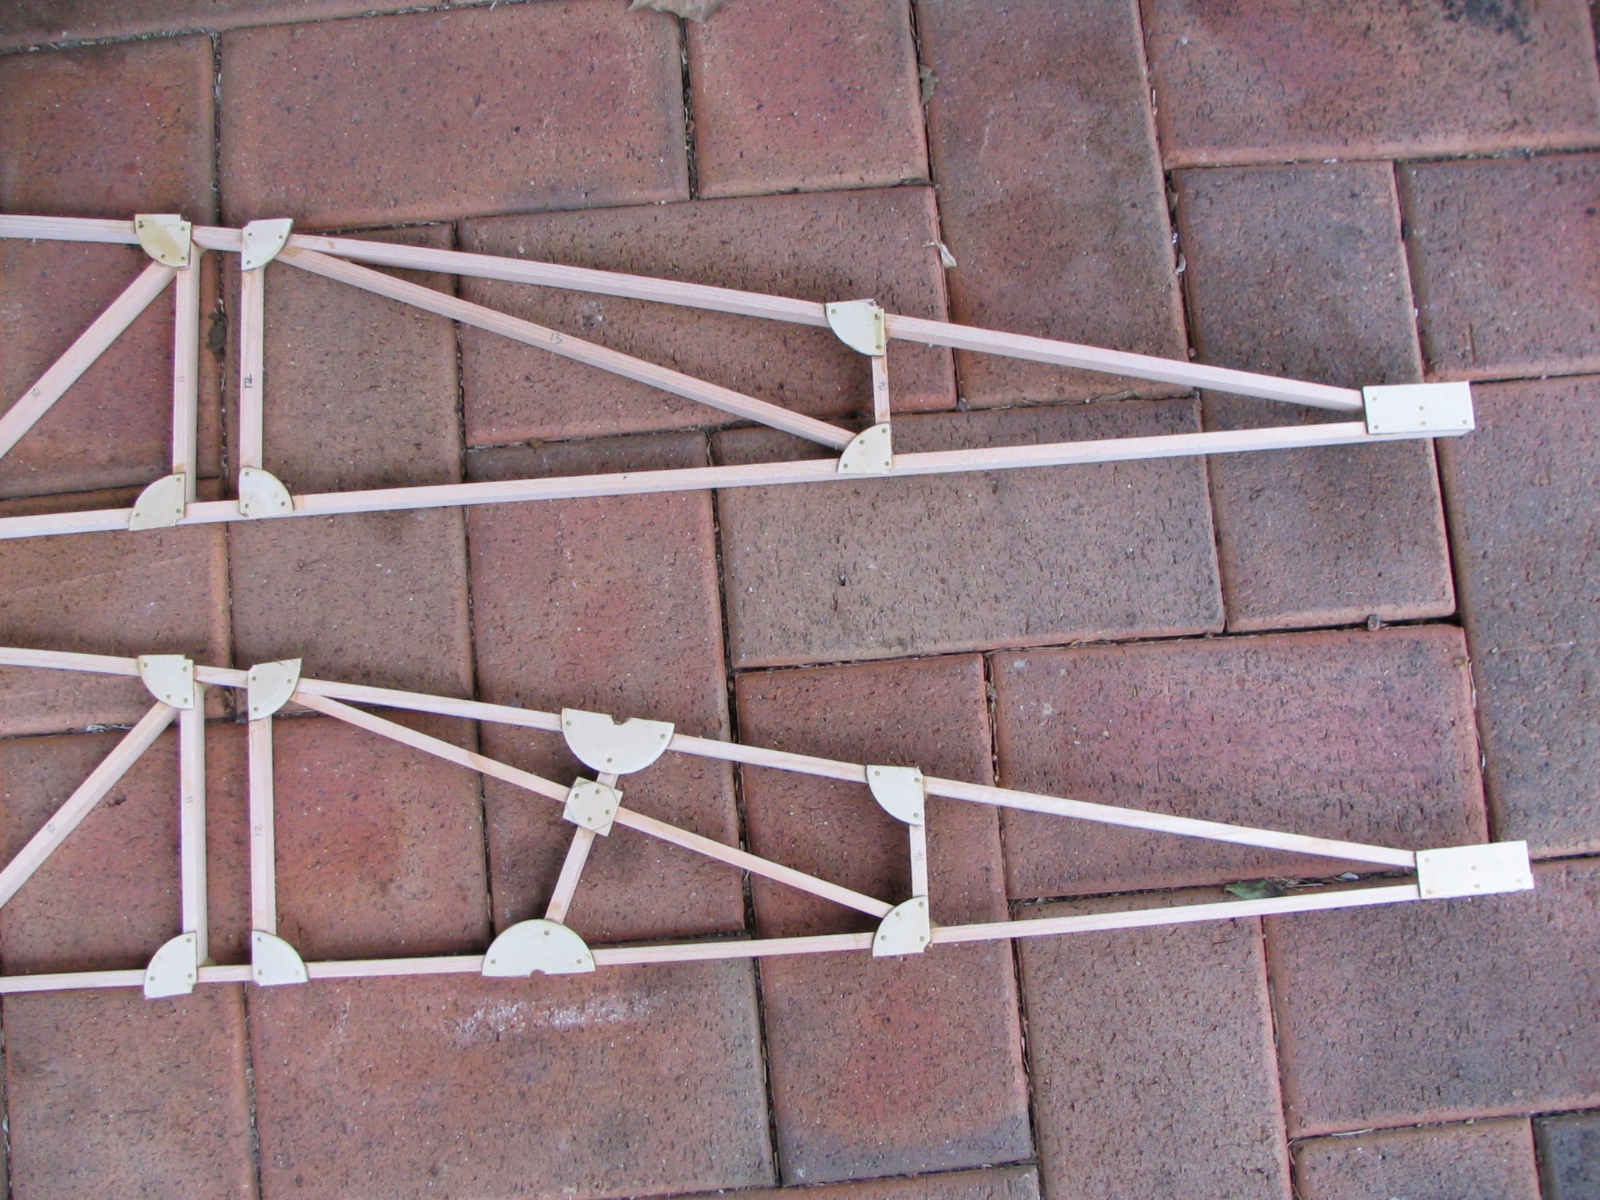
The last six ribs to be built are for the wing tips and centre section butt ribs. As you can see in the photos, there are four additional upright capstrips and one diagonal two piece capstrip at the rear of the rib. Four of these last ribs will have a full length ply gusset on one side. These are where the three wing sections butt up against each other when the wing is assembled.


I have finished bulding the ribs and I must say I am not overly thrilled with some of the capstrip I received from Aircraft Spruce in the USA. I ordered 100 sticks and have about 4 left over. That was with building an extra rib due to one piece splitting after being glued together. There was approx 6 sticks that were badly bowed and couldnt be used for the longer sections on the ribs. There were also 3 or 4 sticks that were less than the 1/2 inch thickness ordered which resulted in a slight step when butting up against another piece that was a 1/2 inch. It is no real issue I guess as once the gusset went on, you wouldnt know...but I know and I am a bit anal with things like this. I want it to be perfect!
Wing Spars
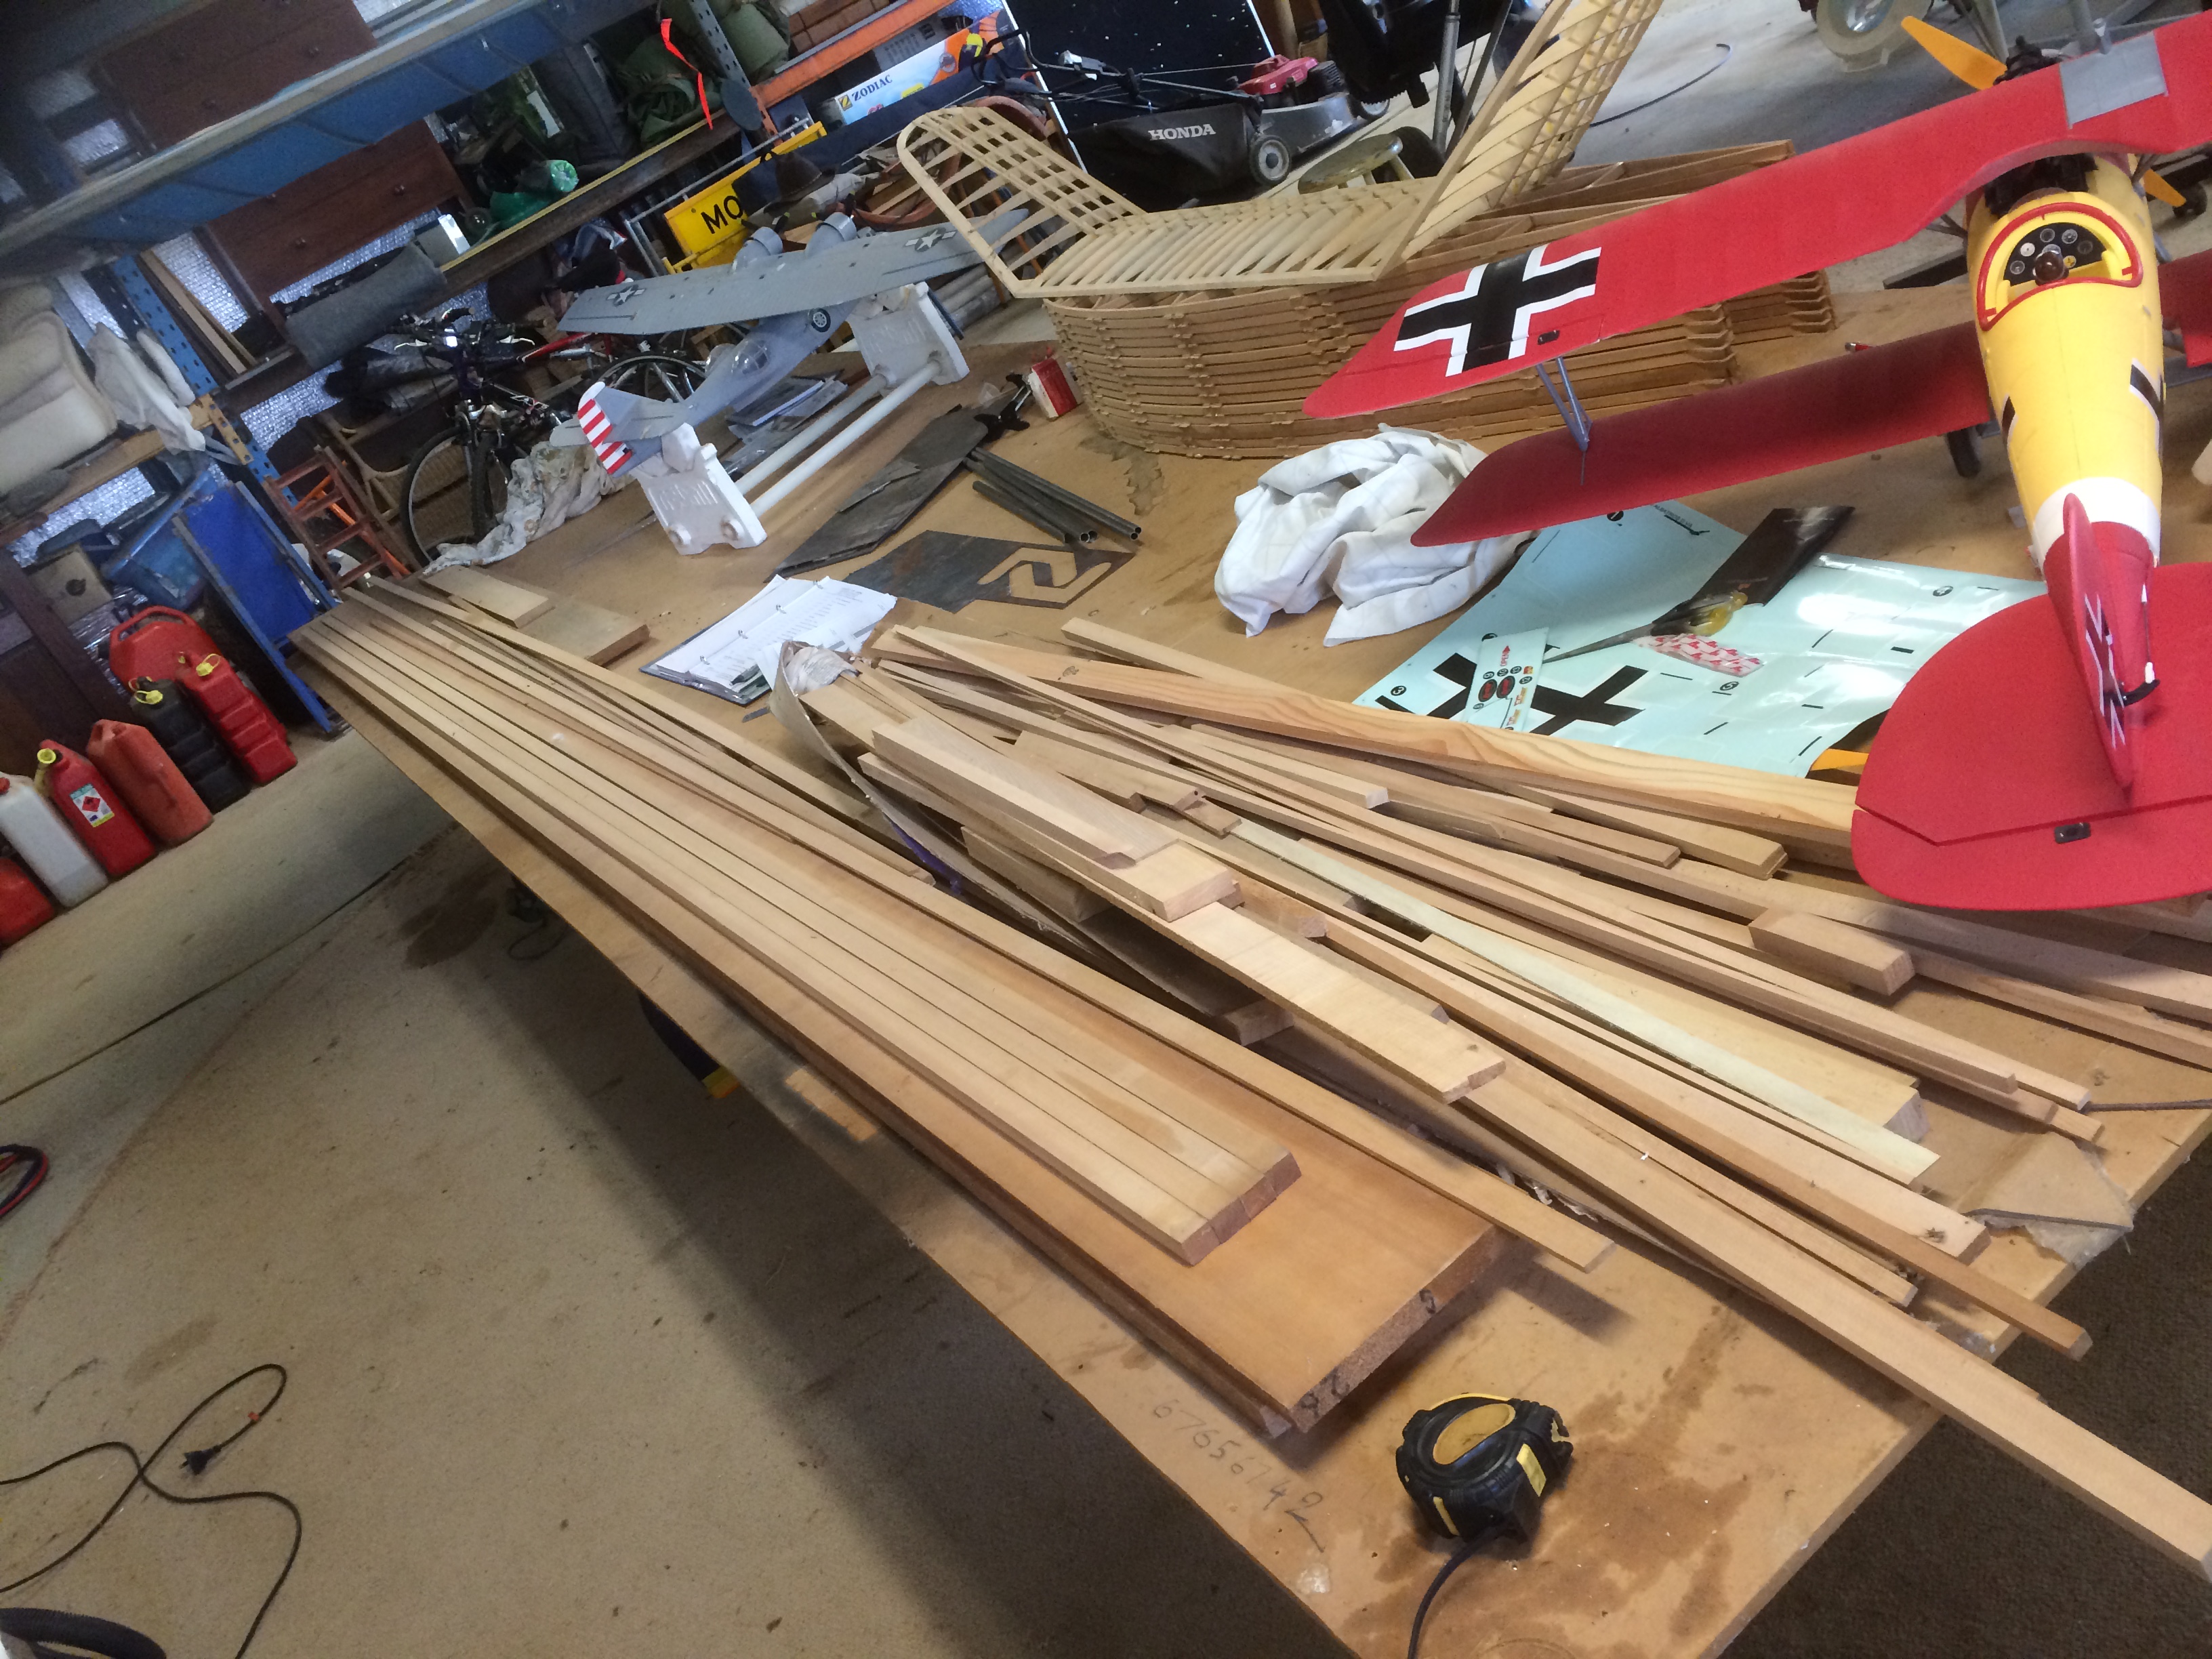
Made a trip down to the Hunter Valley mid December 2013 and selected the Spruce planks for my Spars.
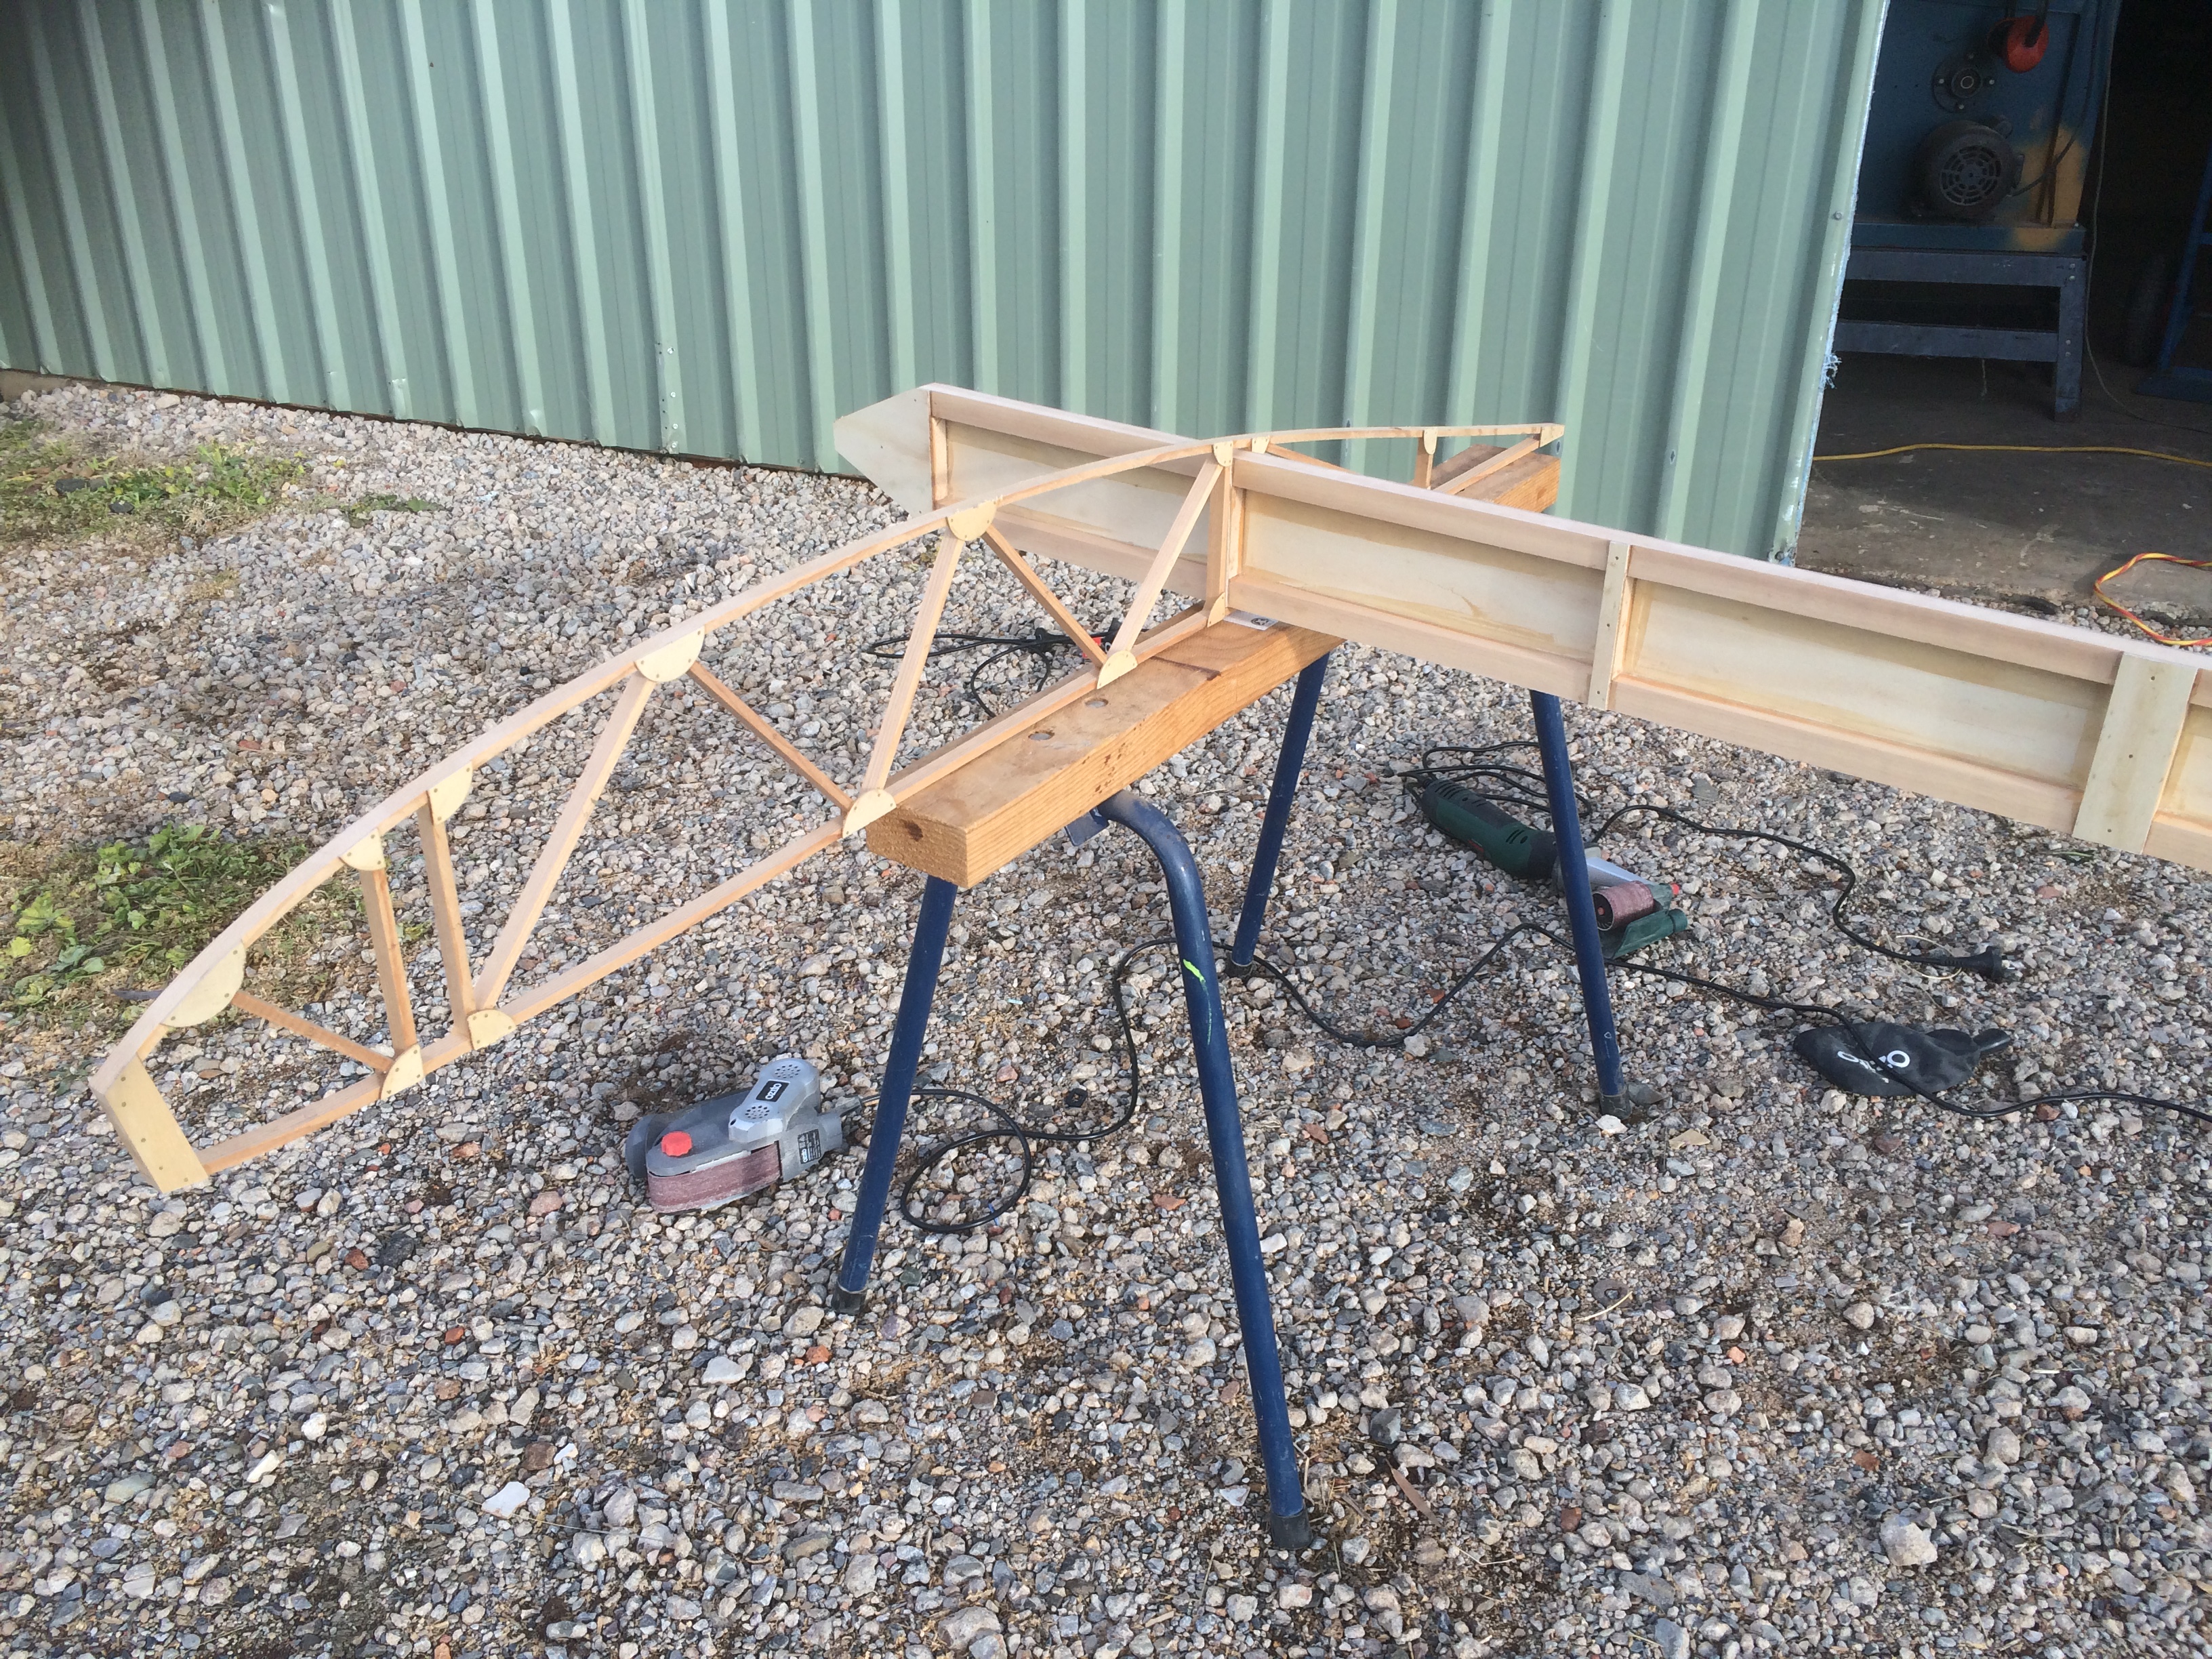
Pile of Spruce planks ready to be made in to wing spars. I am building off the modified Jim Wills plans from the UK which utilises a built up spar made from spruce and ply instead of the original solid spruce version. Apparently the built up spar is stronger than the solid original.


The right rear outer spar finished. Tried a Rib on for size!

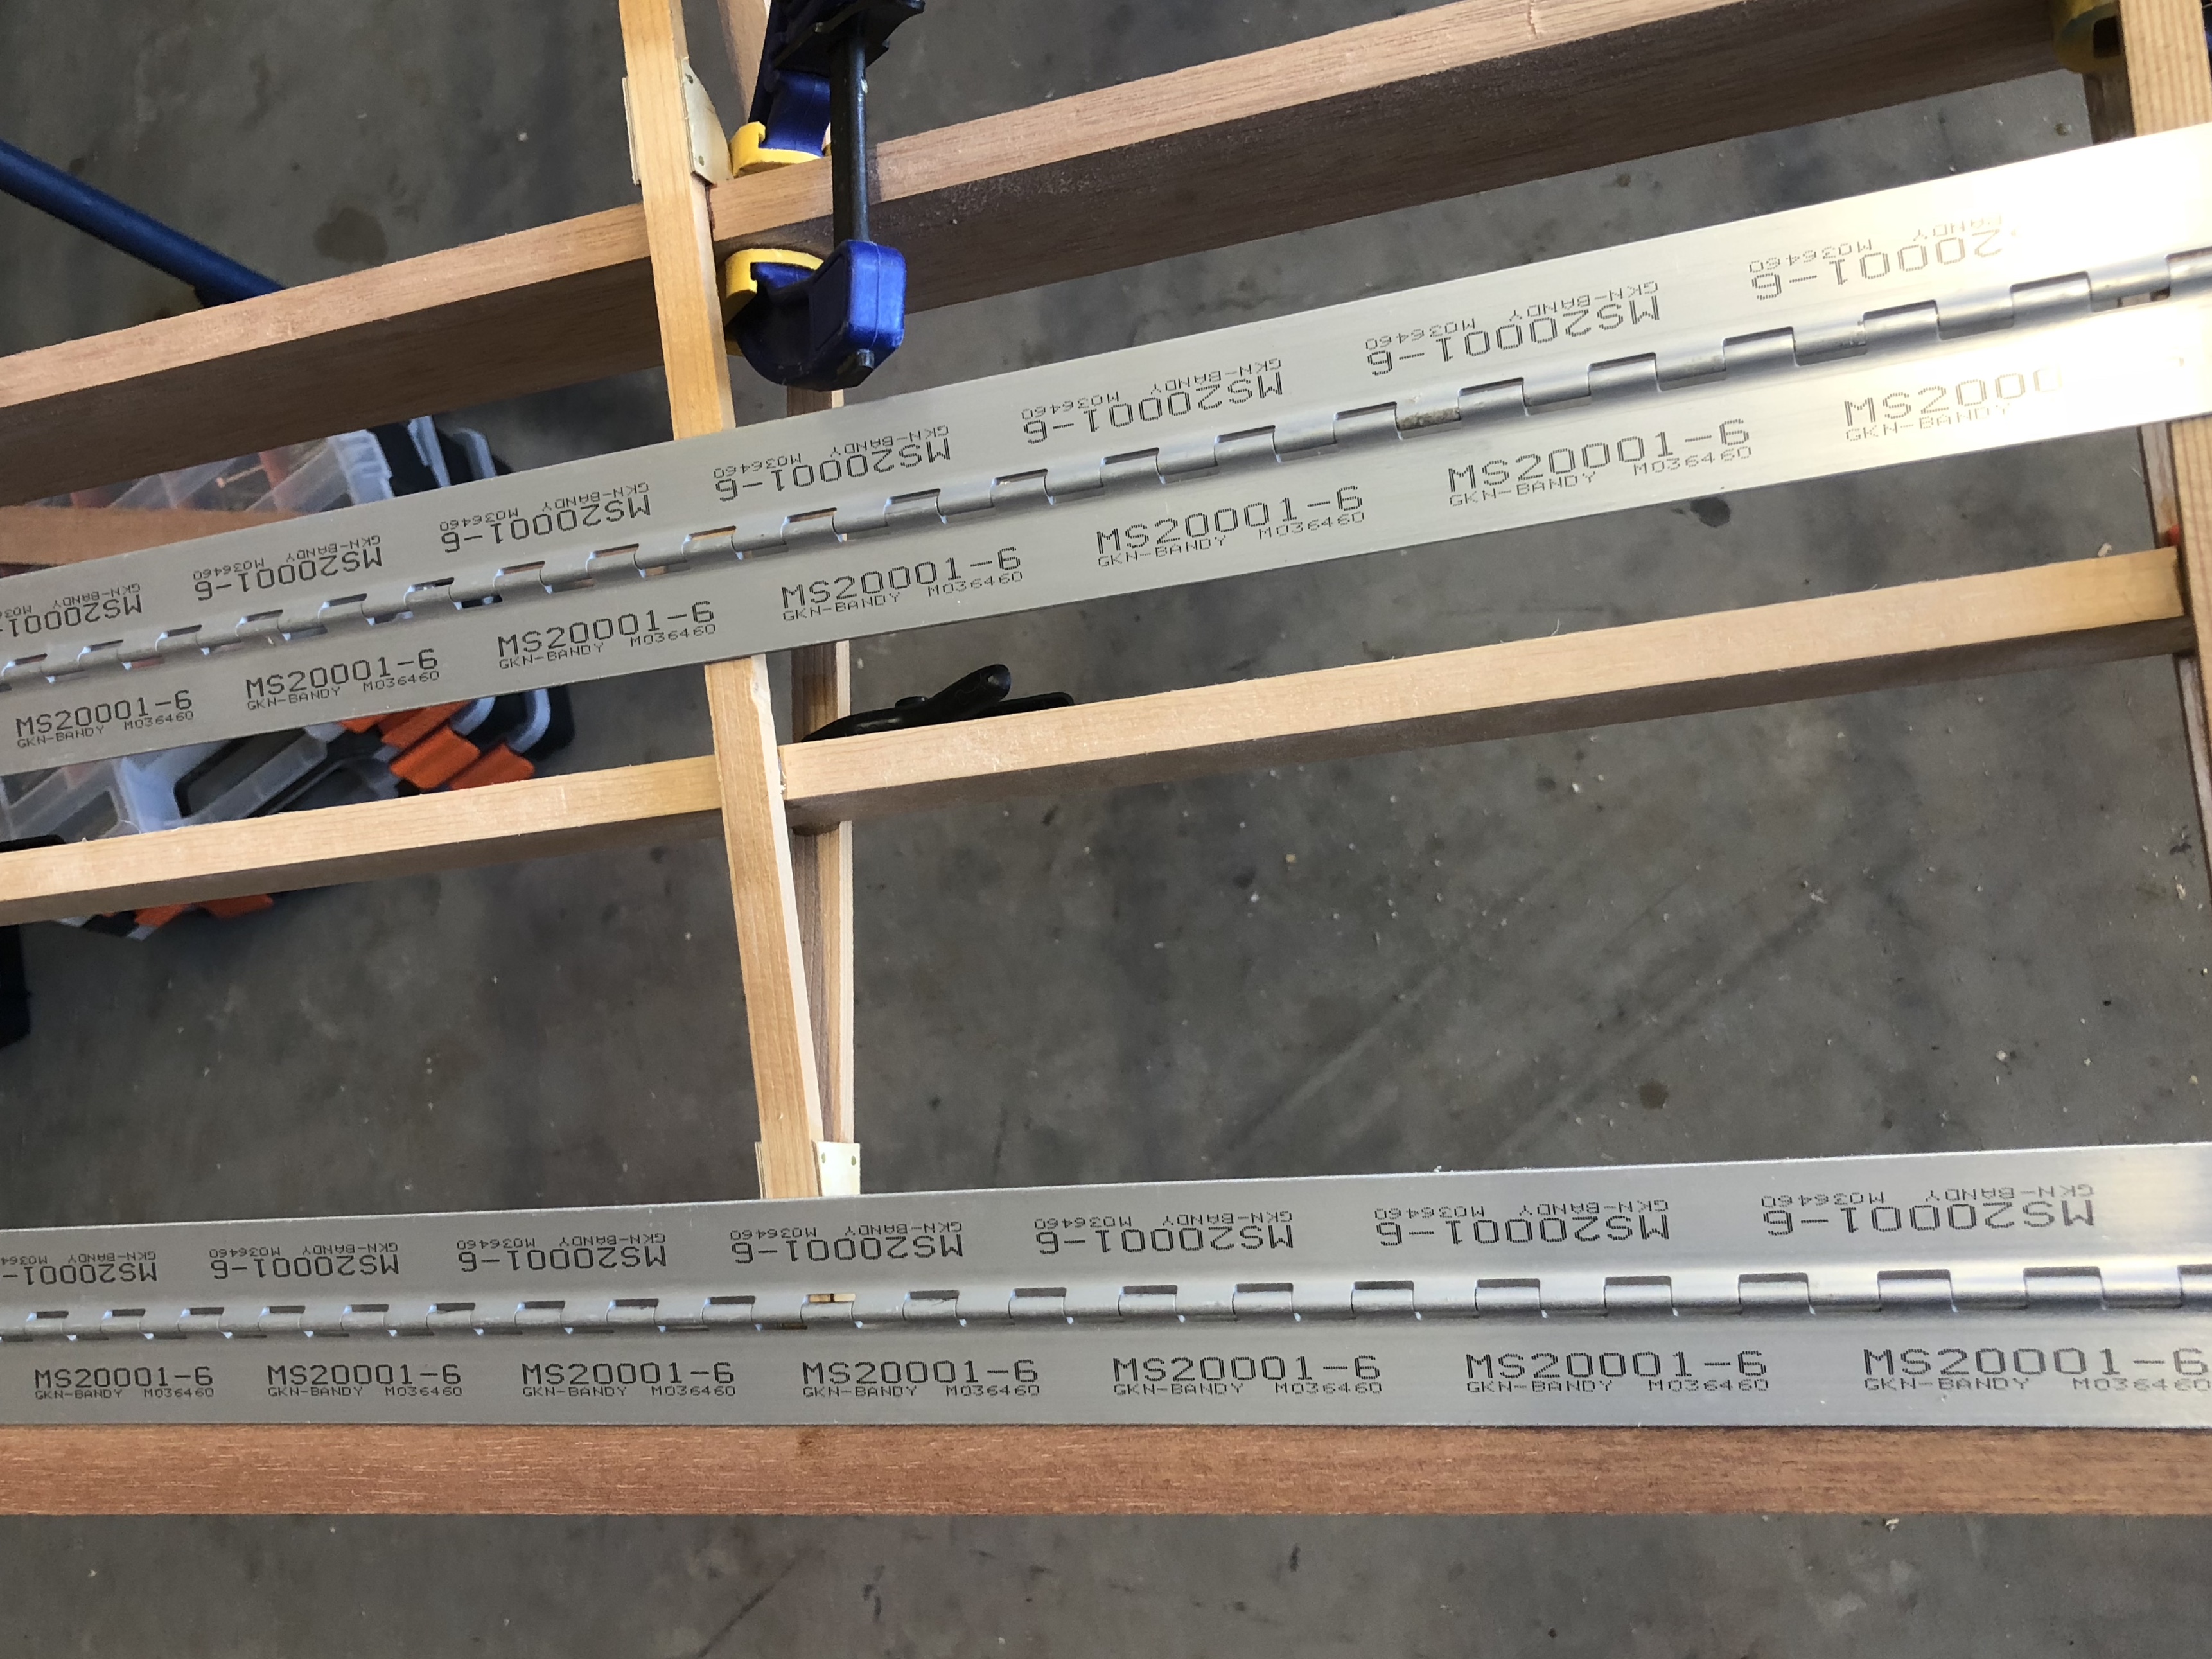
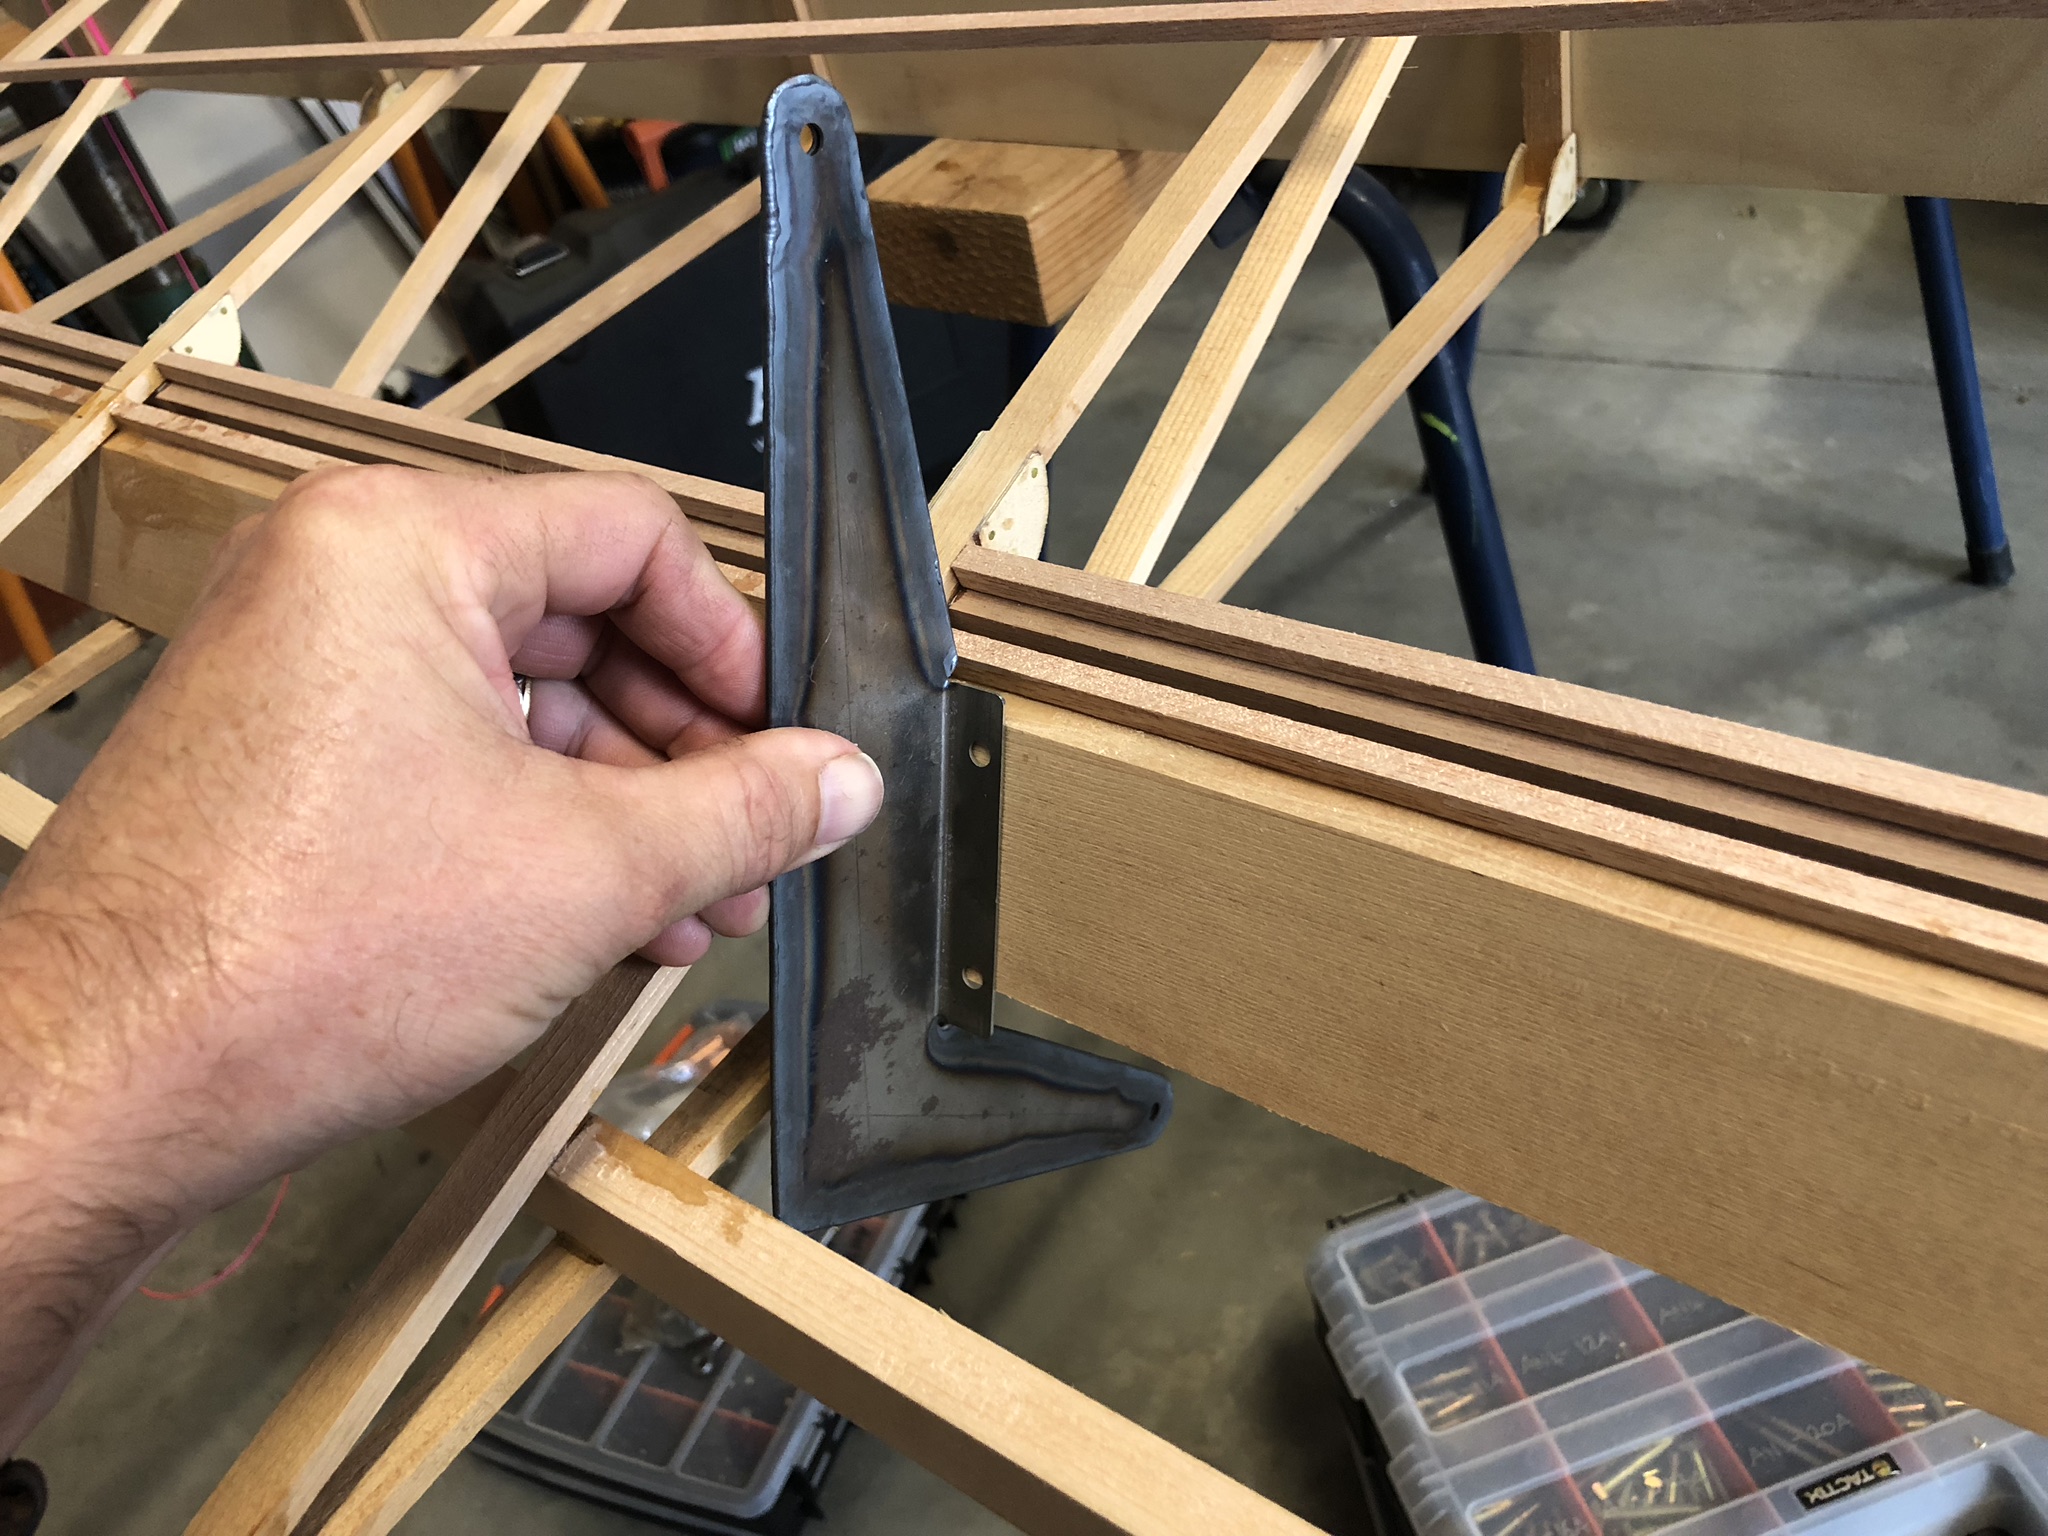
Wing attachment plates. Jig for drilling holes. Phenolic bushes for wing attachment bolts...

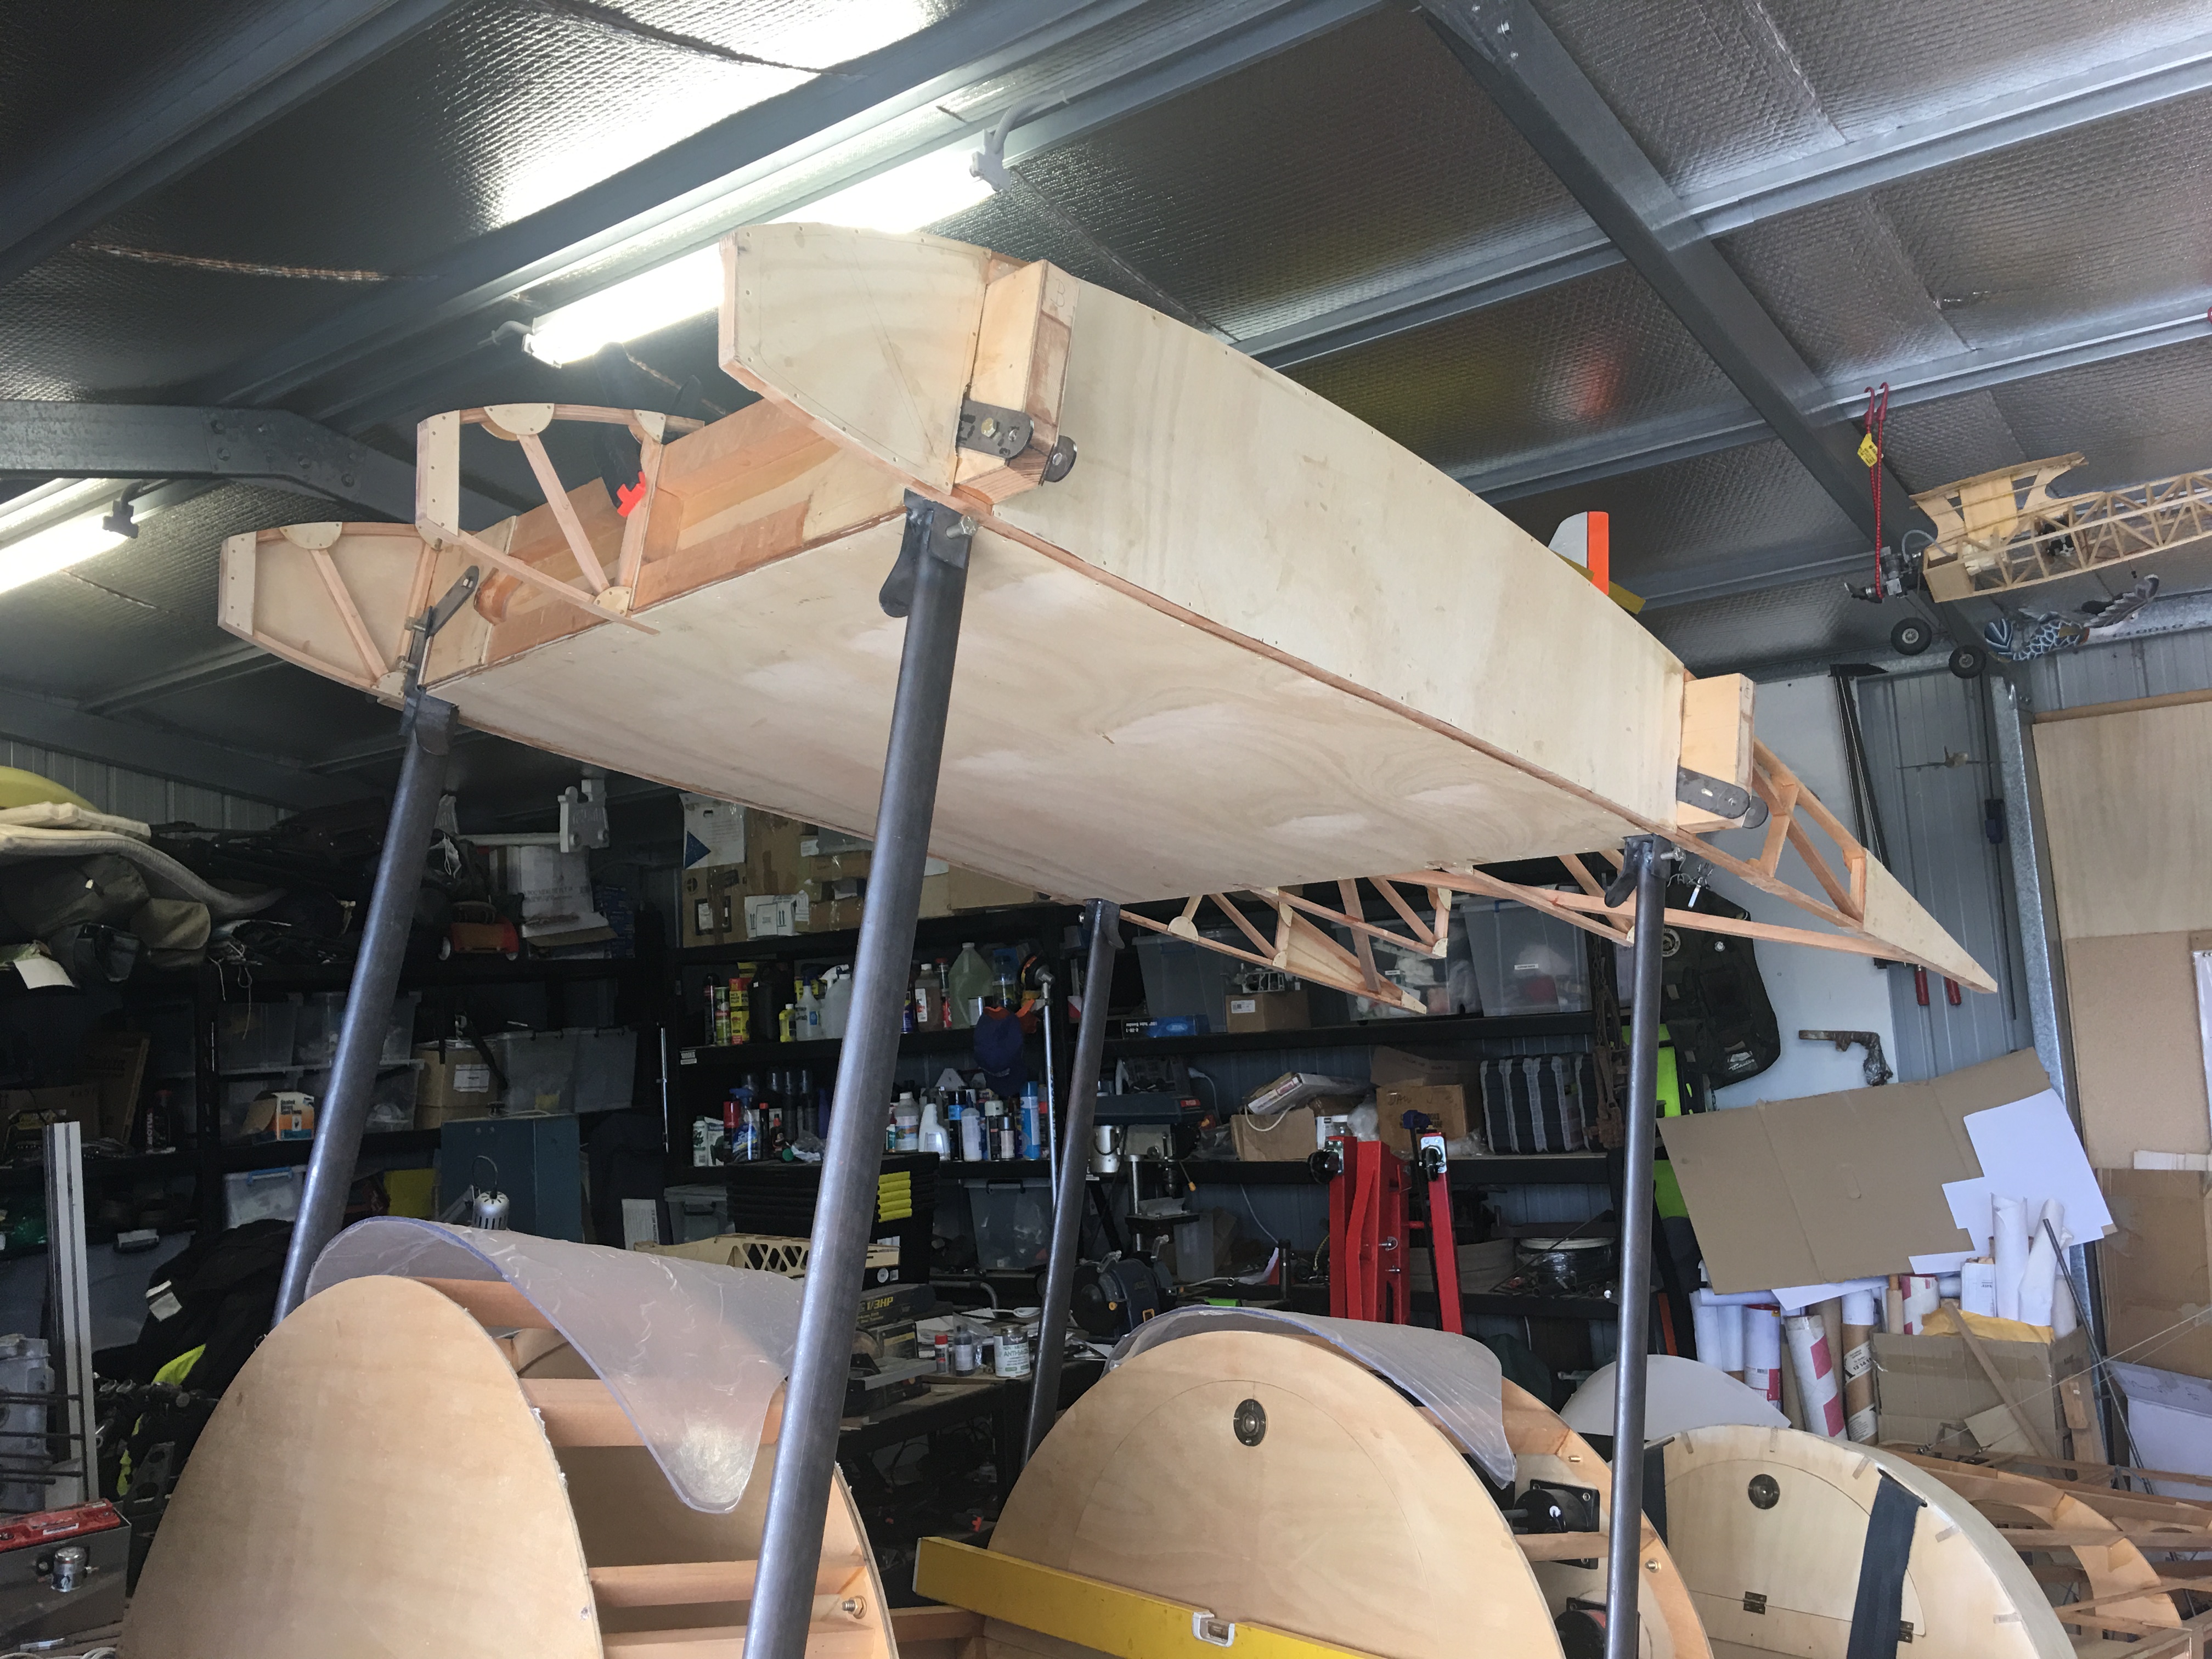
Wing Centre Section
Wing centre section glued together and lift strut to spar brackets made and phenolic bushed epoxied in to place...

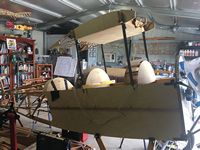

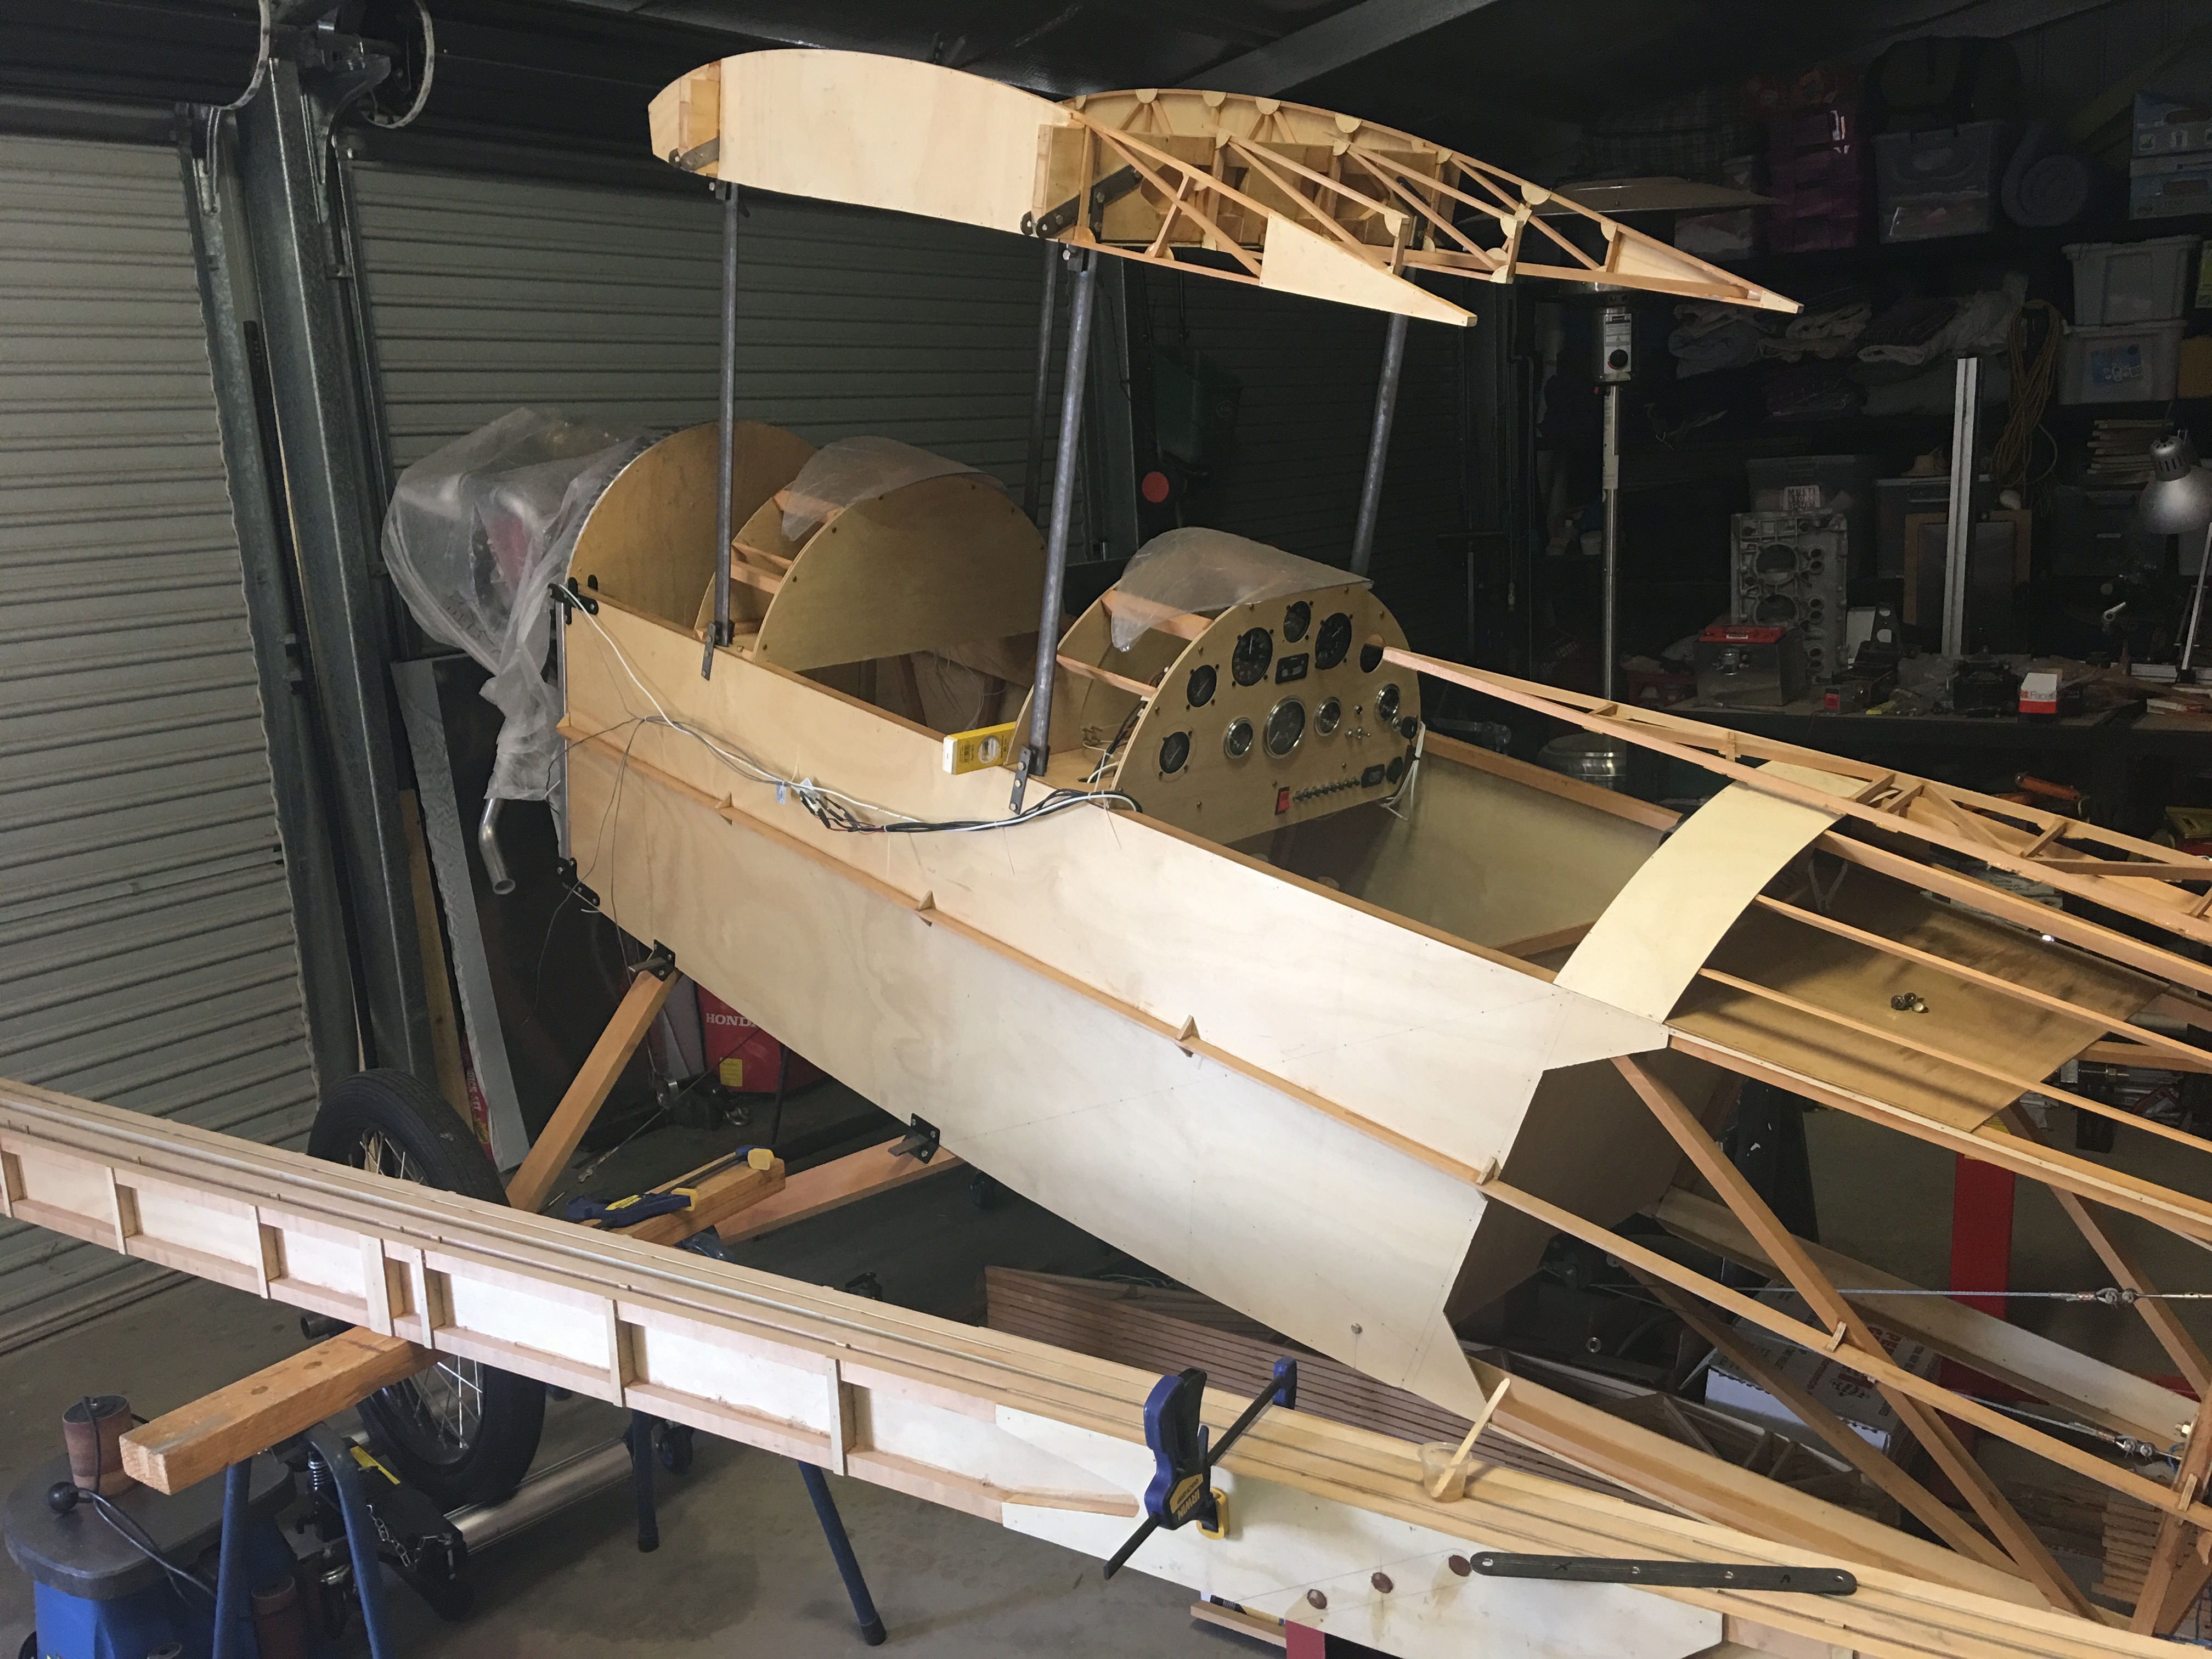

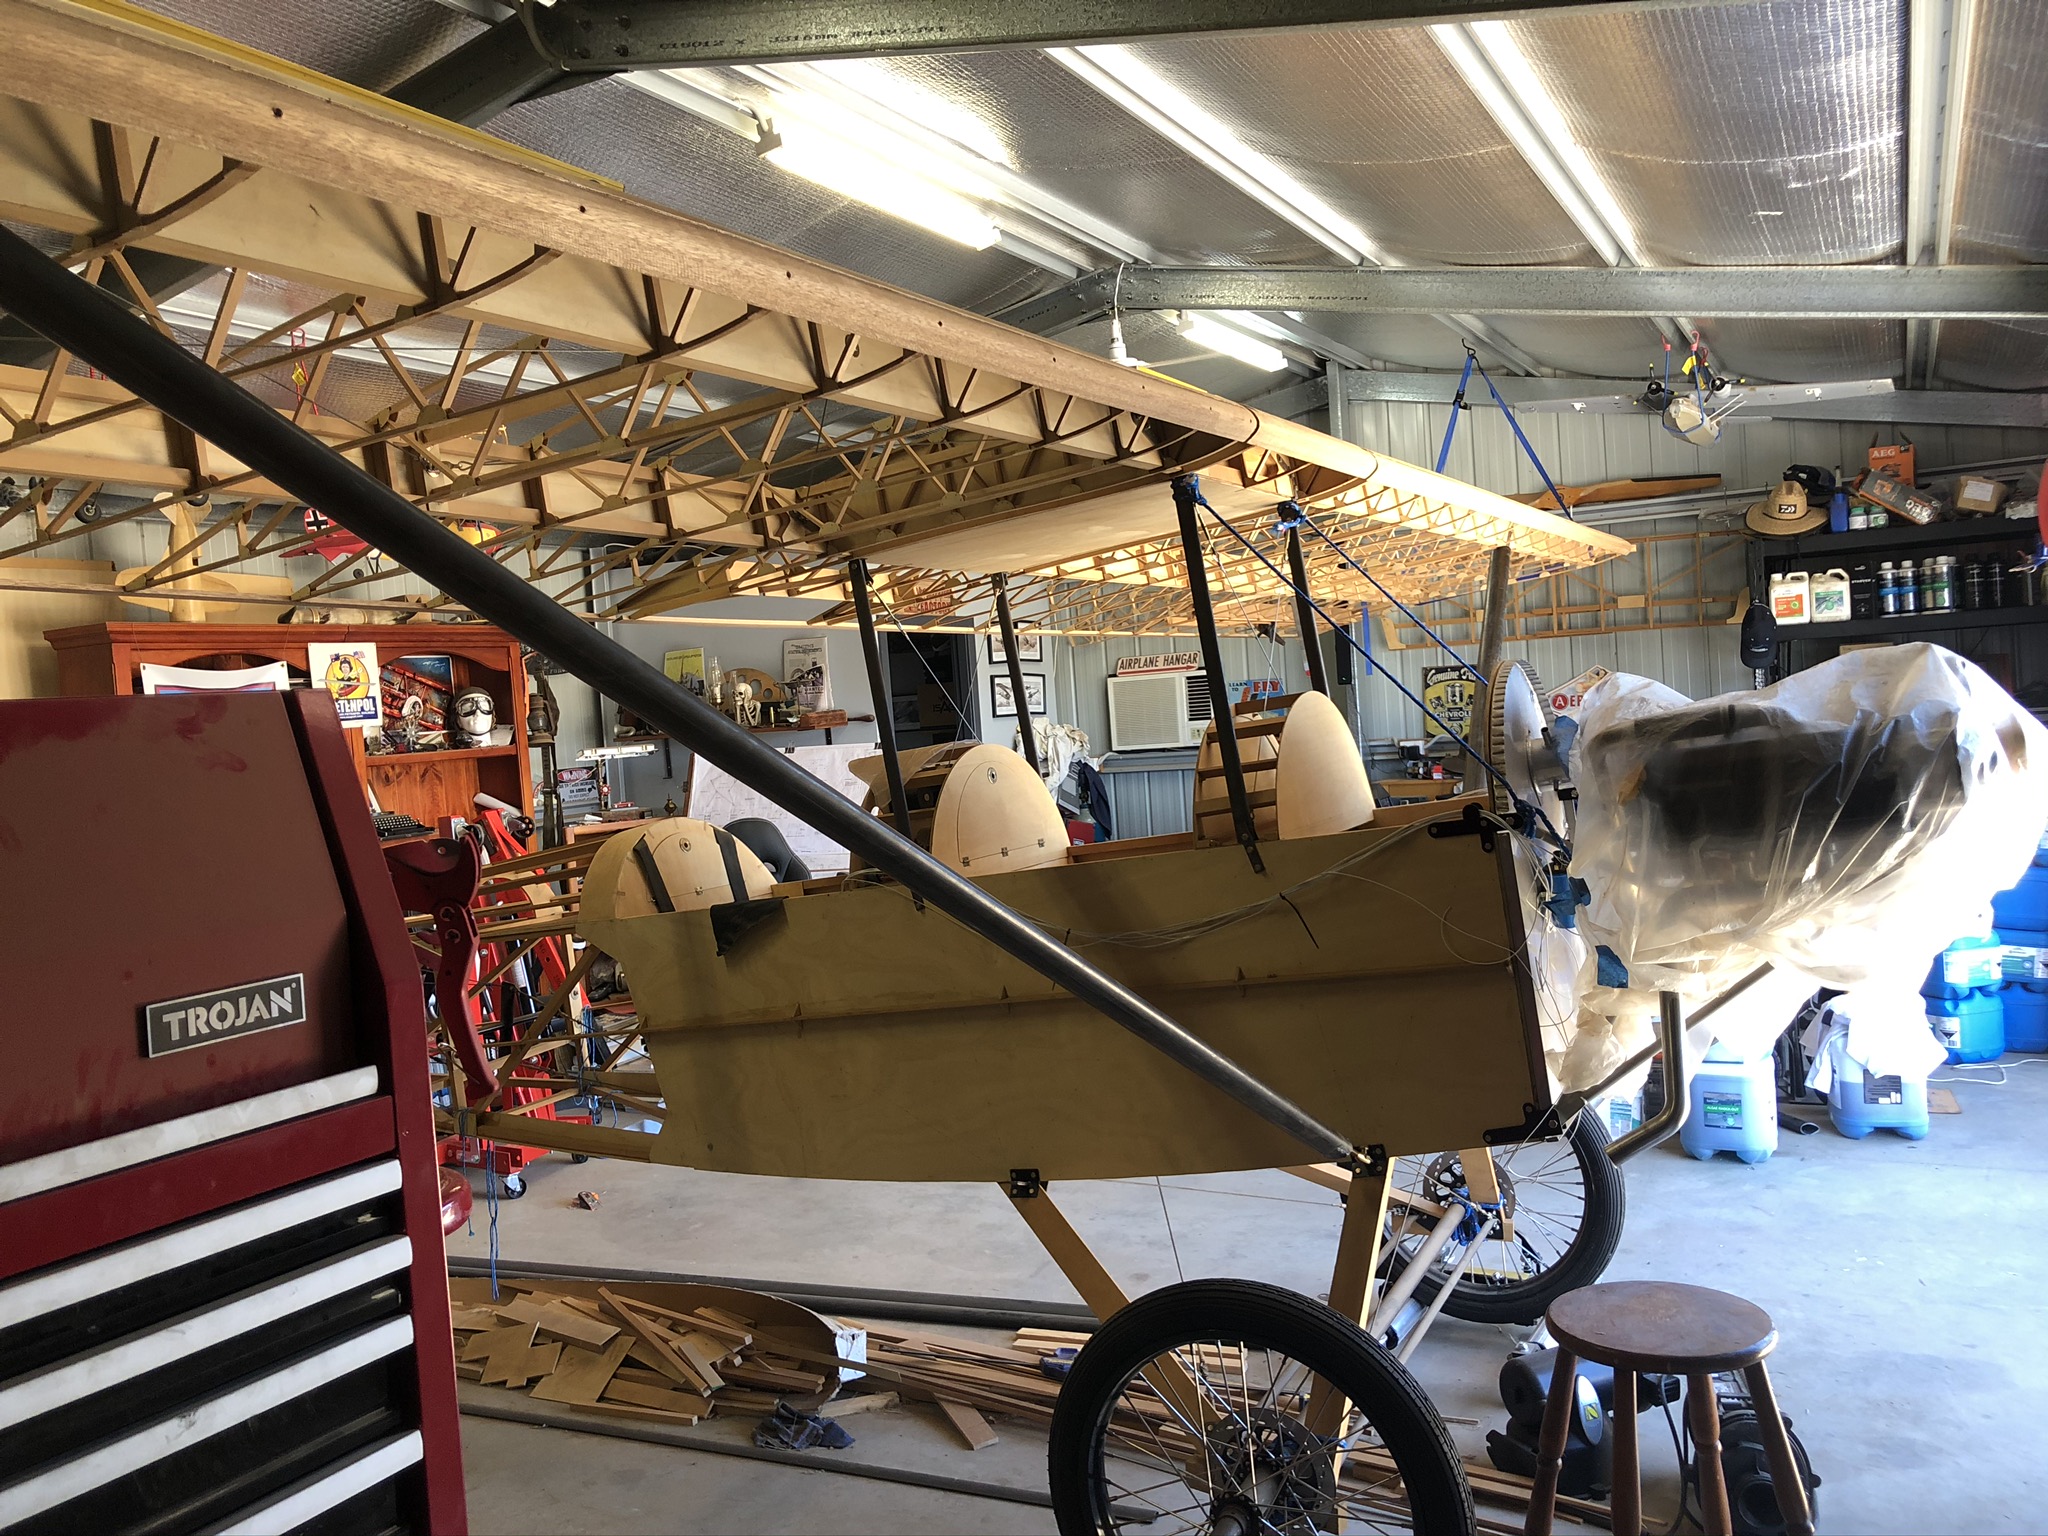
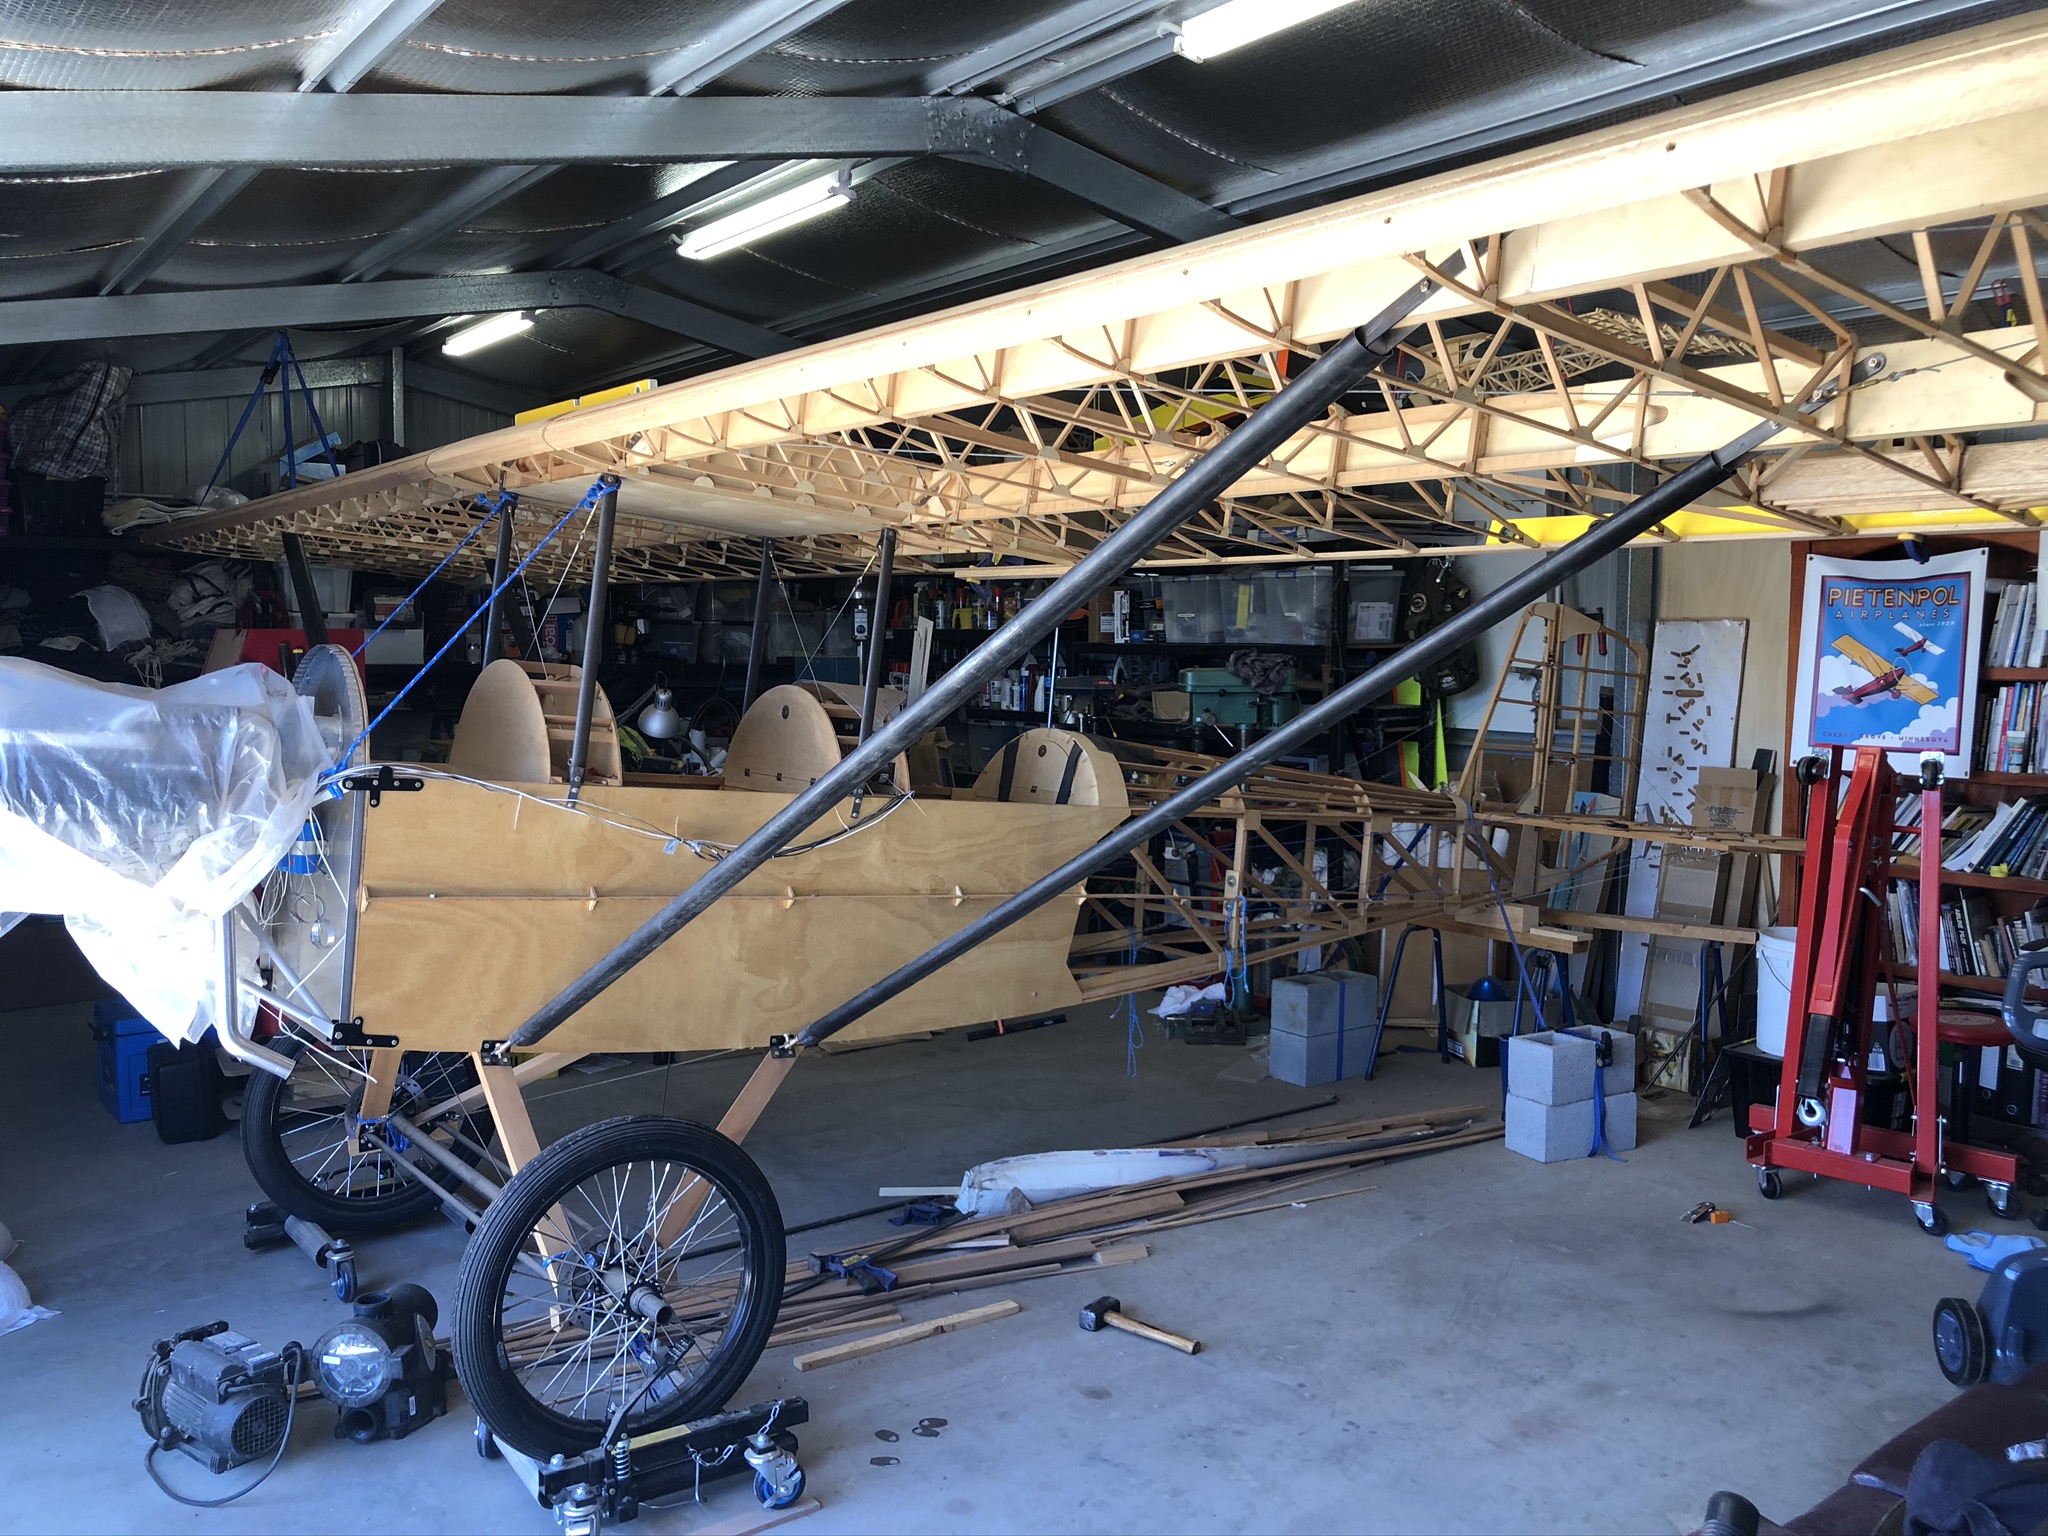
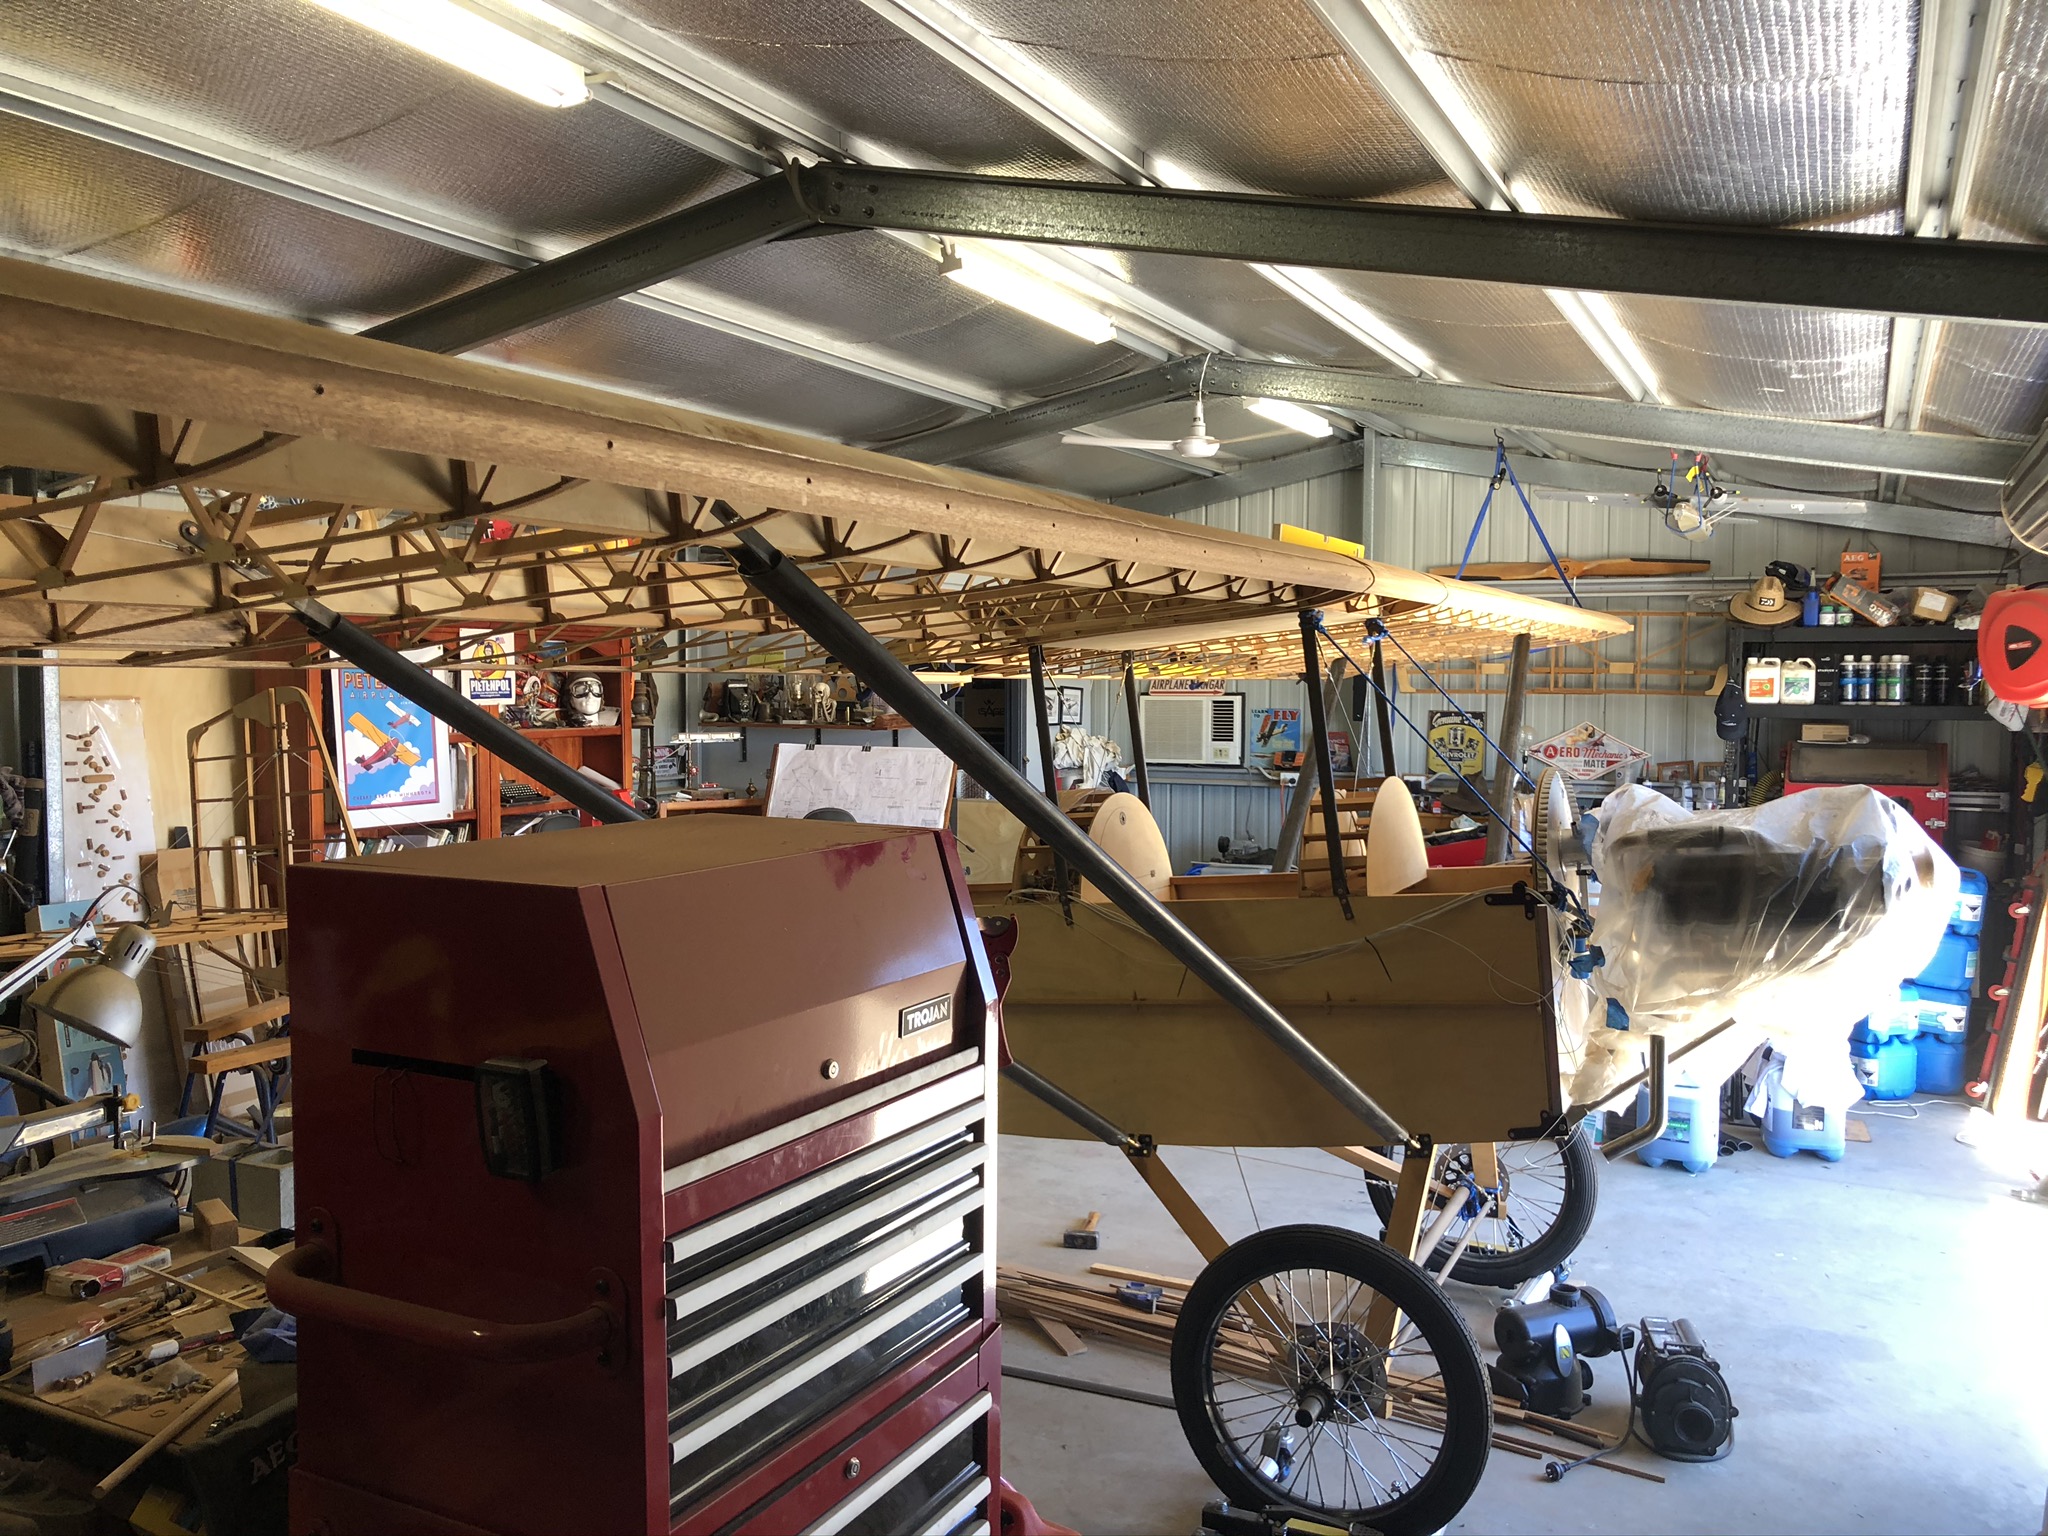
Wing Assembly
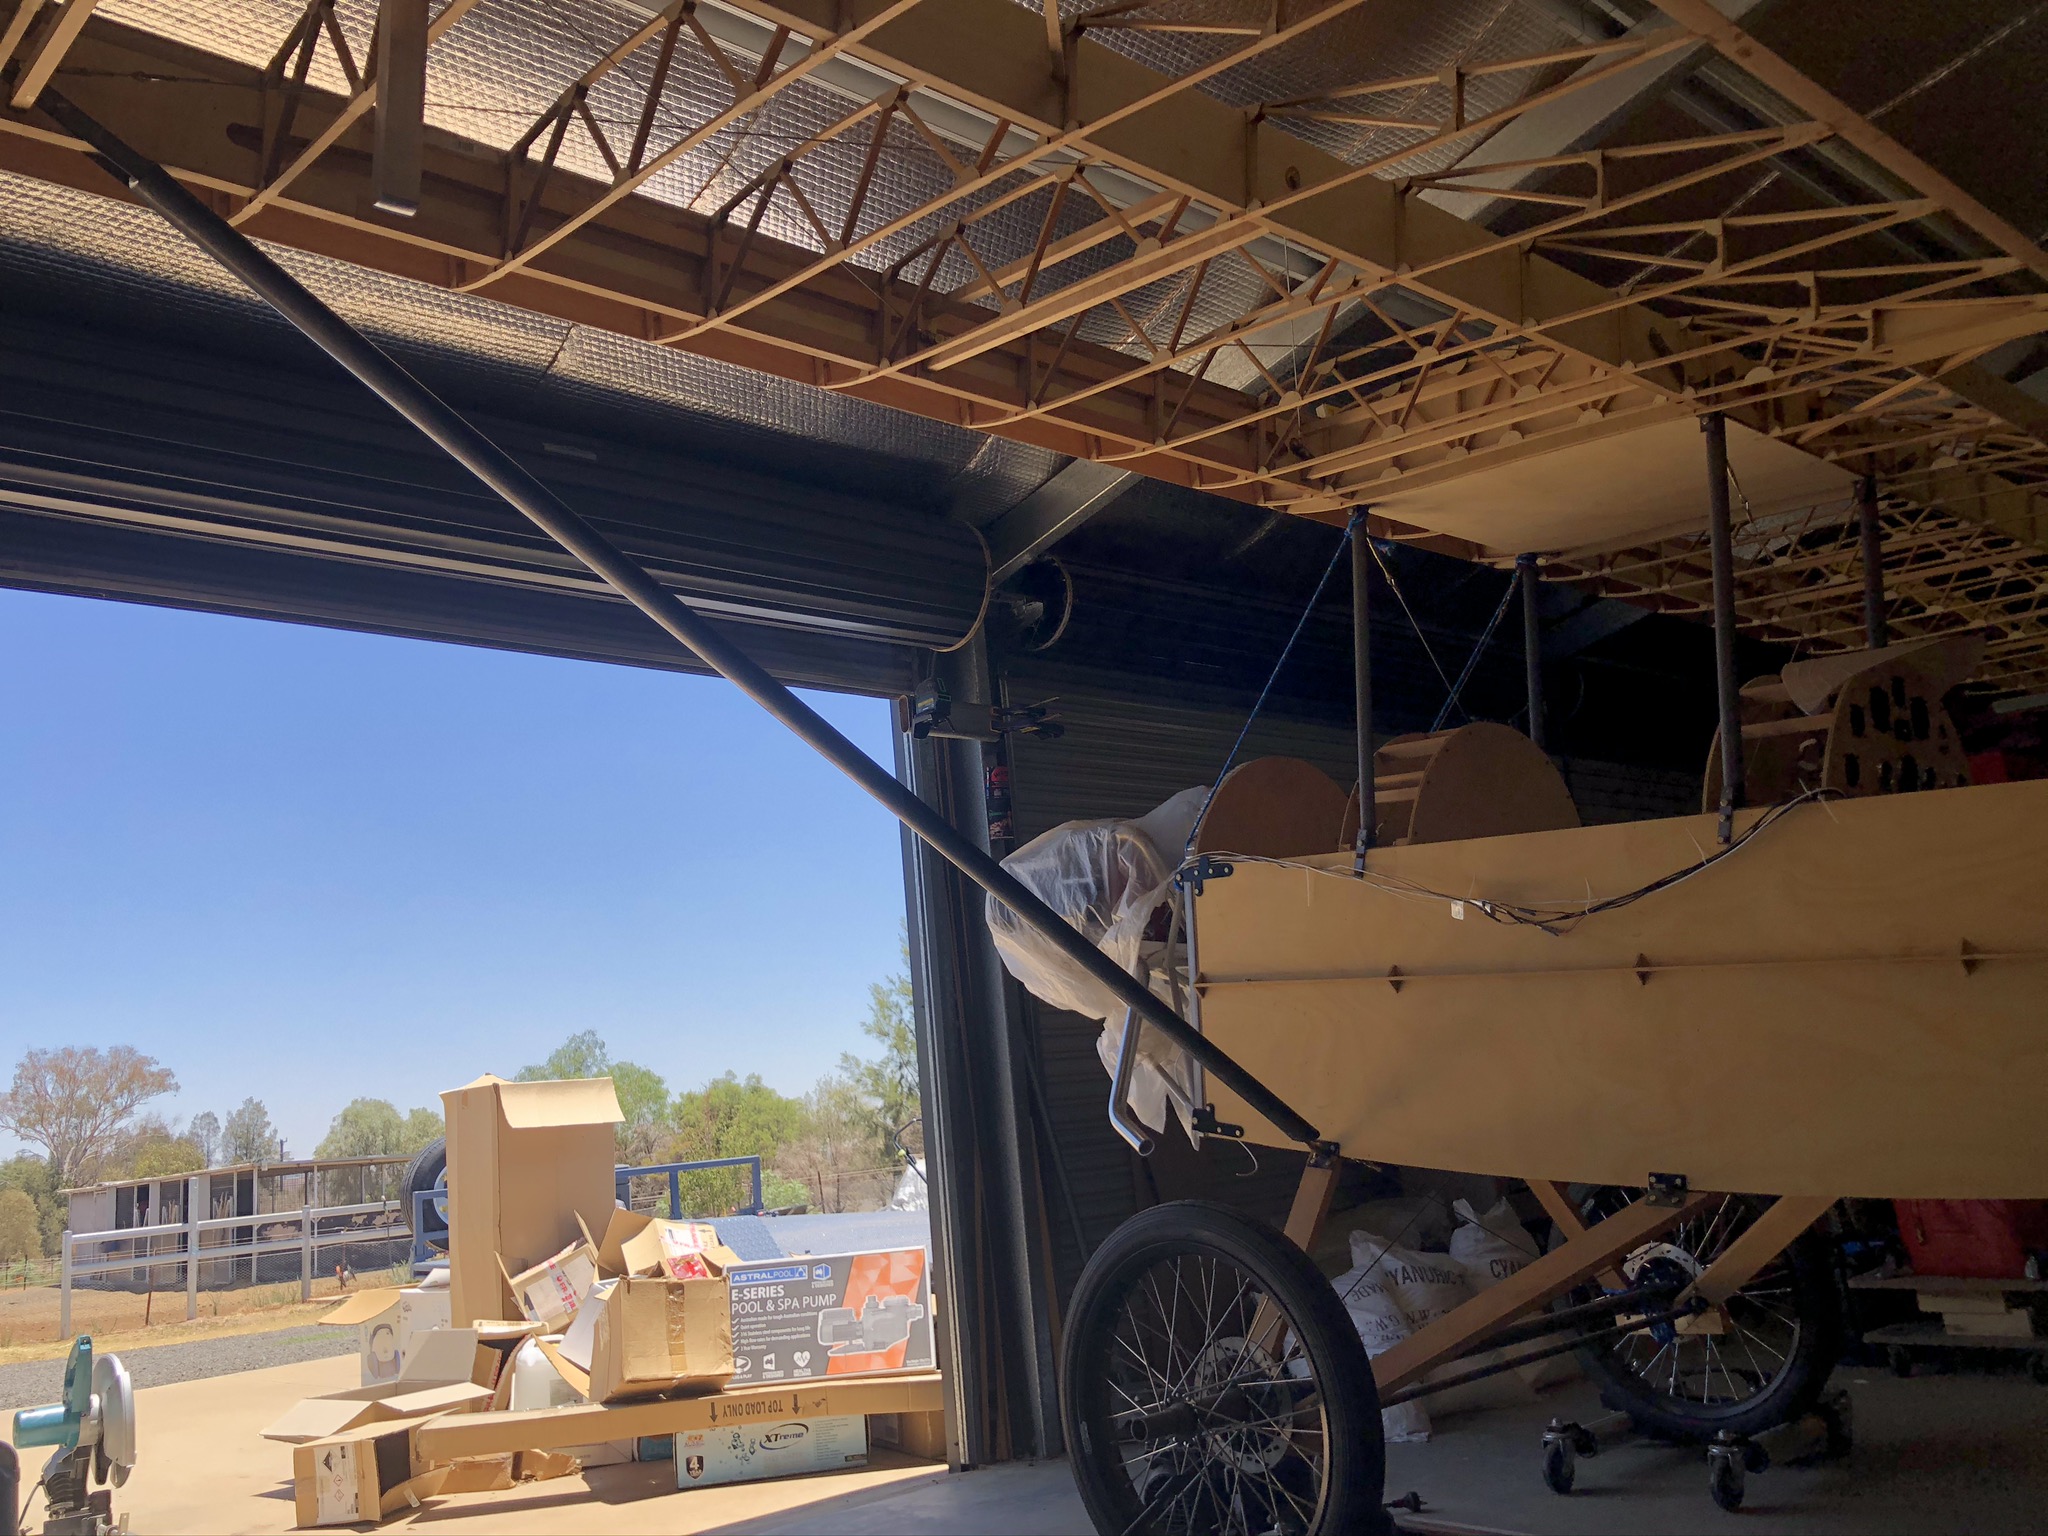
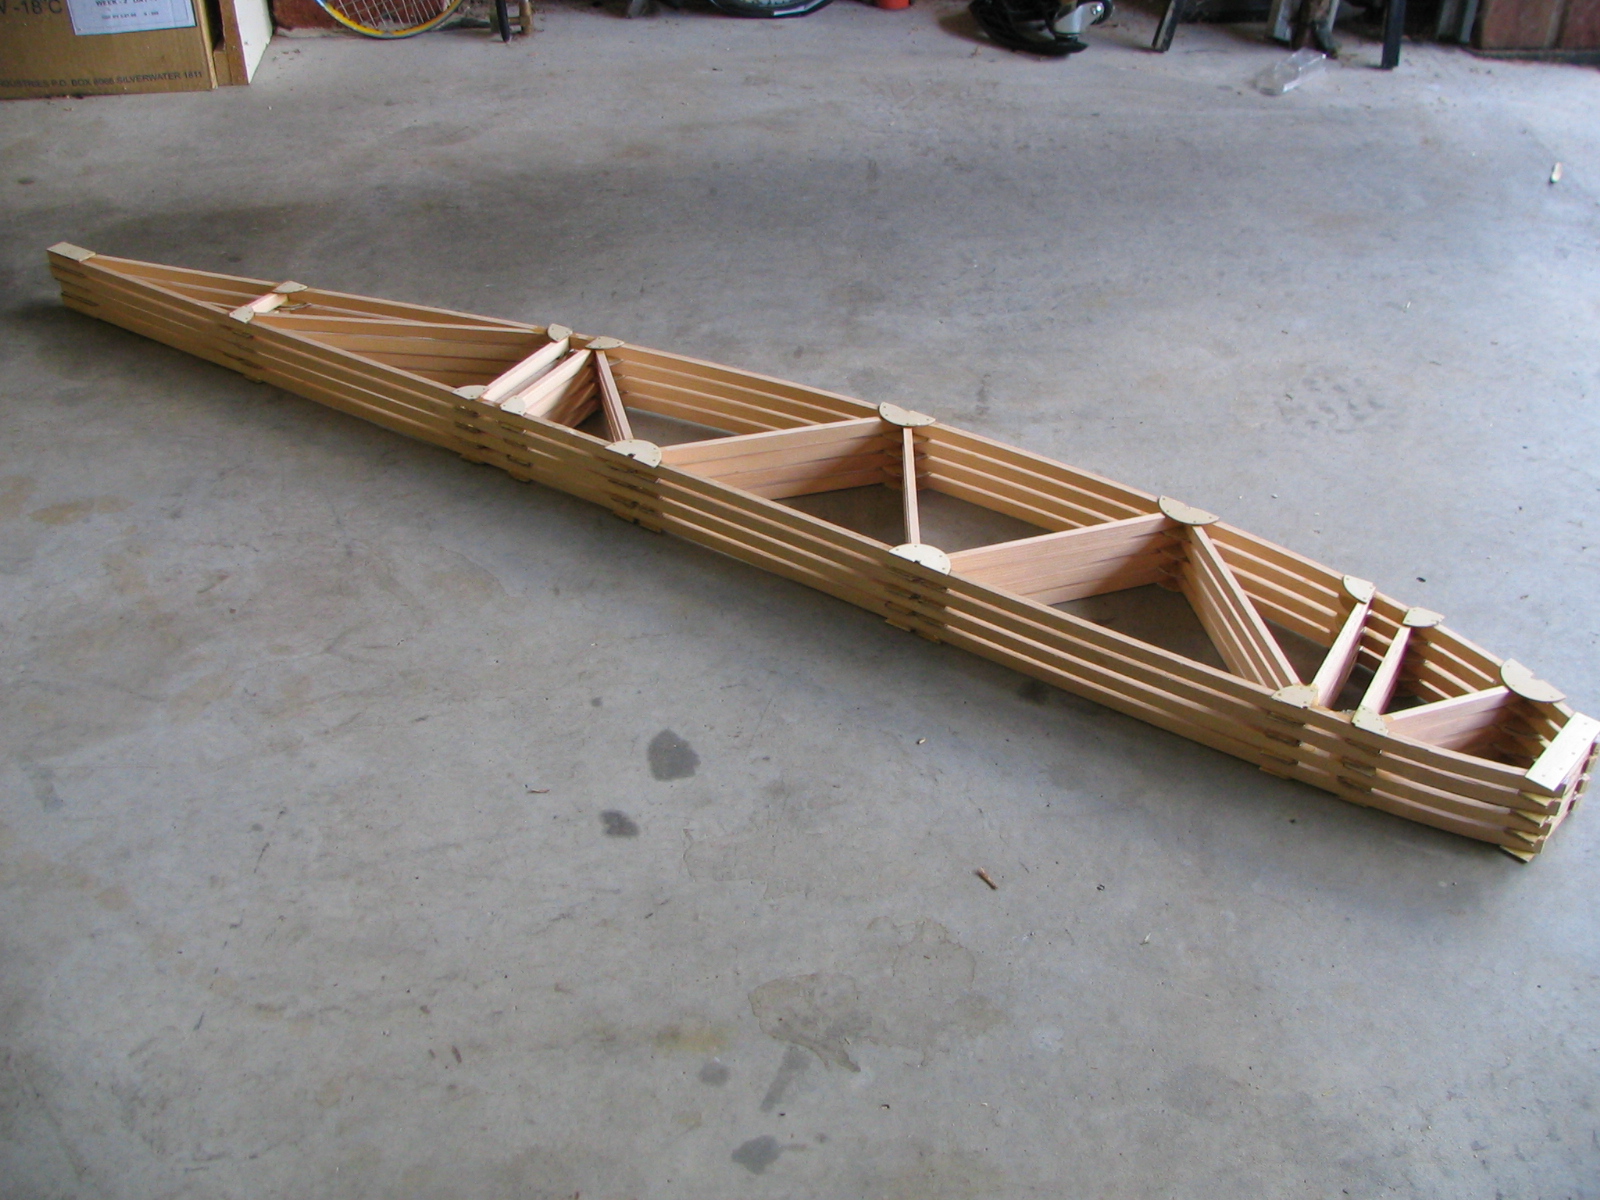
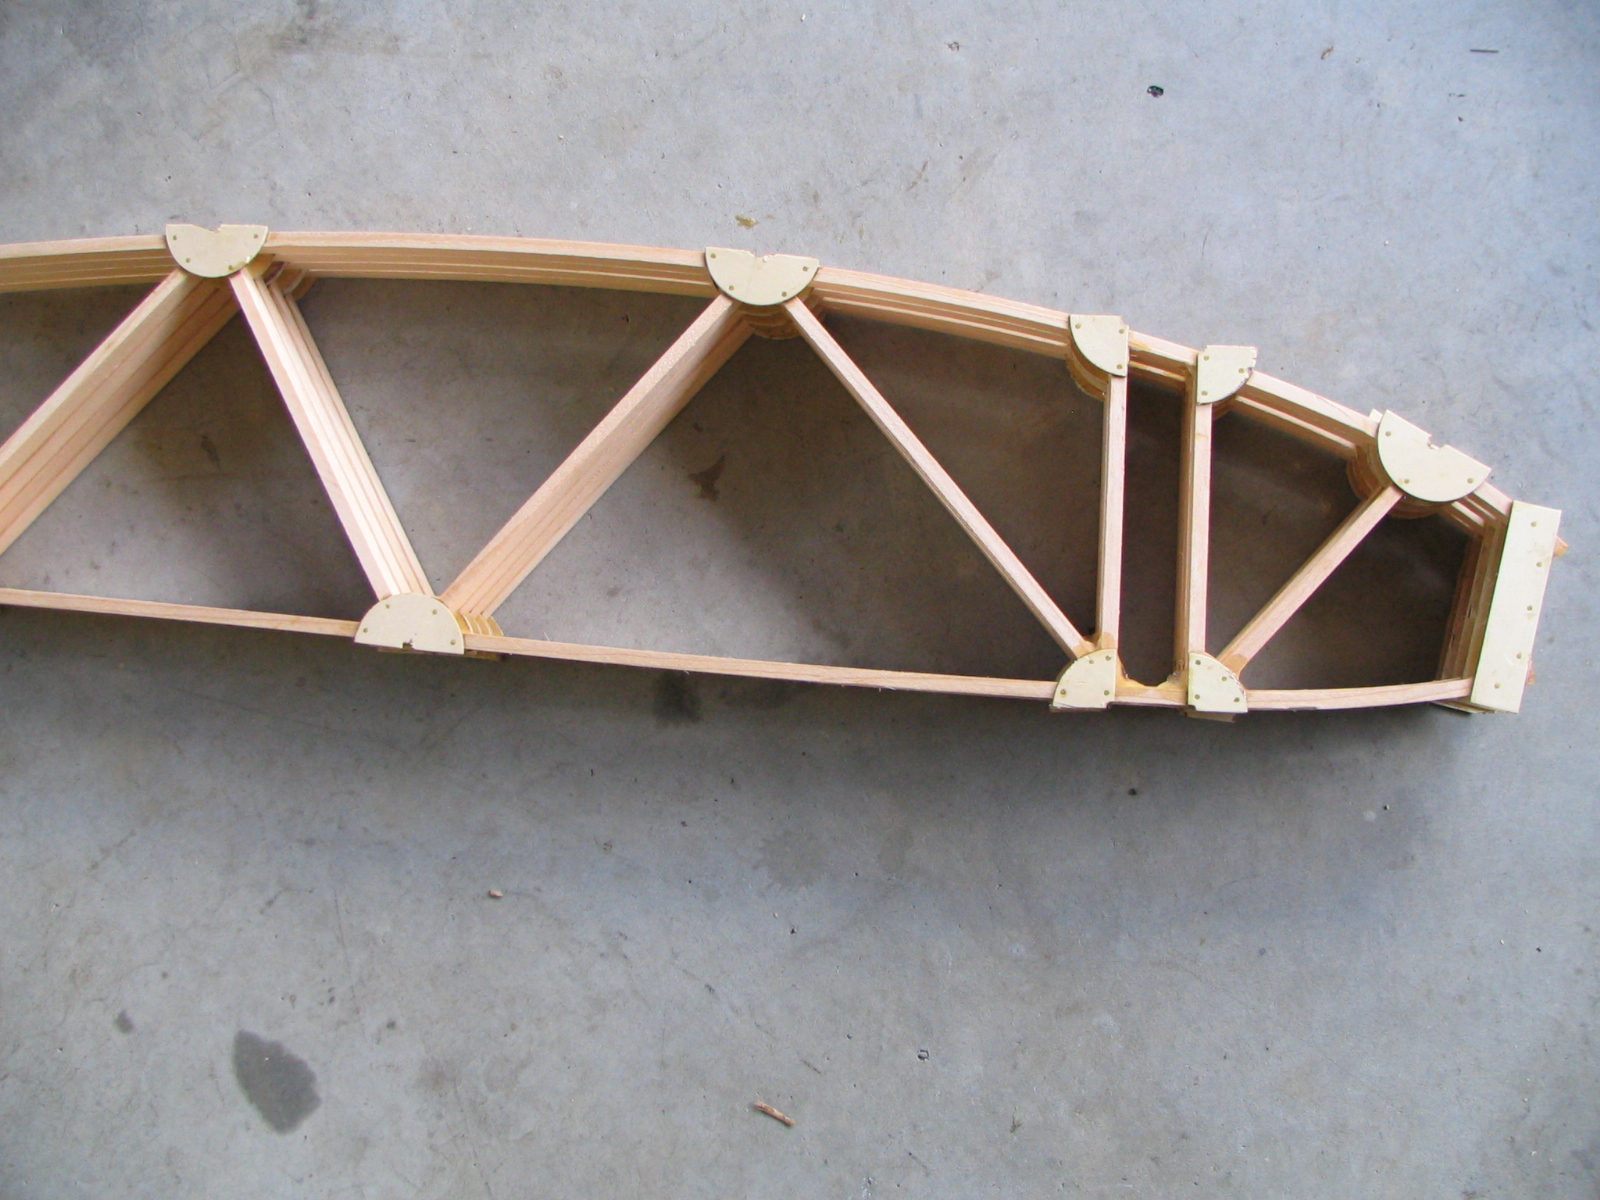
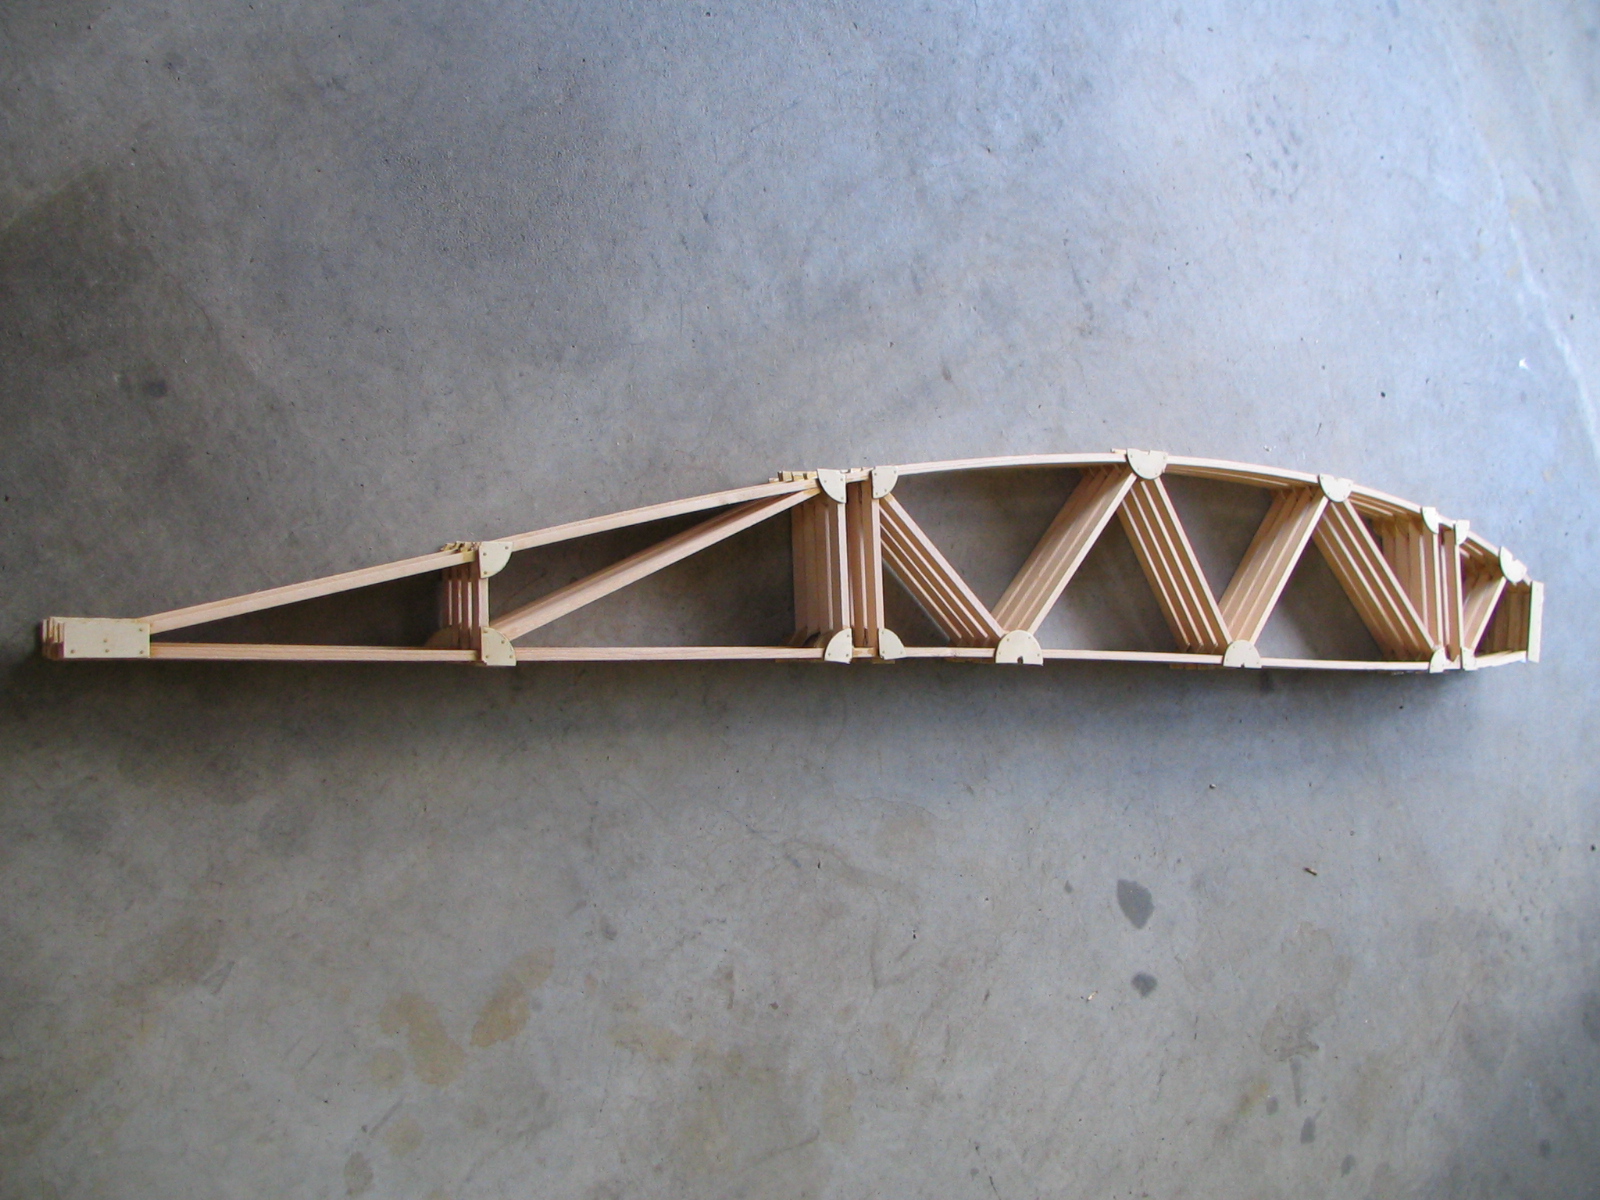
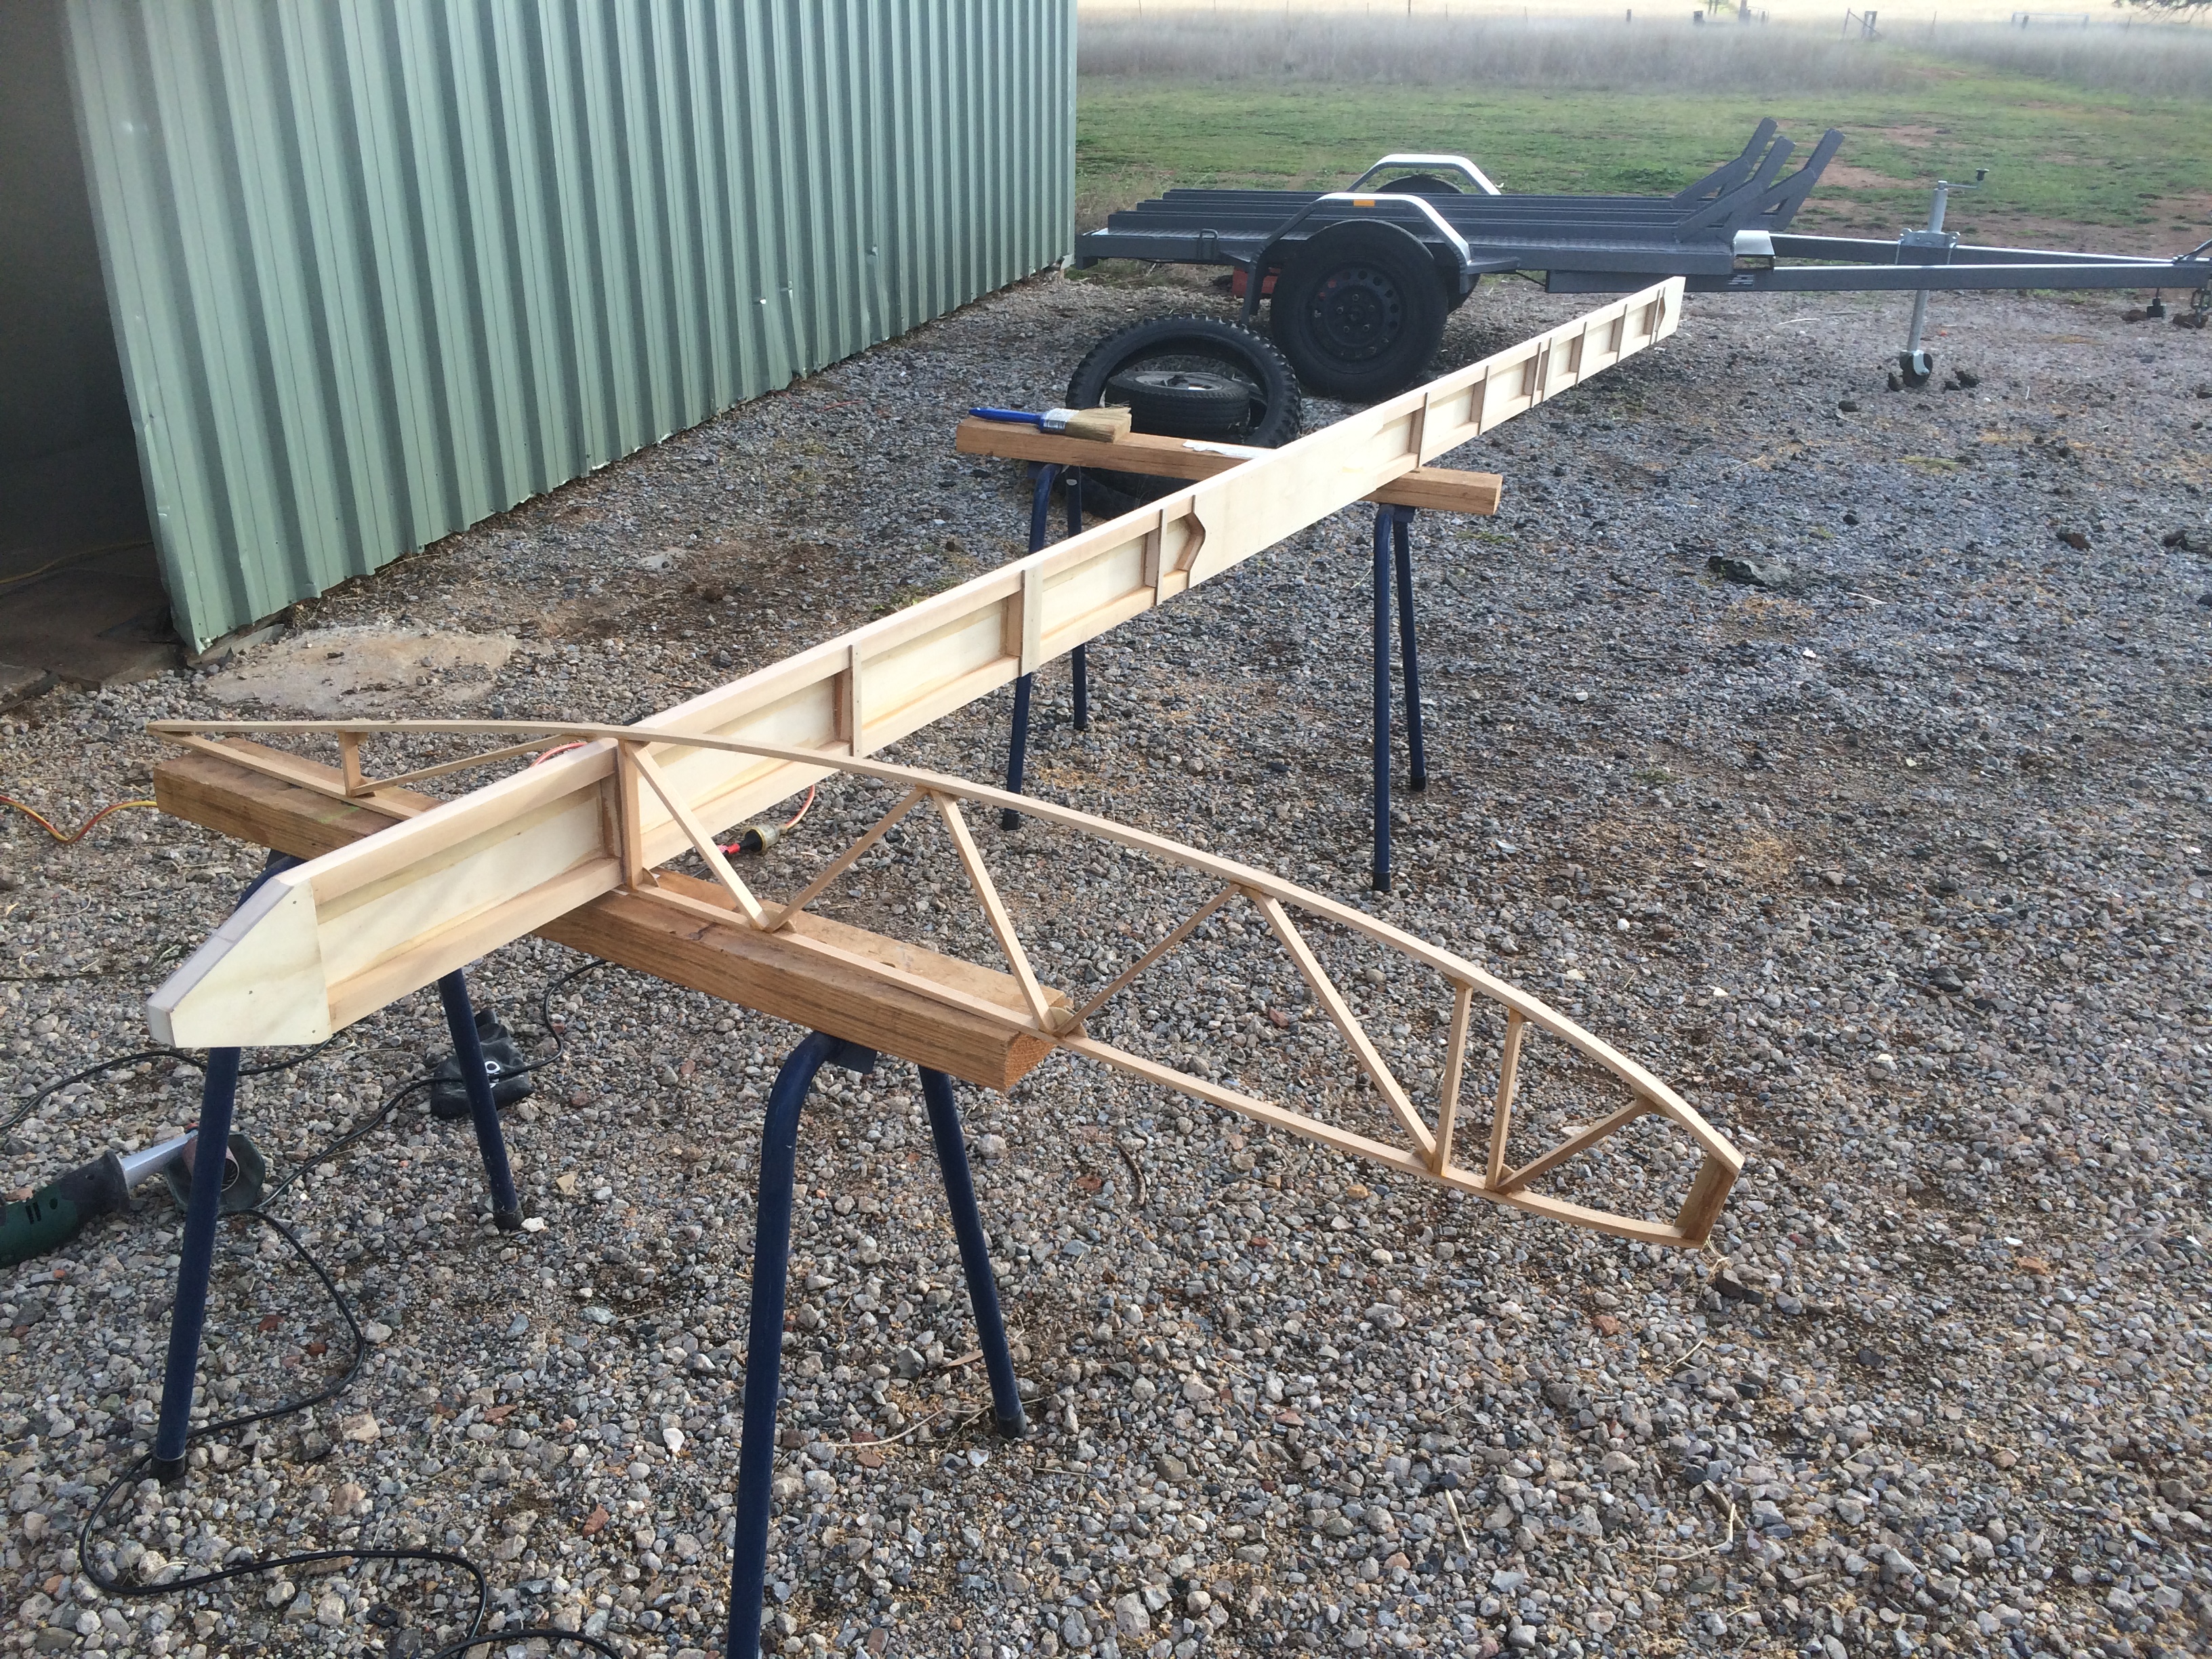
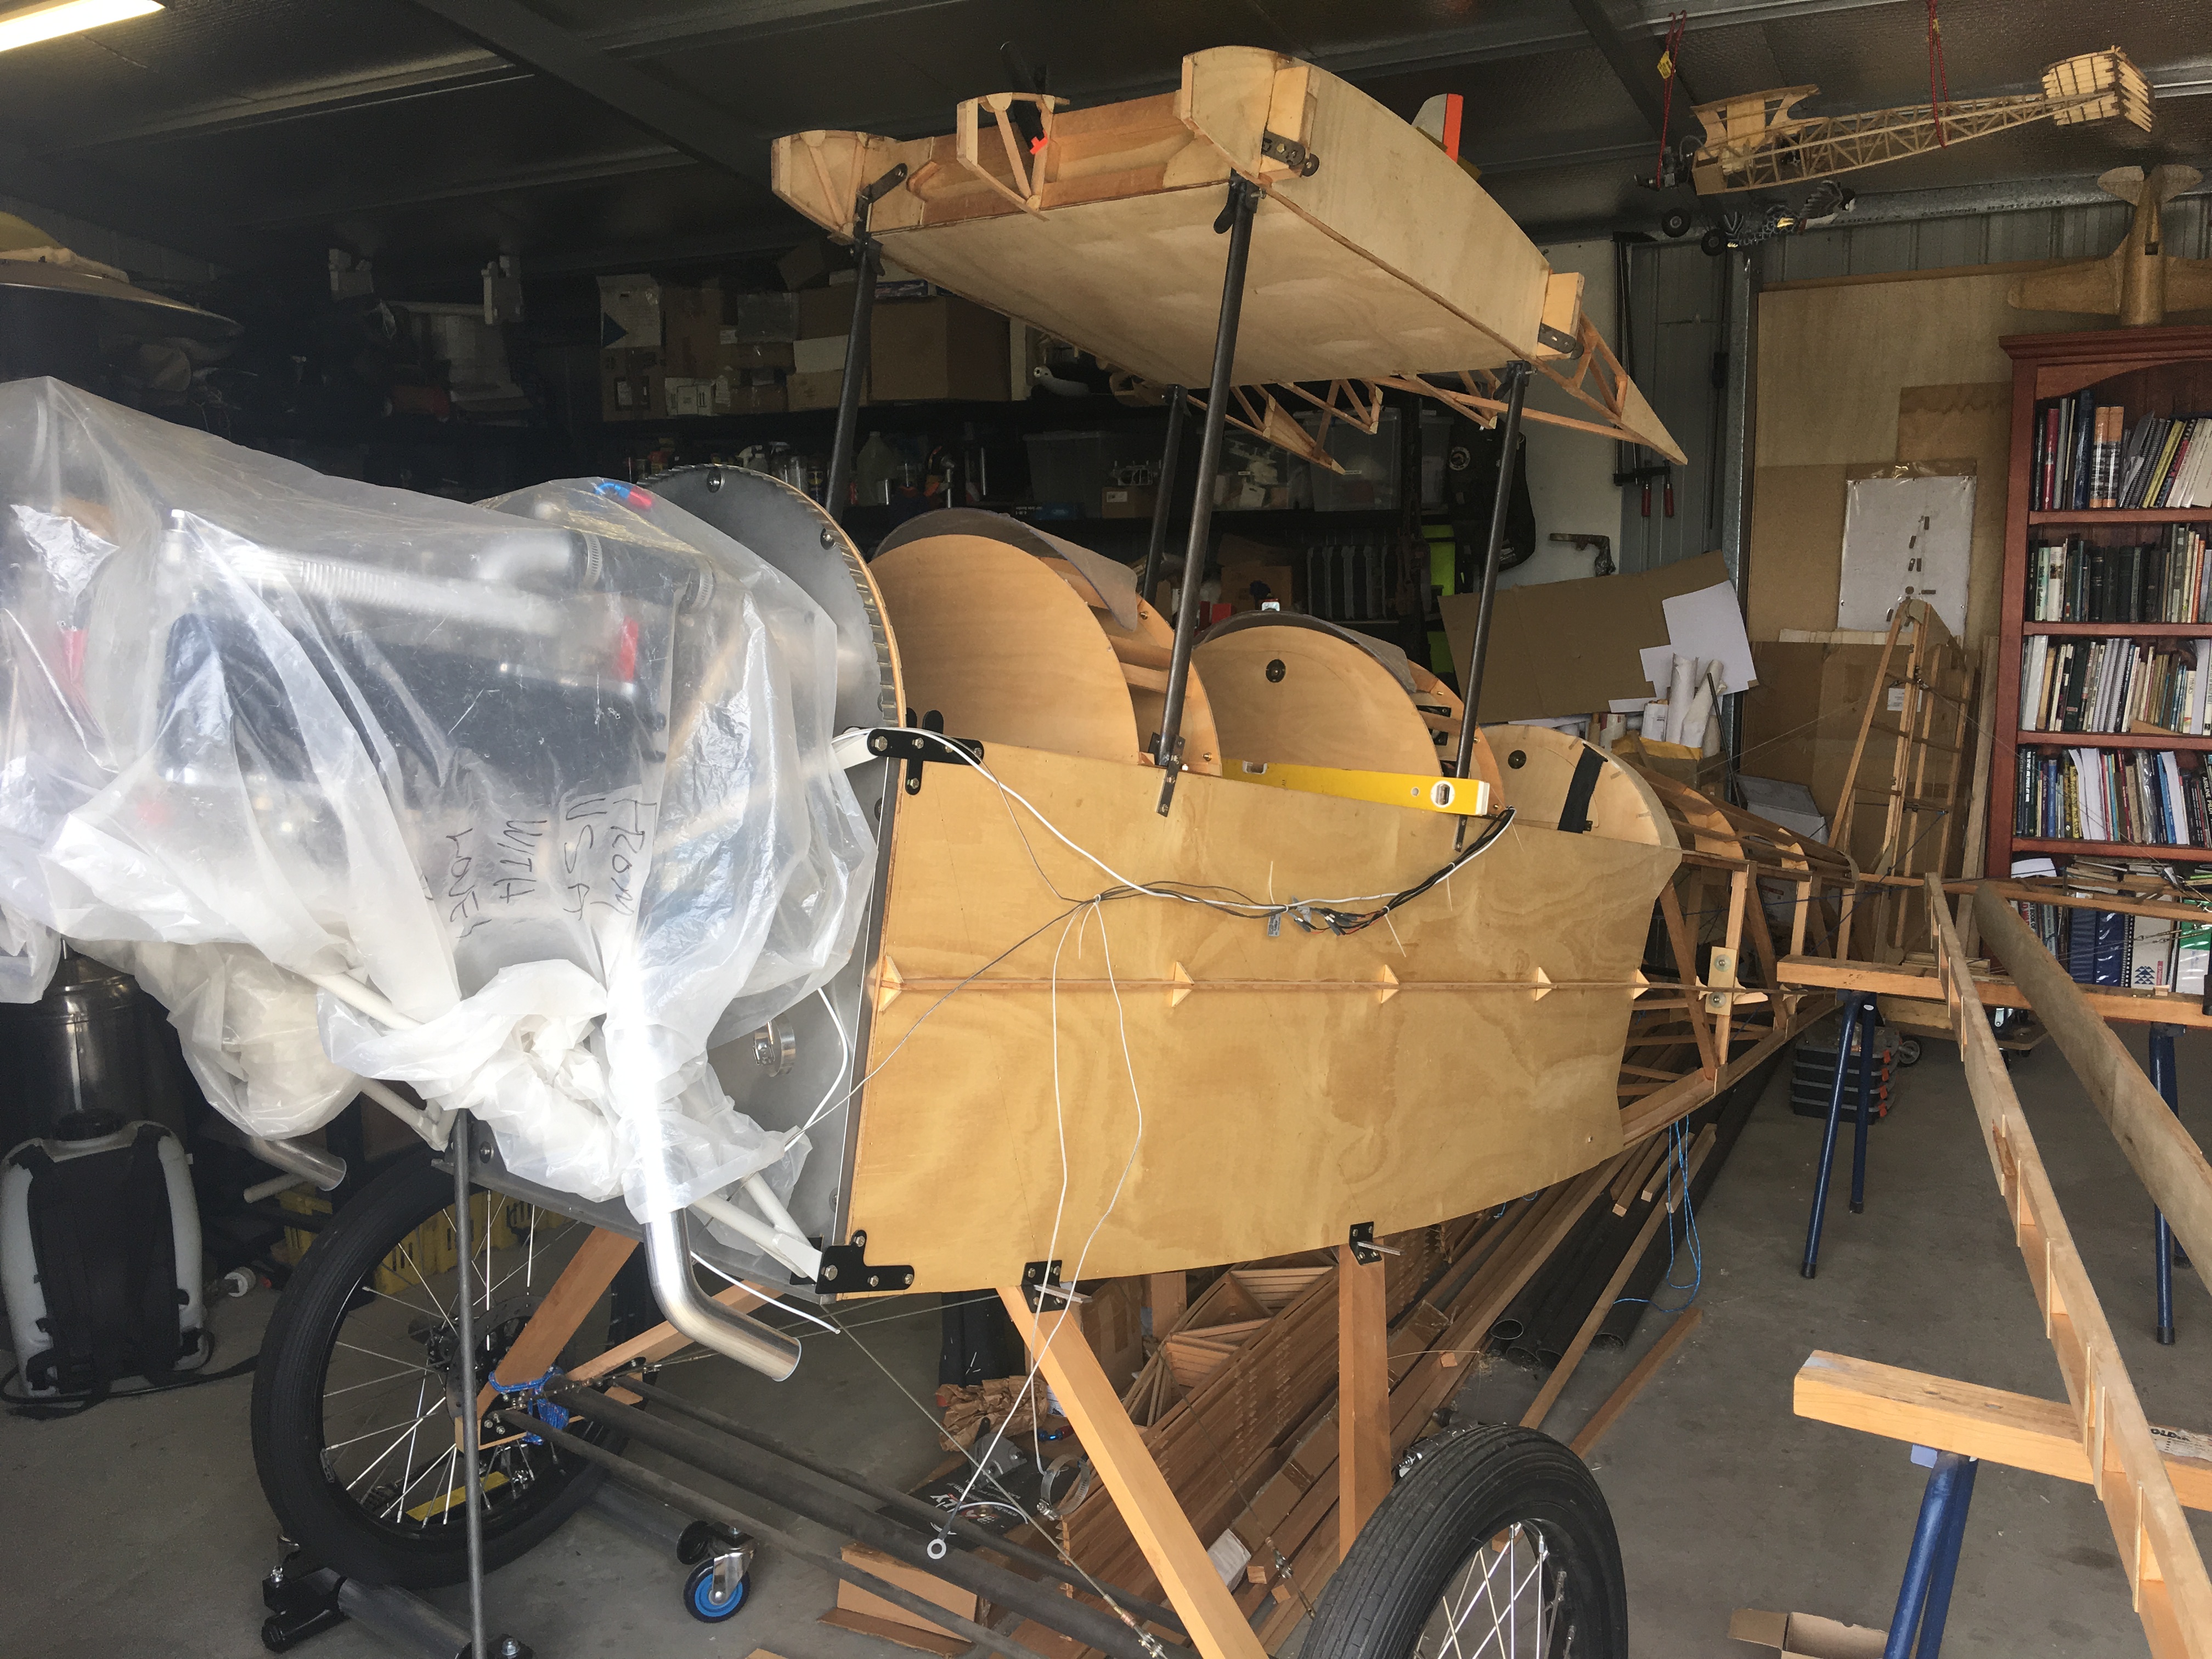
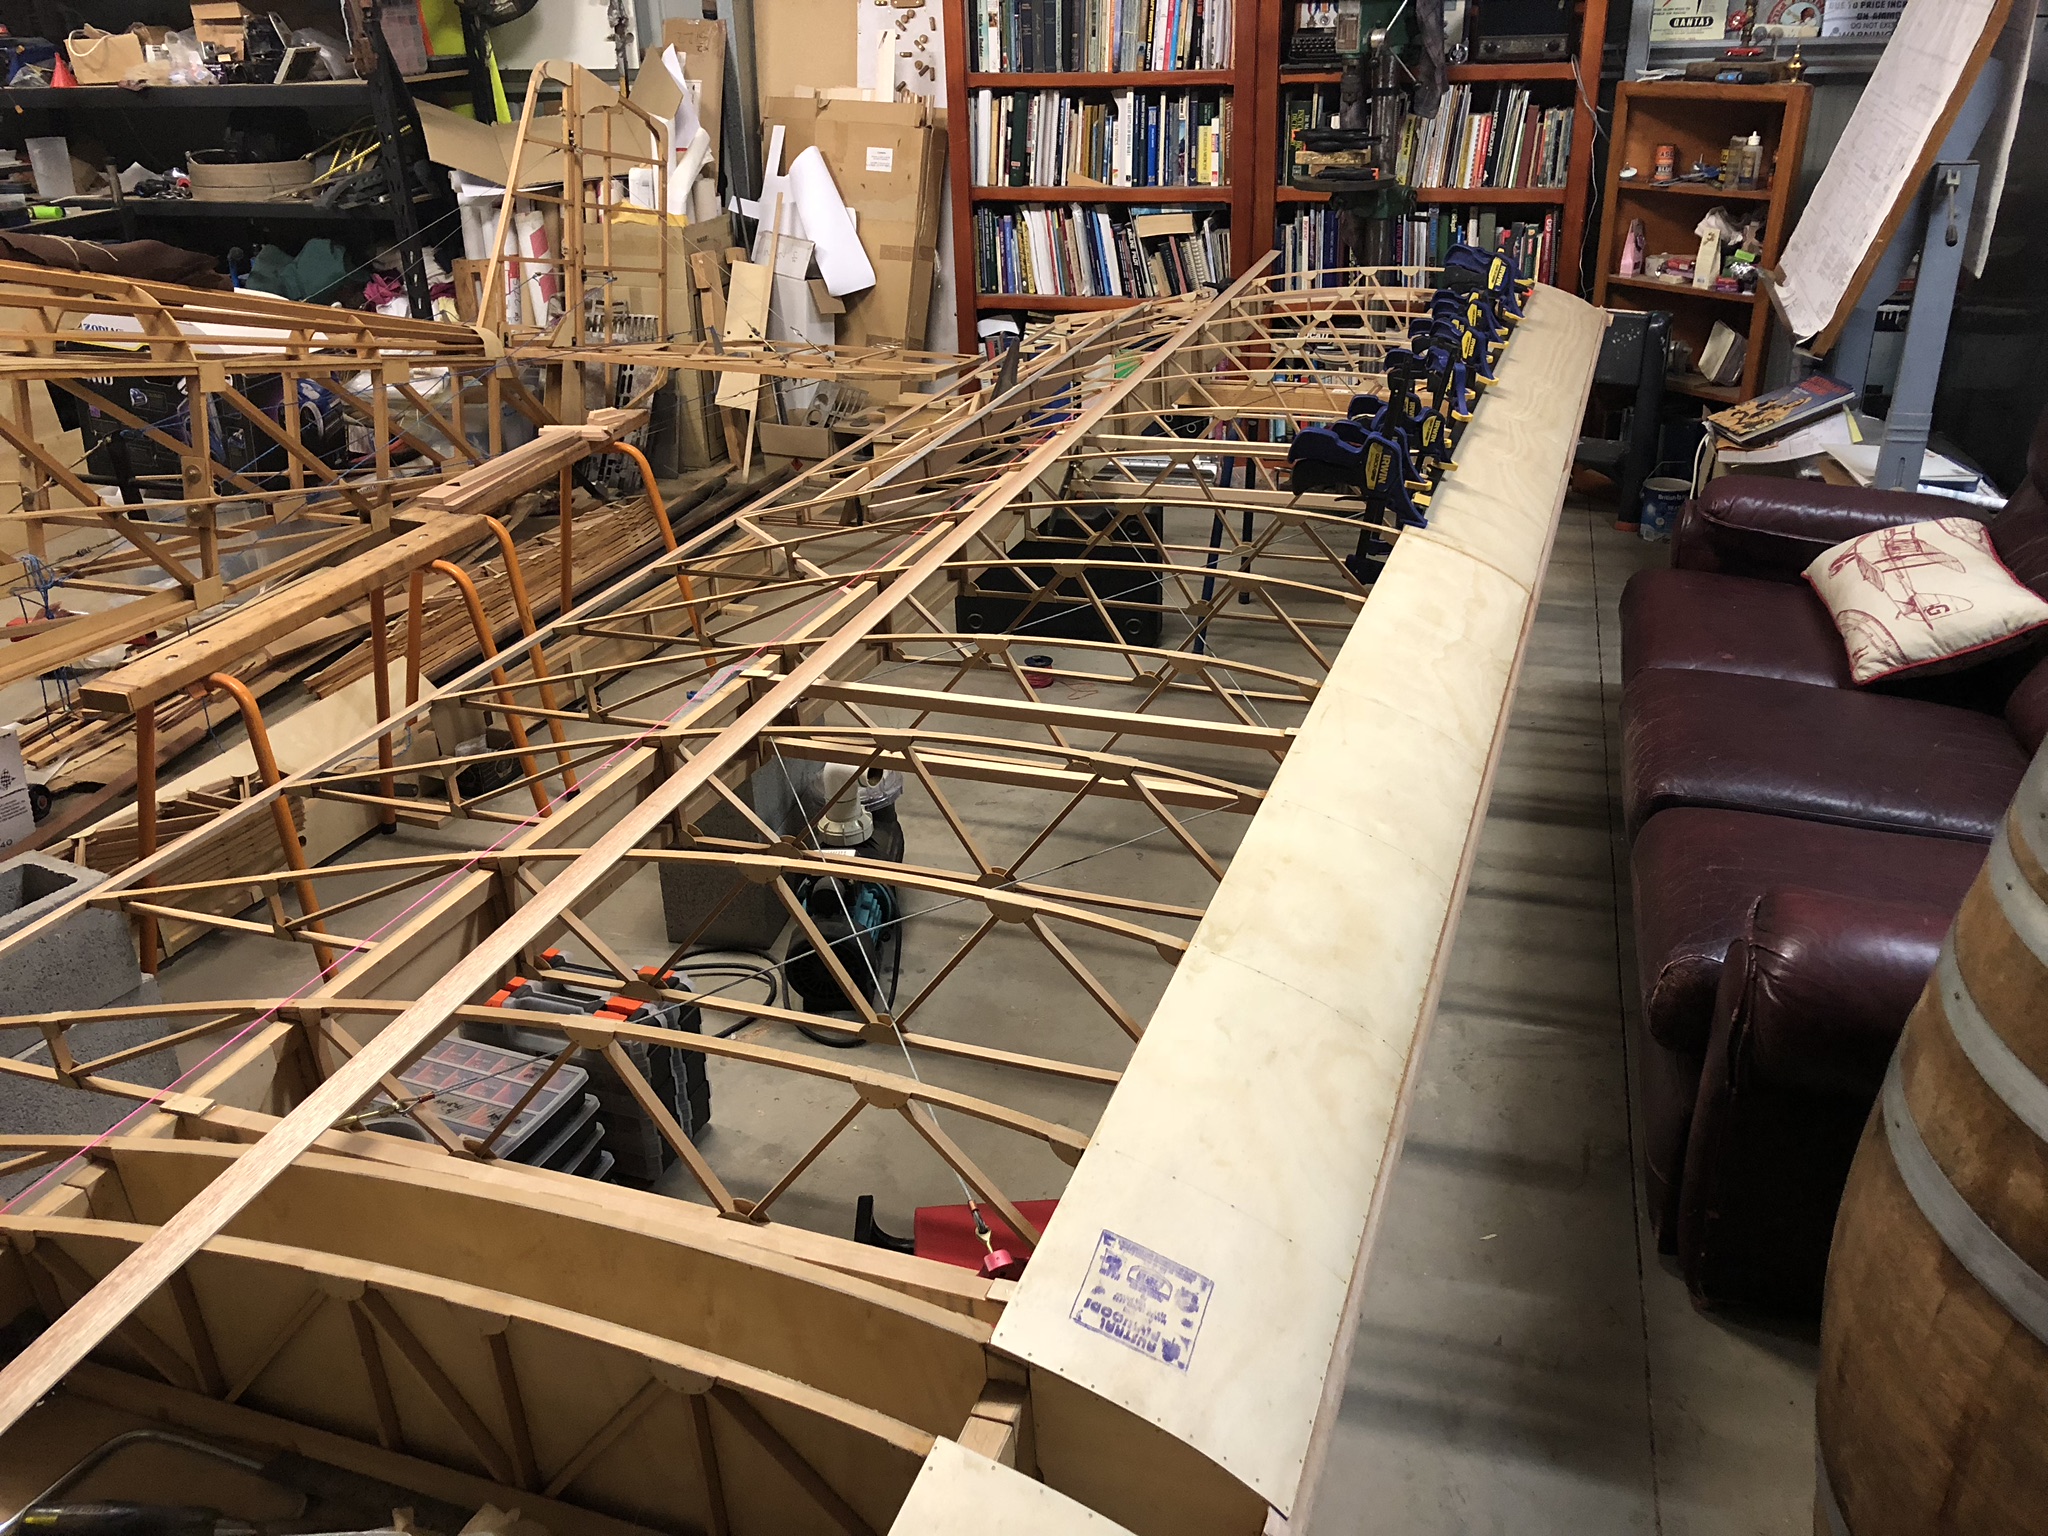
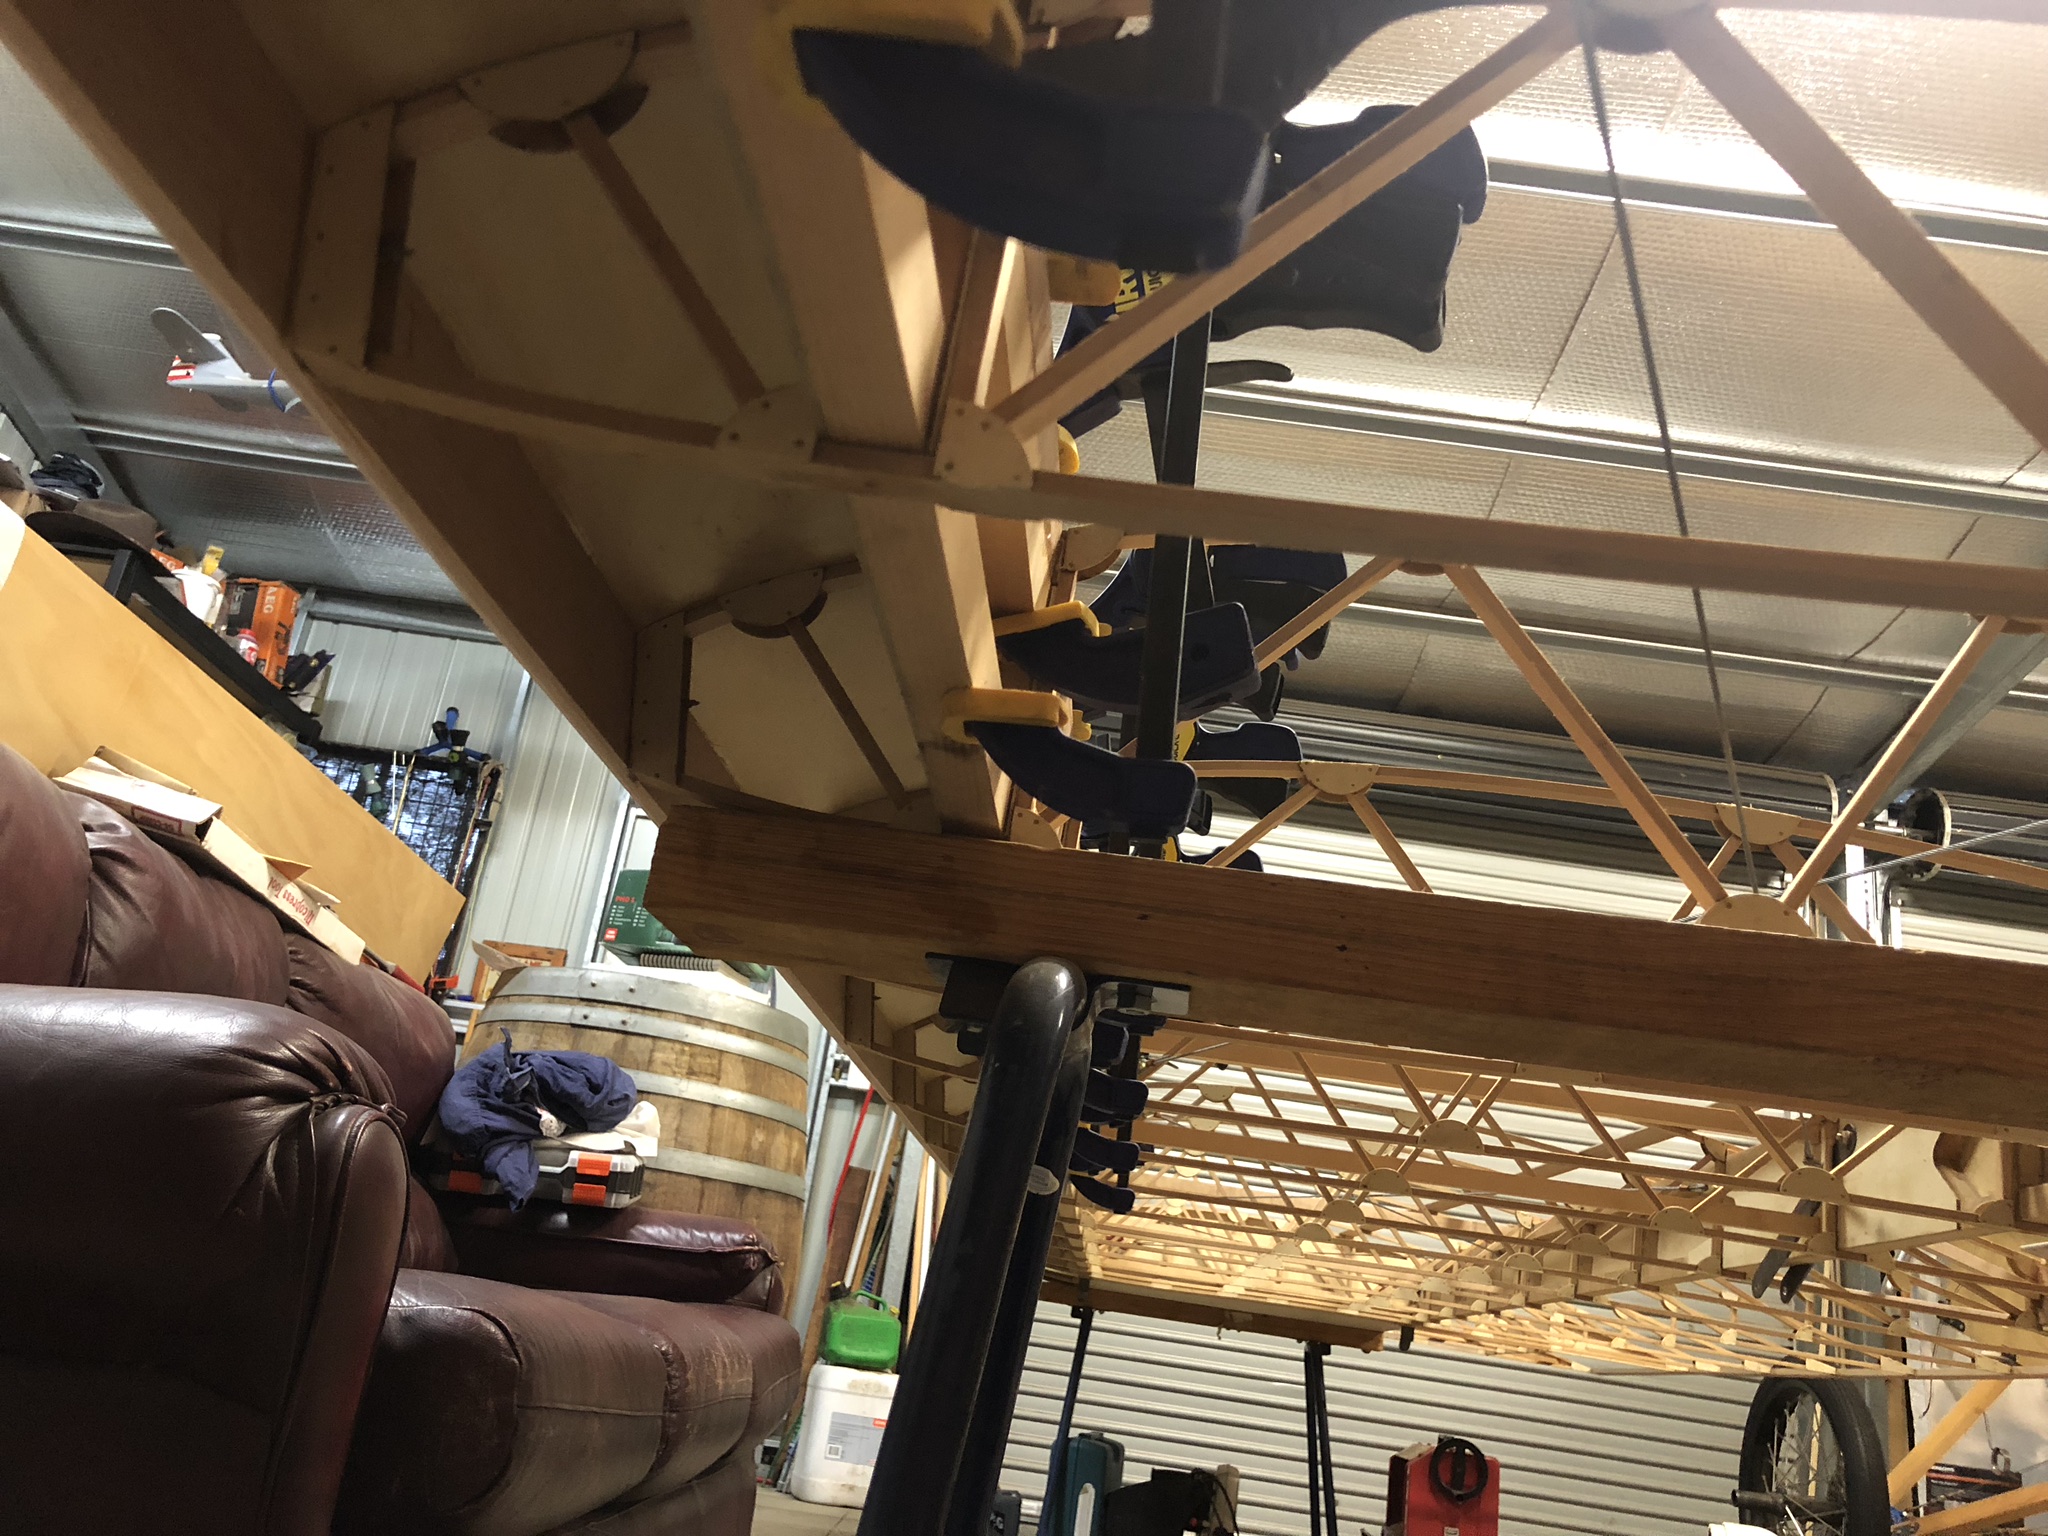
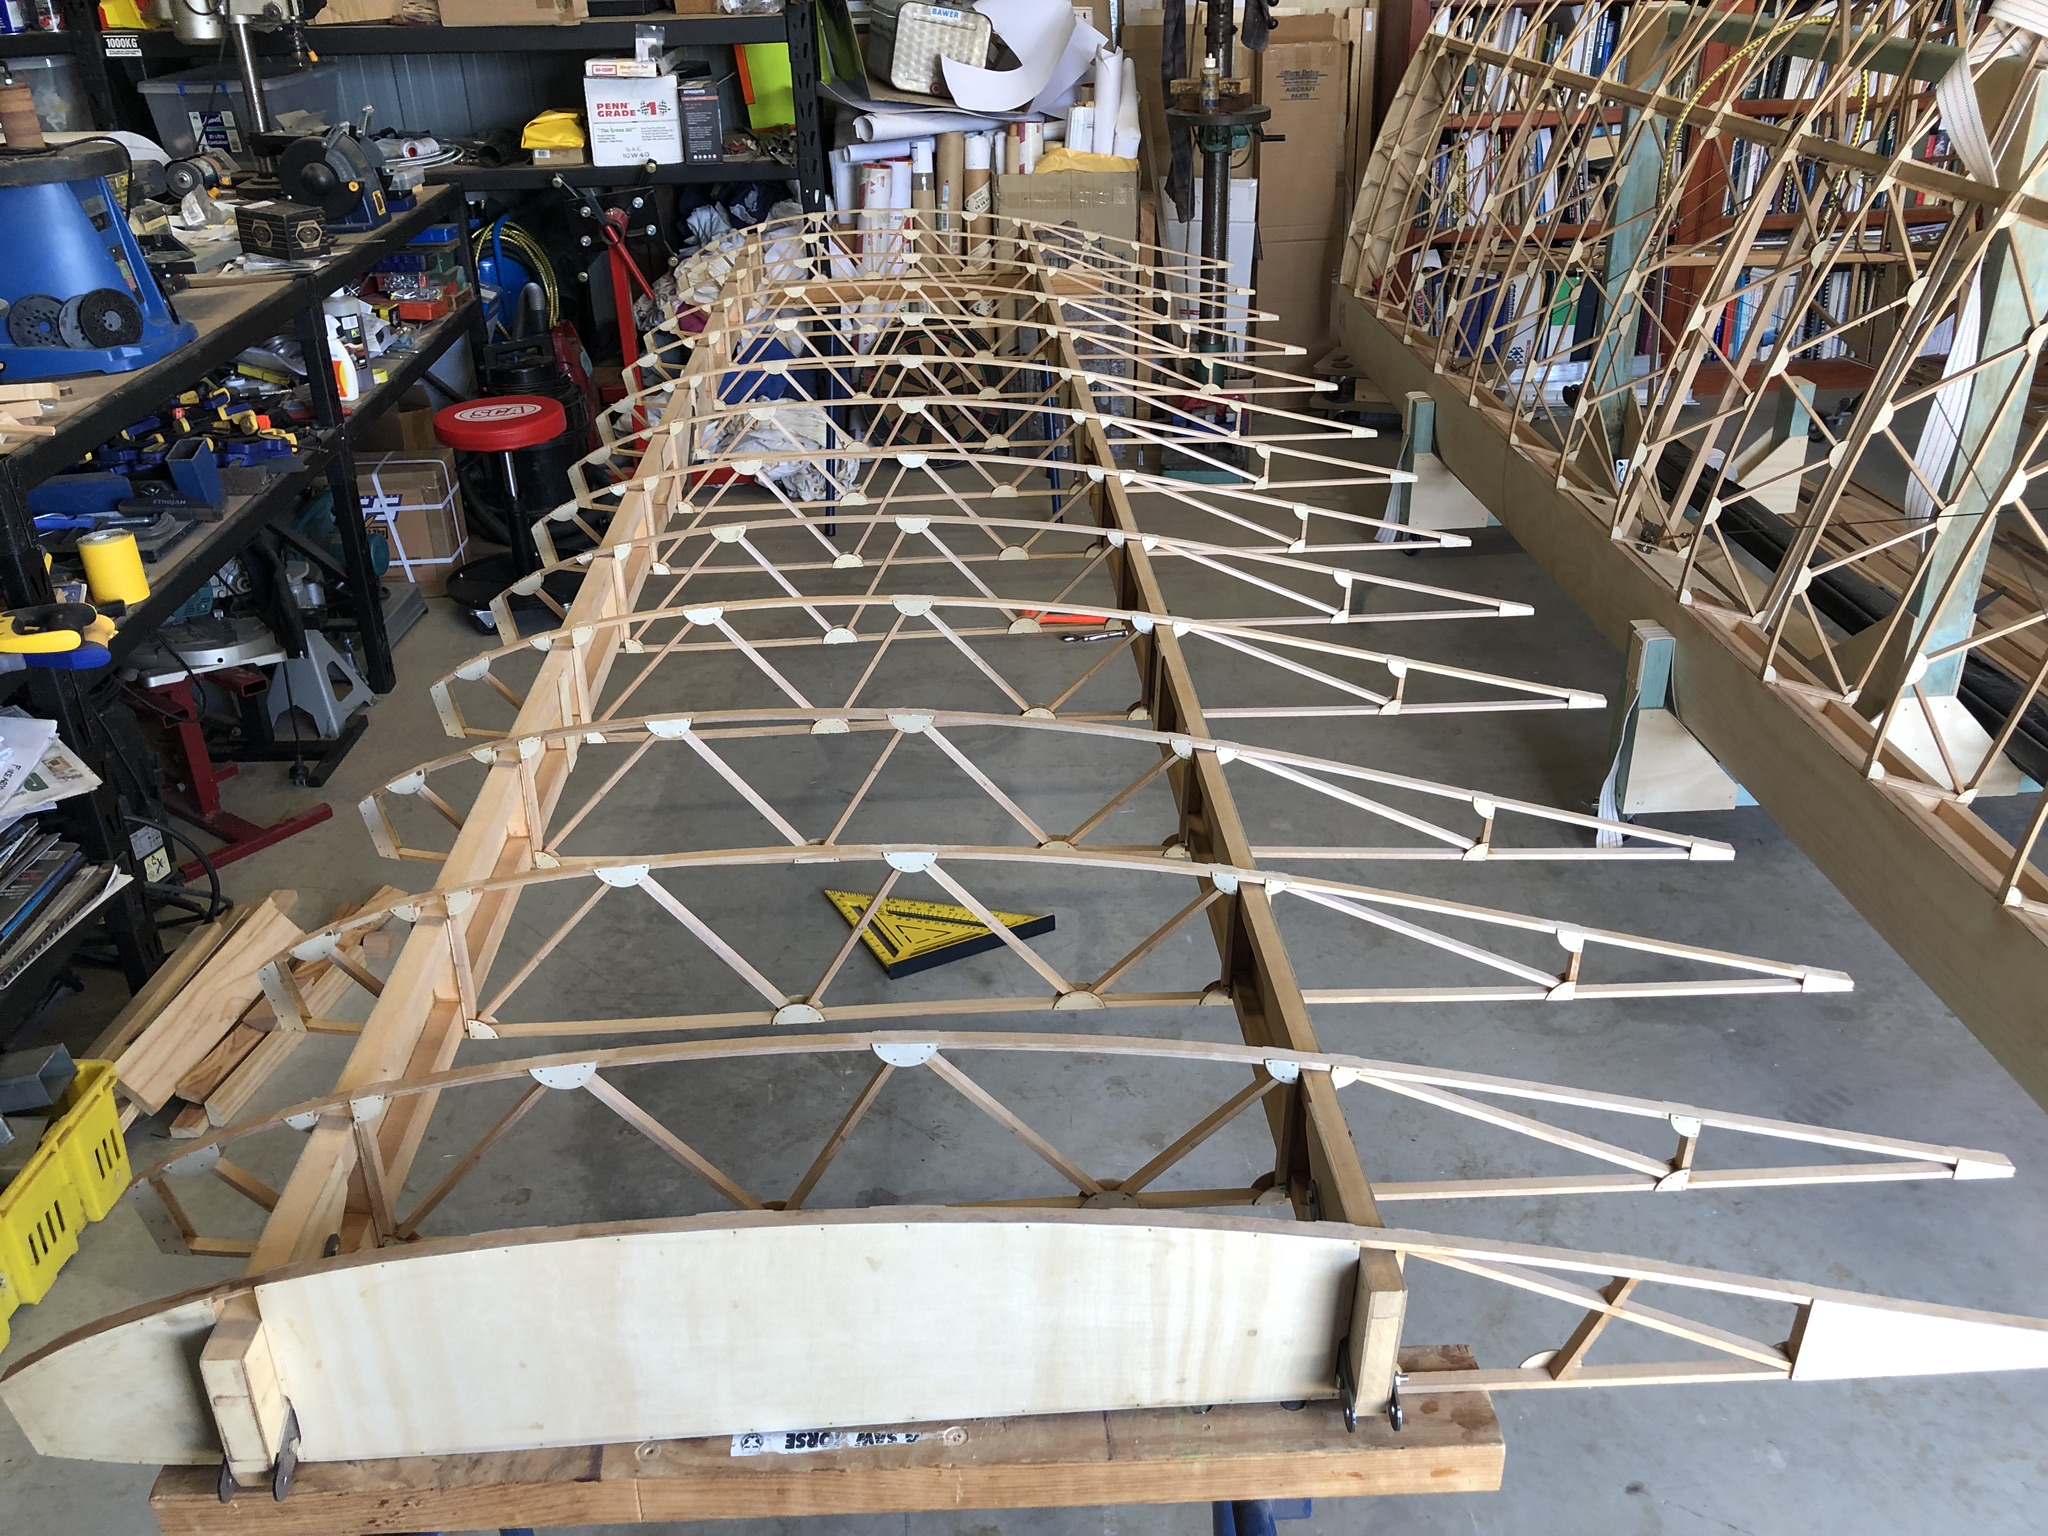
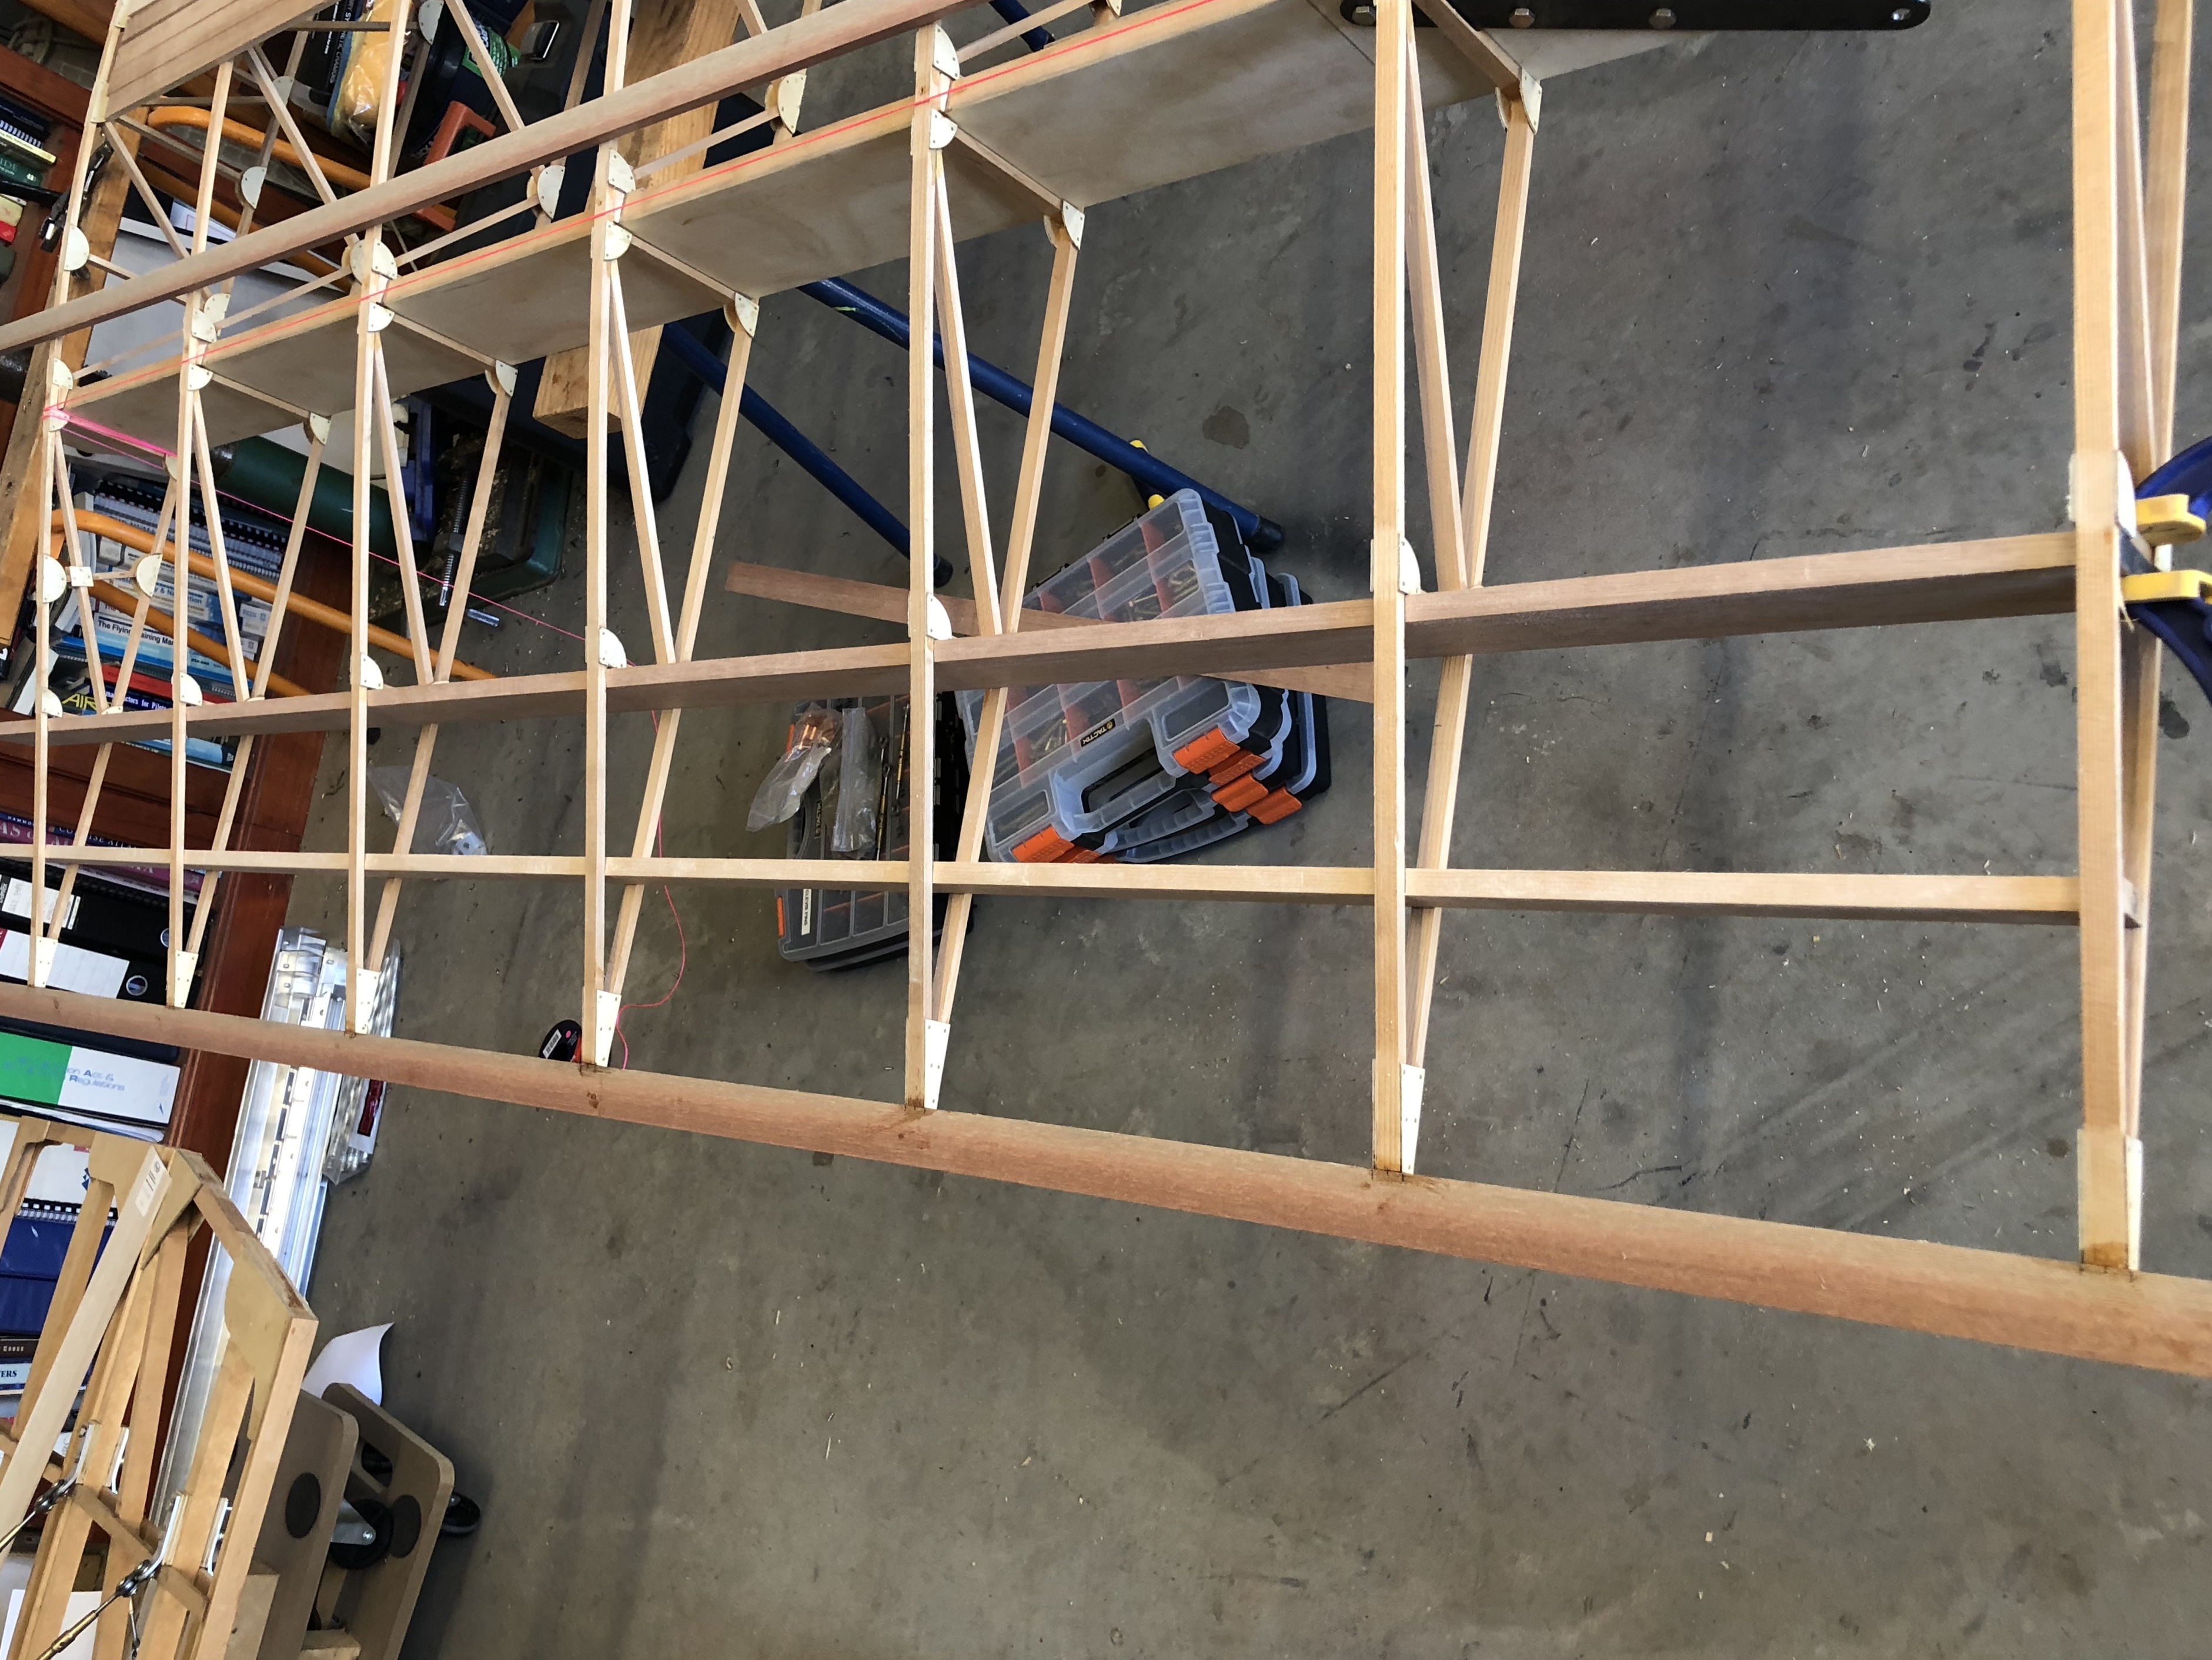
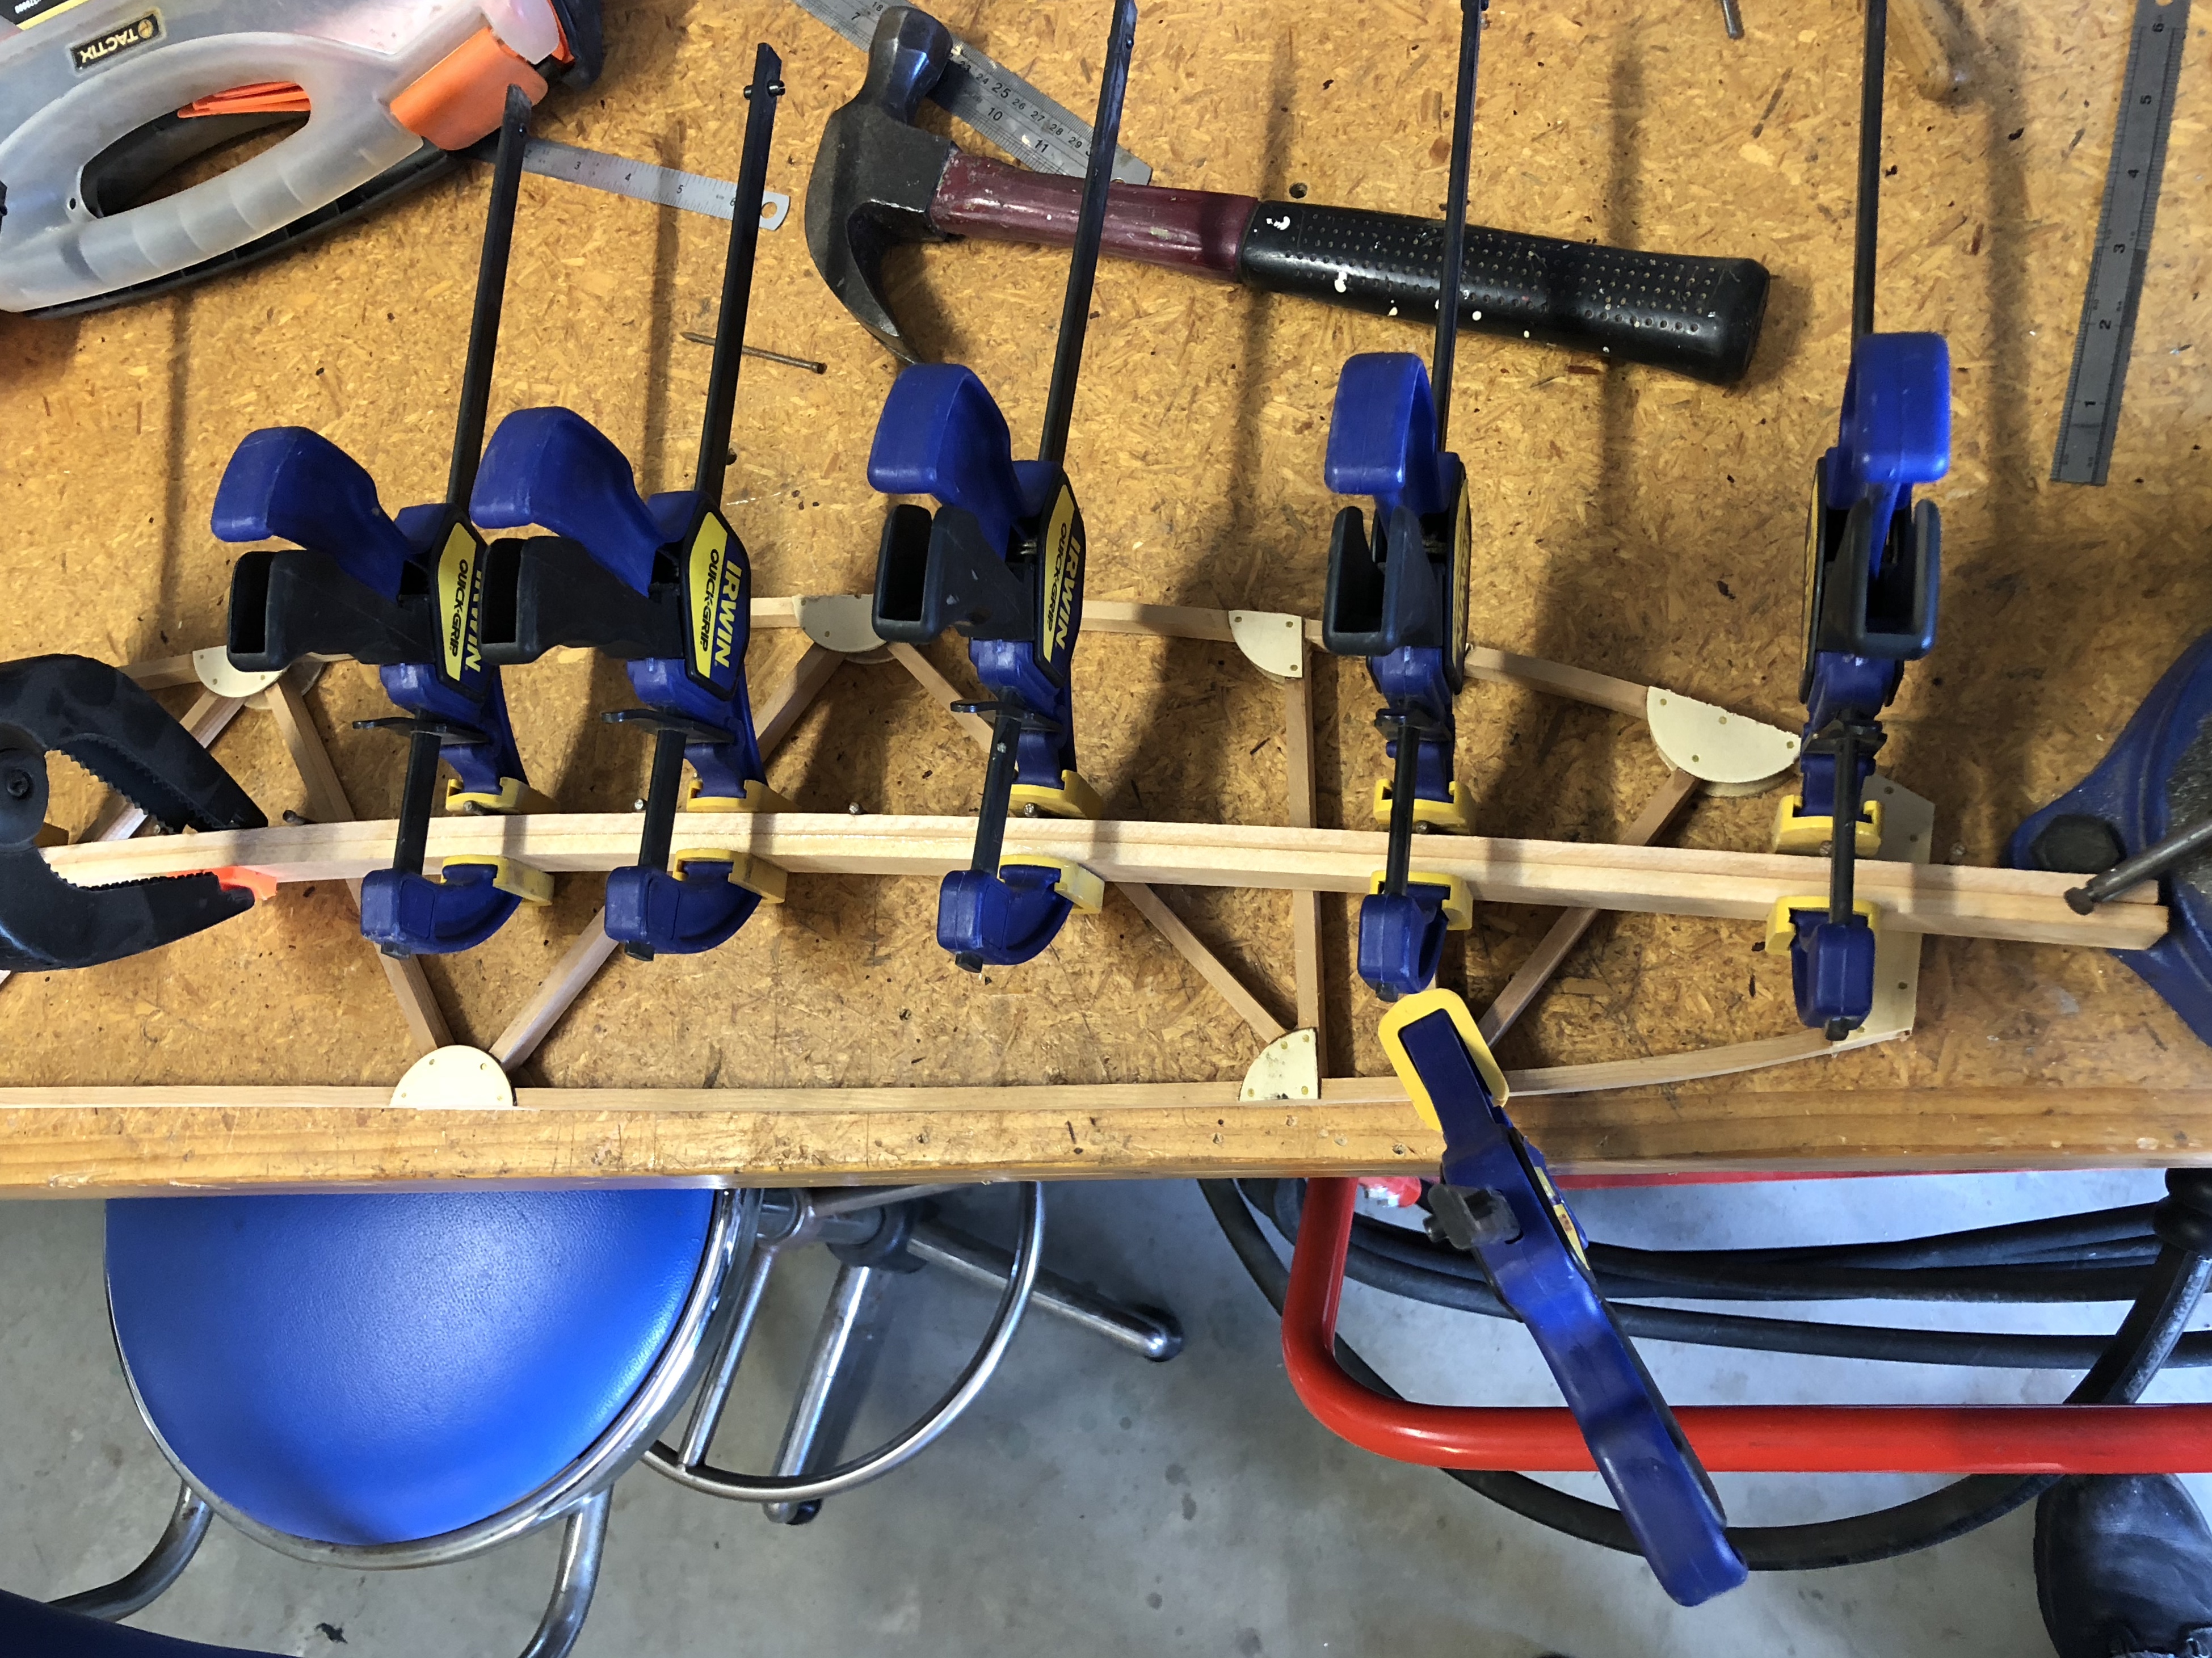
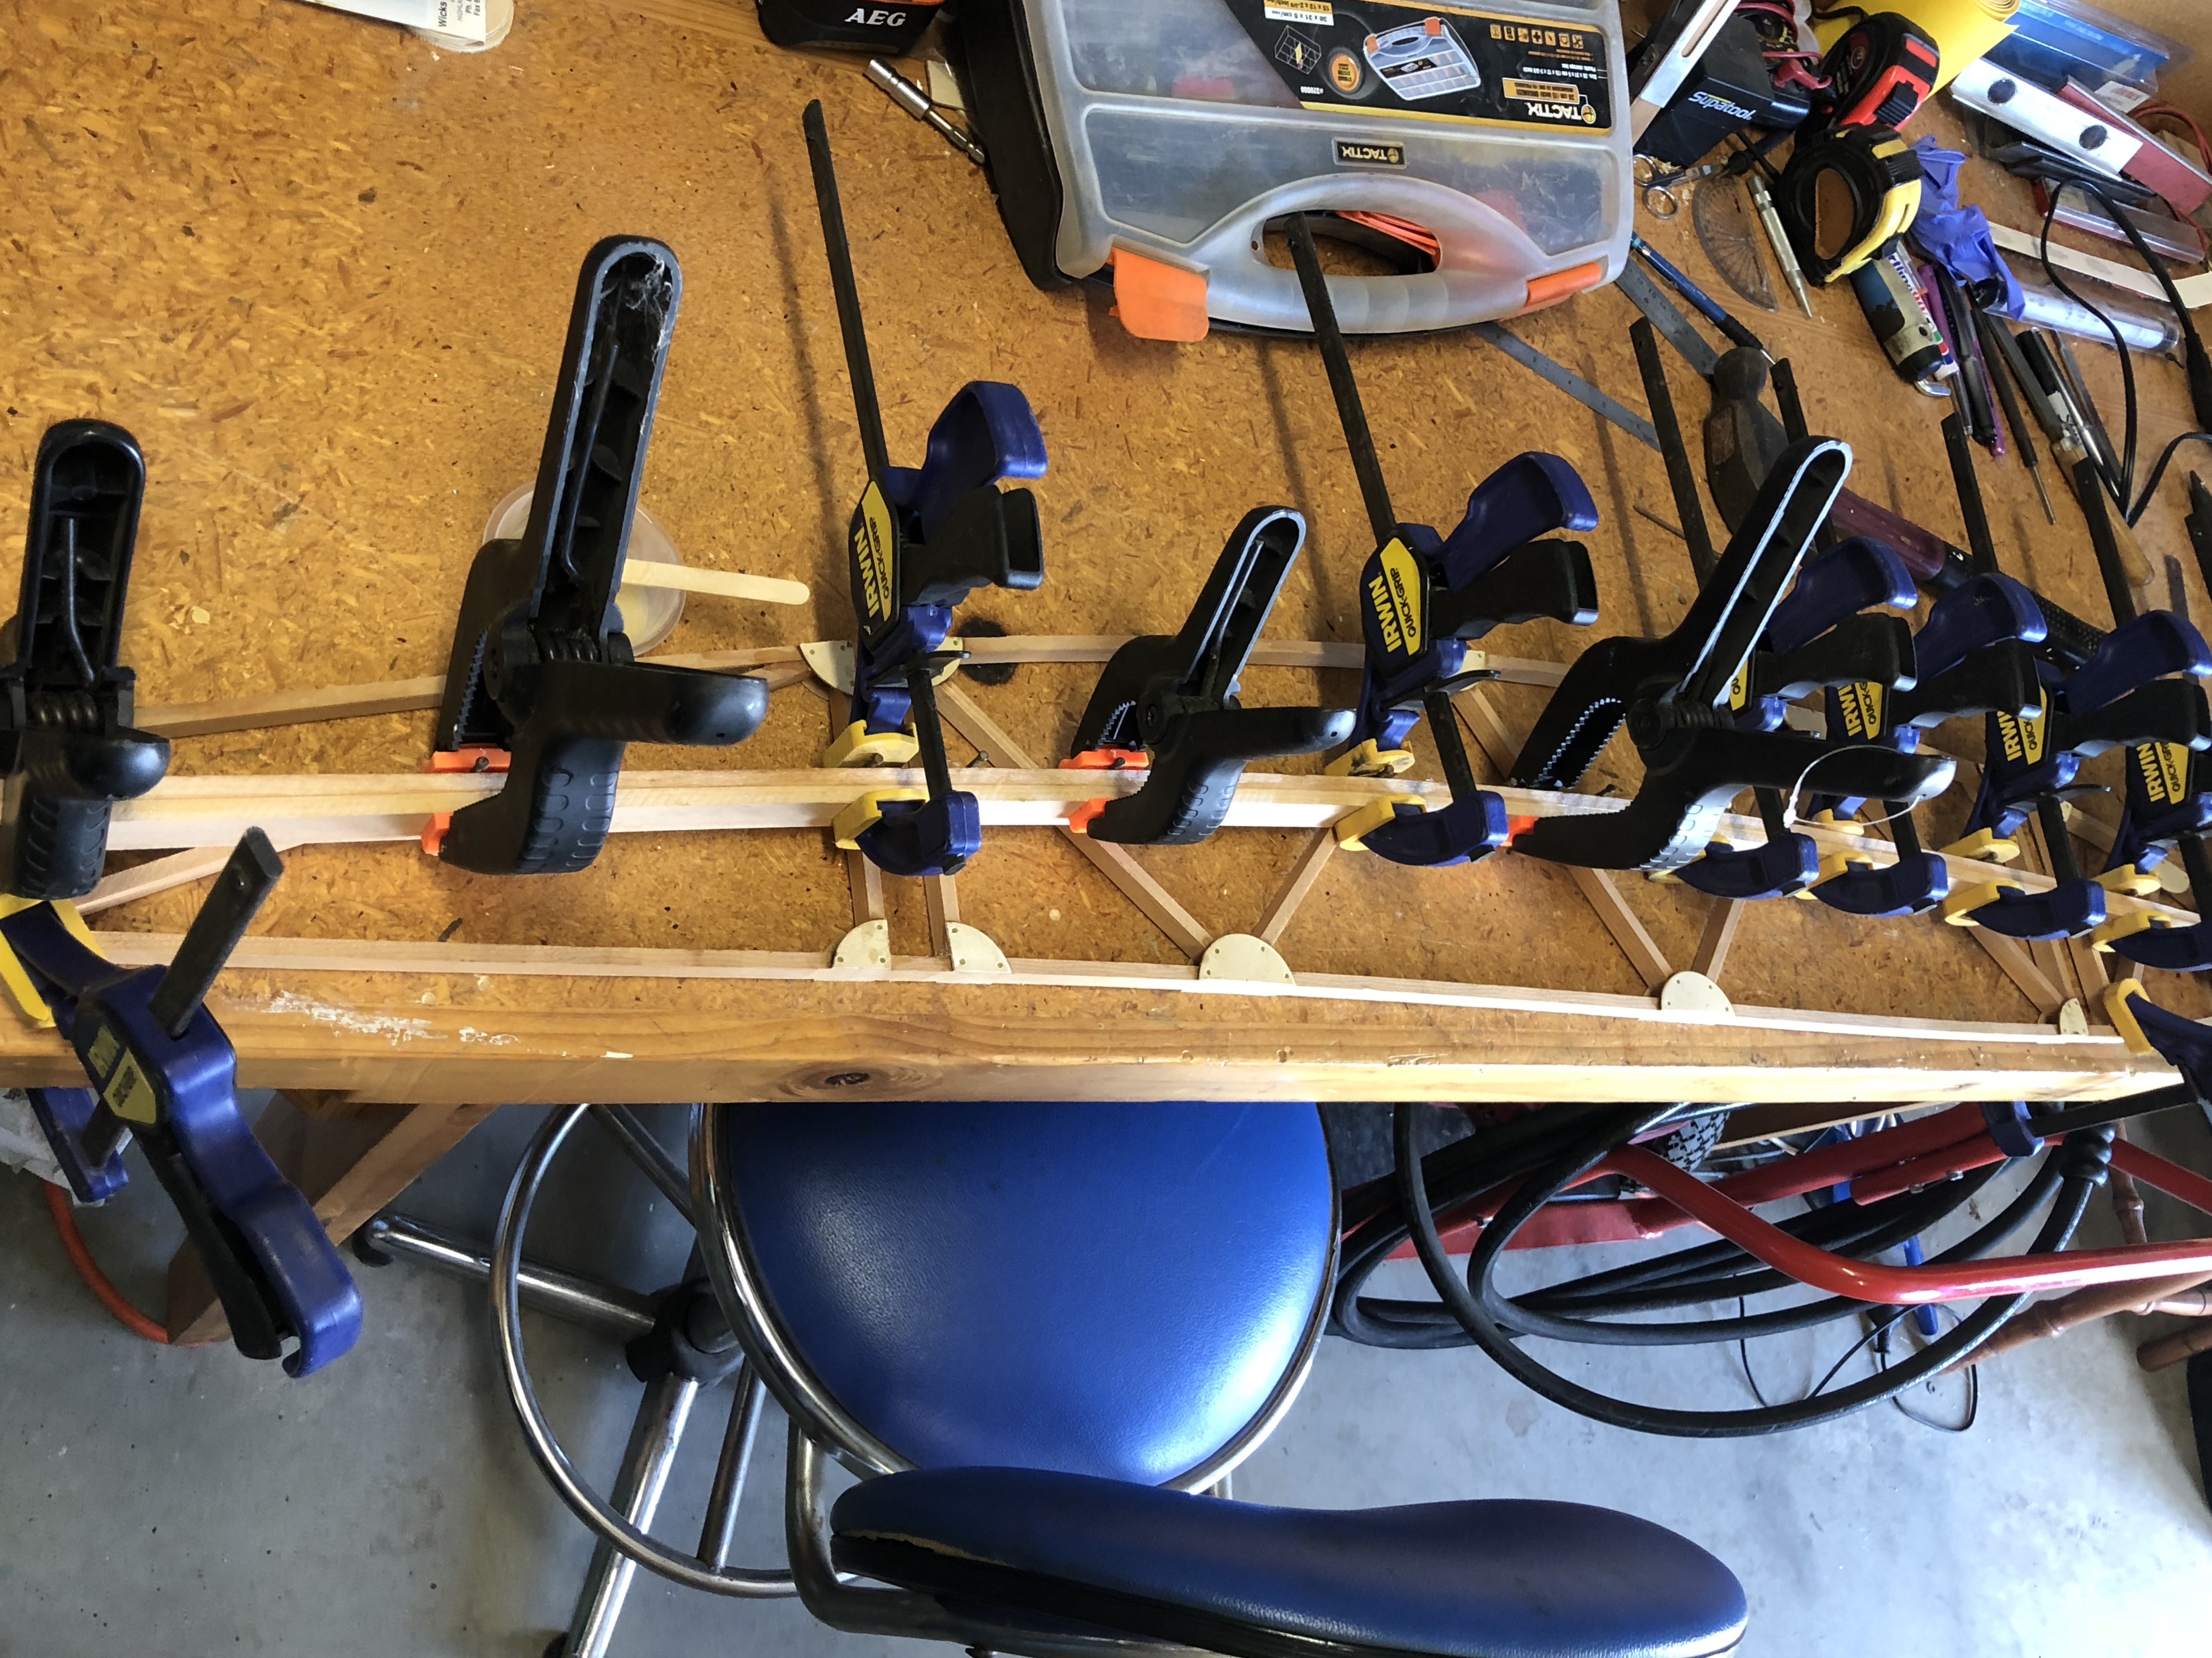
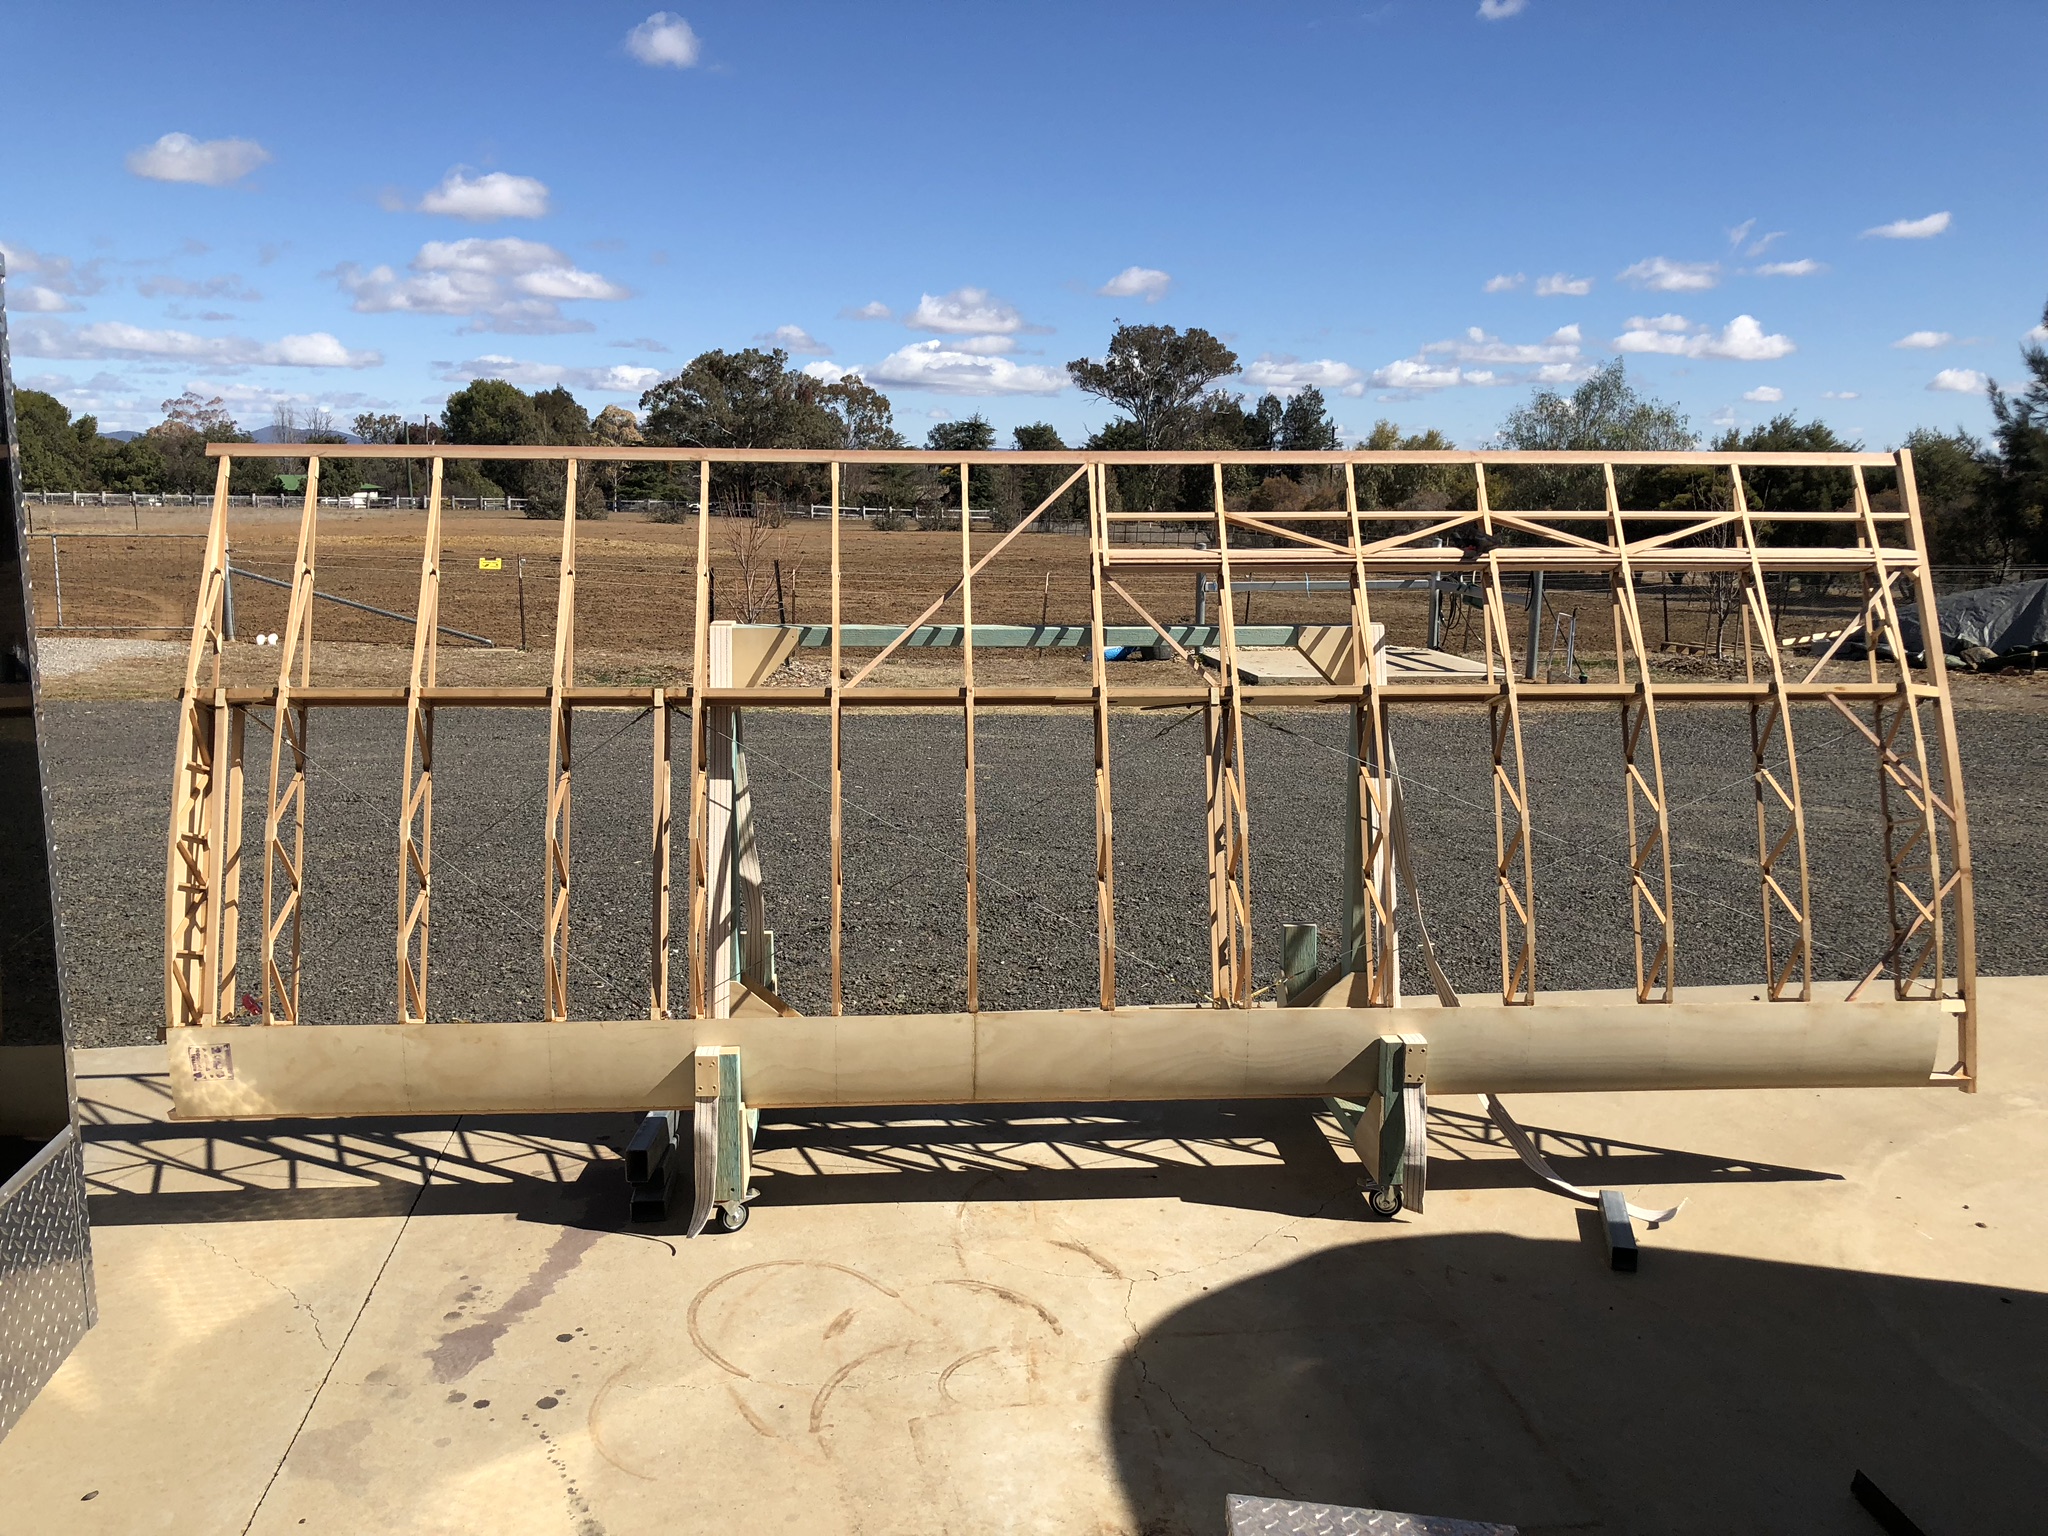
Assembly of the left wing section...
.jpg)
.jpg)


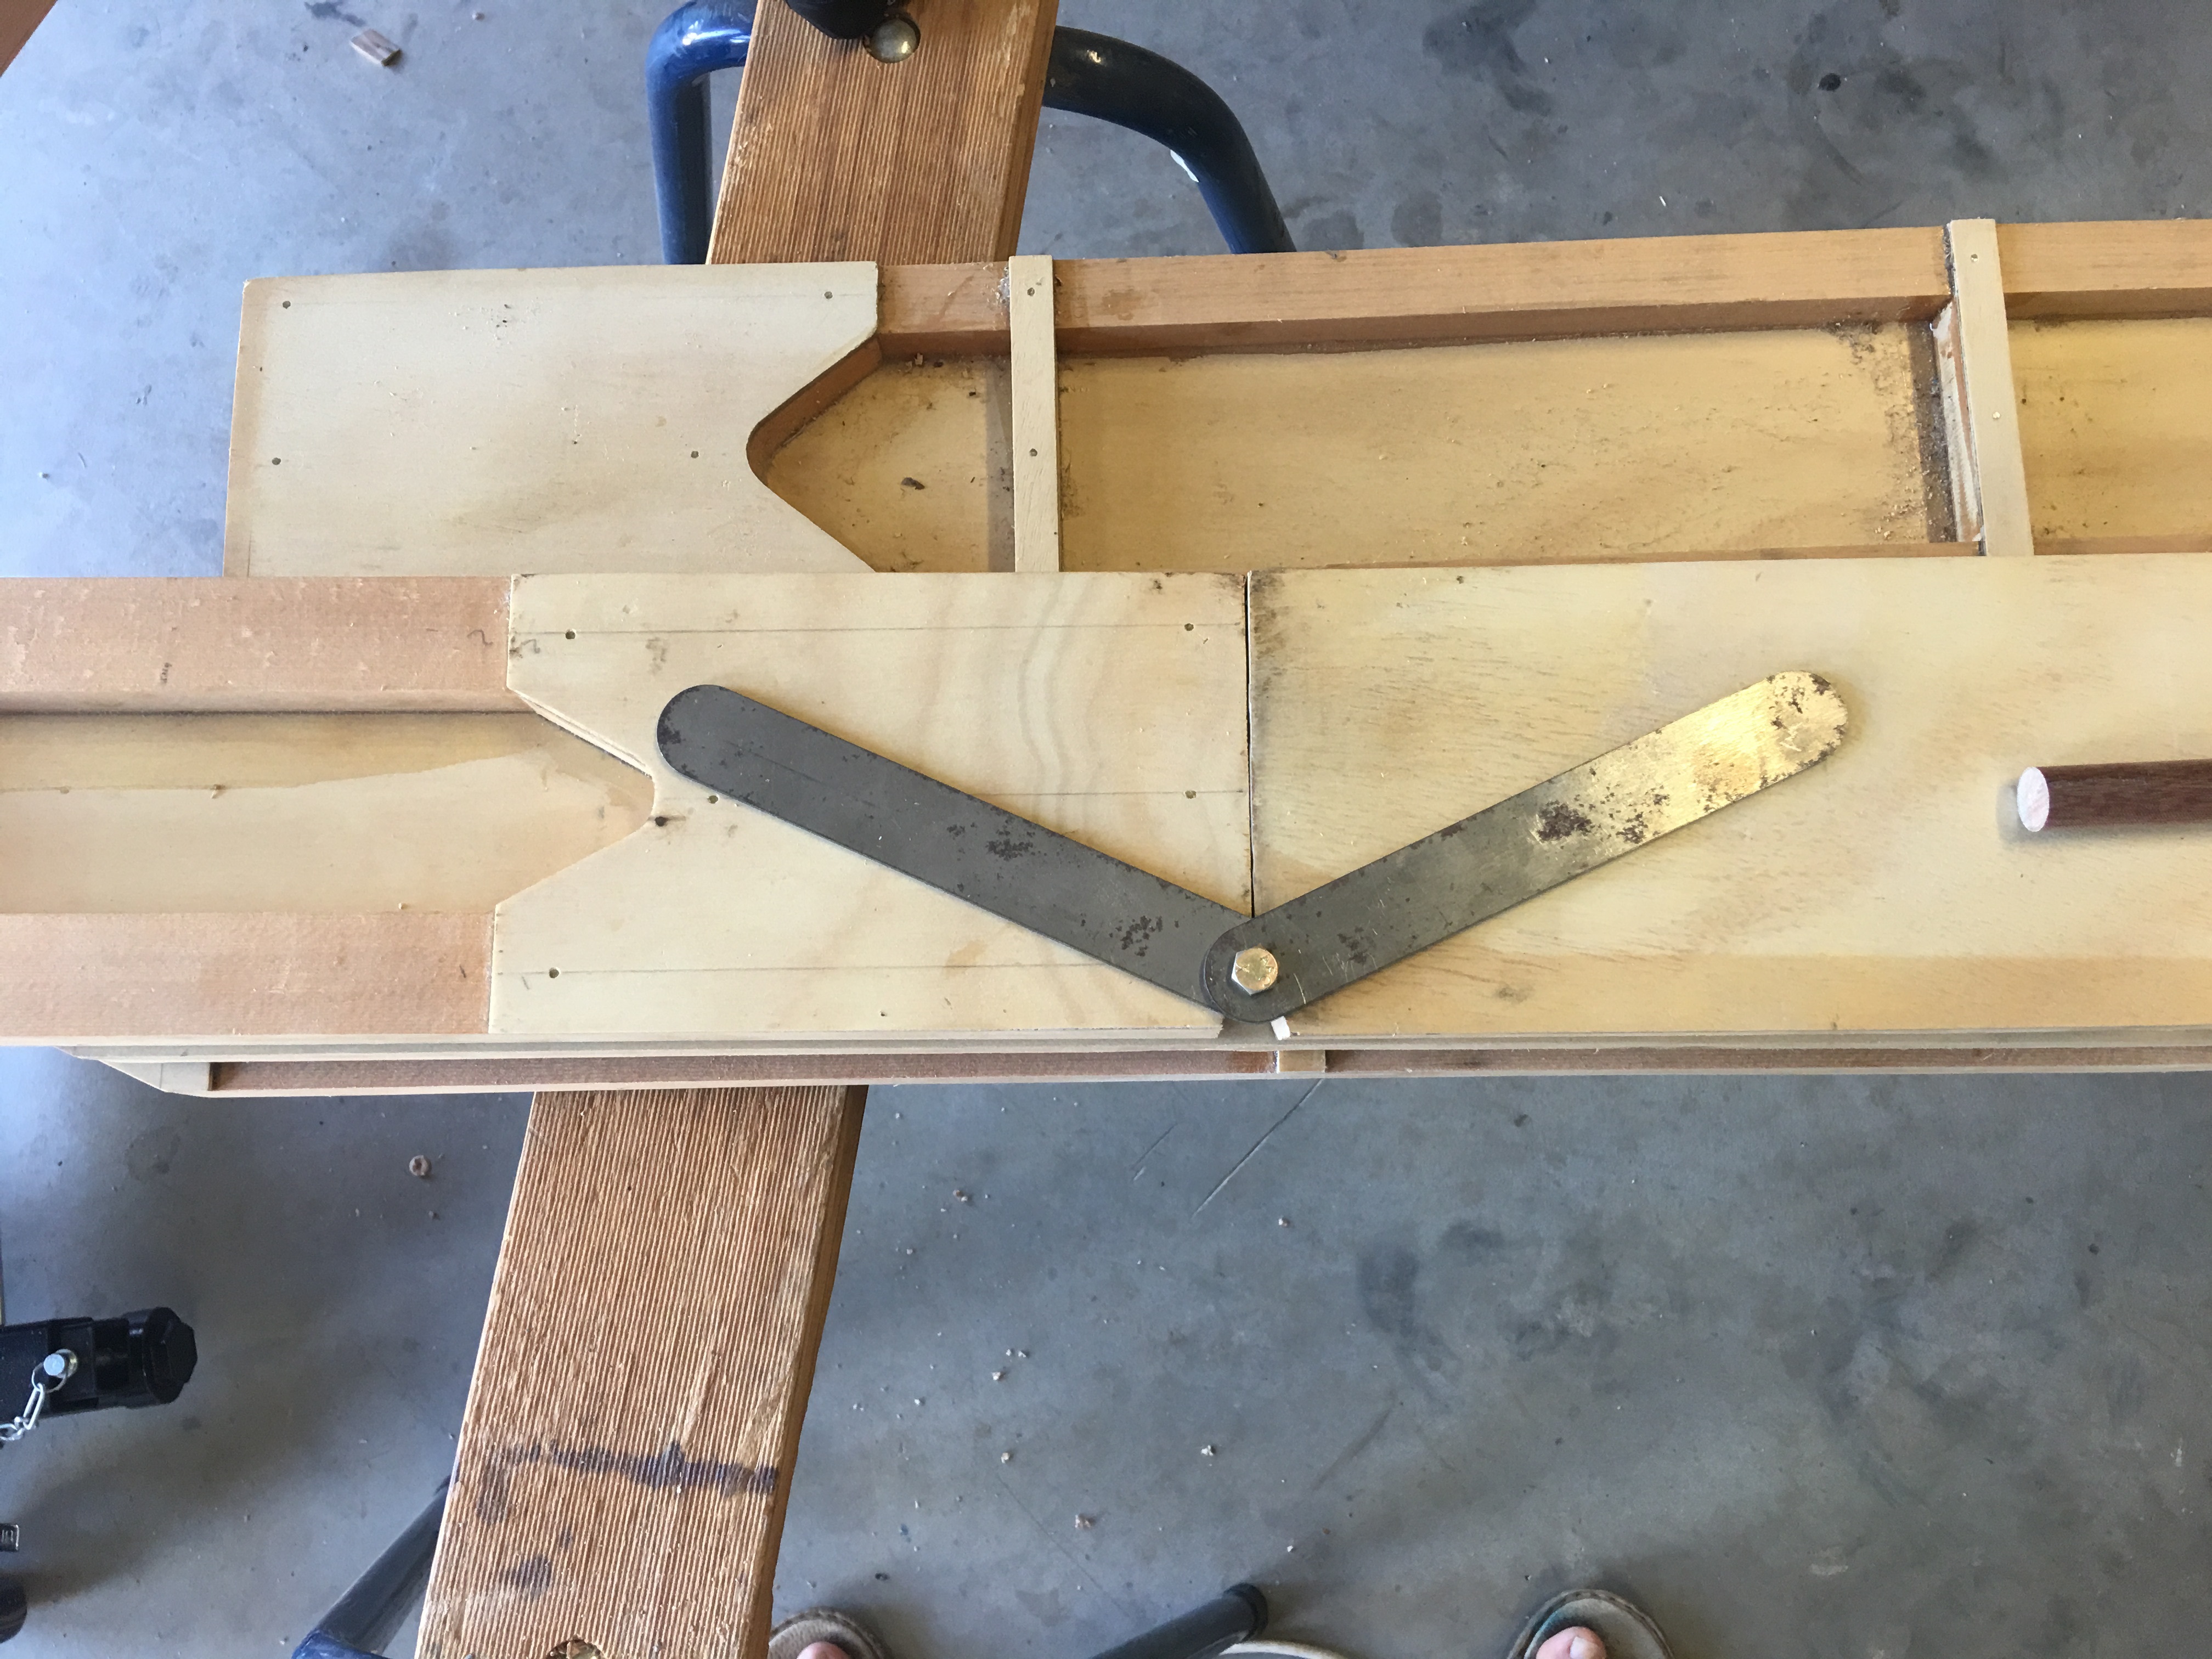
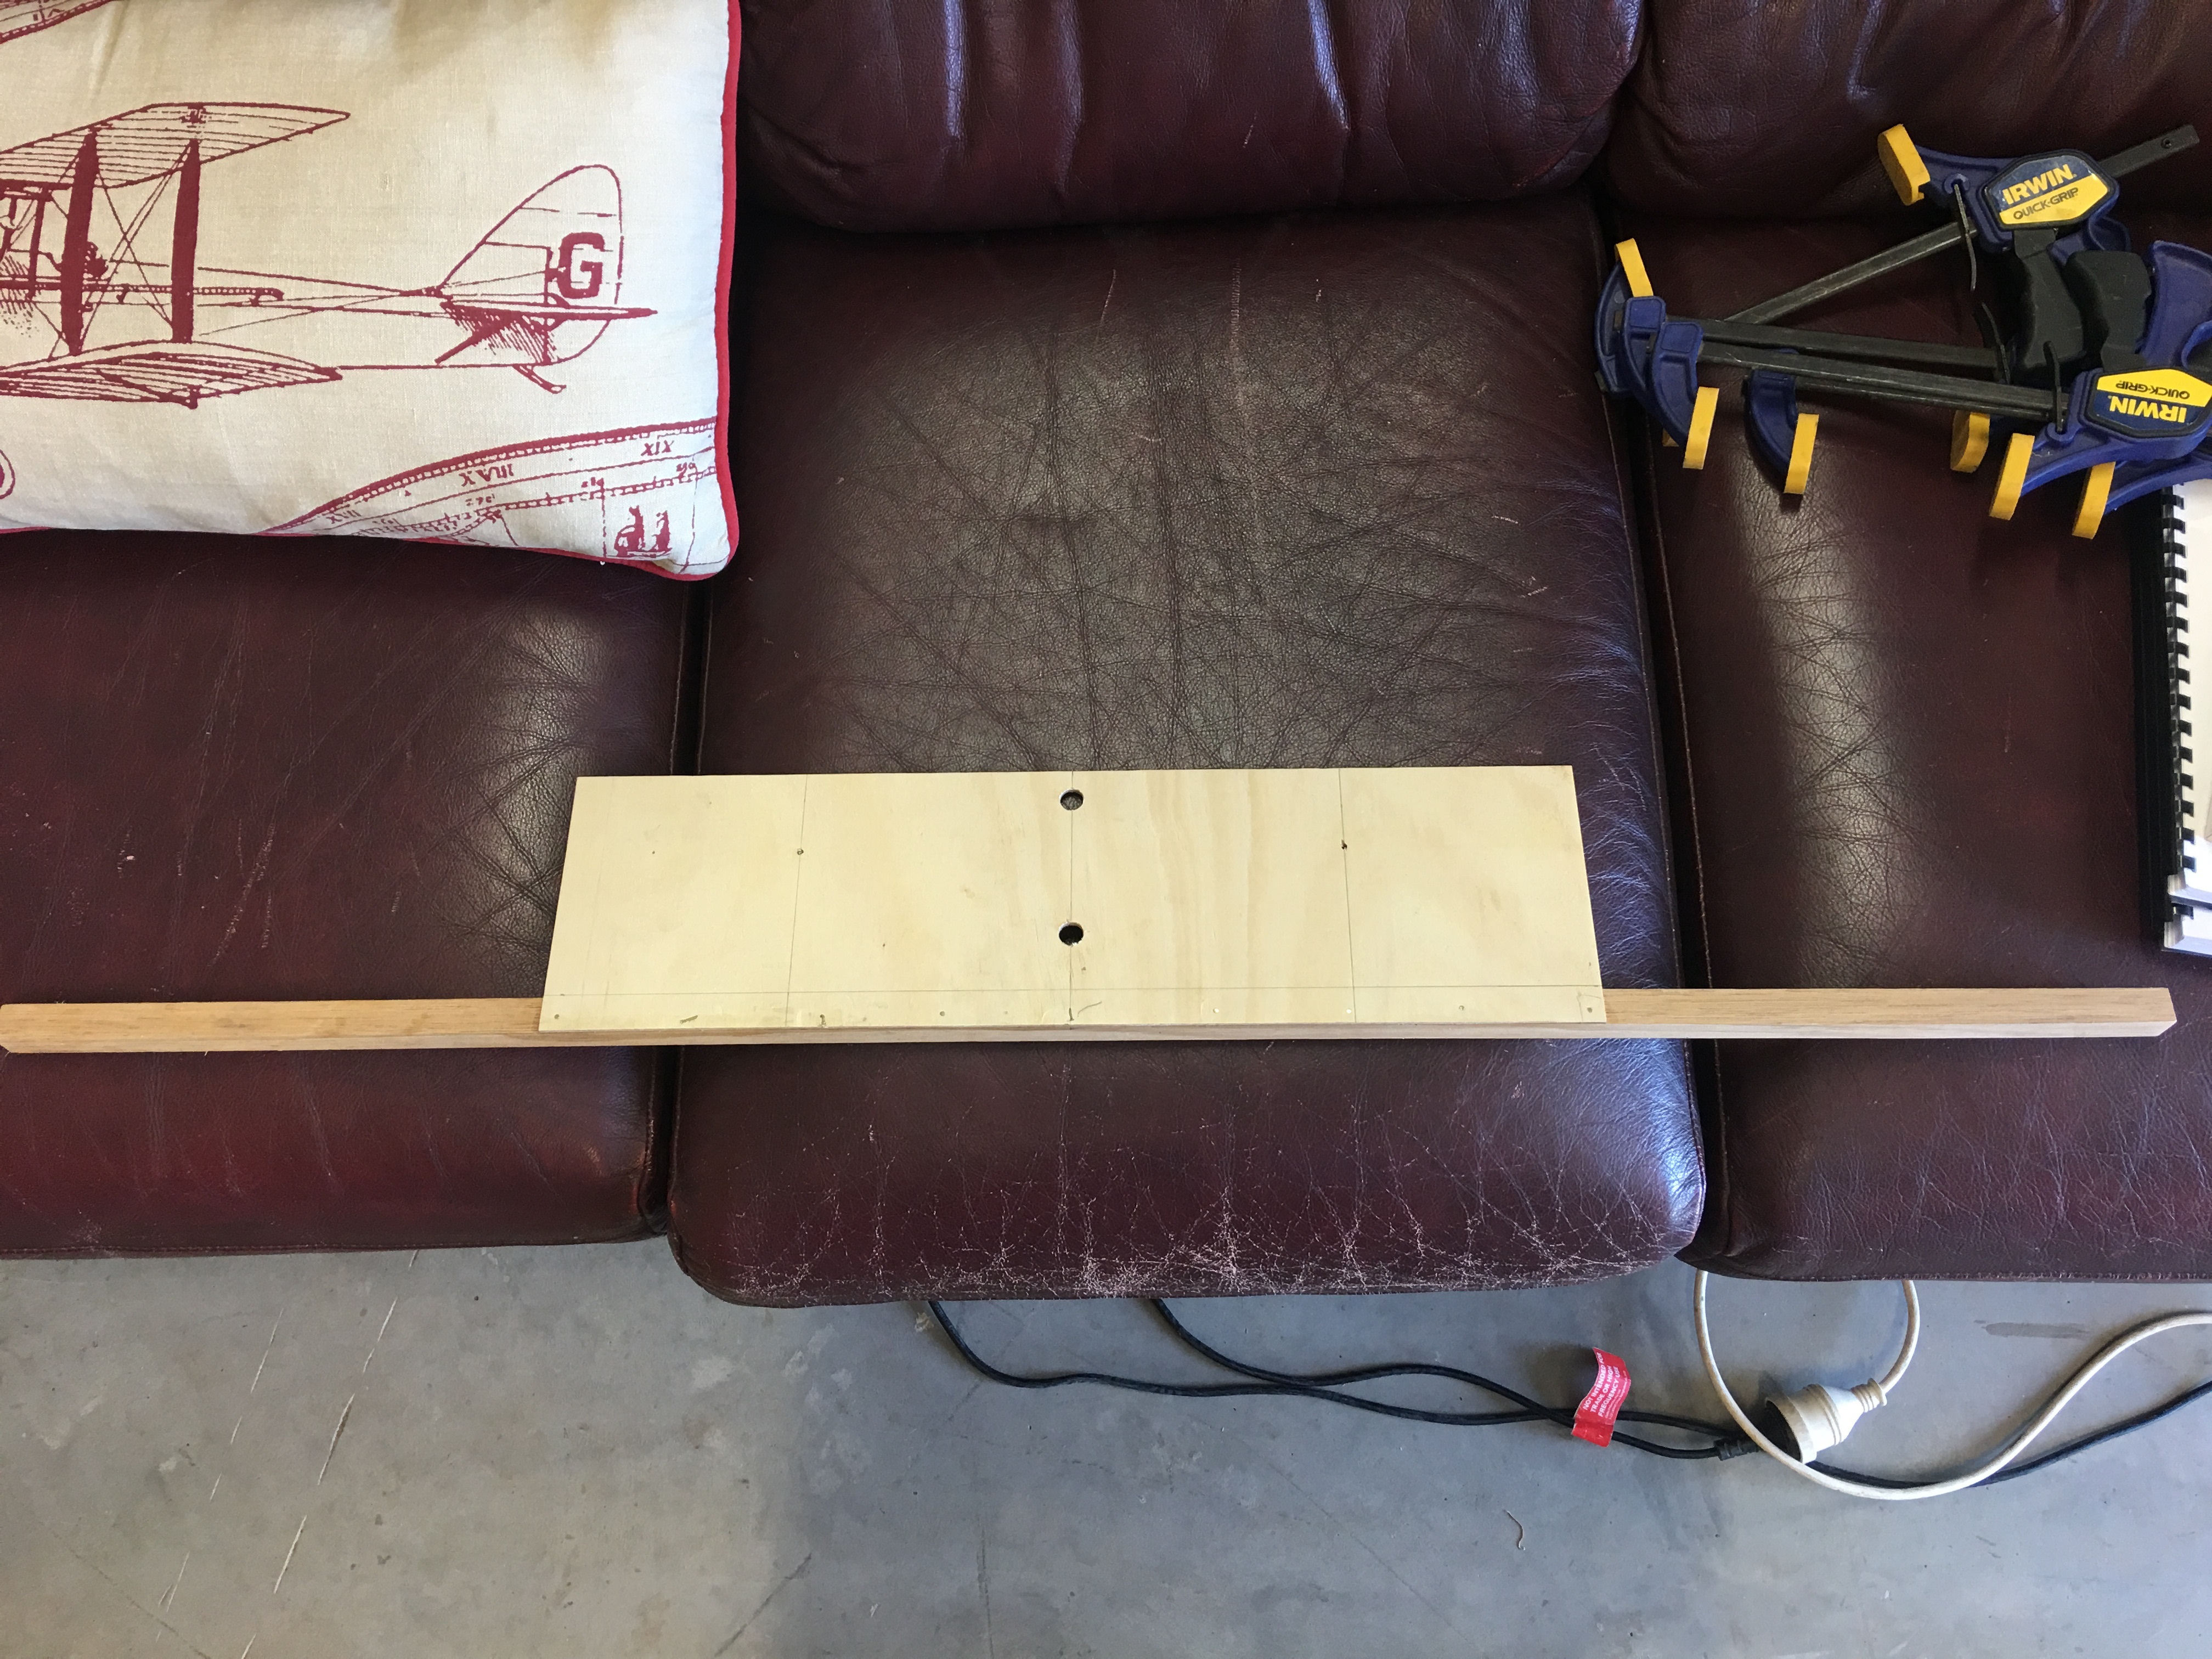
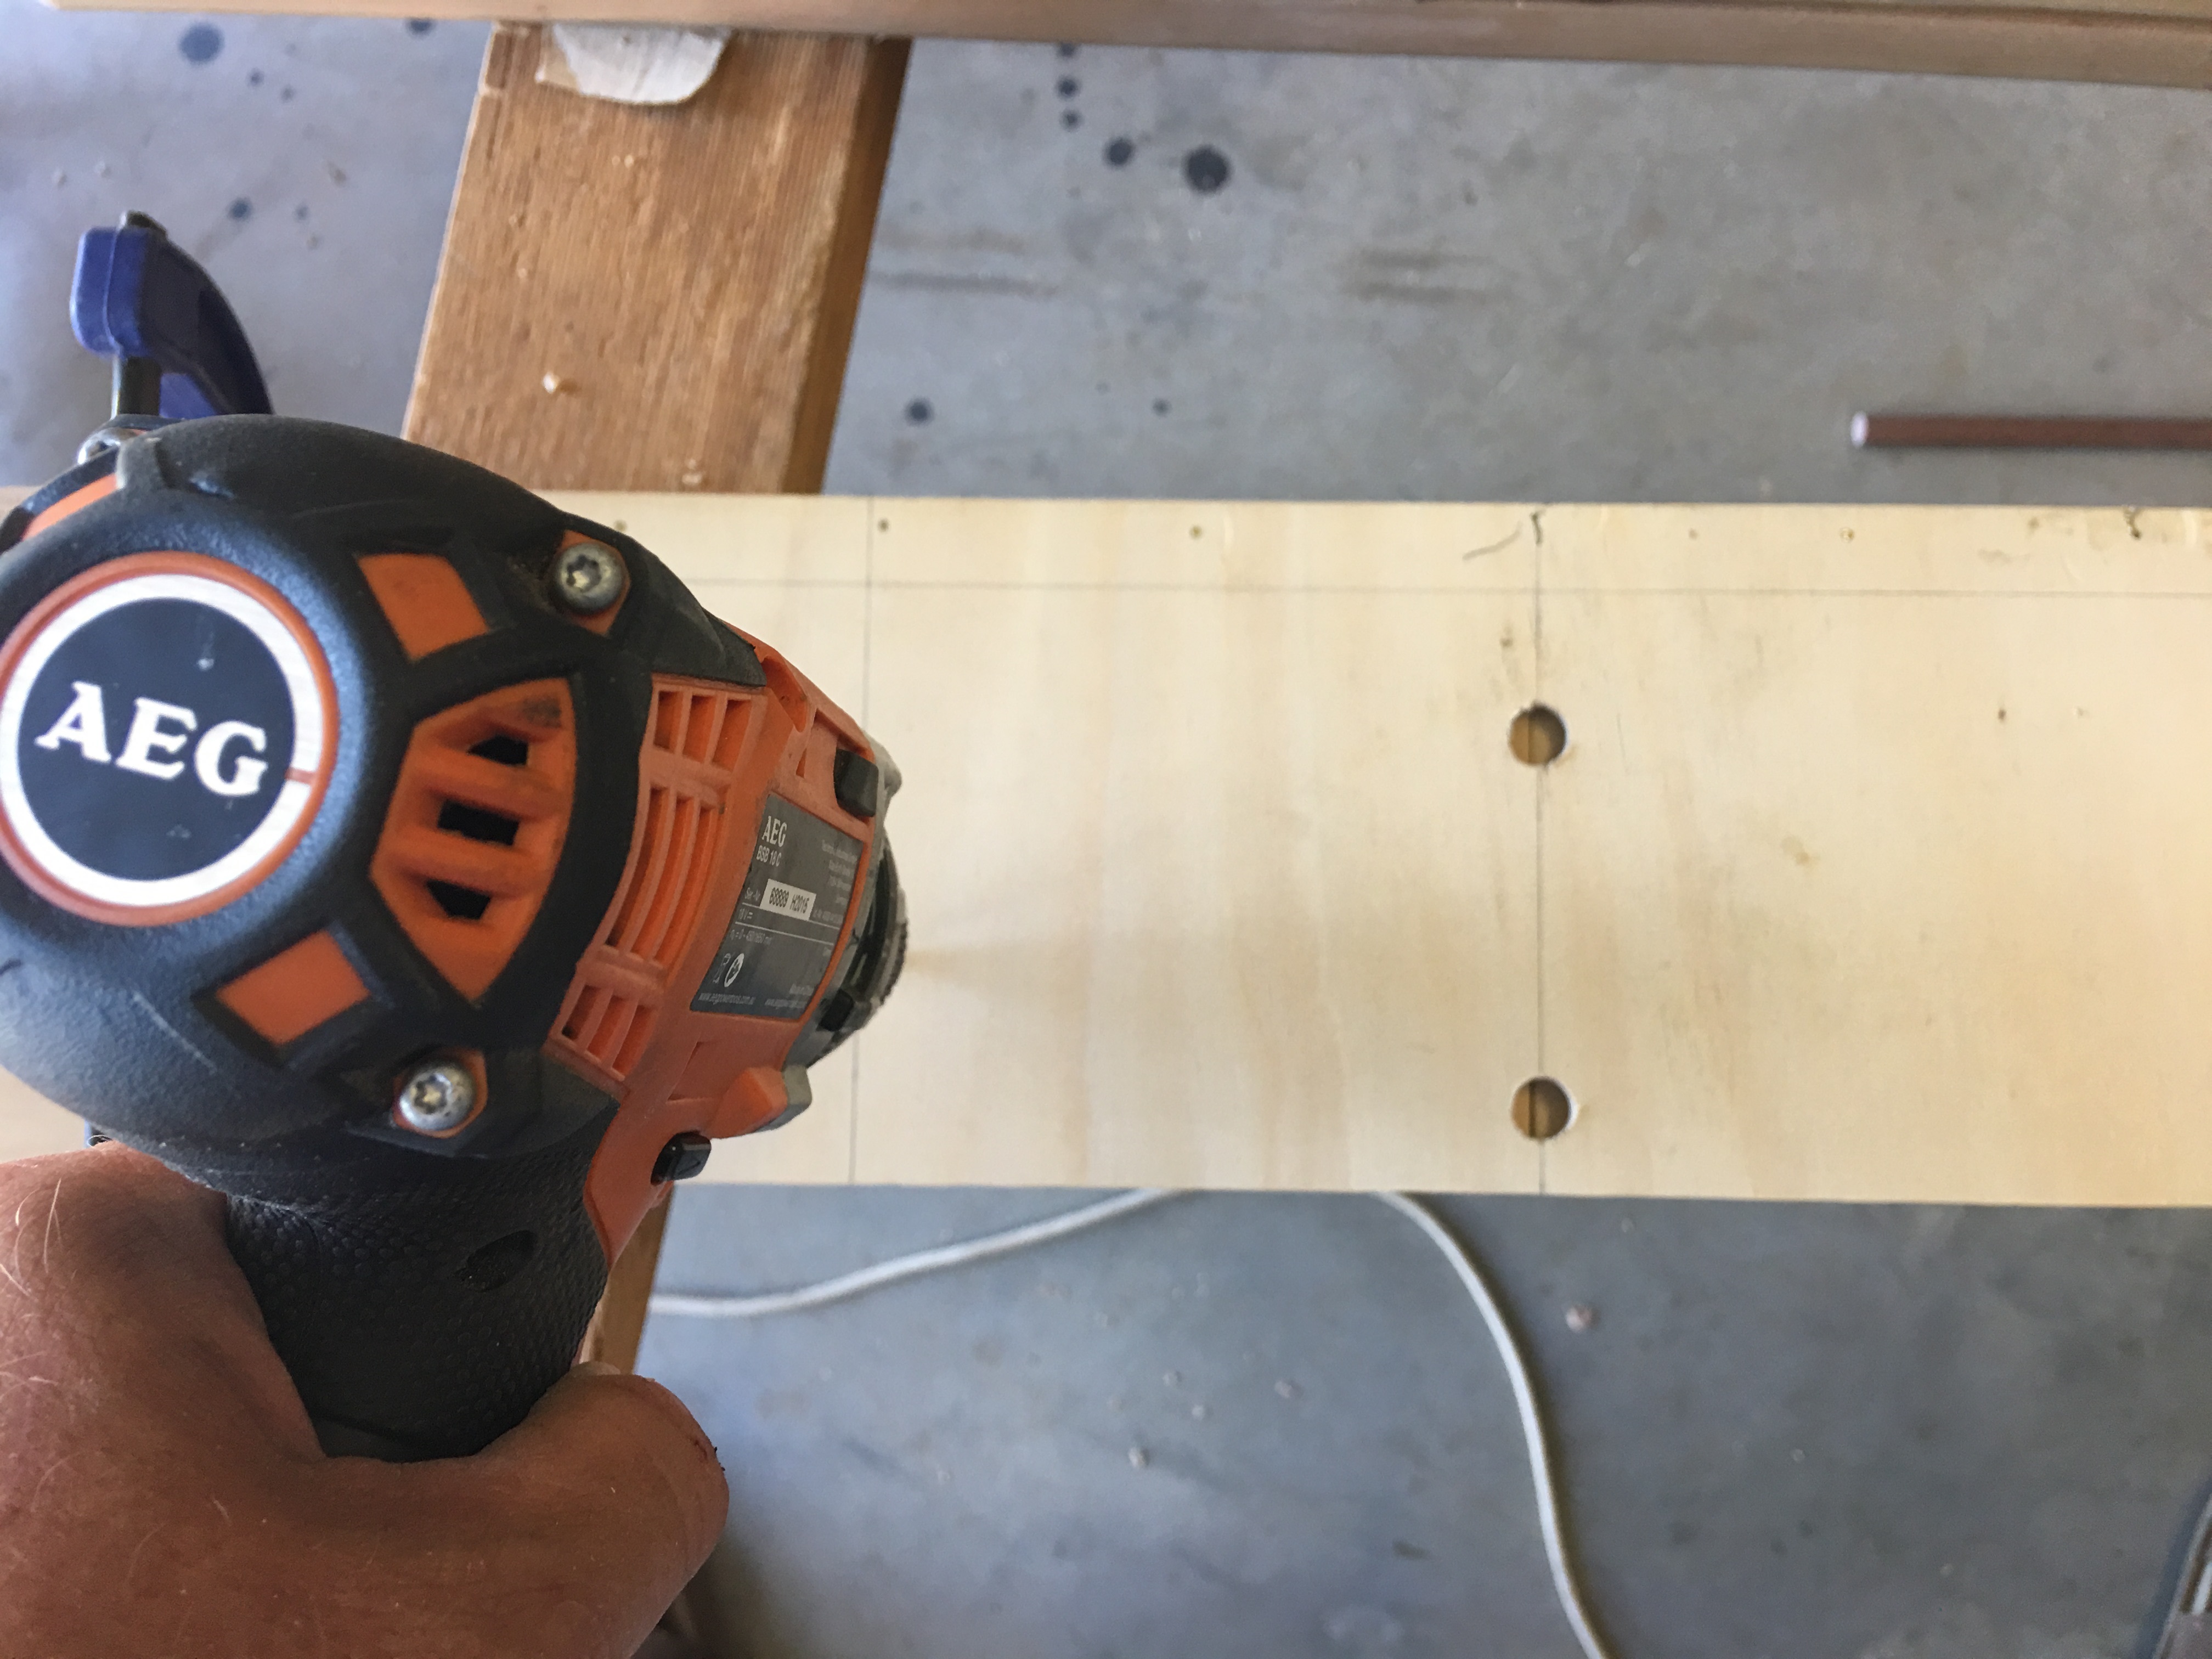
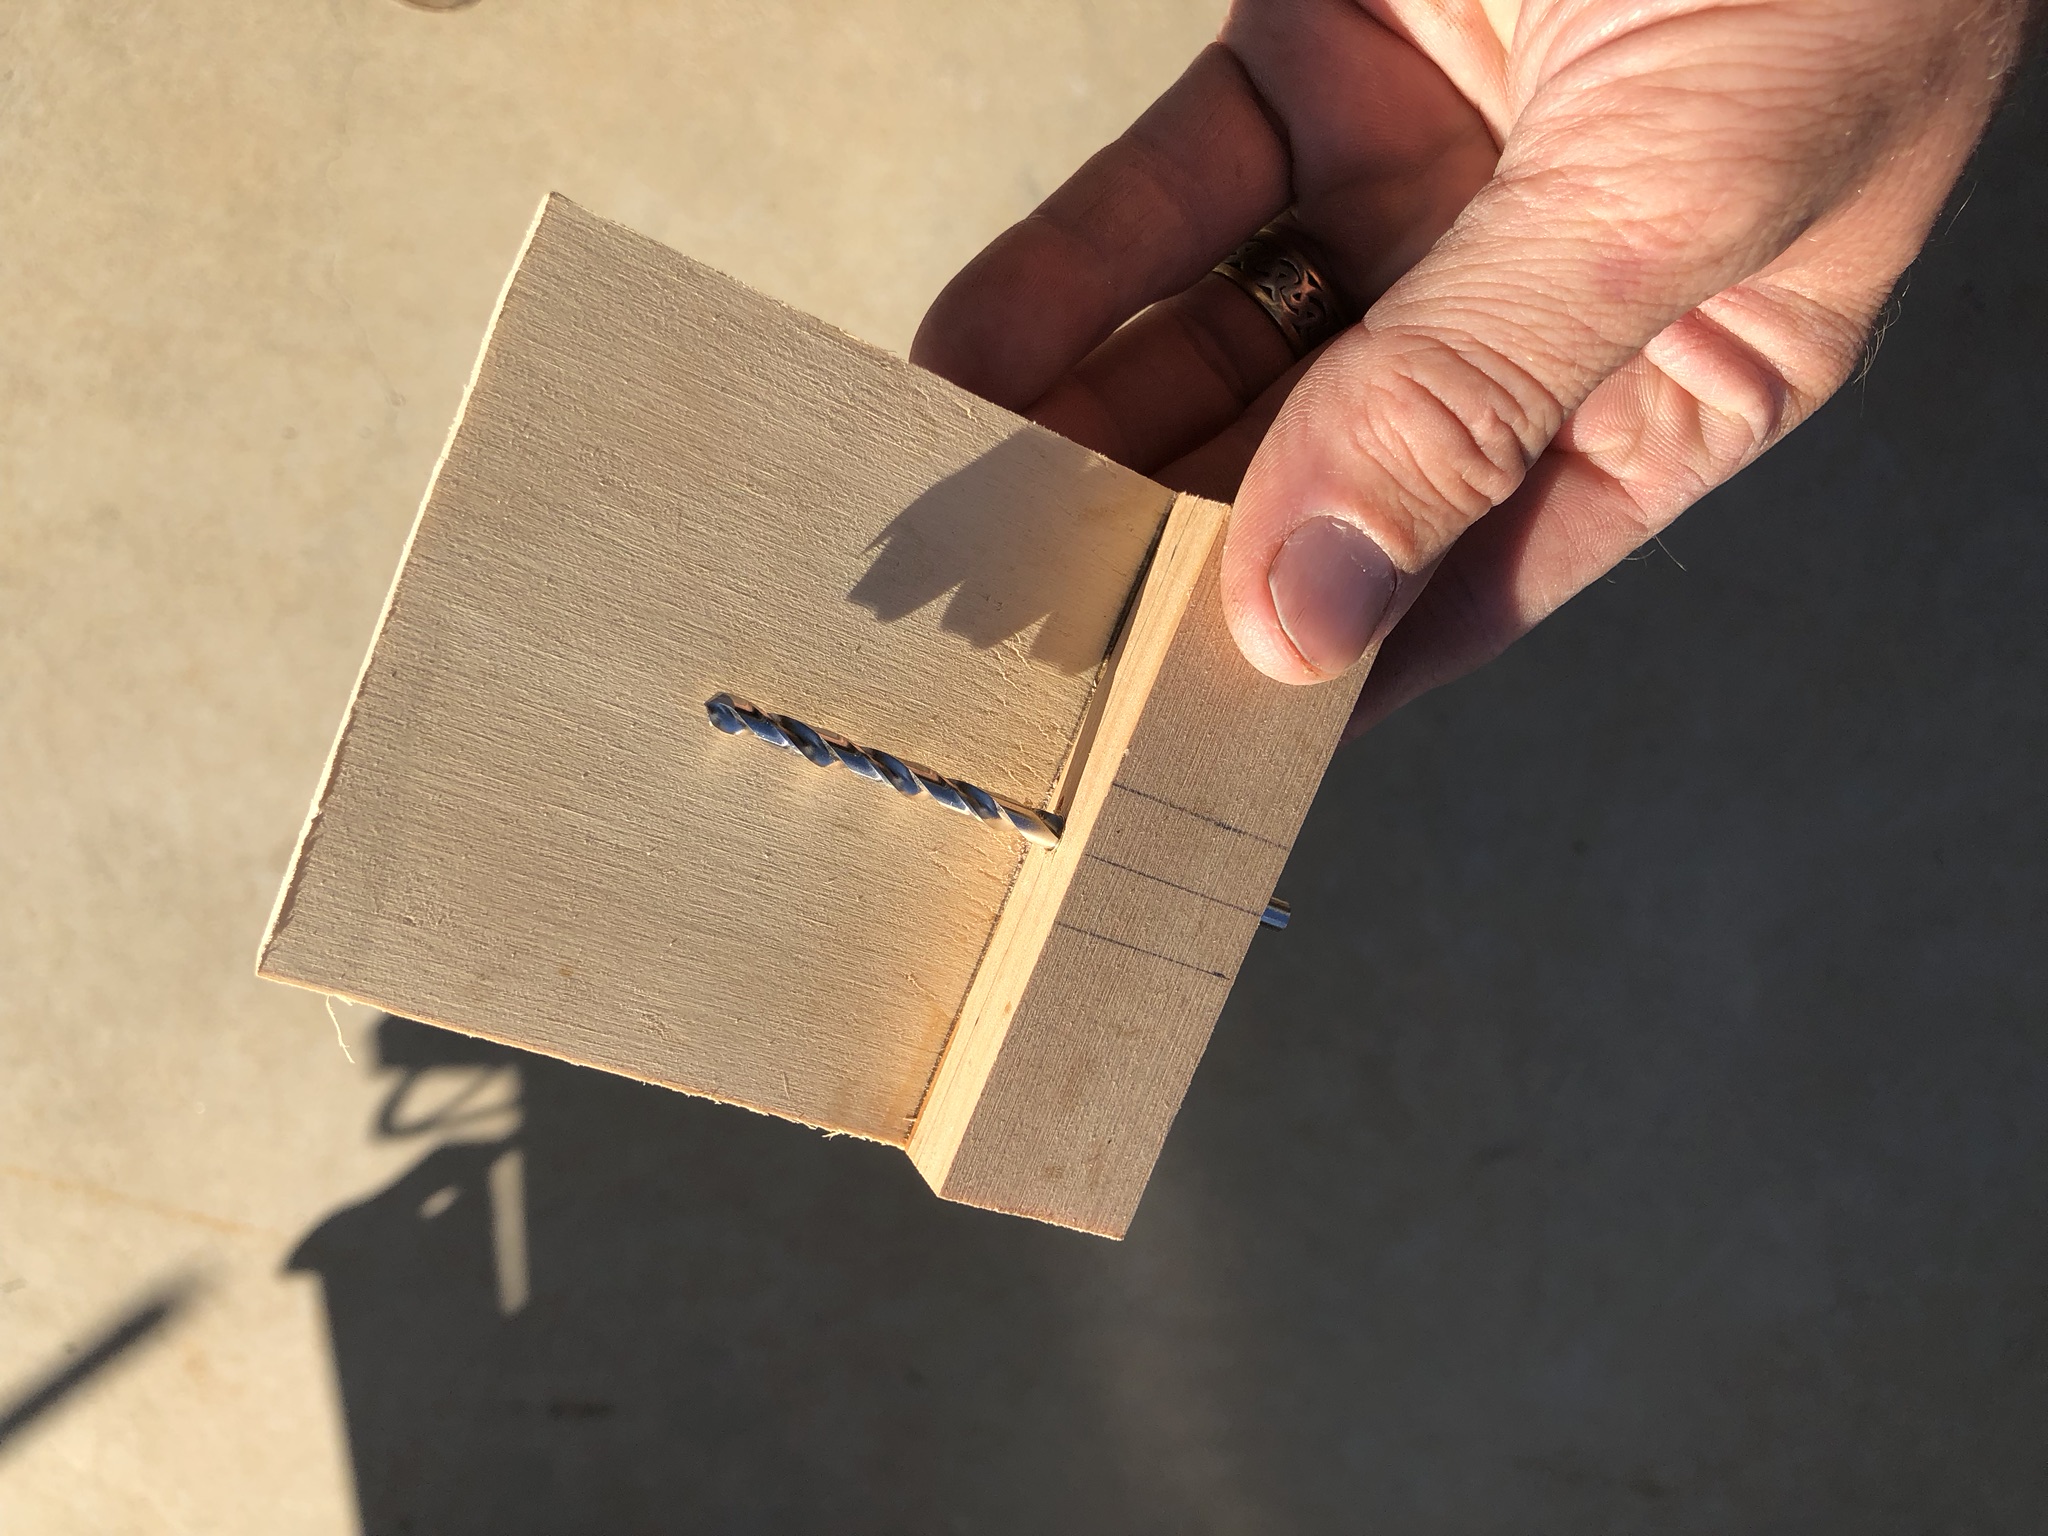
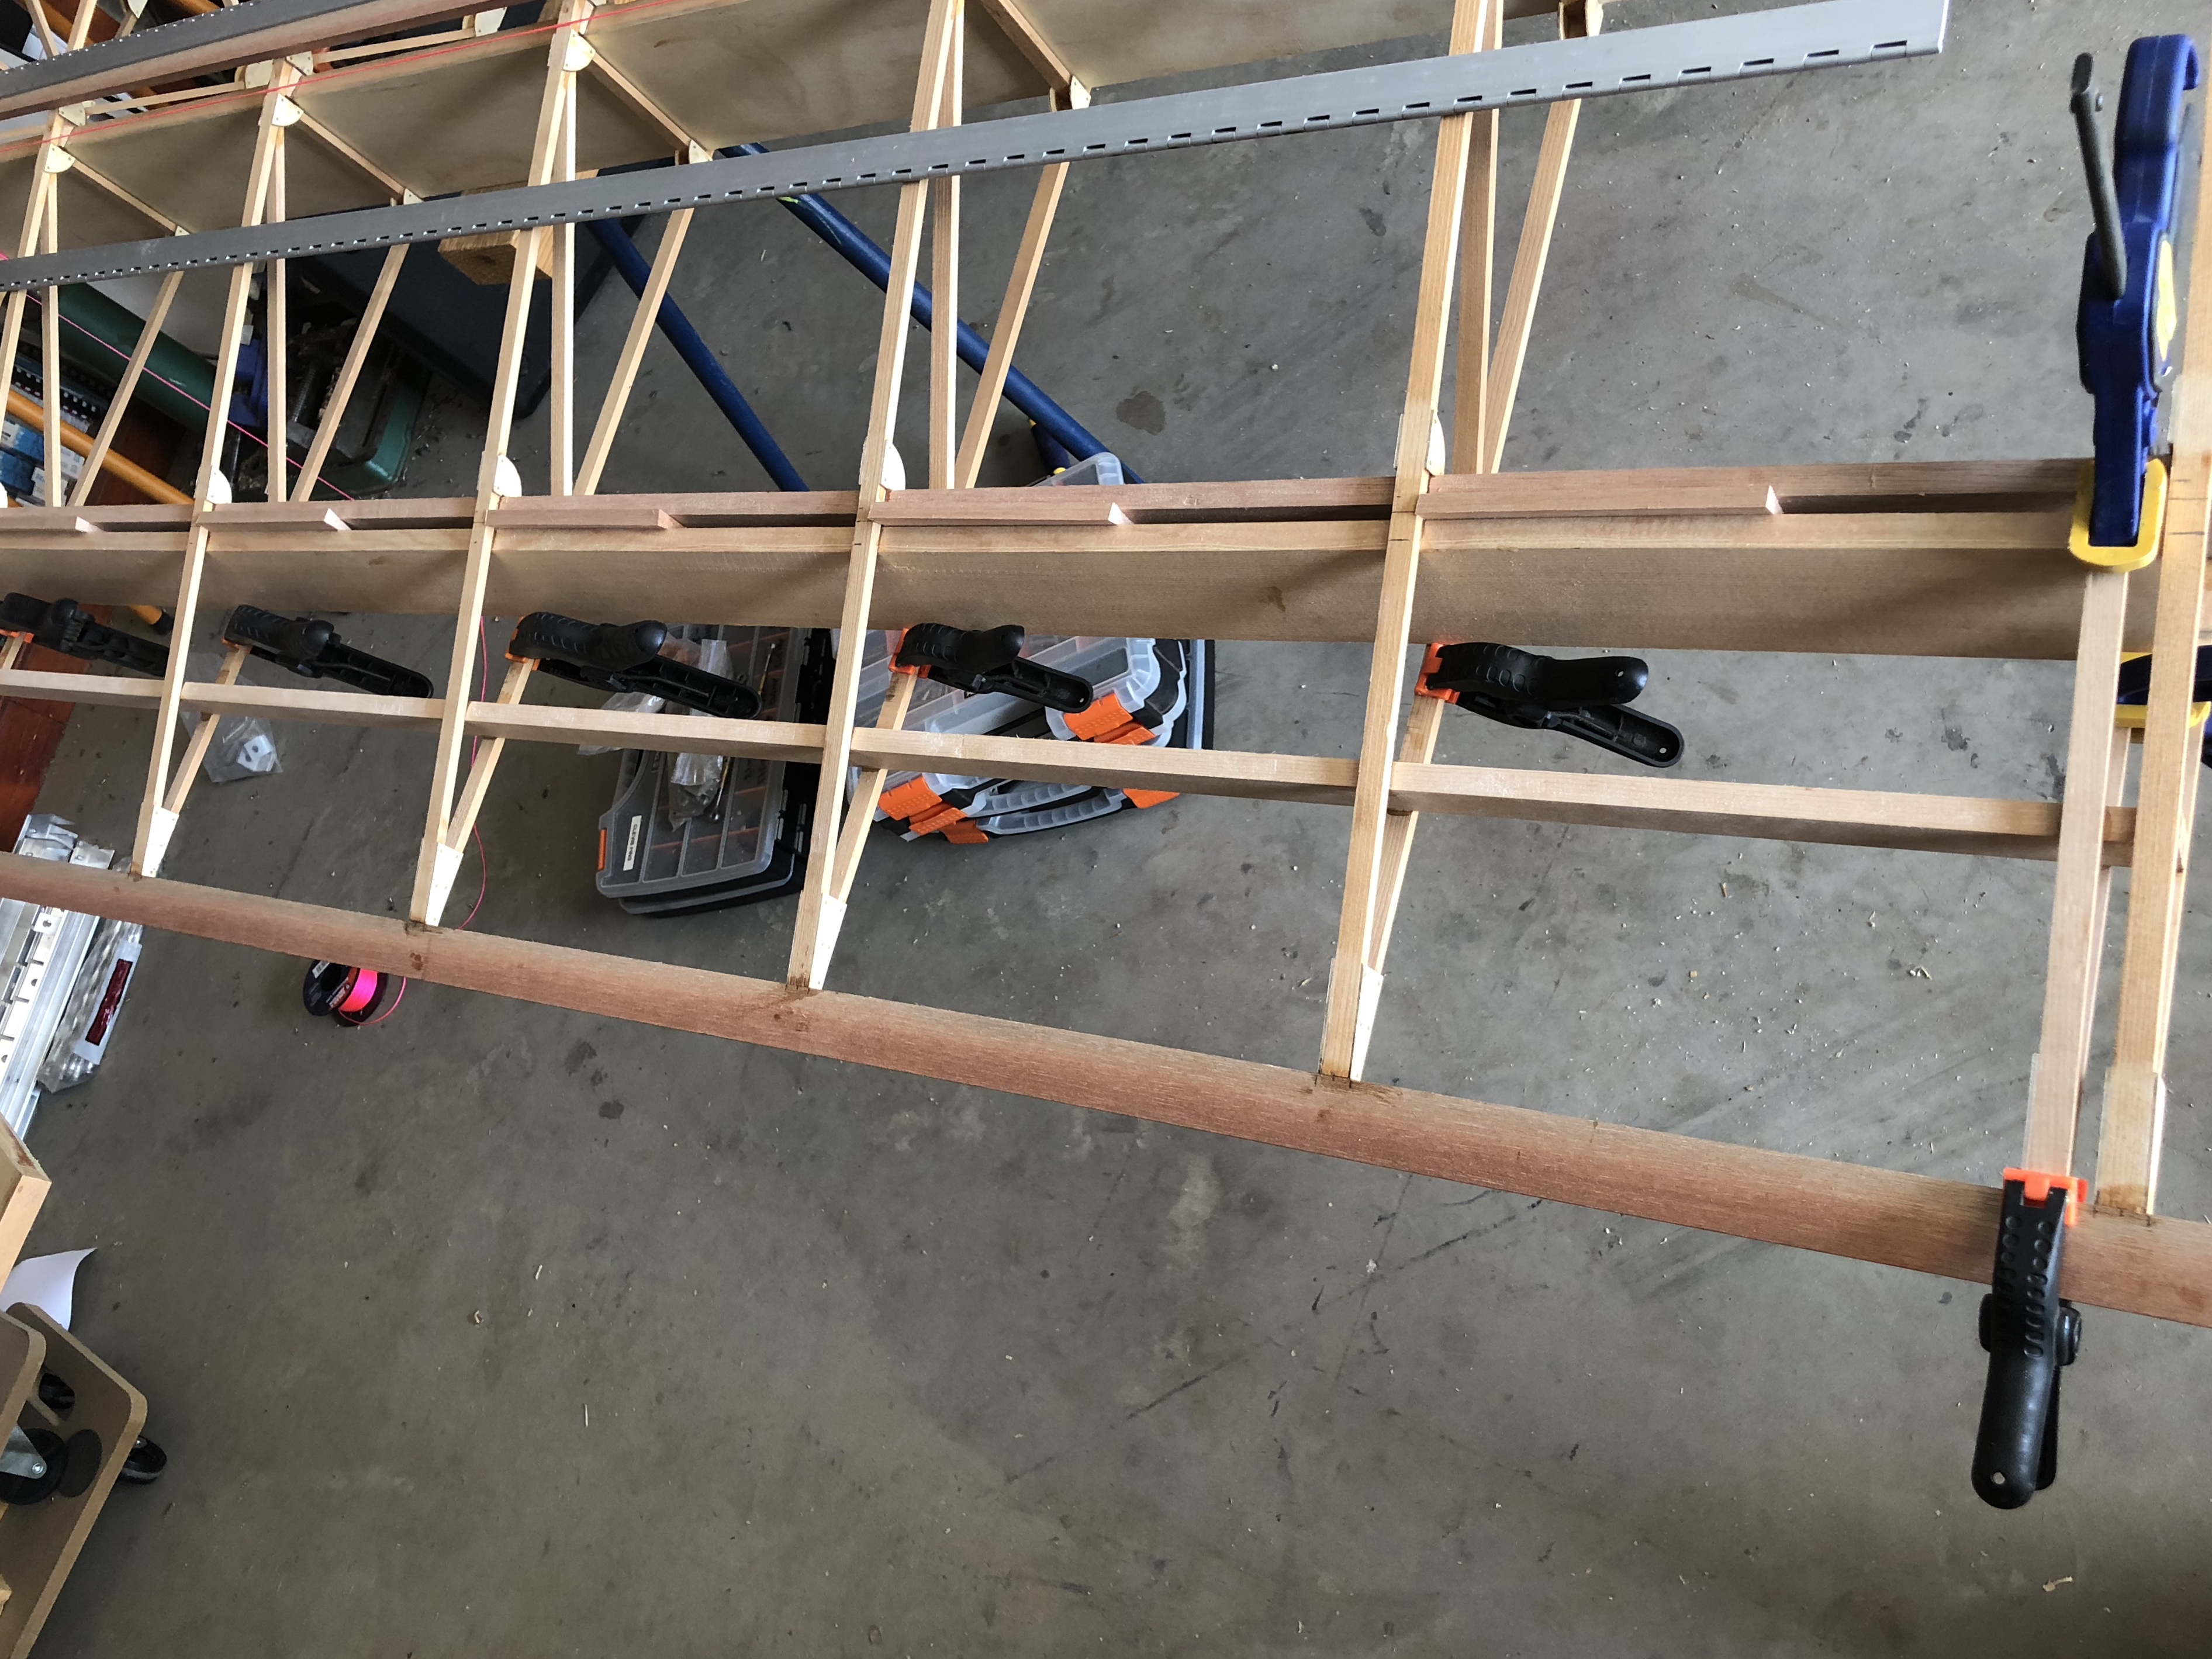
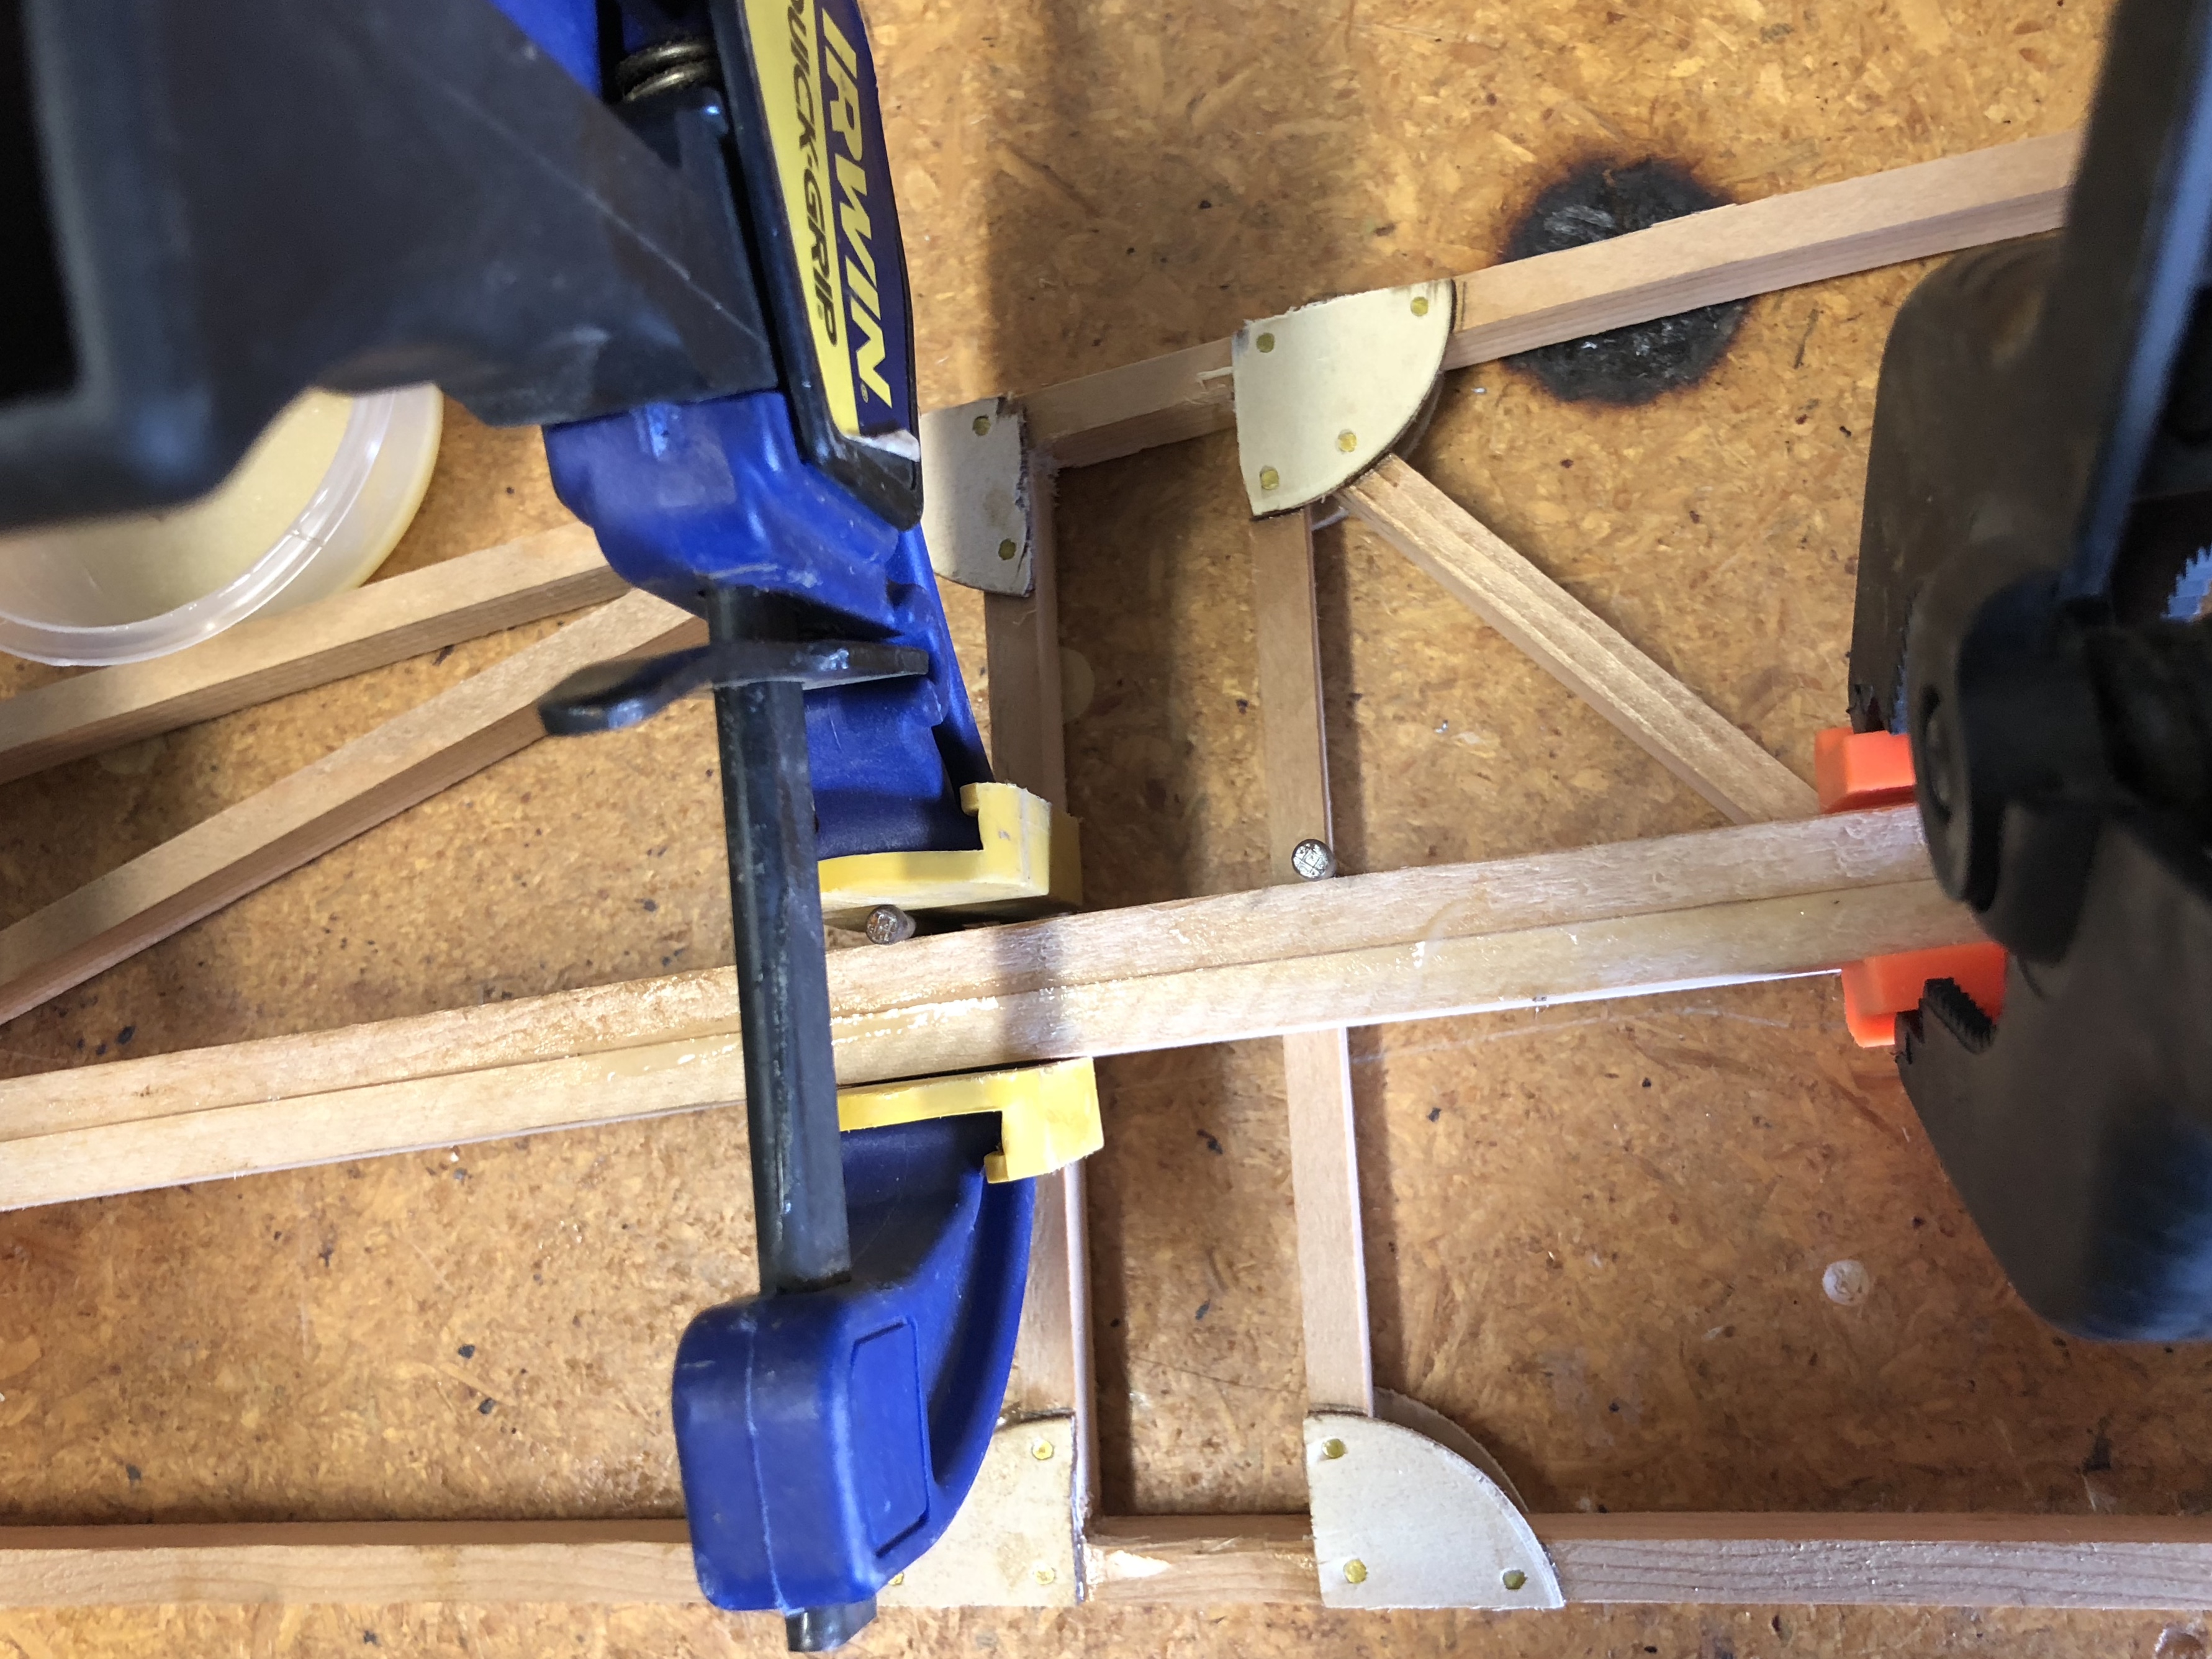
I have used the dowel method of attaching the trailing edge to the ribs. The jig you see below is to drill the hole up into the rear face of the rib and a corresponding hole in to the trailing edge. This worked very well...
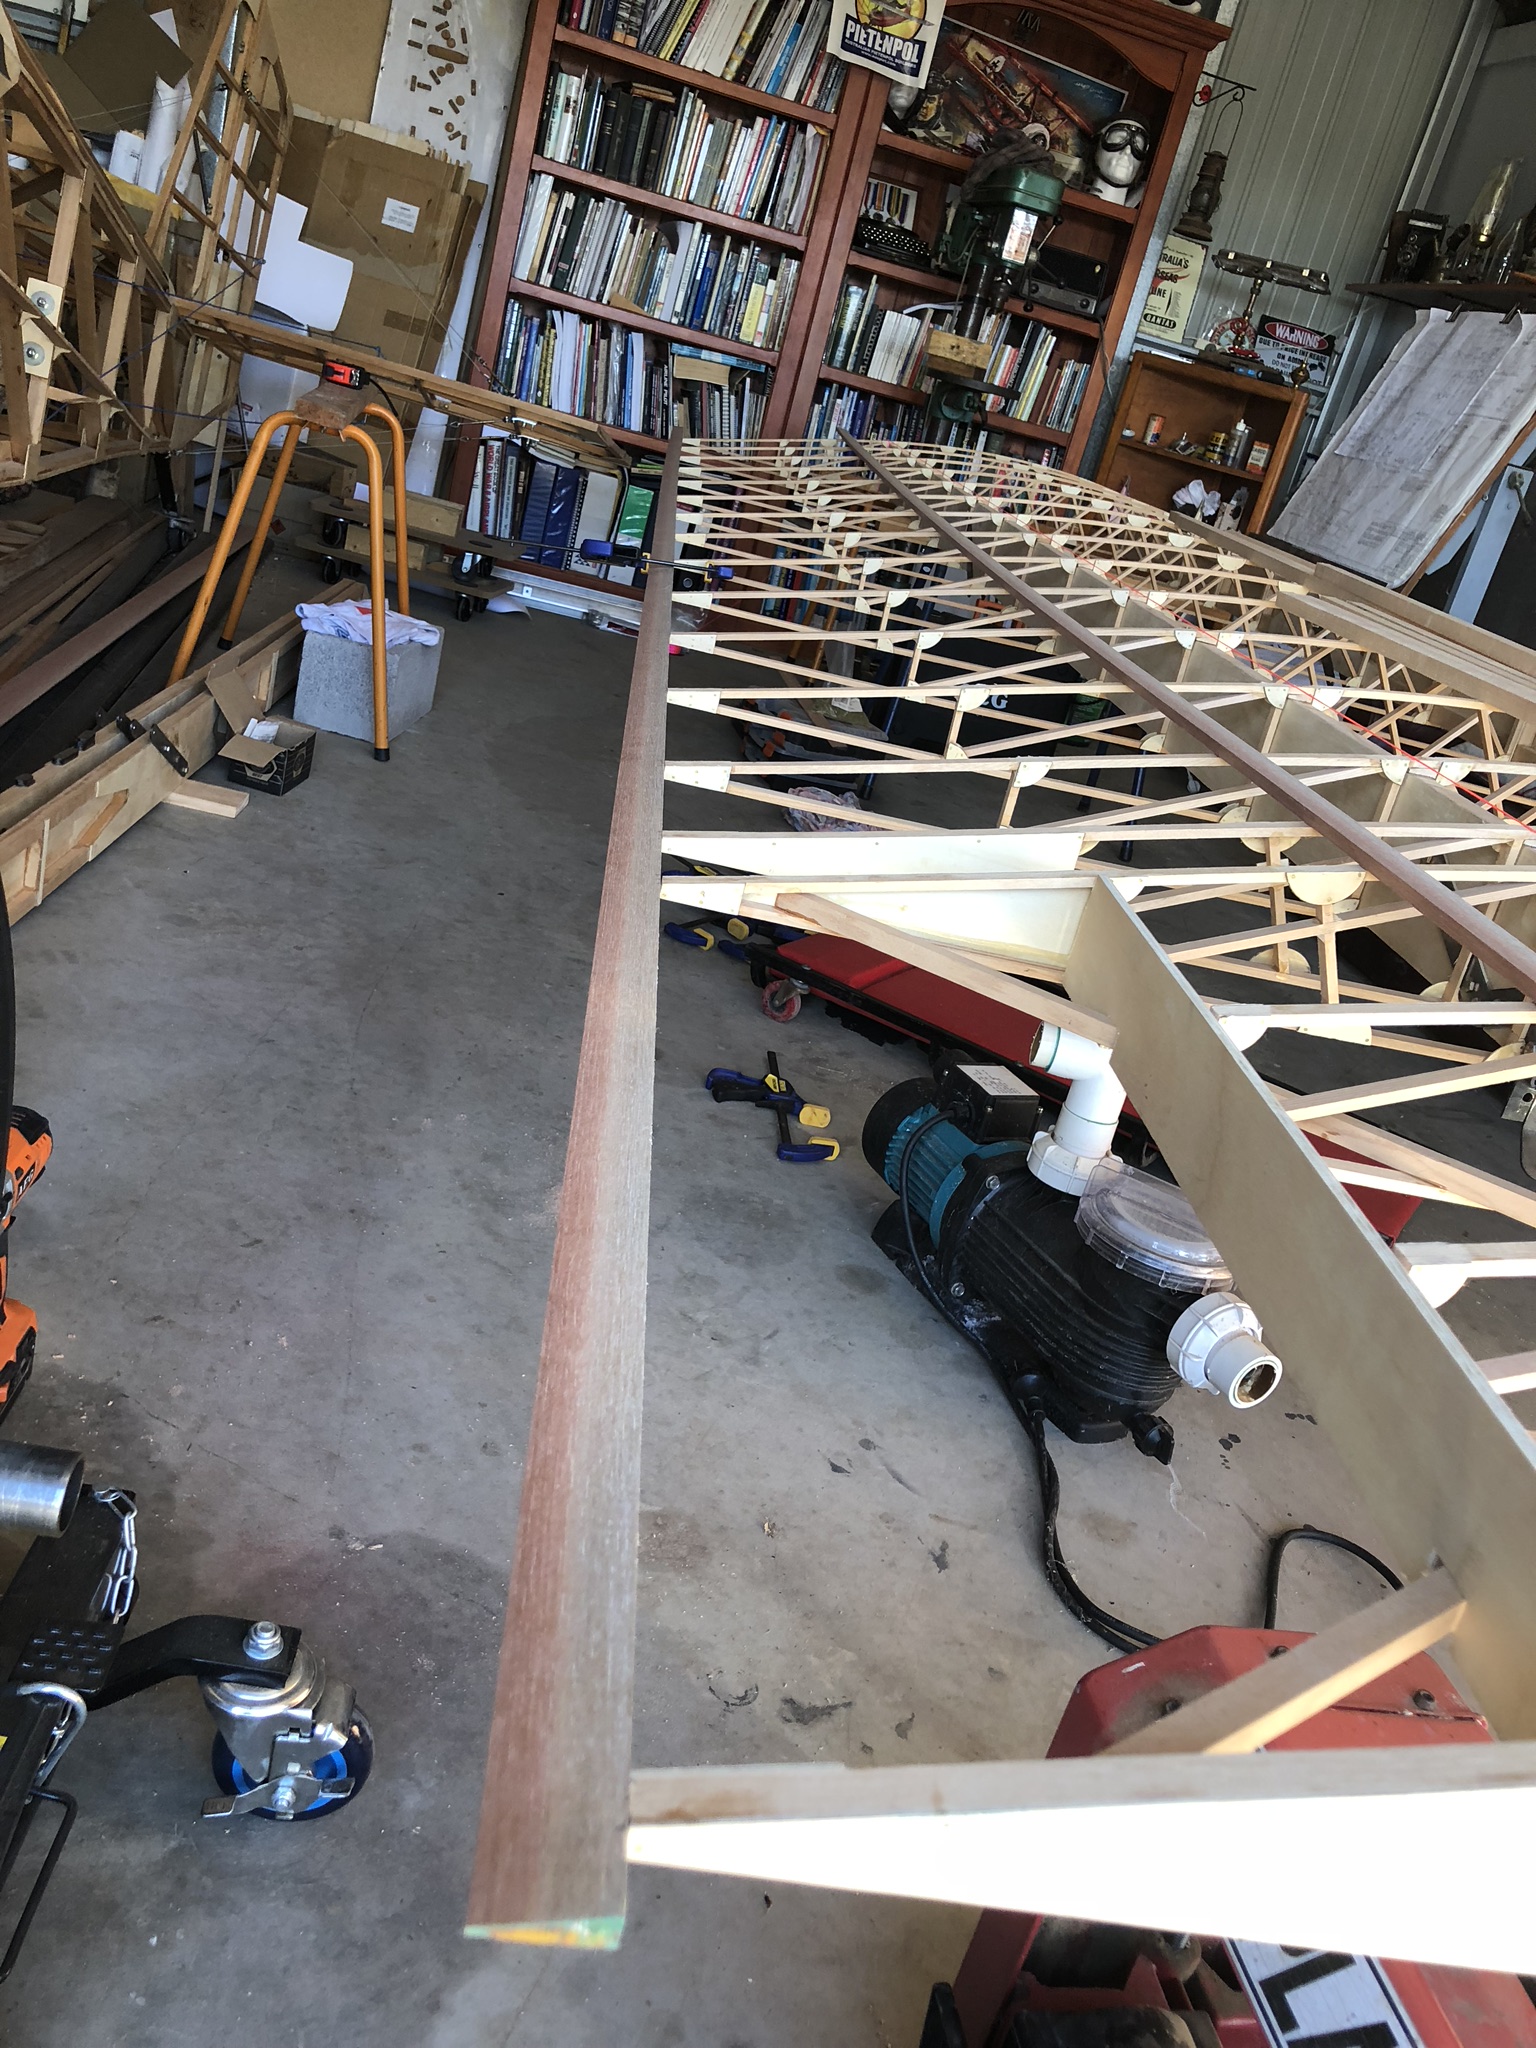
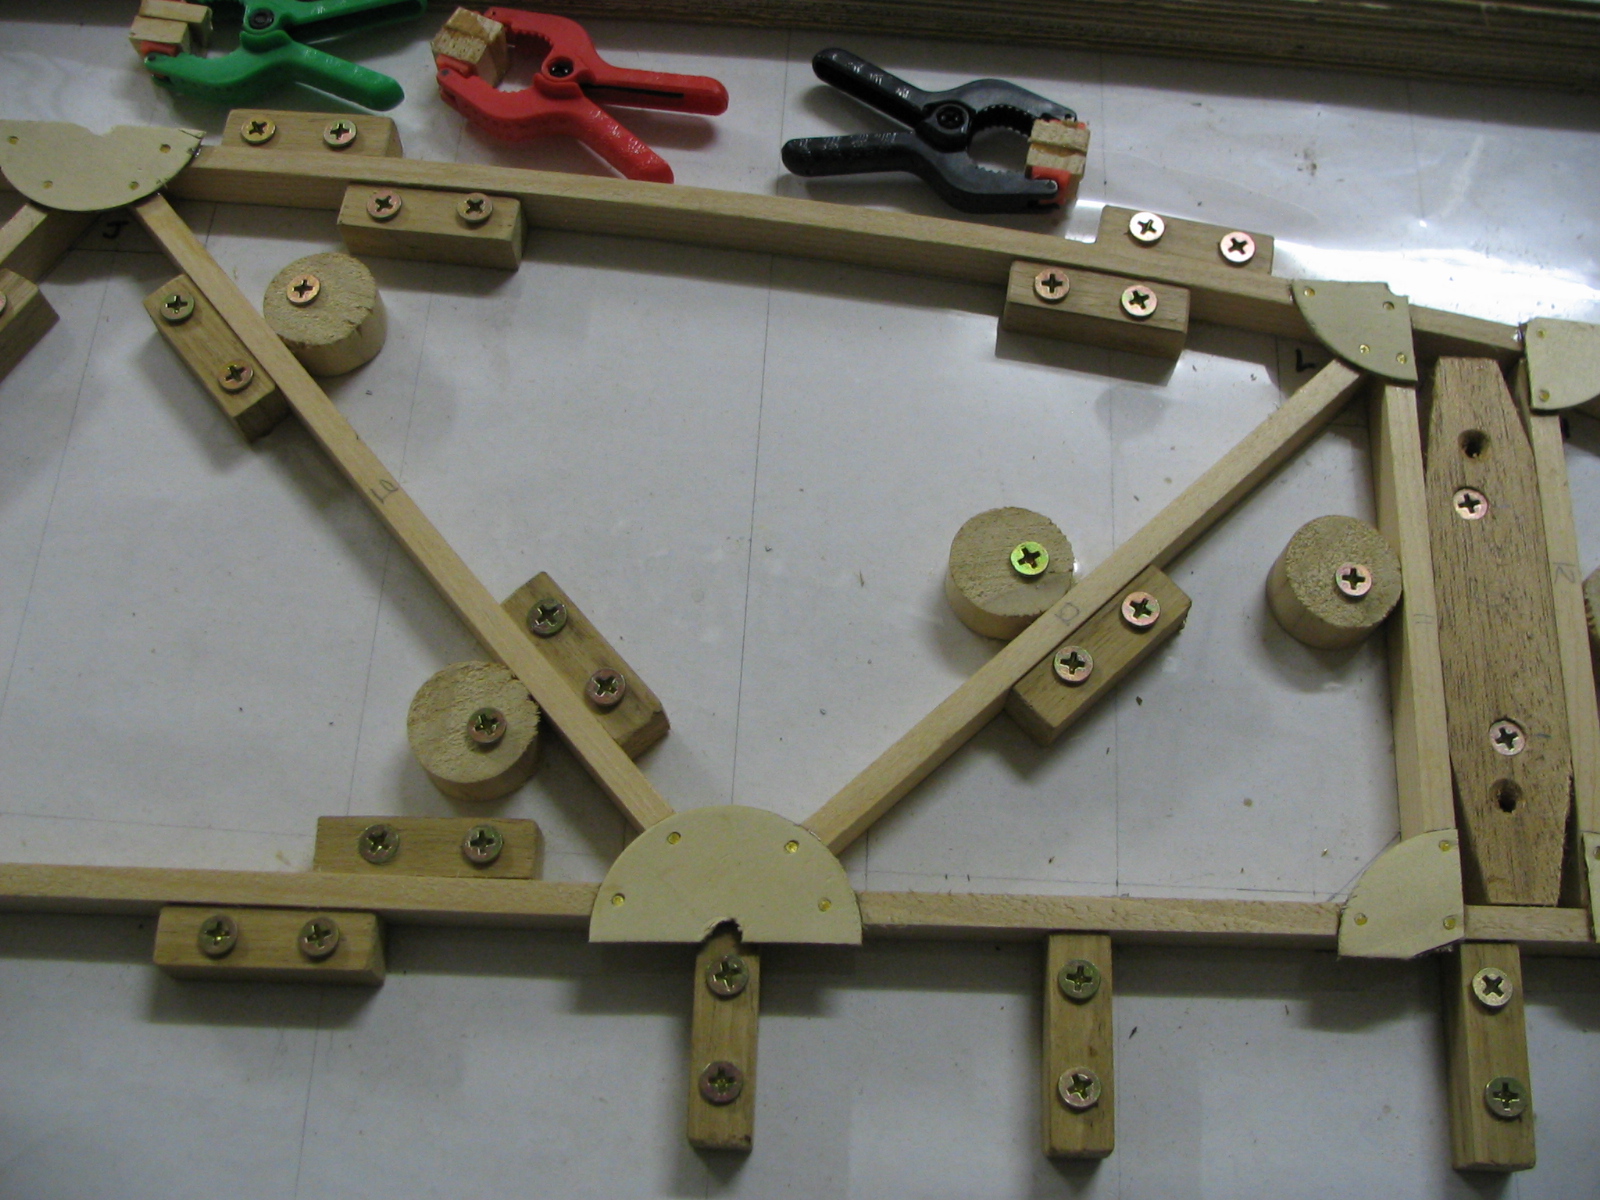
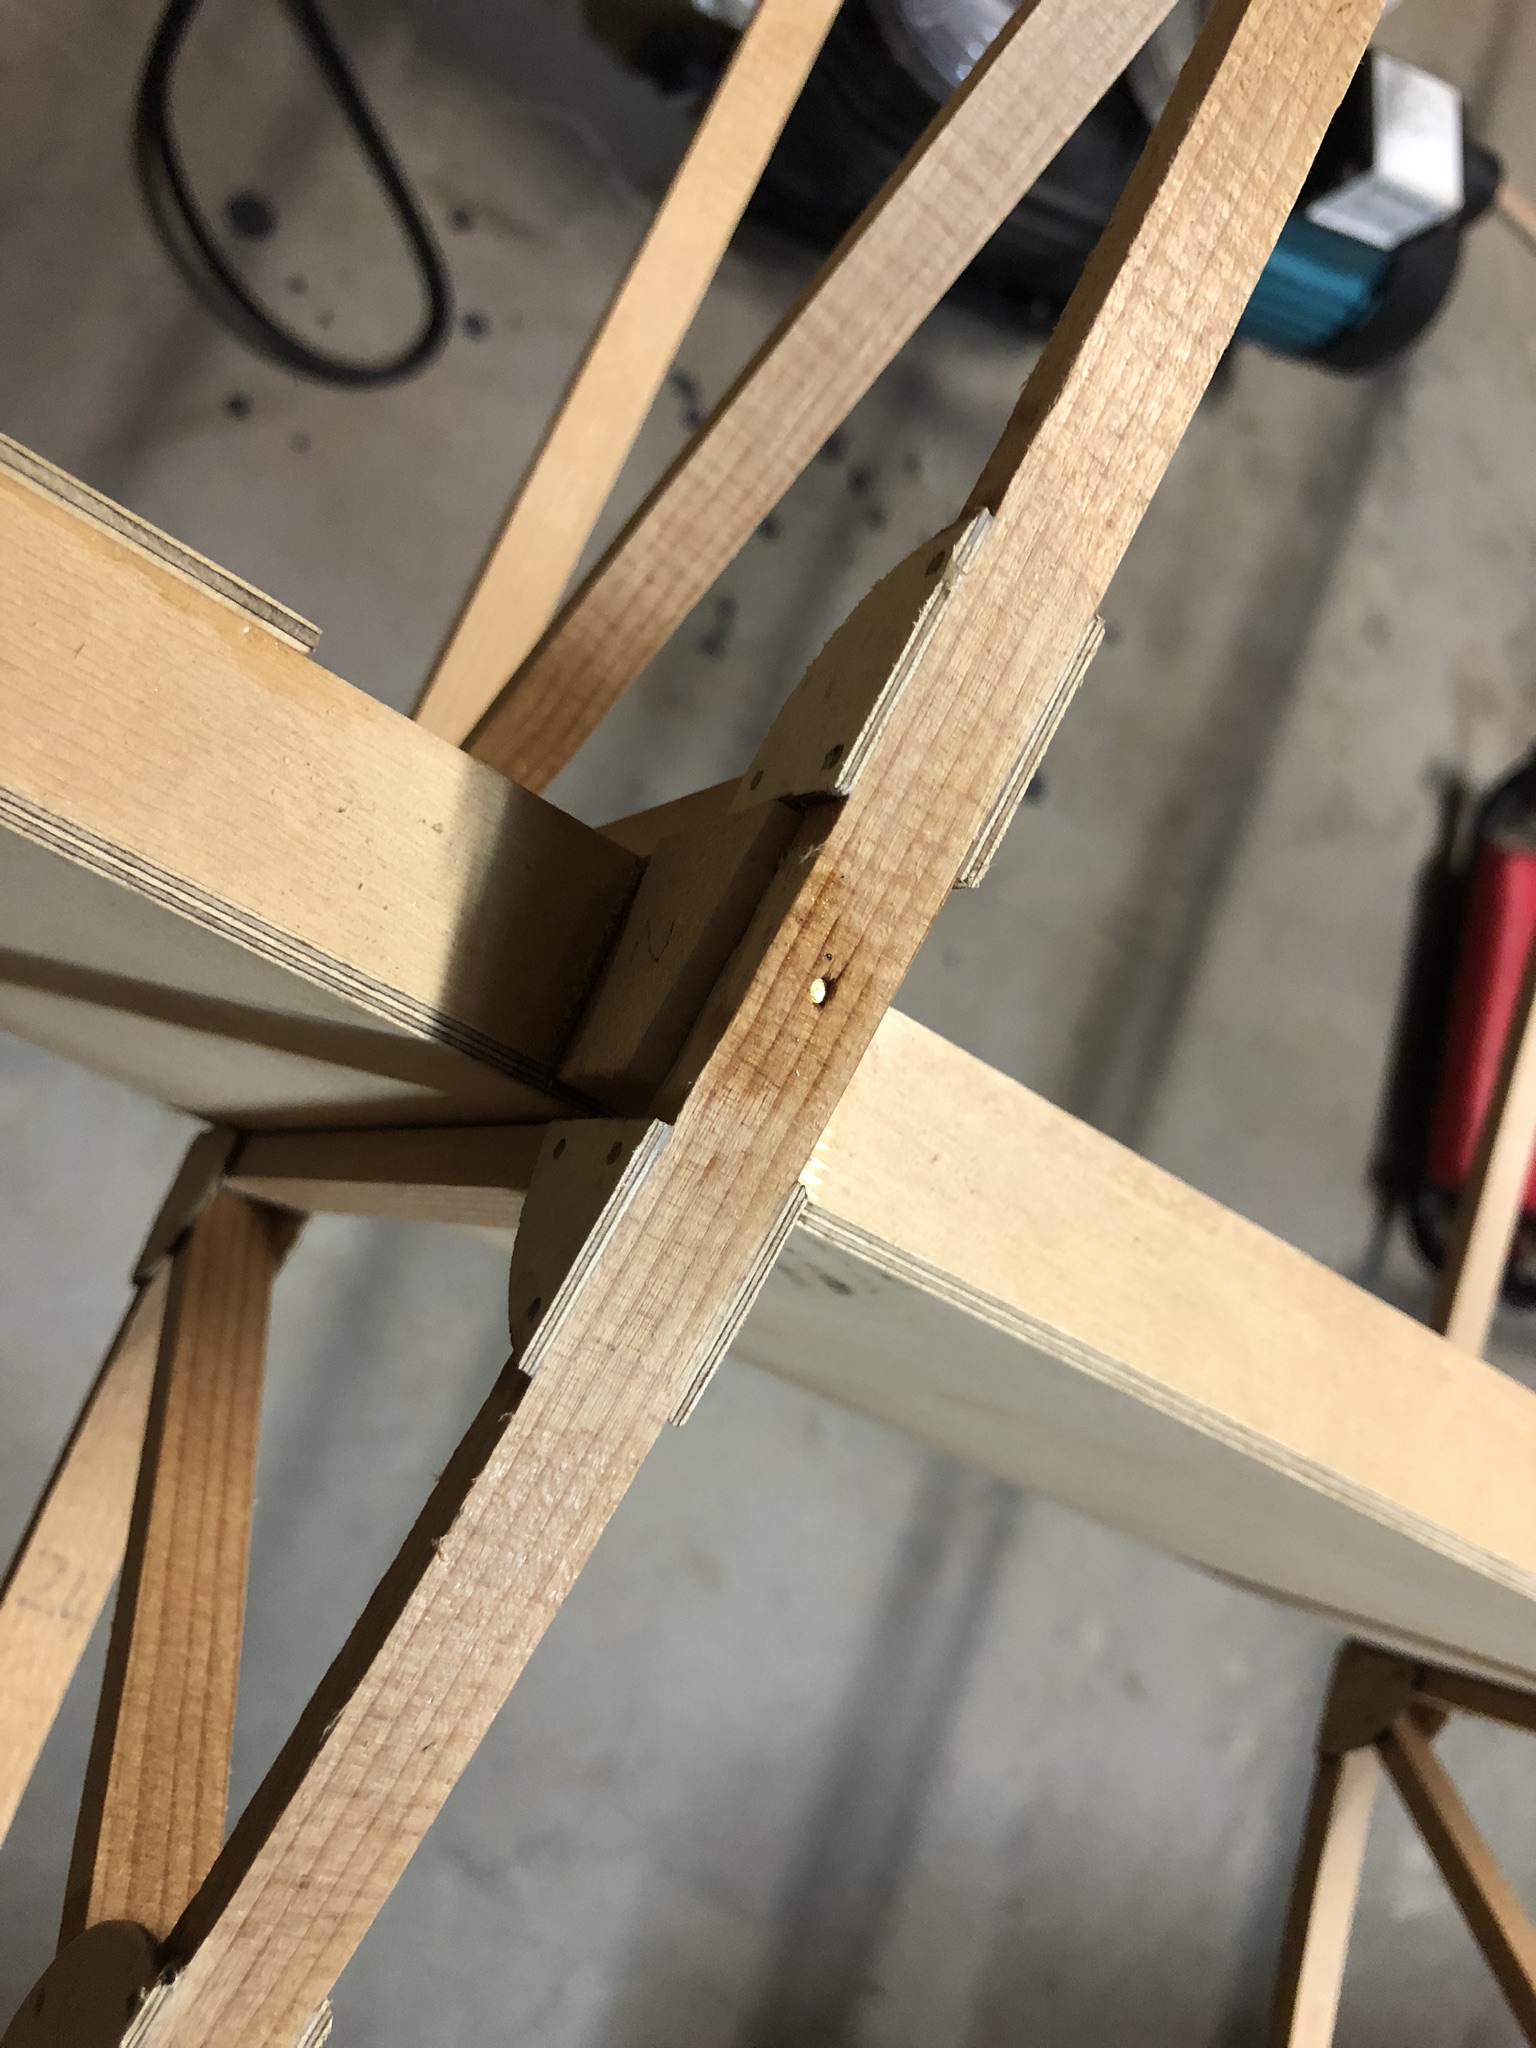
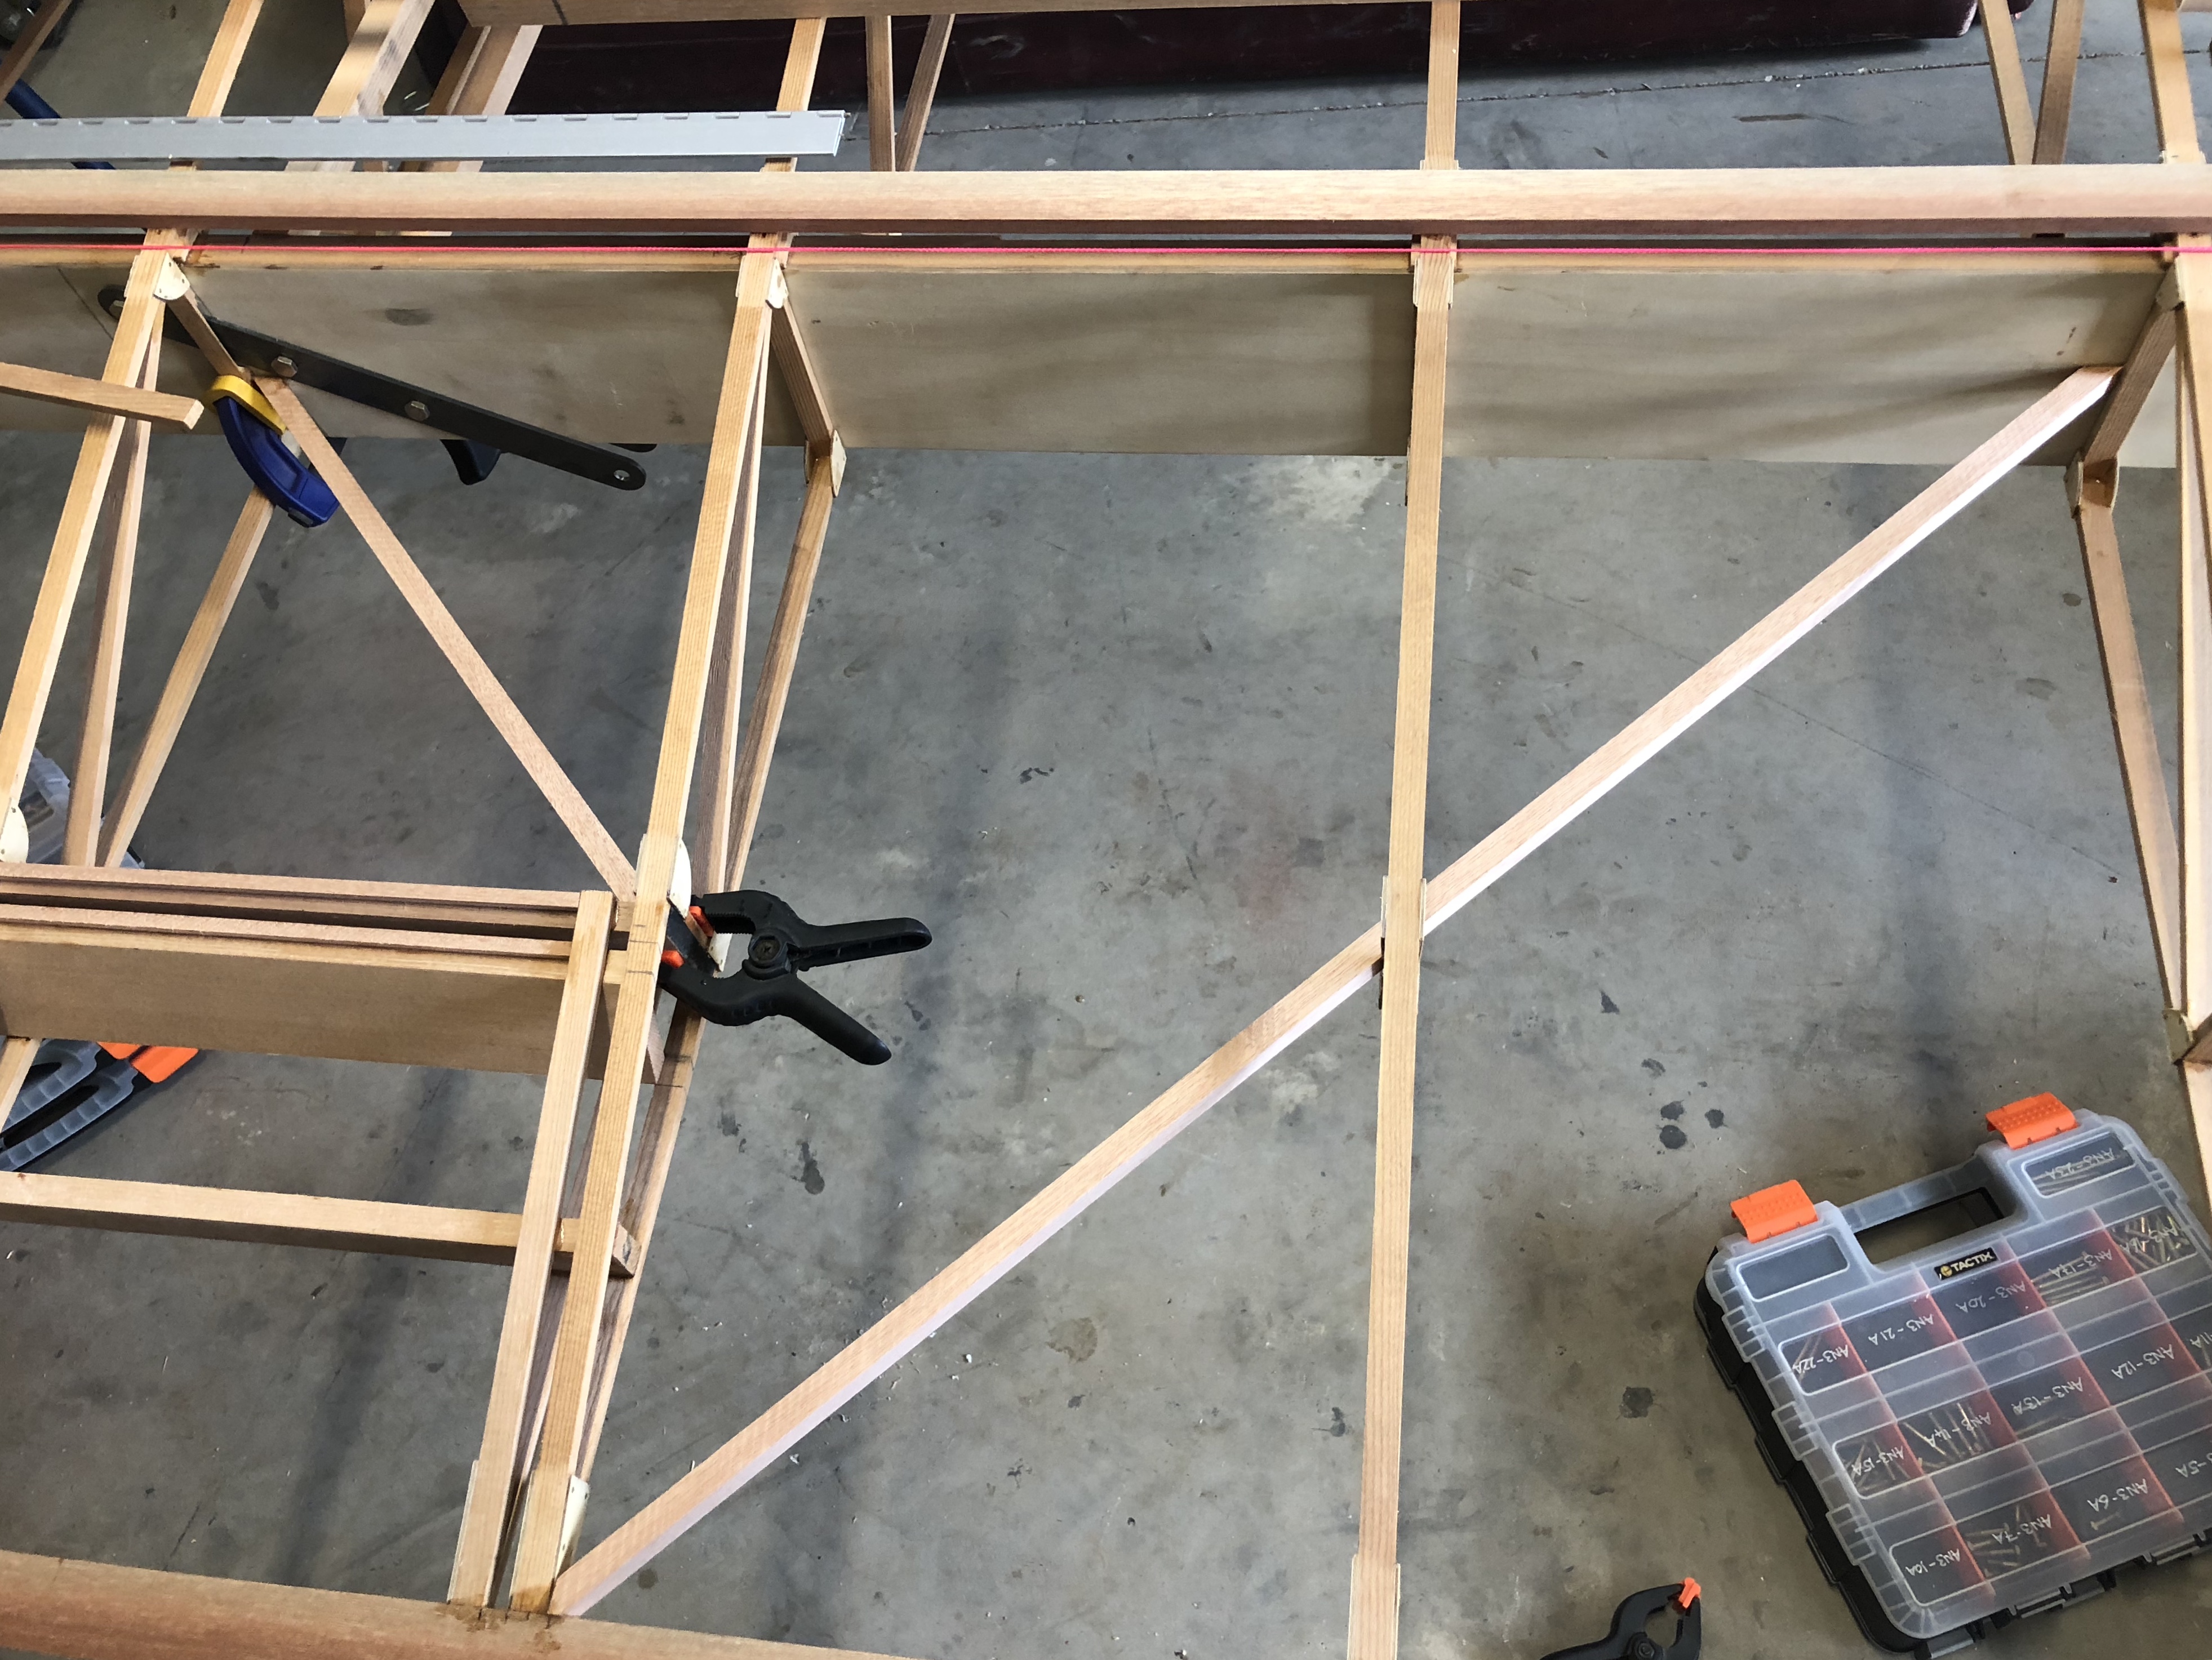
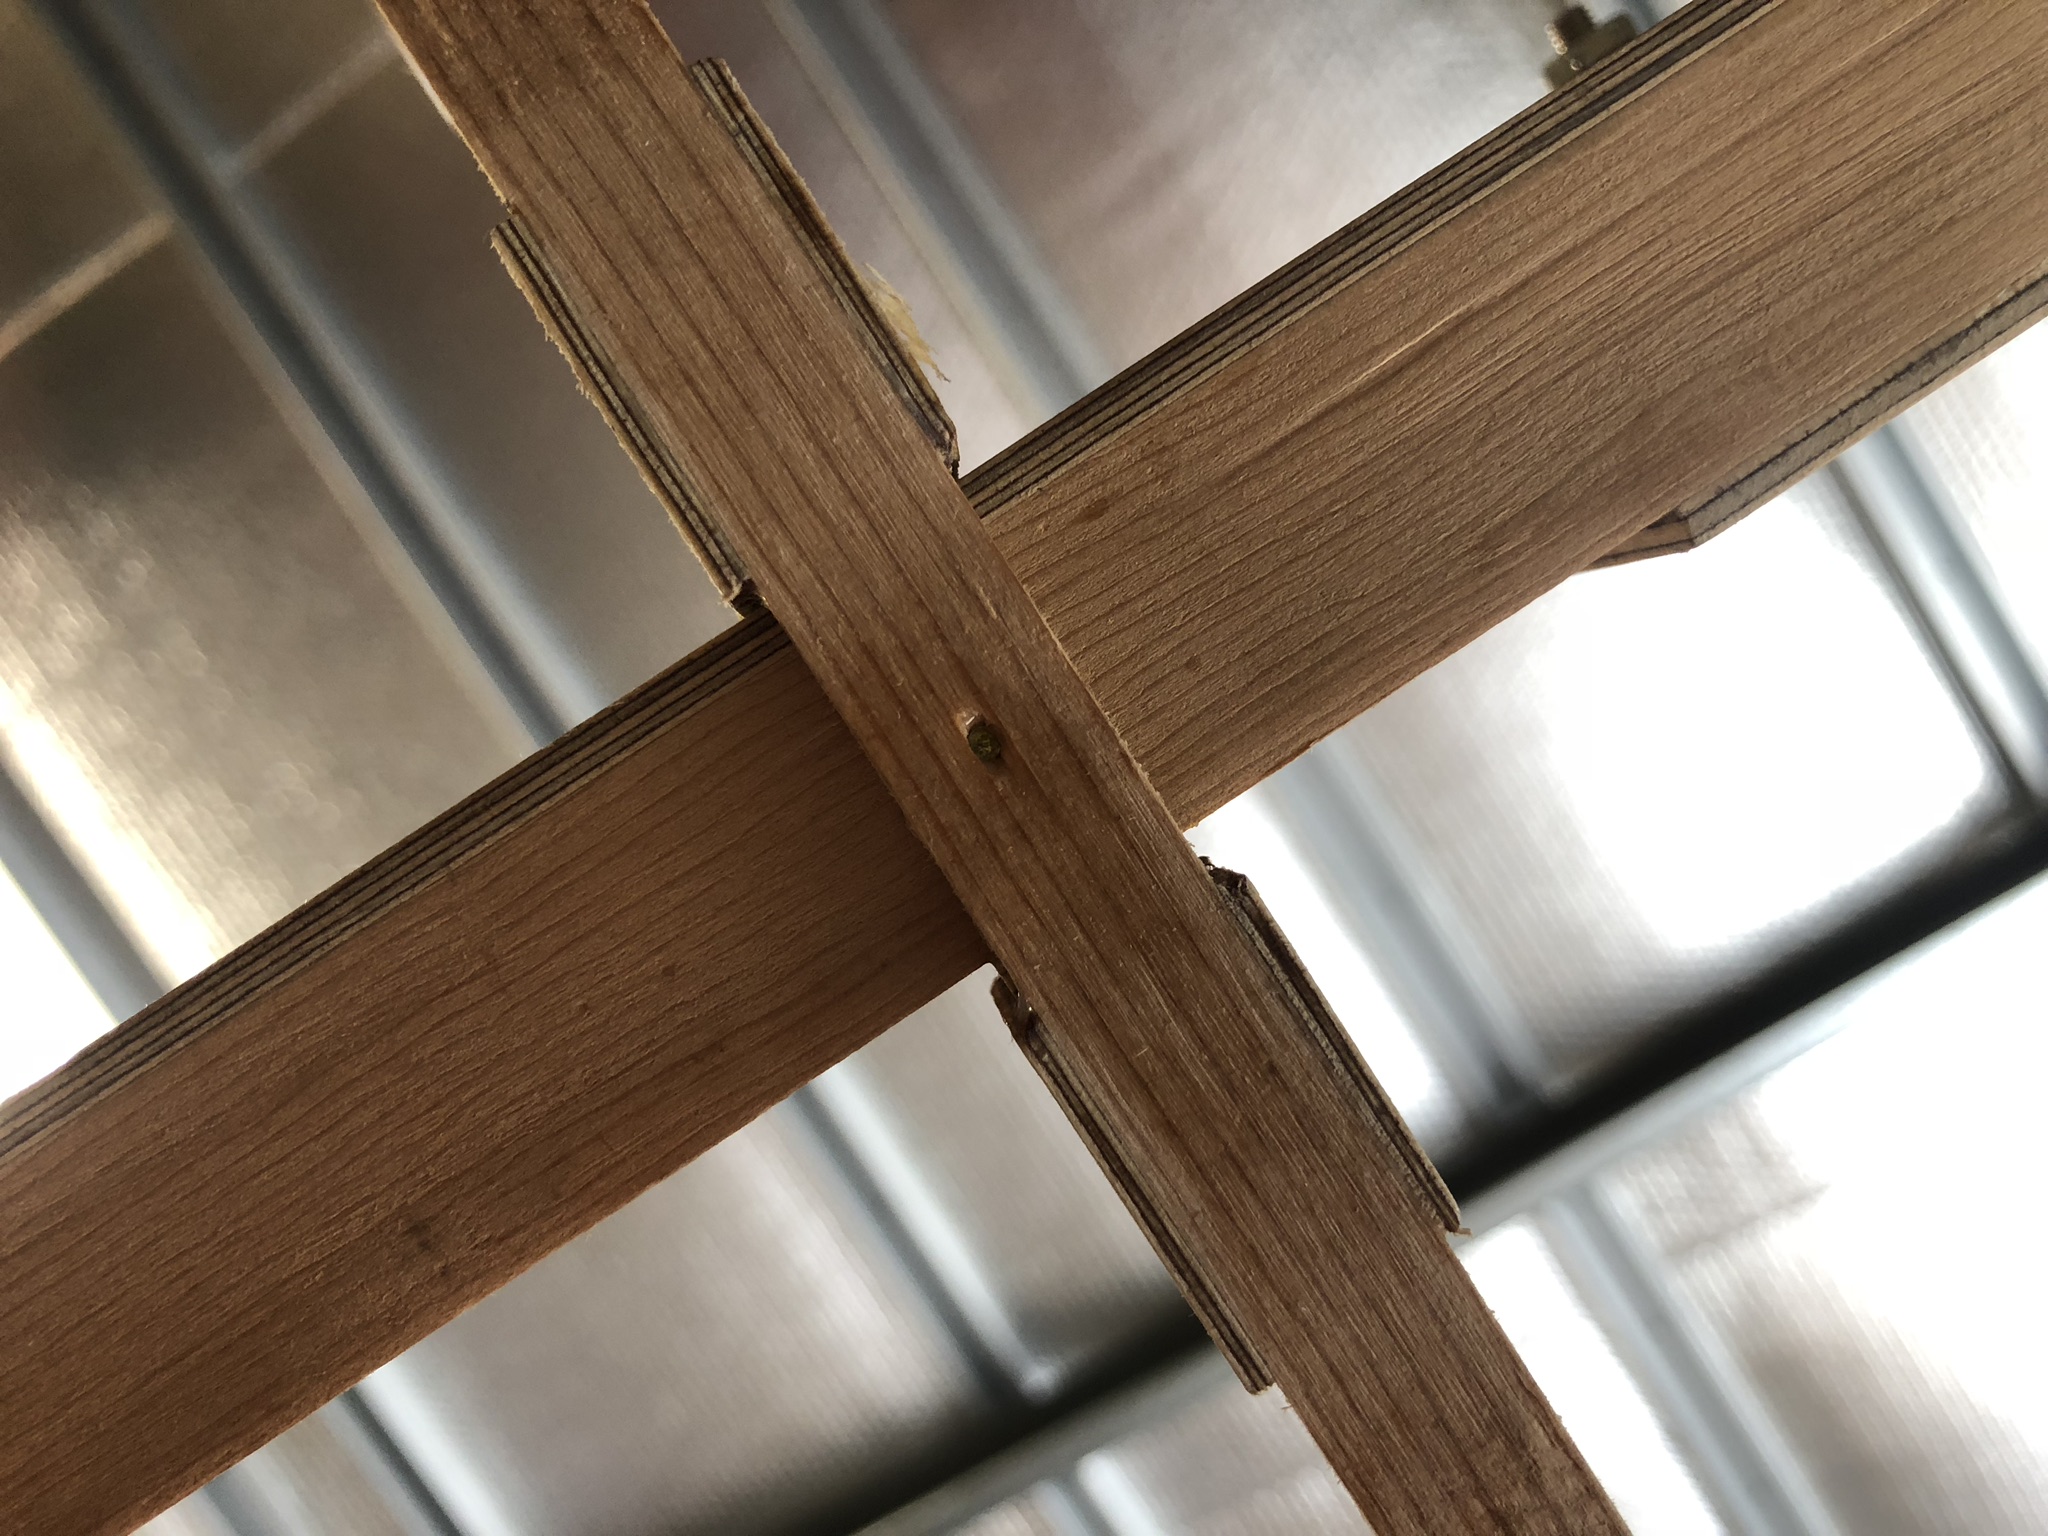
Numerous braces within wing structure...
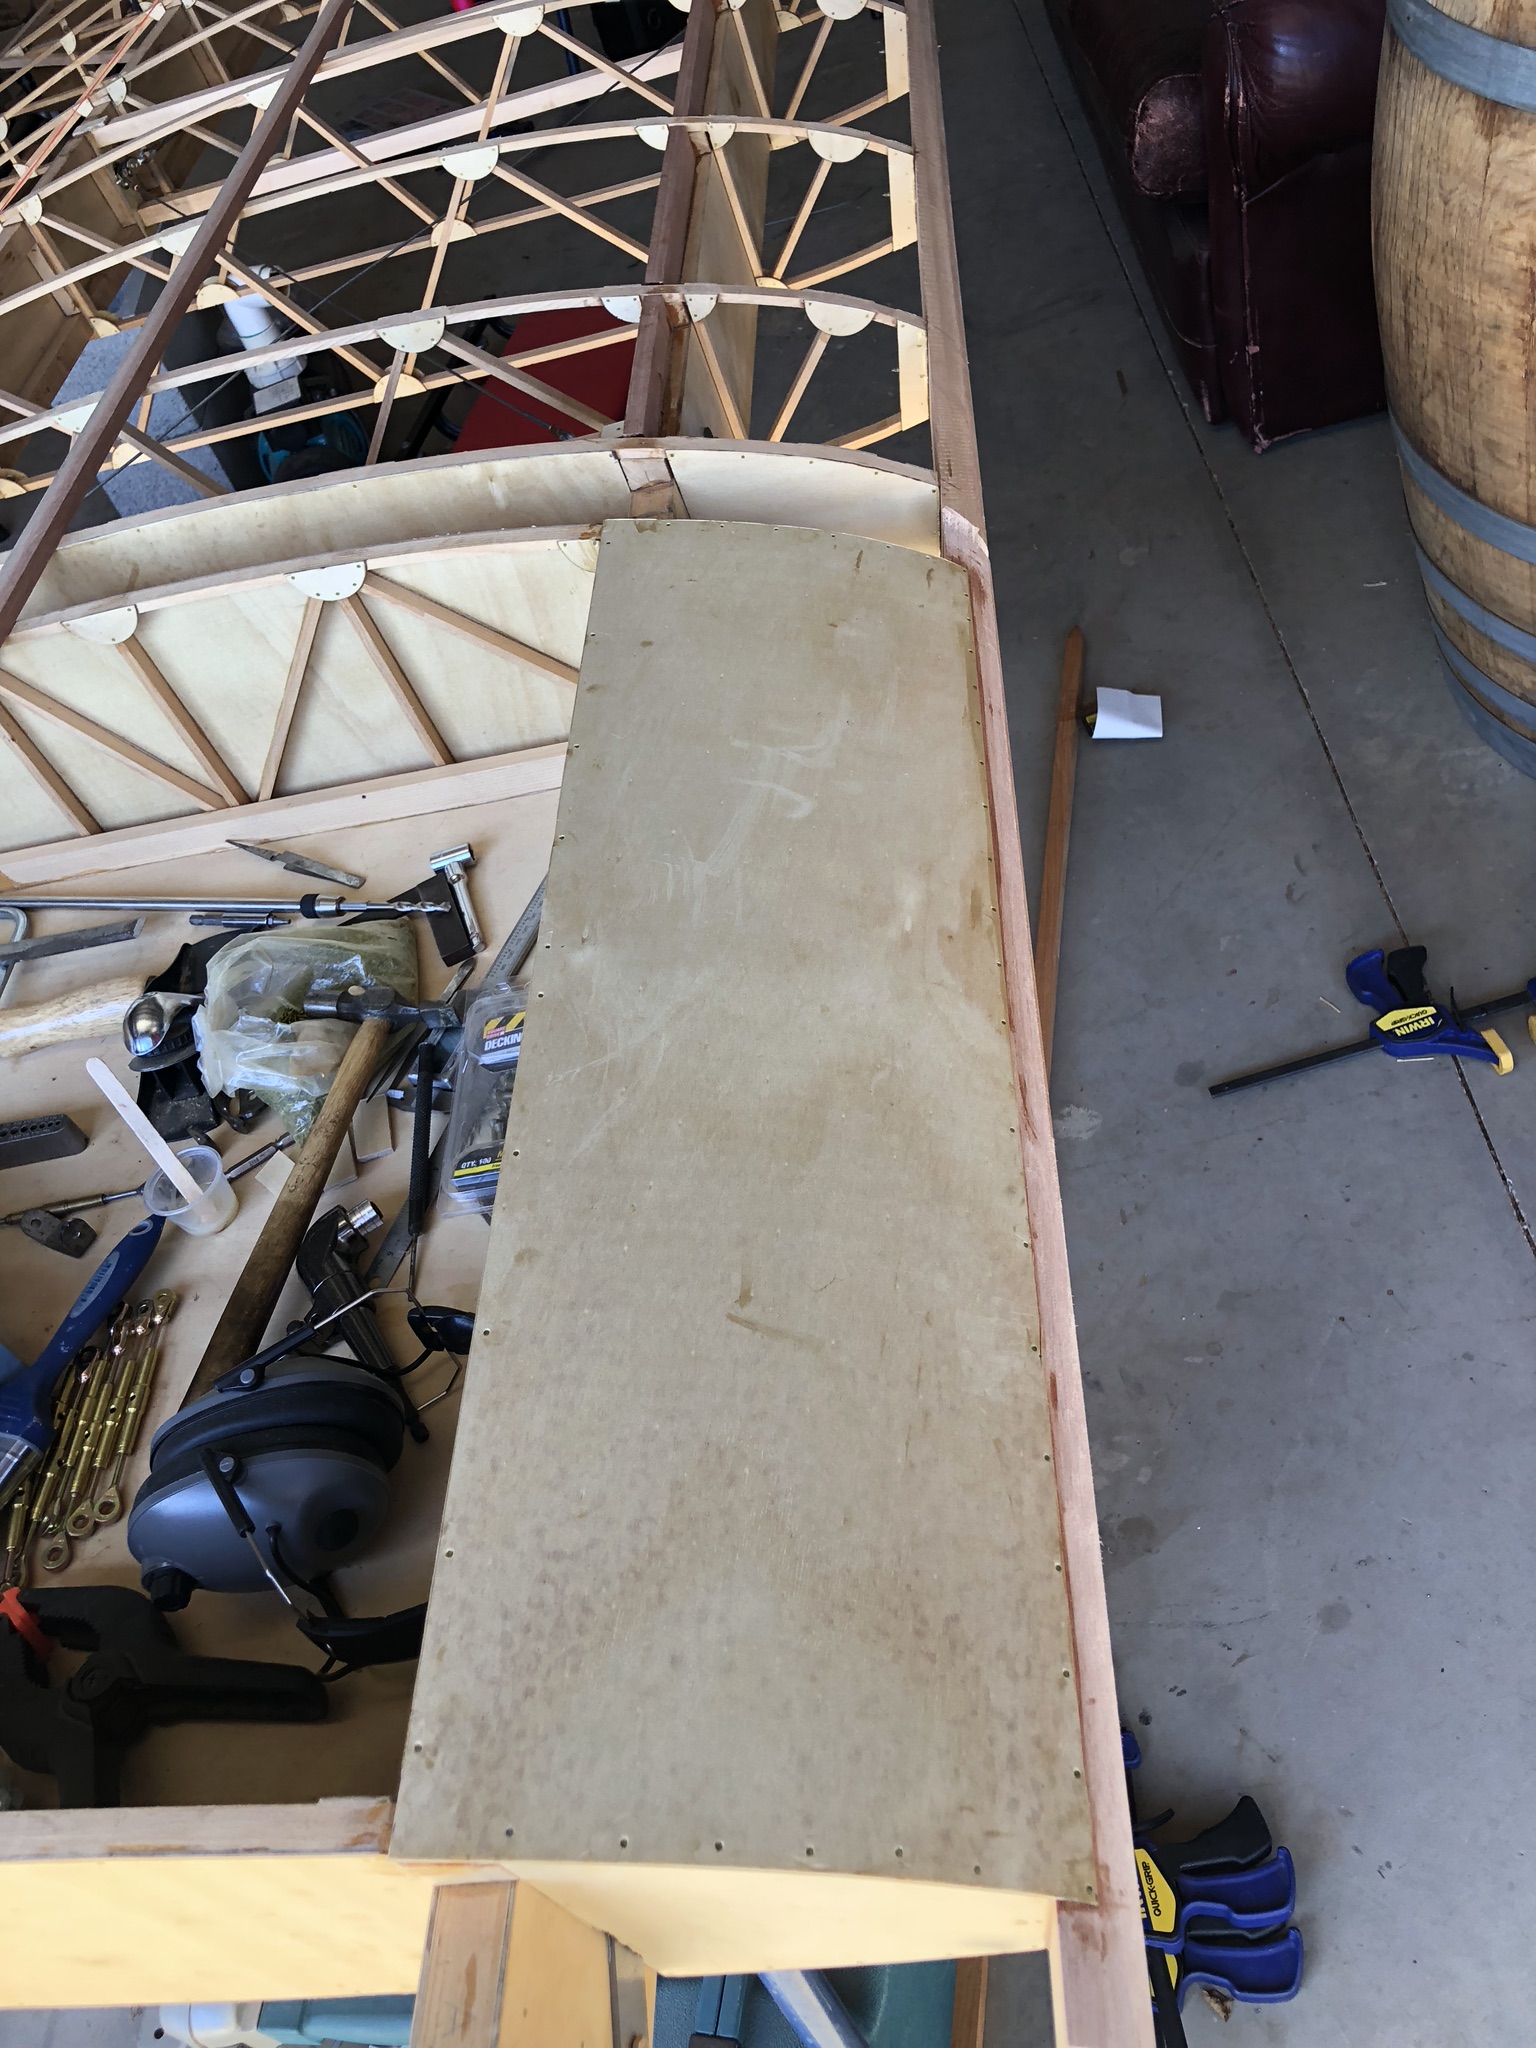
Glue ply to centre section and right wing leading edge...
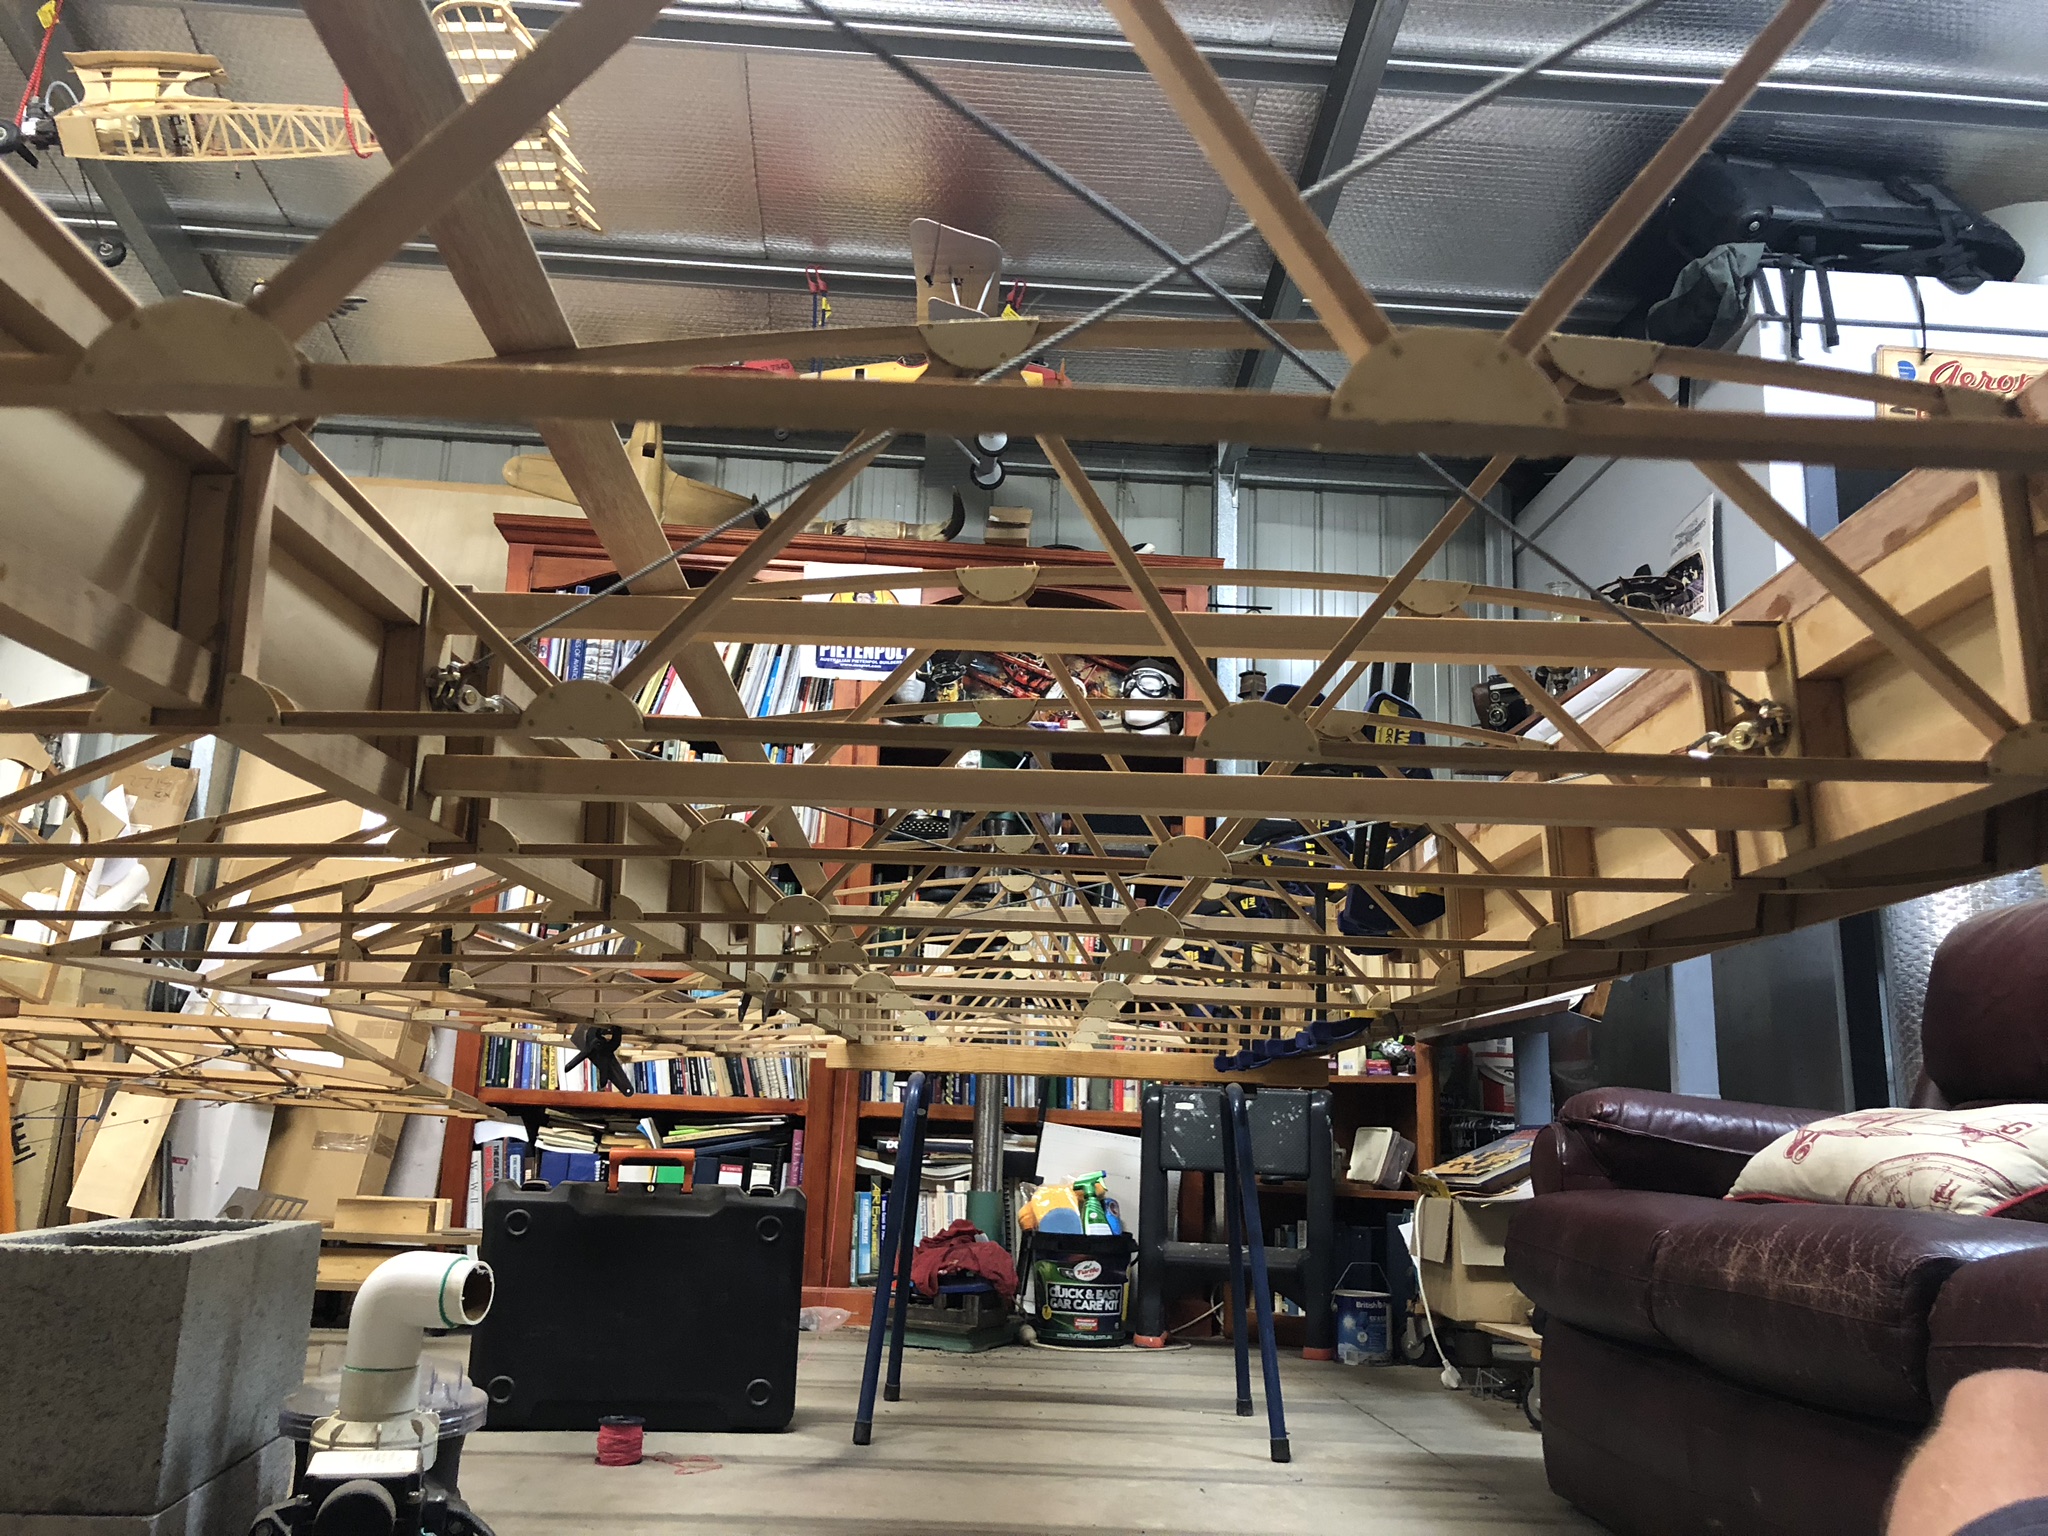


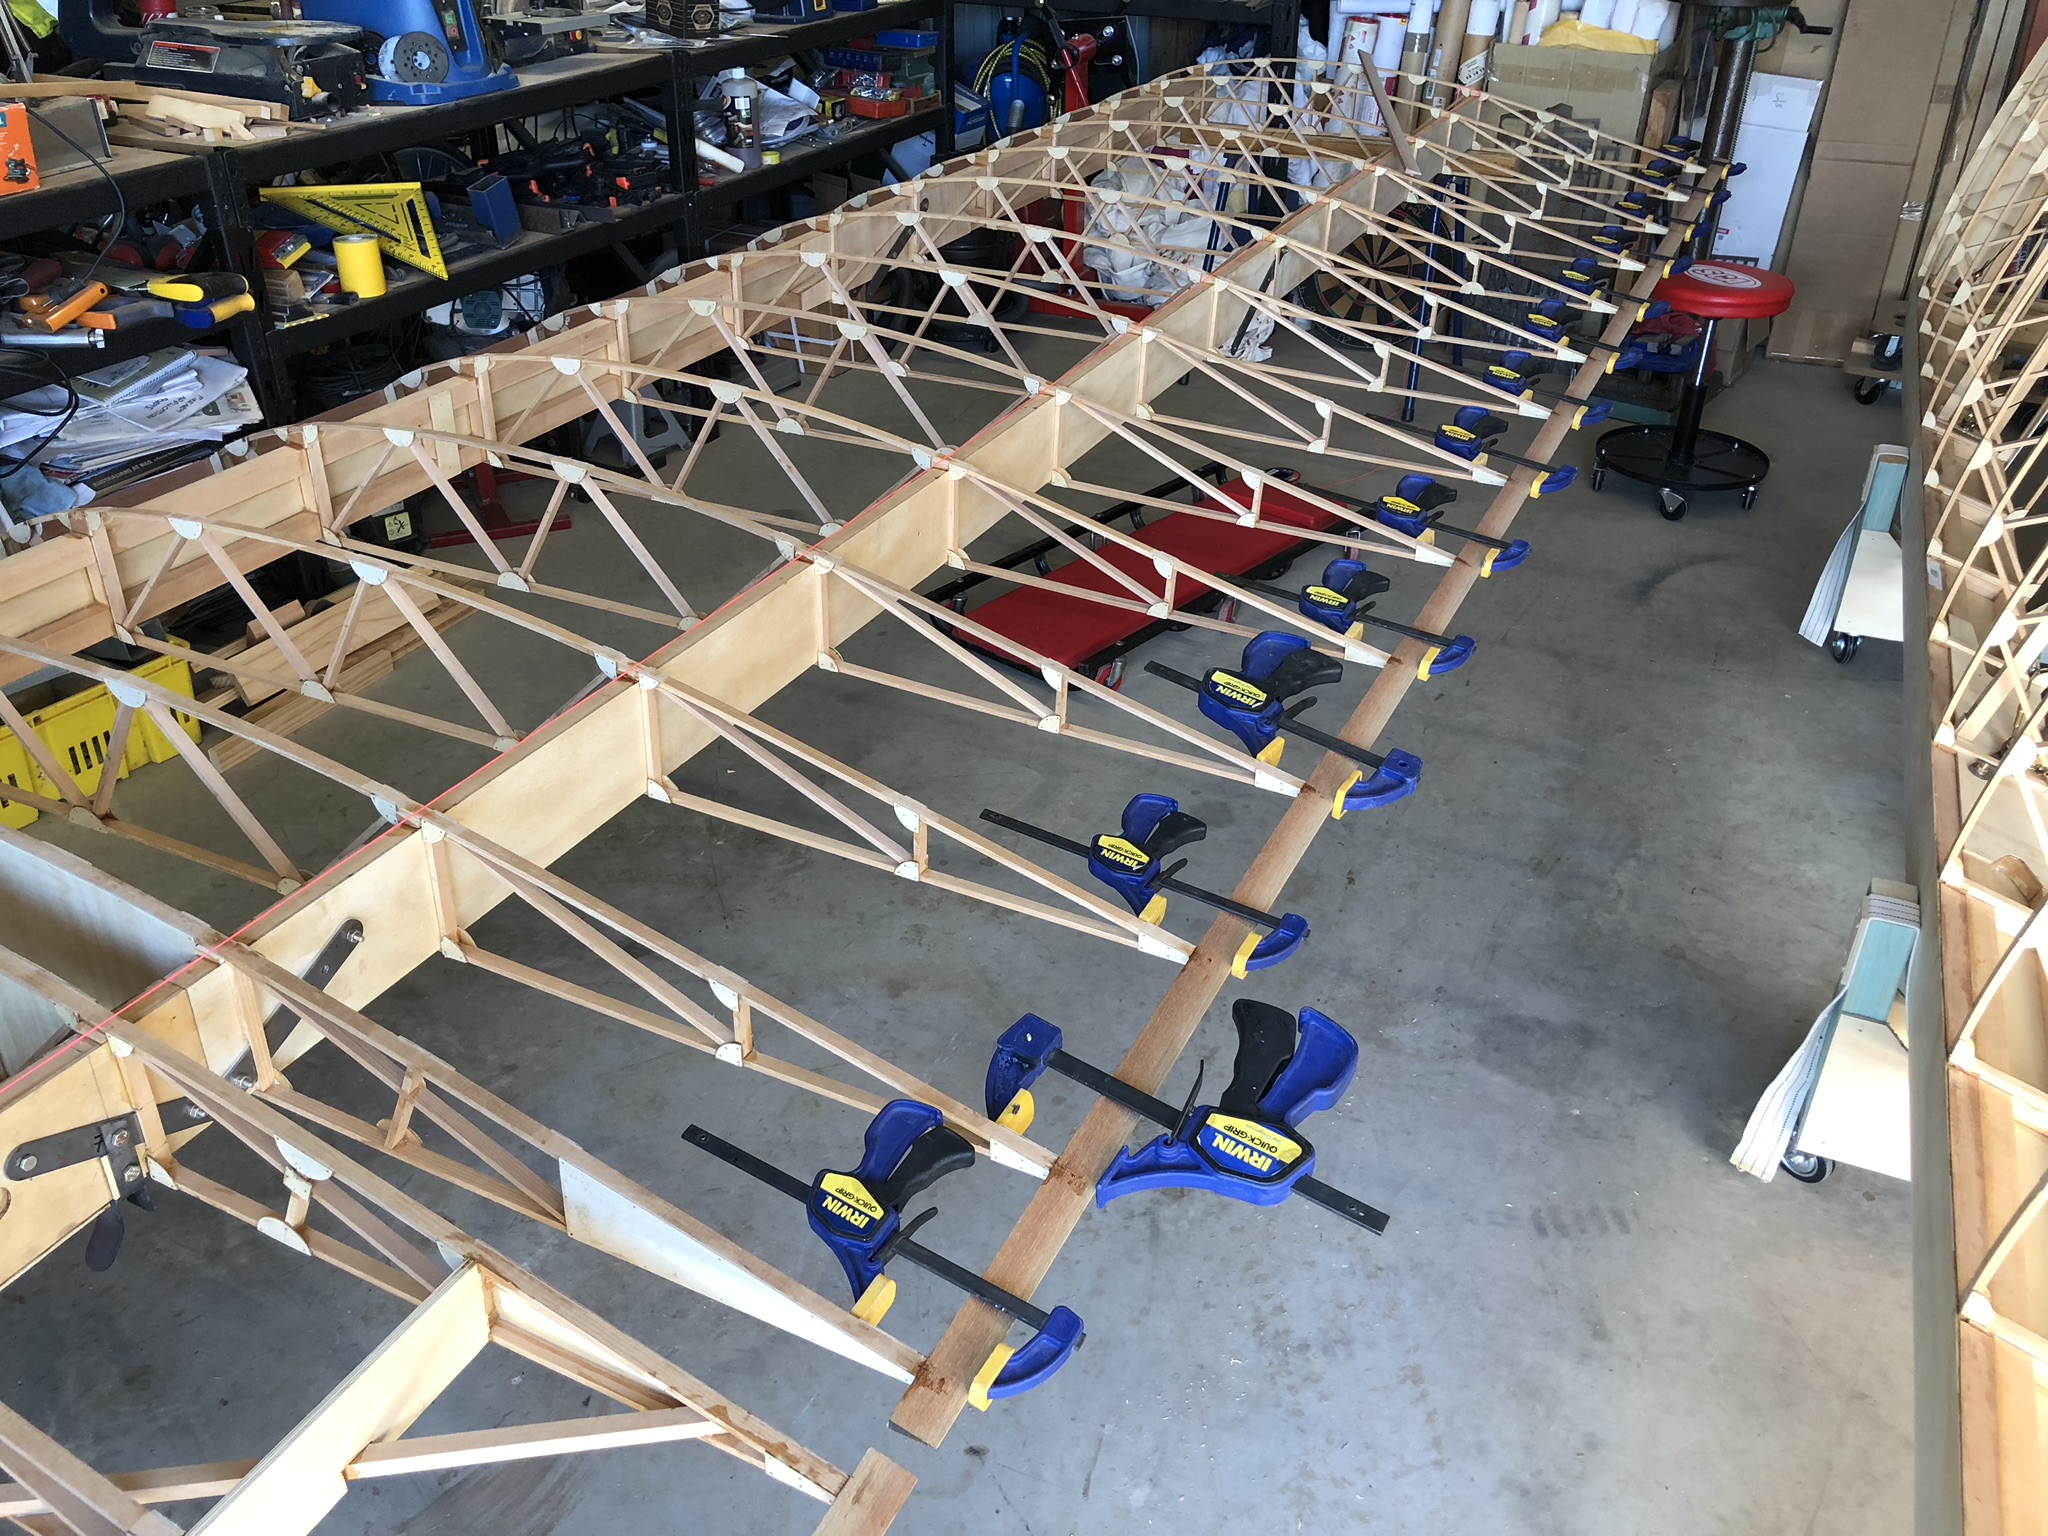
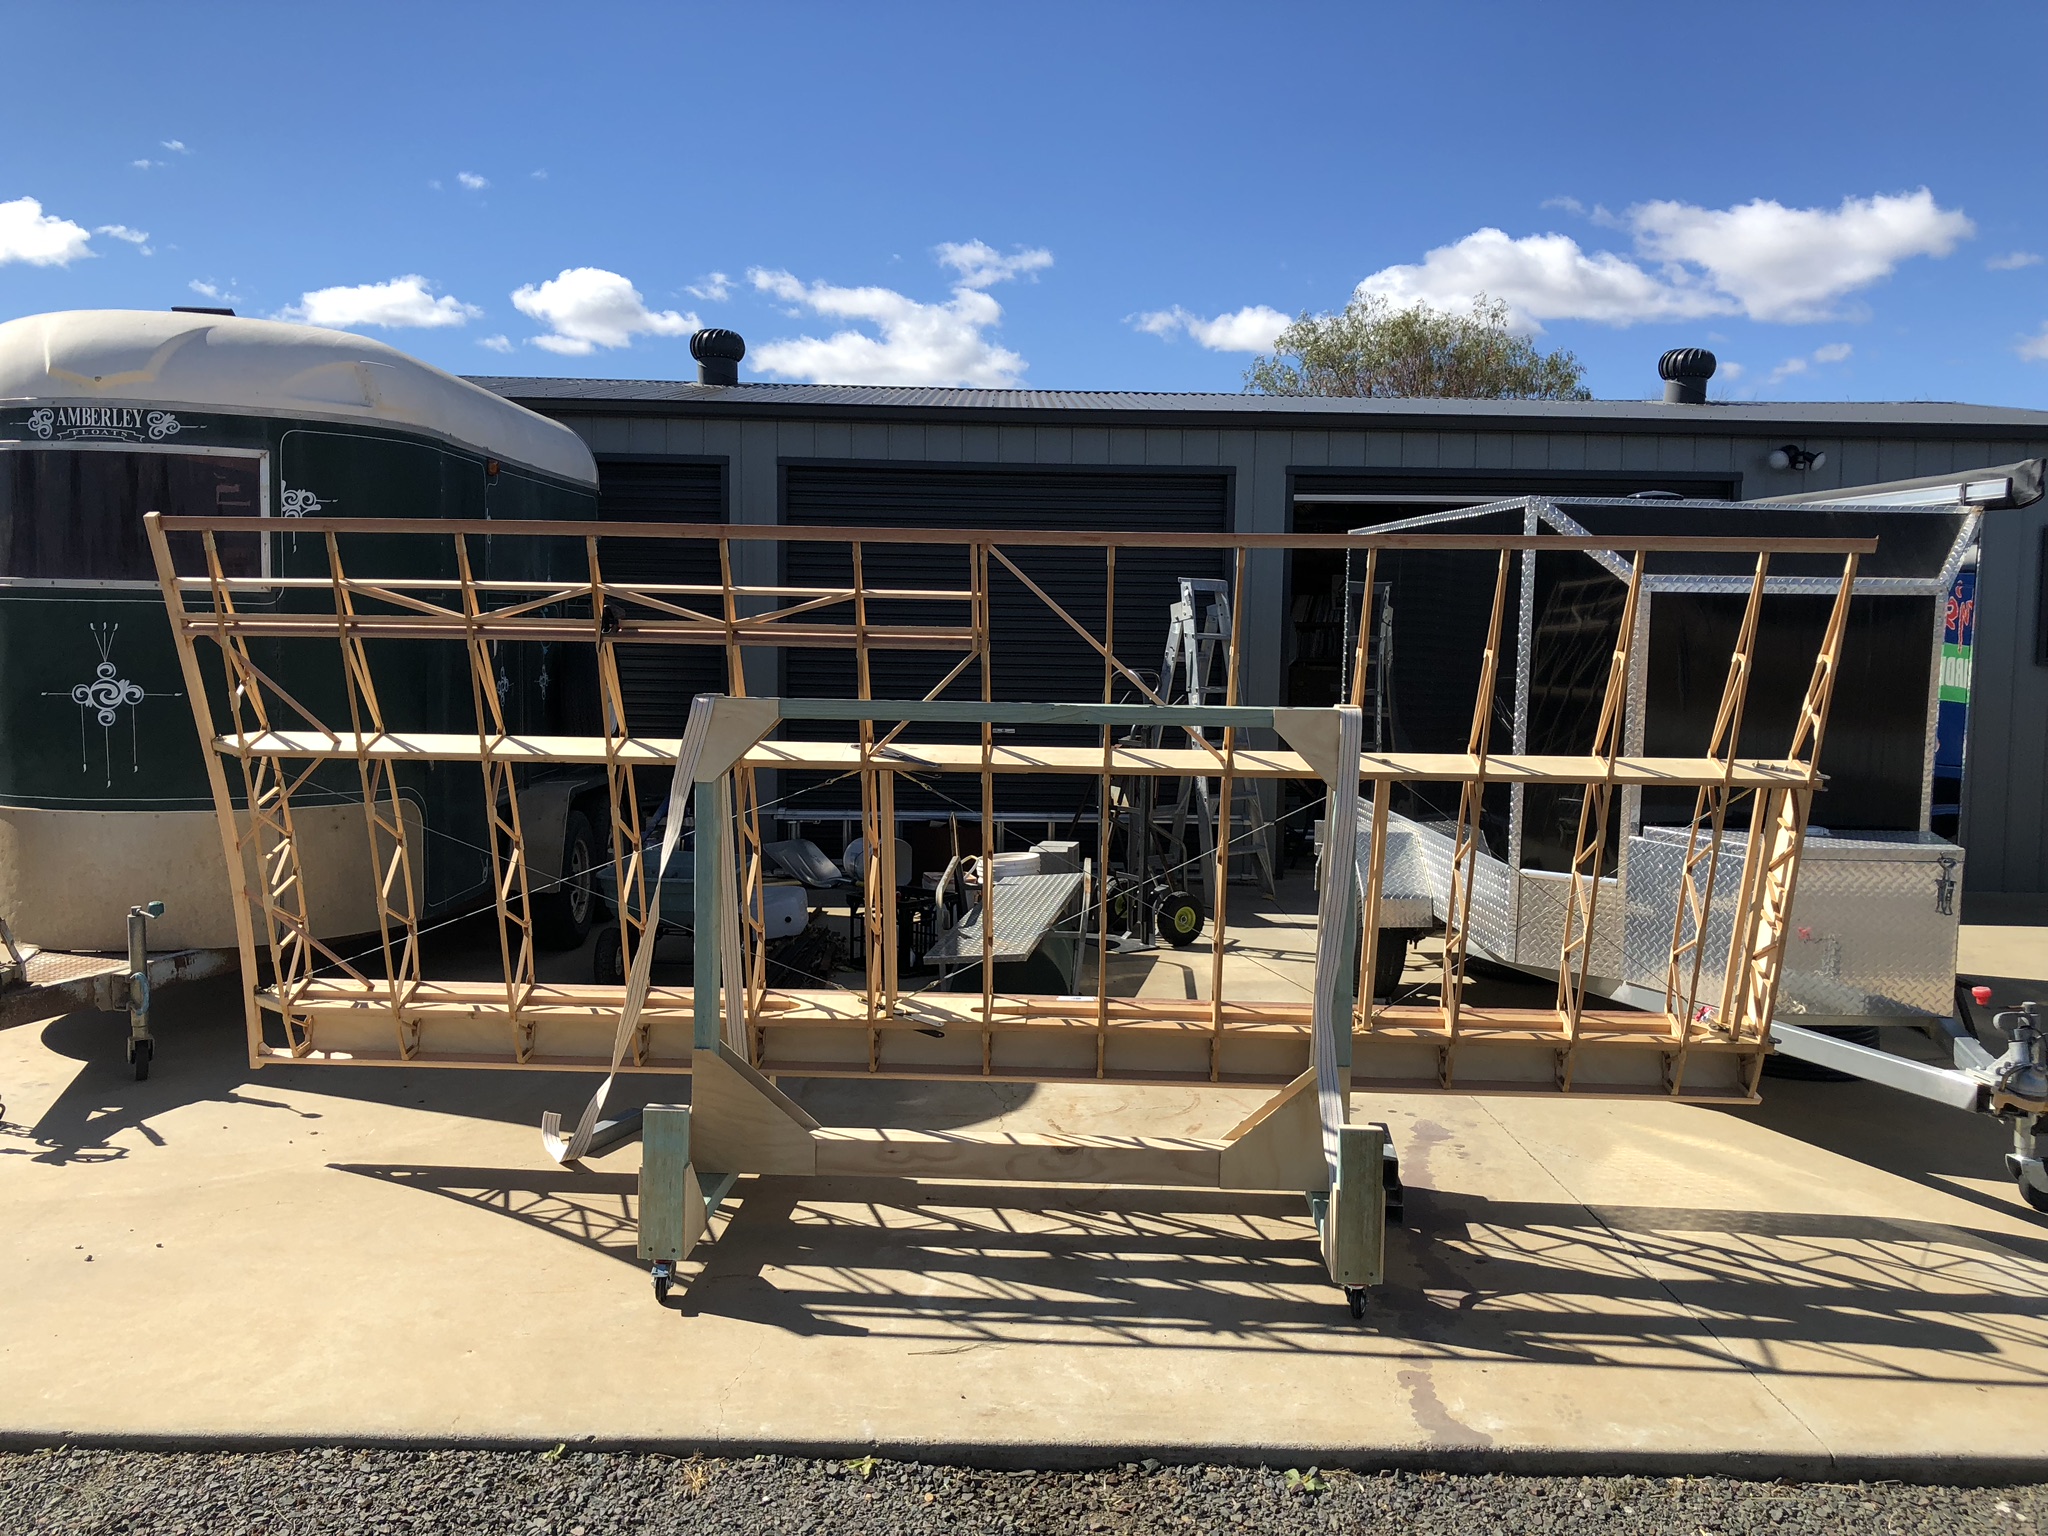
Assembly of the second wing went the same as the first....


Ailerons
Ailerons are built into the wing and cut out later on...
Wing Tip sections
Laminating 4 strips of spruce to form wing tip pieces...
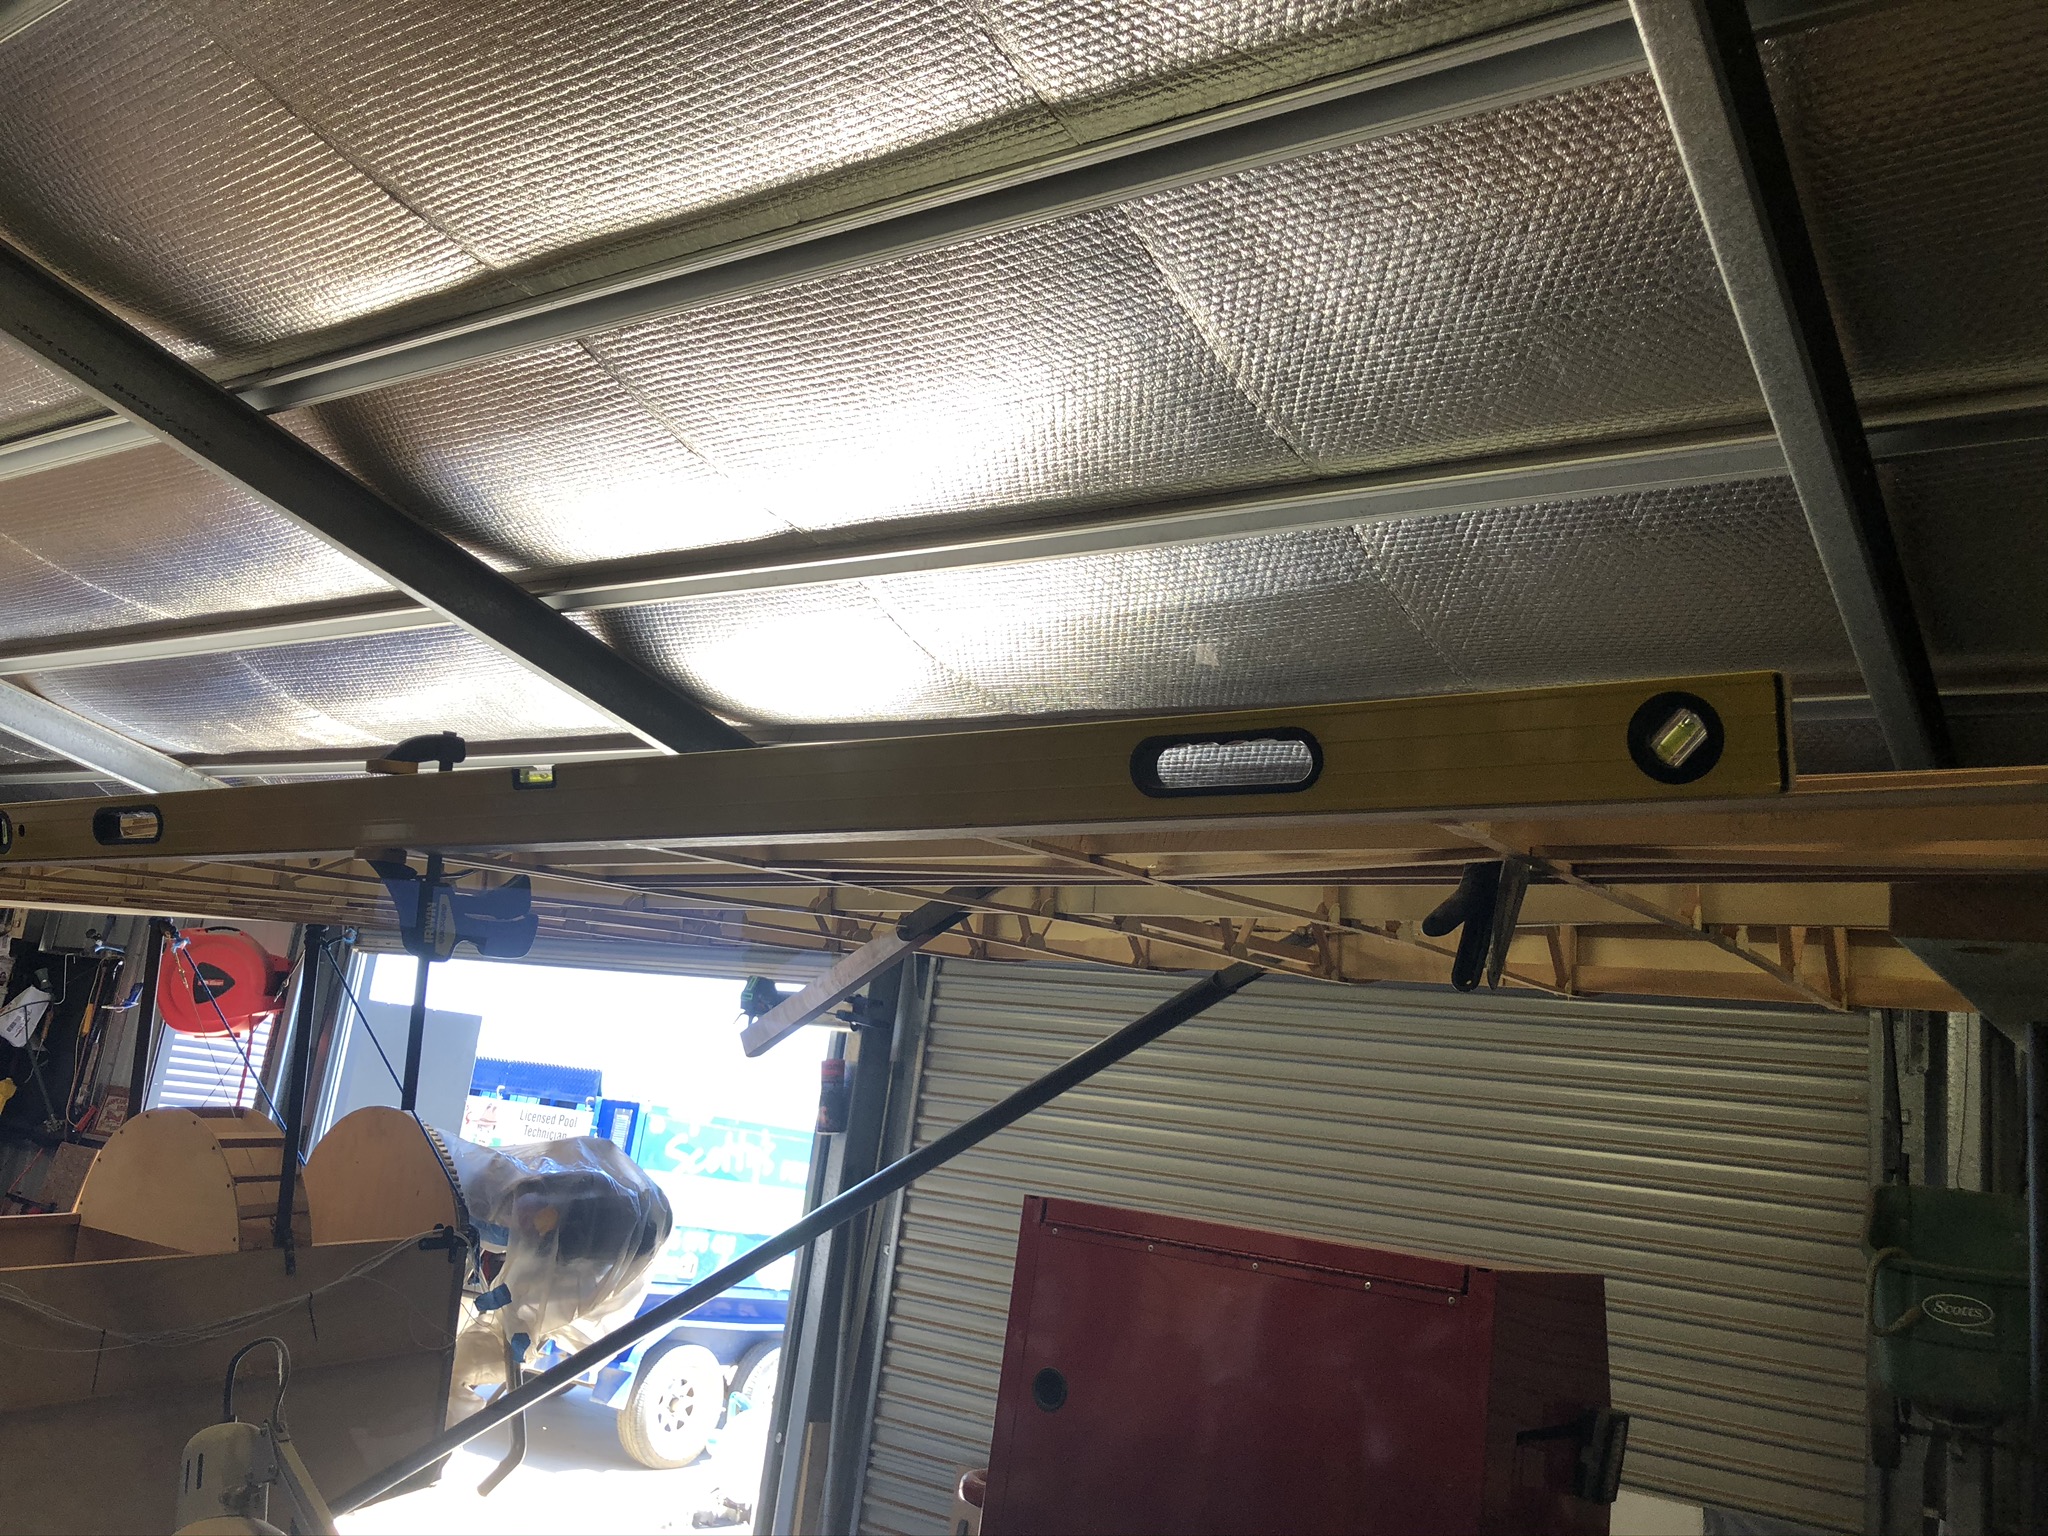
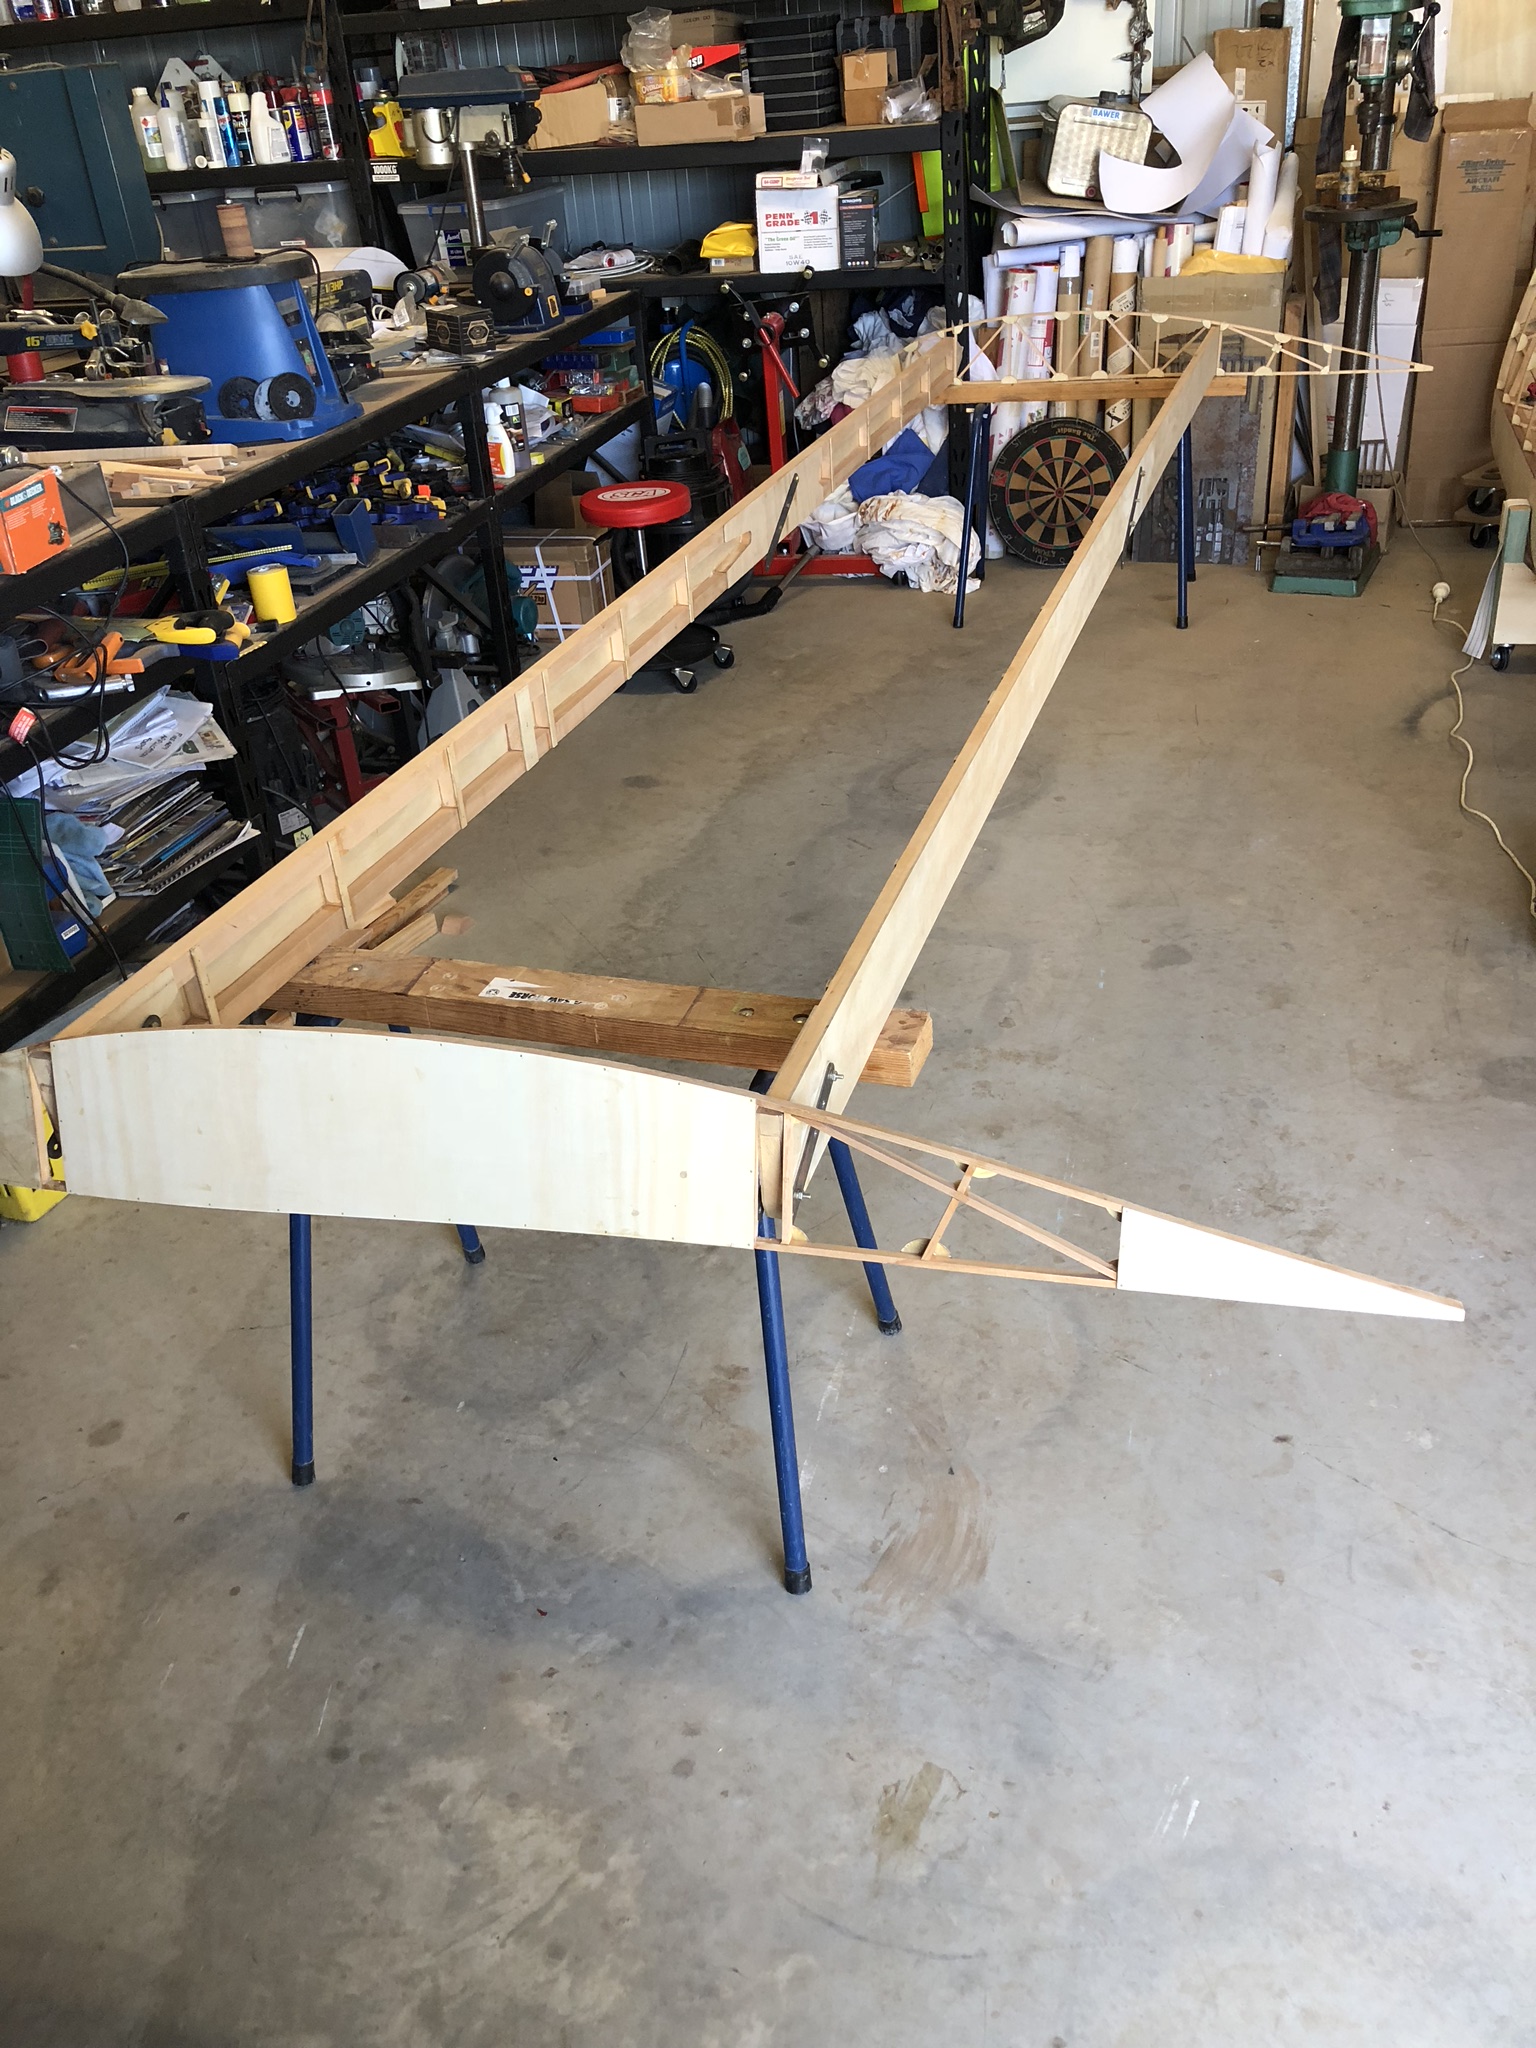
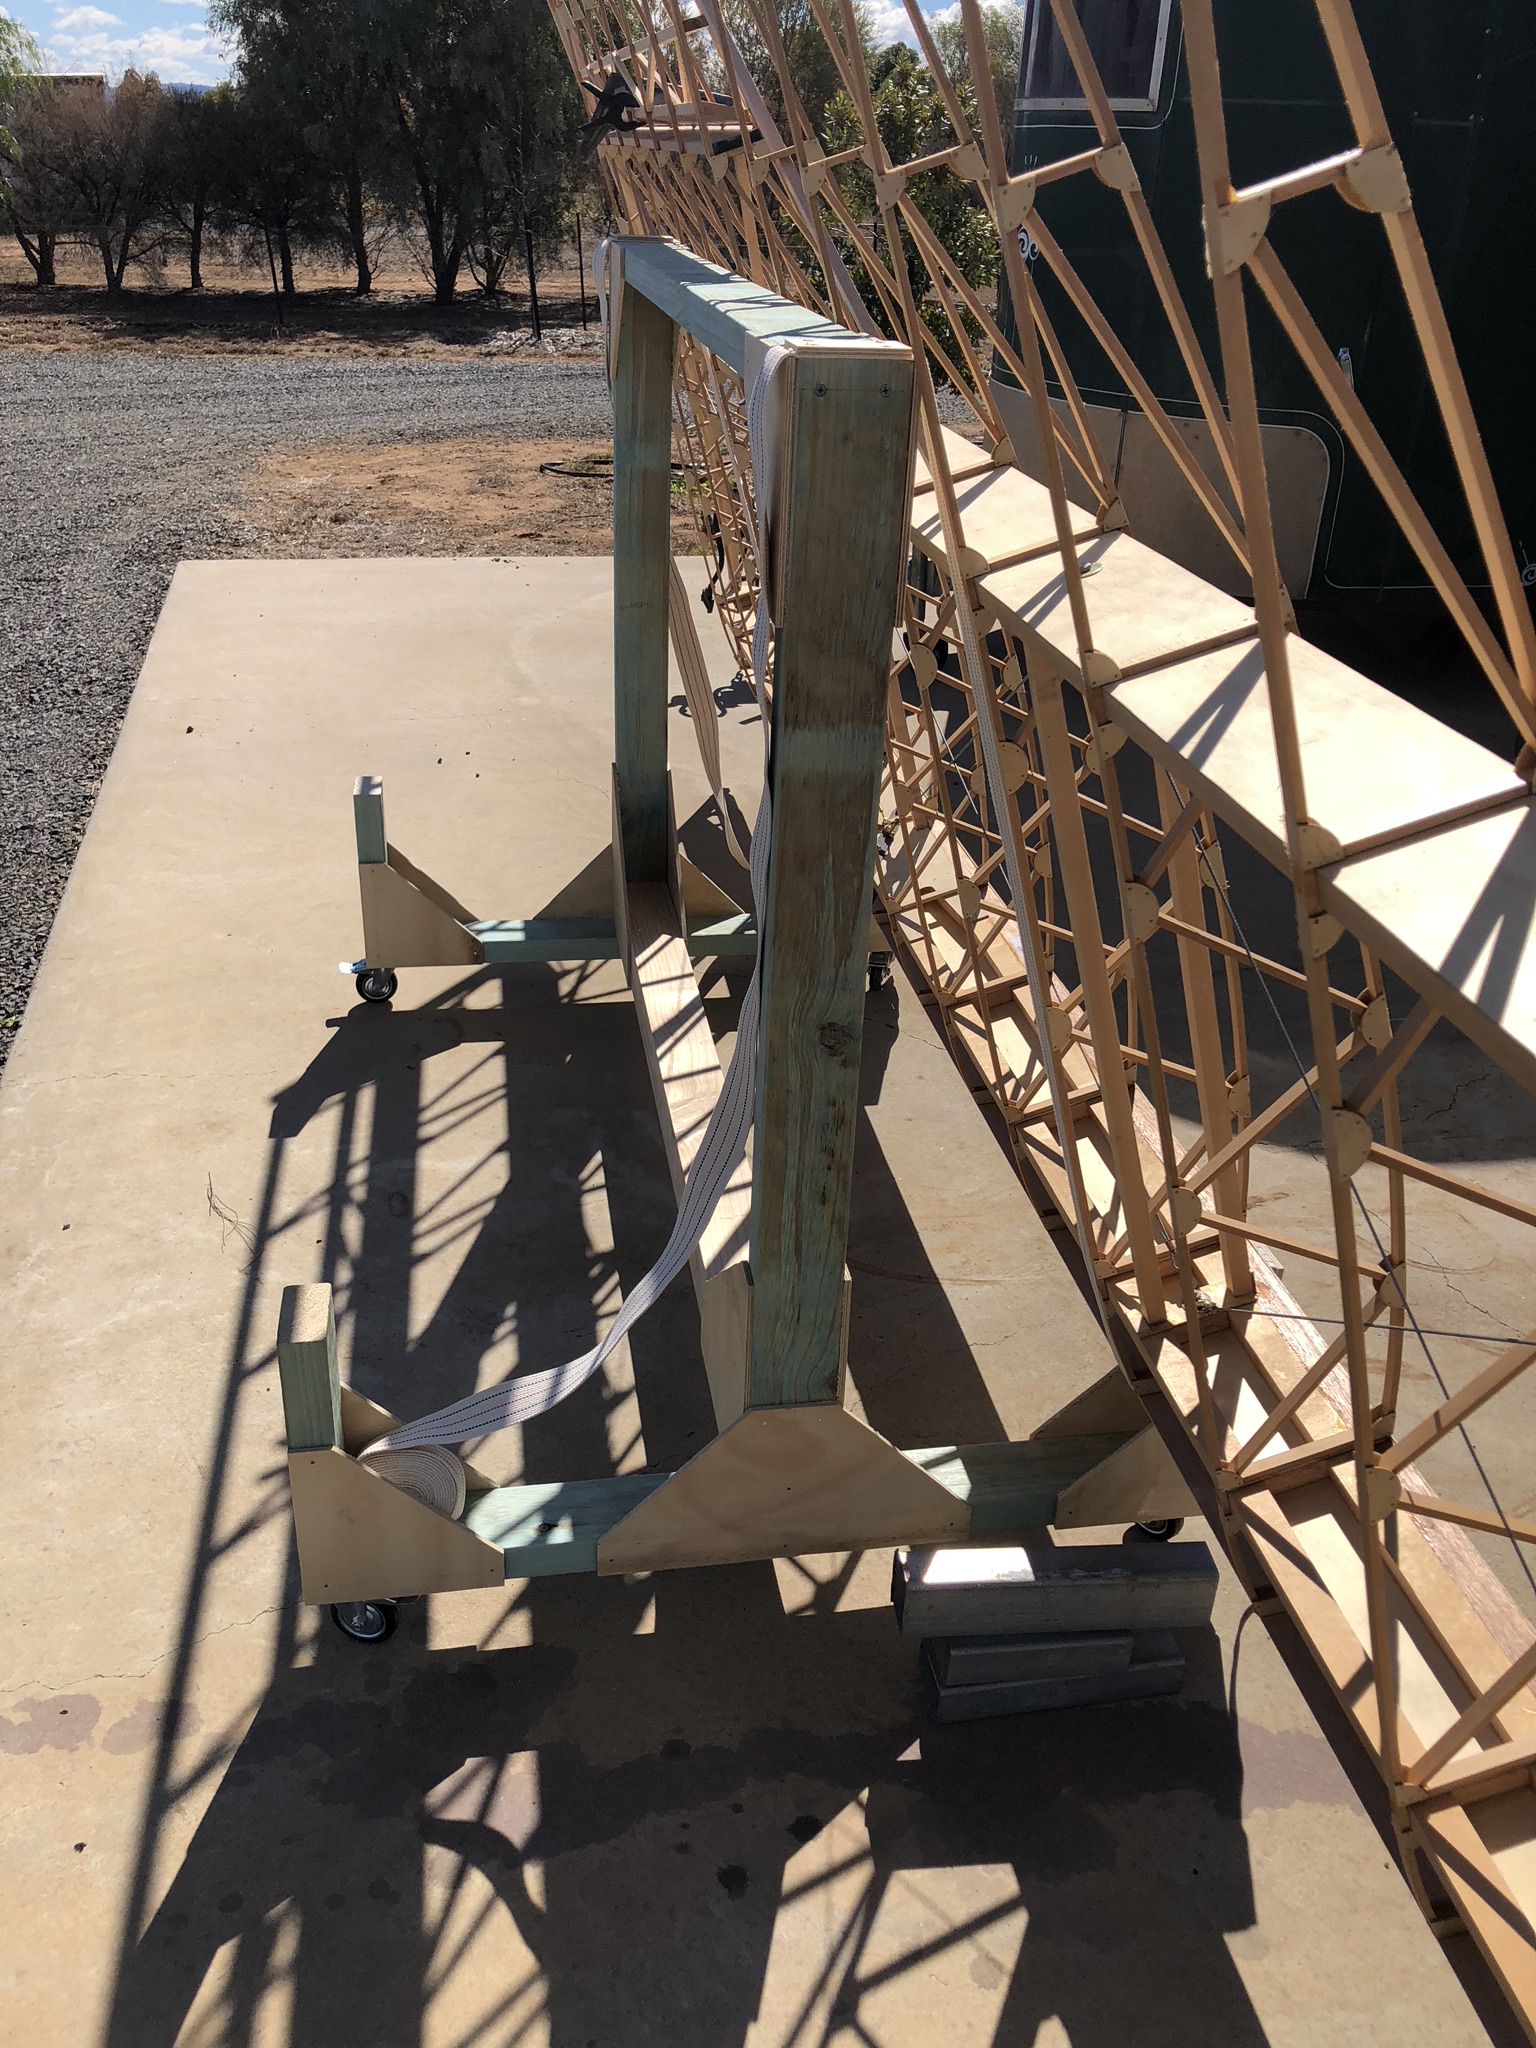
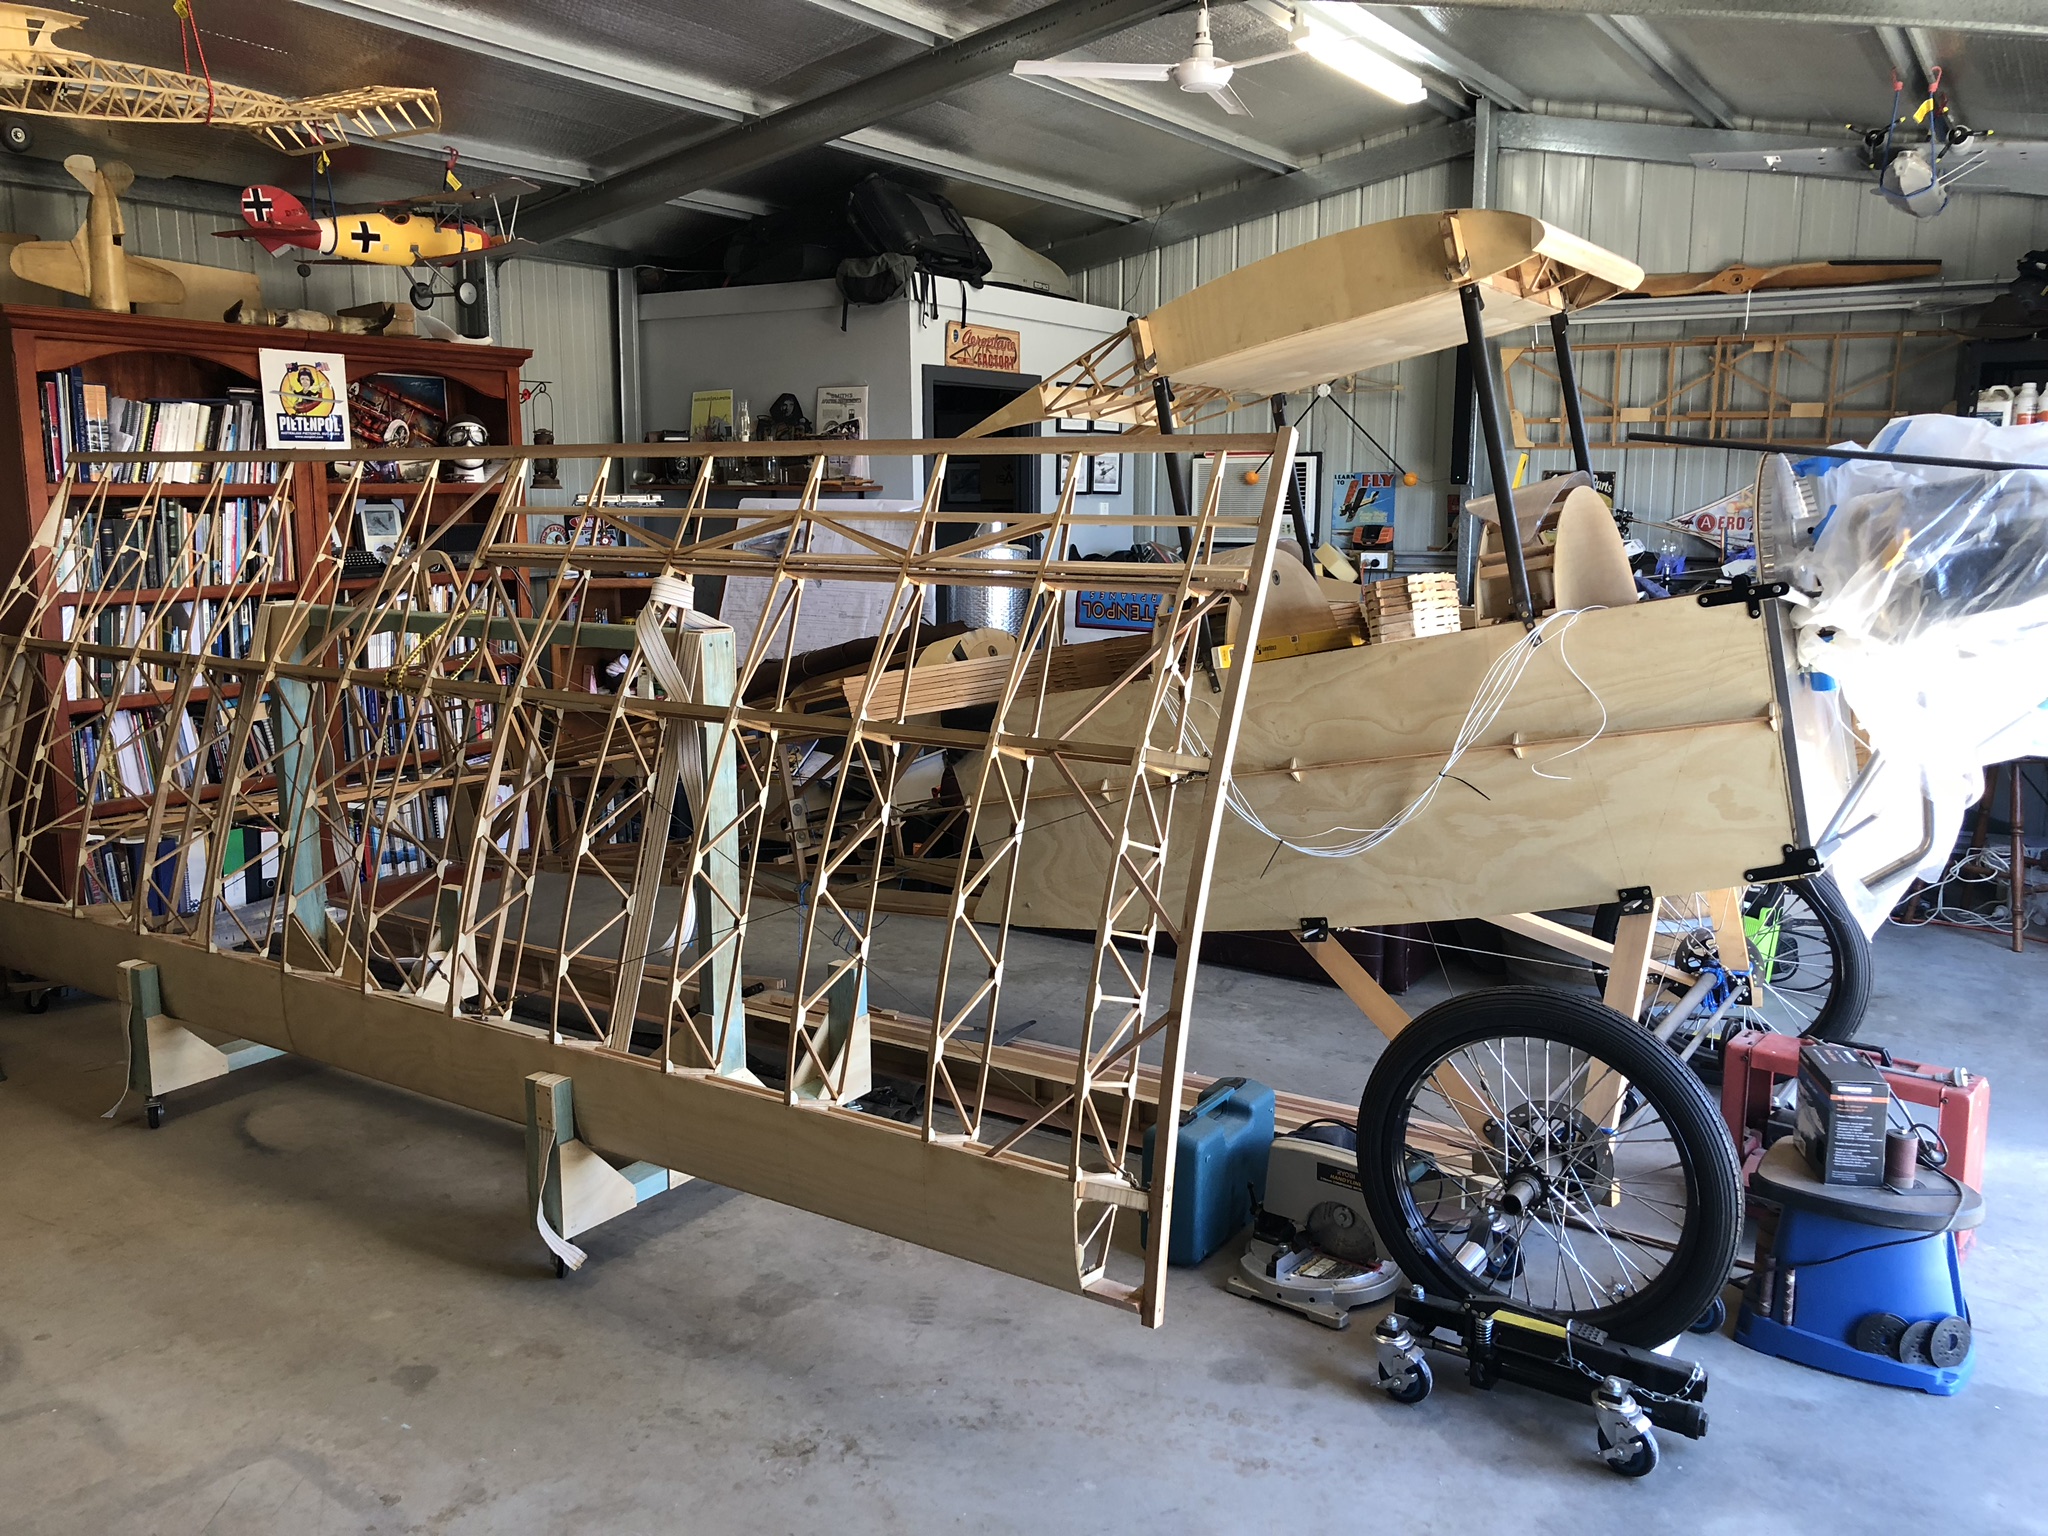
Wing stand and assembled wing section
I used the Tony Bingelis wing stand plans available online...
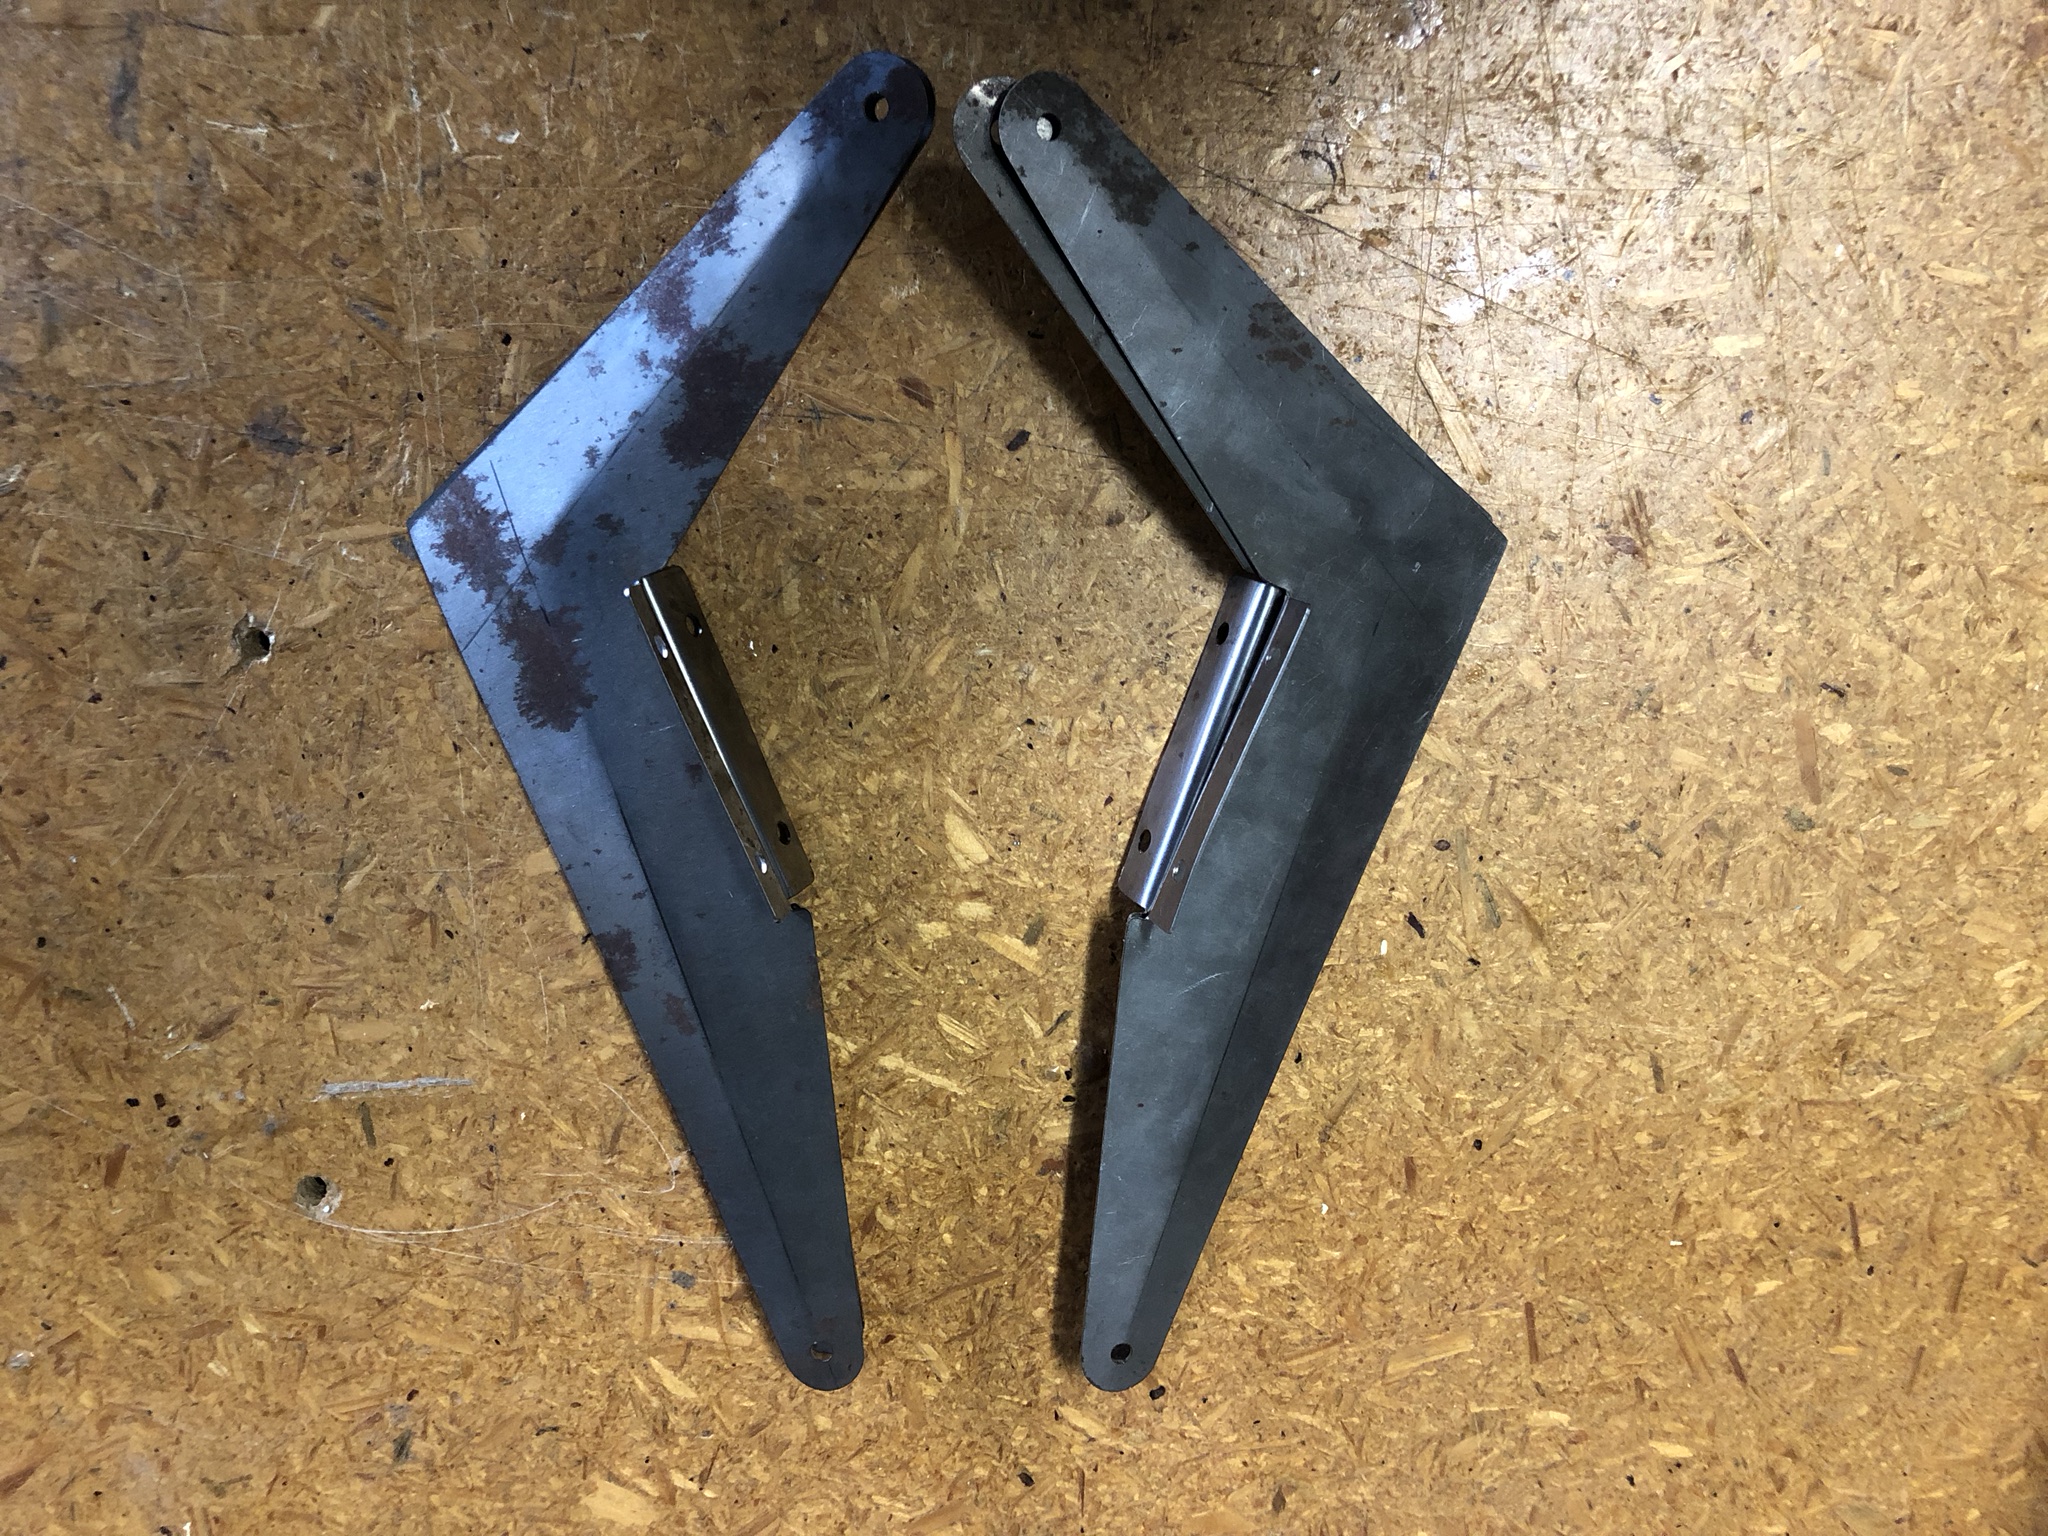
Wing lift struts
Threaded fork ends TIG welded...

Wing lift struts cut to length and trial fitted levelling wings...